The Sunny 16 rule sets a correct exposure in daylight without a light meter. On a clear, sunny day, set the aperture to f/16 and the shutter speed to one over the ISO: 1/100 or 1/125 second at ISO 100, 1/400 or 1/500 at ISO 400. As the light gets weaker, open the aperture one stop at a time: f/11 for hazy sun, f/8 for overcast, f/5.6 for heavy overcast, f/4 for open shade.
This guide covers the rule itself, why it works, the full table of conditions, how to turn f/16 into any other aperture you prefer, the corrections for snow, sand and backlight, the Looney 11 version for the moon, and how to use it with film cameras and to test a meter. It is the practical companion to exposure value, which explains the scale of scene brightness the rule sits on, and to the exposure triangle, which explains how the three settings trade against each other.
How the Sunny 16 rule works
The rule has two parts. The aperture comes from the weather: f/16 in full sun. The shutter speed comes from the ISO: one divided by the ISO number, rounded to the nearest speed your camera offers.
| ISO | Exact shutter speed at f/16 | Nearest traditional speed |
|---|---|---|
| 50 | 1/50 | 1/60 |
| 100 | 1/100 | 1/125 |
| 200 | 1/200 | 1/250 |
| 400 | 1/400 | 1/500 |
| 800 | 1/800 | 1/1000 |
Older cameras only offer the traditional speeds in the right-hand column. Each is about a third of a stop faster than the exact value, a difference too small to matter with negative film or a raw file. The combination f/16 at 1/125 second and ISO 100 is close to EV 15 on the exposure value scale, the standard figure for a subject in direct sun.
The rule was the working method for generations of photographers whose cameras had no meter, and a simplified version of it was printed inside film boxes as a small table of weather symbols. It still earns its place for three reasons: it lets you use a camera with no meter, it tells you when a meter is wrong, and it teaches you to judge light by eye.
Why it works: the sun is a constant light
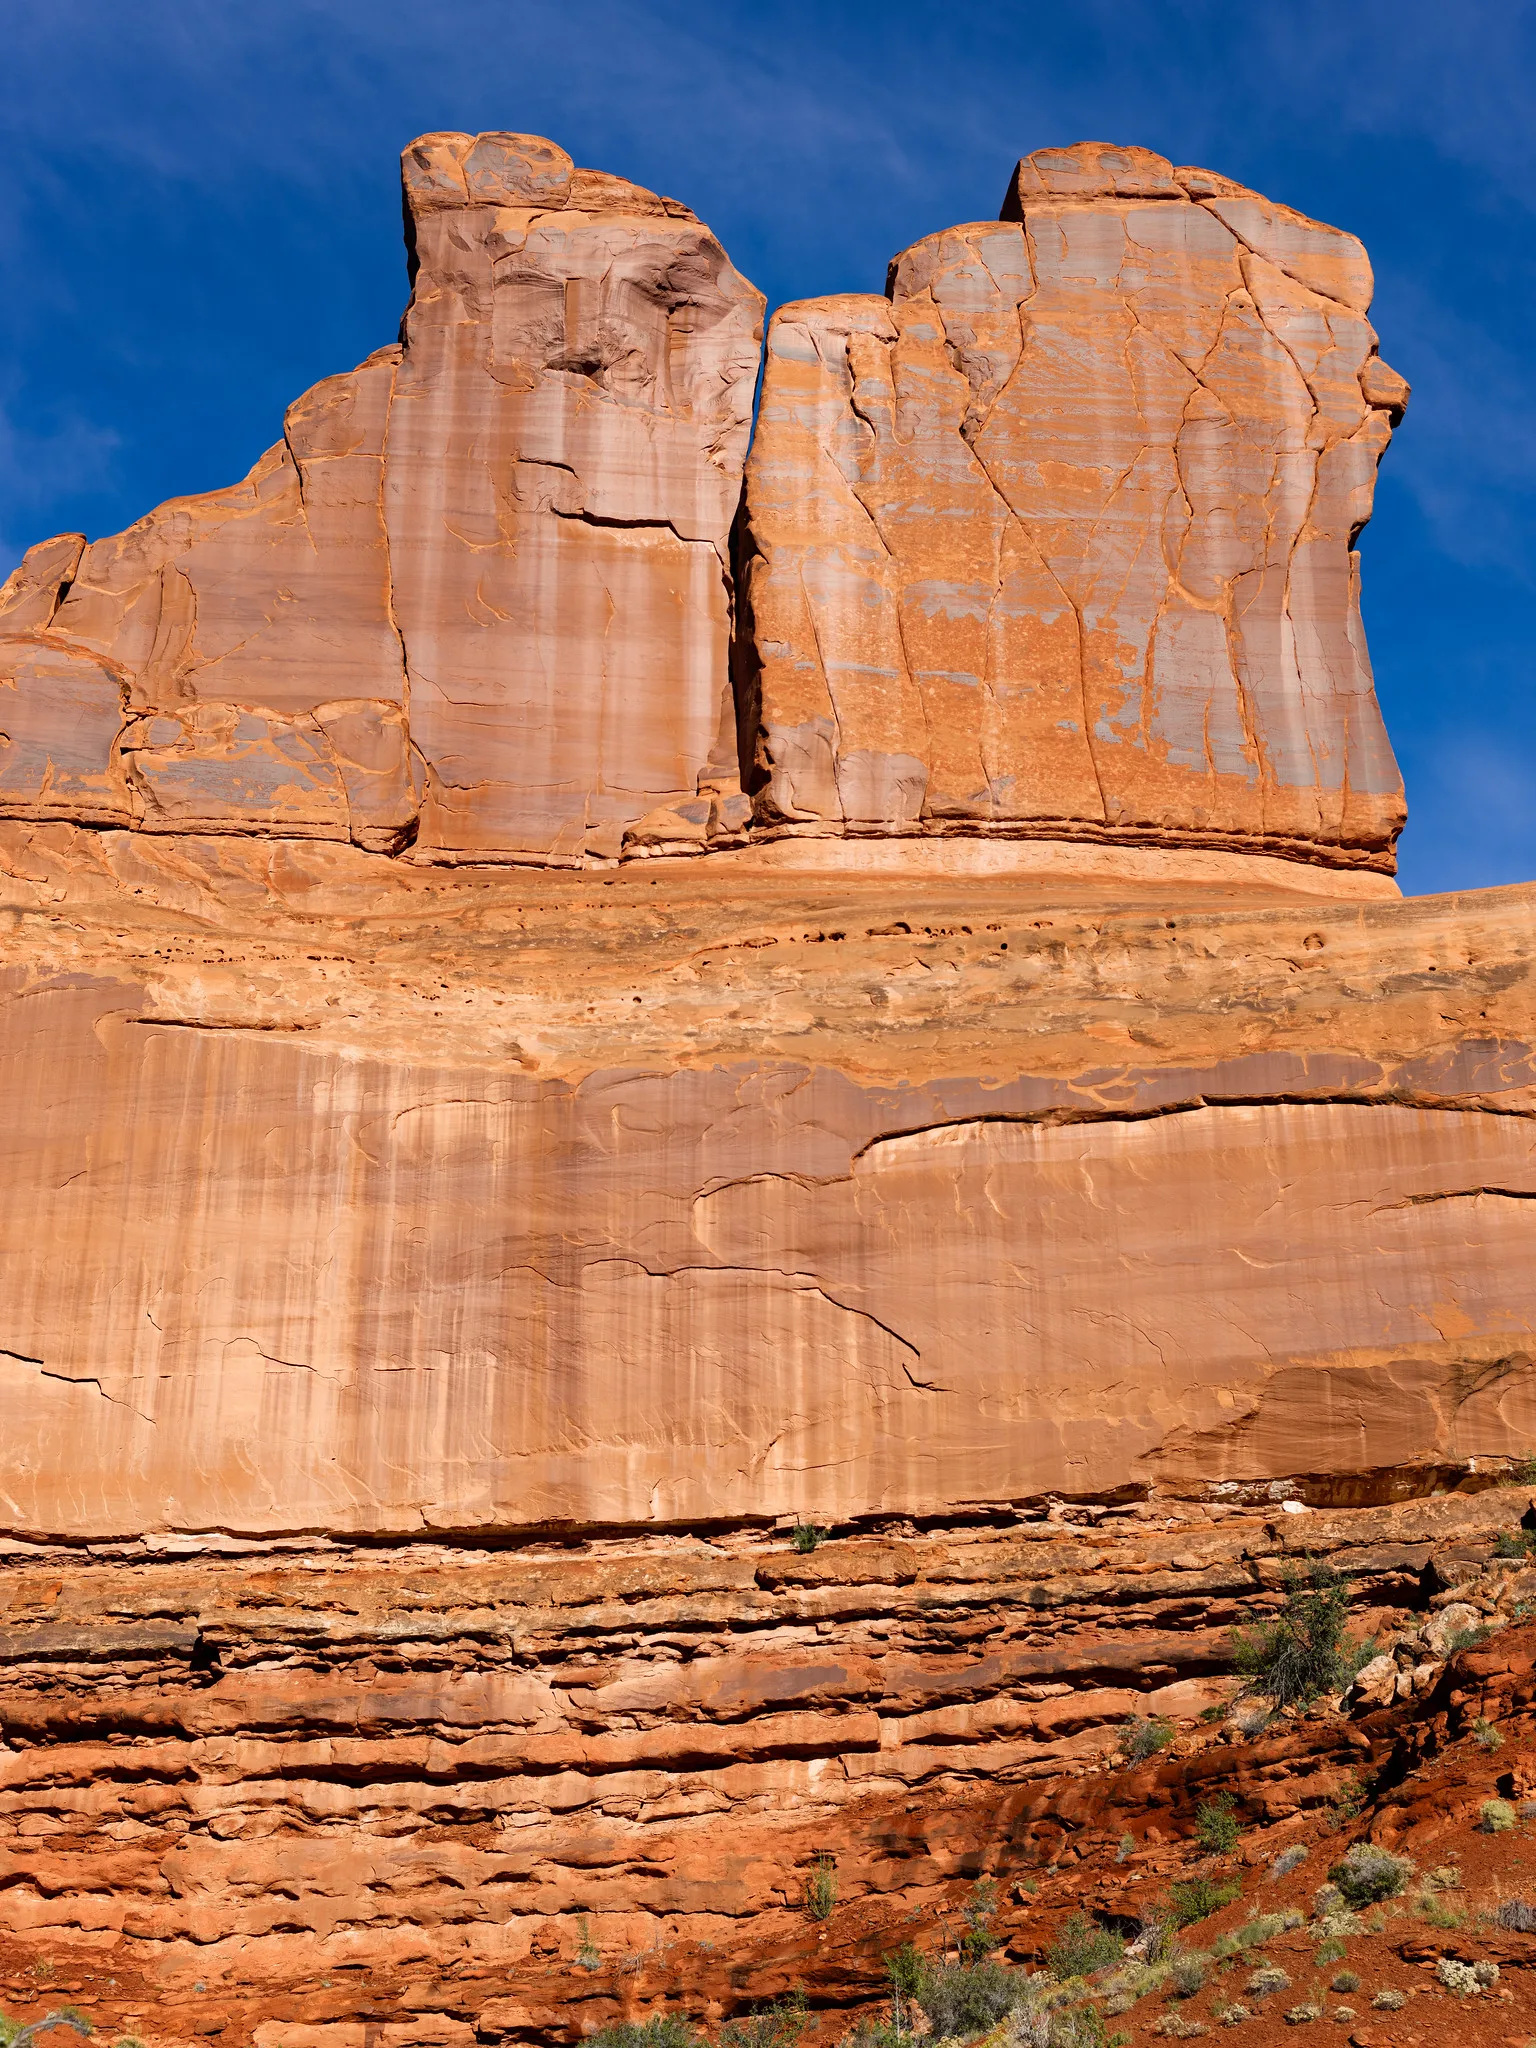
The sun’s output barely varies, and it is so far away that every sunlit place on Earth is effectively the same distance from it. When the sun is reasonably high and the sky is clear, the amount of light falling on a subject is therefore almost the same in a city street, on a farm or on a mountain, this year and fifty years ago. A fixed amount of light needs a fixed exposure.
The second reason is less obvious and more useful. Sunny 16 is based on the light falling on the subject, called incident light, and not on the light bouncing back from it. A camera’s built-in meter measures reflected light and assumes that every scene averages out to middle grey. Point it at a white wall and it underexposes; point it at a black door and it overexposes. Sunny 16 does not look at the subject at all, so it cannot be fooled by its tone. A white shirt and a black coat standing in the same sun get the same exposure, and each comes out as it should: the shirt white, the coat black. This is the same principle a handheld incident light meter uses.
The f/16 figure itself is nothing special. It is simply the aperture that happens to make the arithmetic easy, because at f/16 in full sun the correct shutter speed matches the ISO number.
The full table: reading the light from the shadows
When the sun is not fully out, keep the shutter speed at one over the ISO and open the aperture. The most reliable way to judge the light is to look at the shadows on the ground, since the edge of a shadow shows how much cloud or haze is diffusing the sun.
| Aperture | Light | What the shadows look like | Stops from f/16 |
|---|---|---|---|
| f/22 | Sun on snow or light sand | Dark with sharp edges, bright surroundings | 1 less exposure |
| f/16 | Clear sun | Distinct, with sharp edges | 0 |
| f/11 | Slight overcast or hazy sun | Visible, with soft edges | 1 more |
| f/8 | Overcast | Barely visible | 2 more |
| f/5.6 | Heavy overcast | None | 3 more |
| f/4 | Open shade, or around sunset | None | 4 more |
Each row lets in twice the light of the row above it. The sequence of full-stop apertures is worth memorising for this reason: f/2.8, f/4, f/5.6, f/8, f/11, f/16, f/22. The f-stop page explains where those numbers come from.
Two rows need care. Open shade means a subject shaded from the sun but lit by a large area of open sky, such as the shadow side of a building. It varies more than the other conditions: under a wide, bright sky f/5.6 can be right, and in deep shade under trees or a porch you may need f/2.8. The sunset row is the roughest of all, because the light drops fast as the sun nears the horizon. Use it as a first guess only.
Equivalent exposures: worked examples
Nobody wants to shoot everything at f/16. The rule gives one correct combination, and from there you can move to any other that lets in the same light: for every stop you open the aperture, make the shutter speed one stop faster. Here is the full family for clear sun at ISO 100:
| Aperture | Shutter speed | Good for |
|---|---|---|
| f/22 | 1/60 | Greatest depth, deliberate motion blur |
| f/16 | 1/125 | The rule as stated |
| f/11 | 1/250 | Landscapes, general use |
| f/8 | 1/500 | Street and travel, sharpest range of most lenses |
| f/5.6 | 1/1000 | Action in daylight |
| f/4 | 1/2000 | Fast action, softer backgrounds |
| f/2.8 | 1/4000 | Portraits with a blurred background |
Every row gives the same brightness. What changes is depth of field and how motion is recorded.
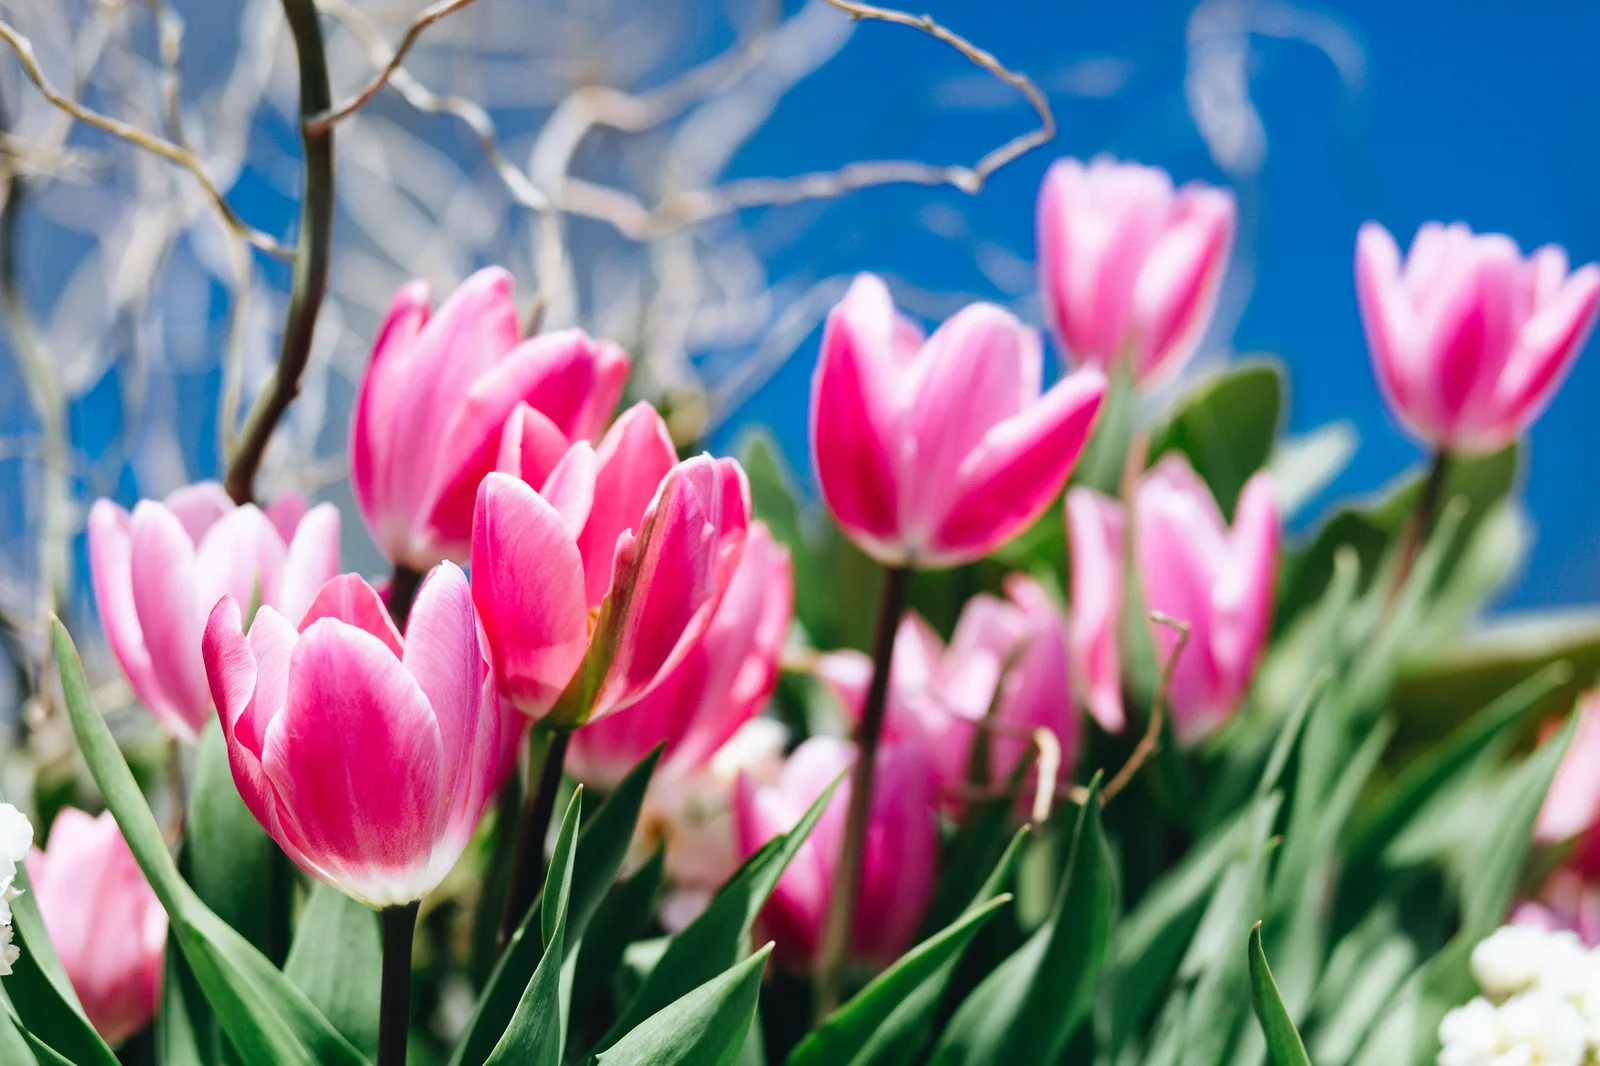
Three worked examples show the method. In each one, start from the table, then count stops.
- Street photography on an overcast day with ISO 400 film. Overcast is f/8, and one over 400 rounds to 1/500. So: f/8 at 1/500. If you want more depth of field for zone focusing, go to f/16 (two stops smaller) and slow the shutter two stops to 1/125.
- A portrait in open shade at ISO 200. Open shade is f/4 at 1/200, or 1/250 on the dial. To blur the background more, open to f/2 (two stops) and shorten the shutter time two stops to 1/1000.
- A panning shot of a cyclist in full sun at ISO 100. You want 1/30 second for motion blur. That is two stops slower than 1/125, so the aperture must close two stops from f/16 to f/32. Few lenses go that far. The alternatives are to drop to ISO 50 and use f/22, or to fit a two-stop neutral density filter and stay at f/16.
The third example shows a real limit of bright light: slow shutter speeds and wide apertures both run out of room, which is what neutral density filters are for.
Snow, sand, side light and backlight
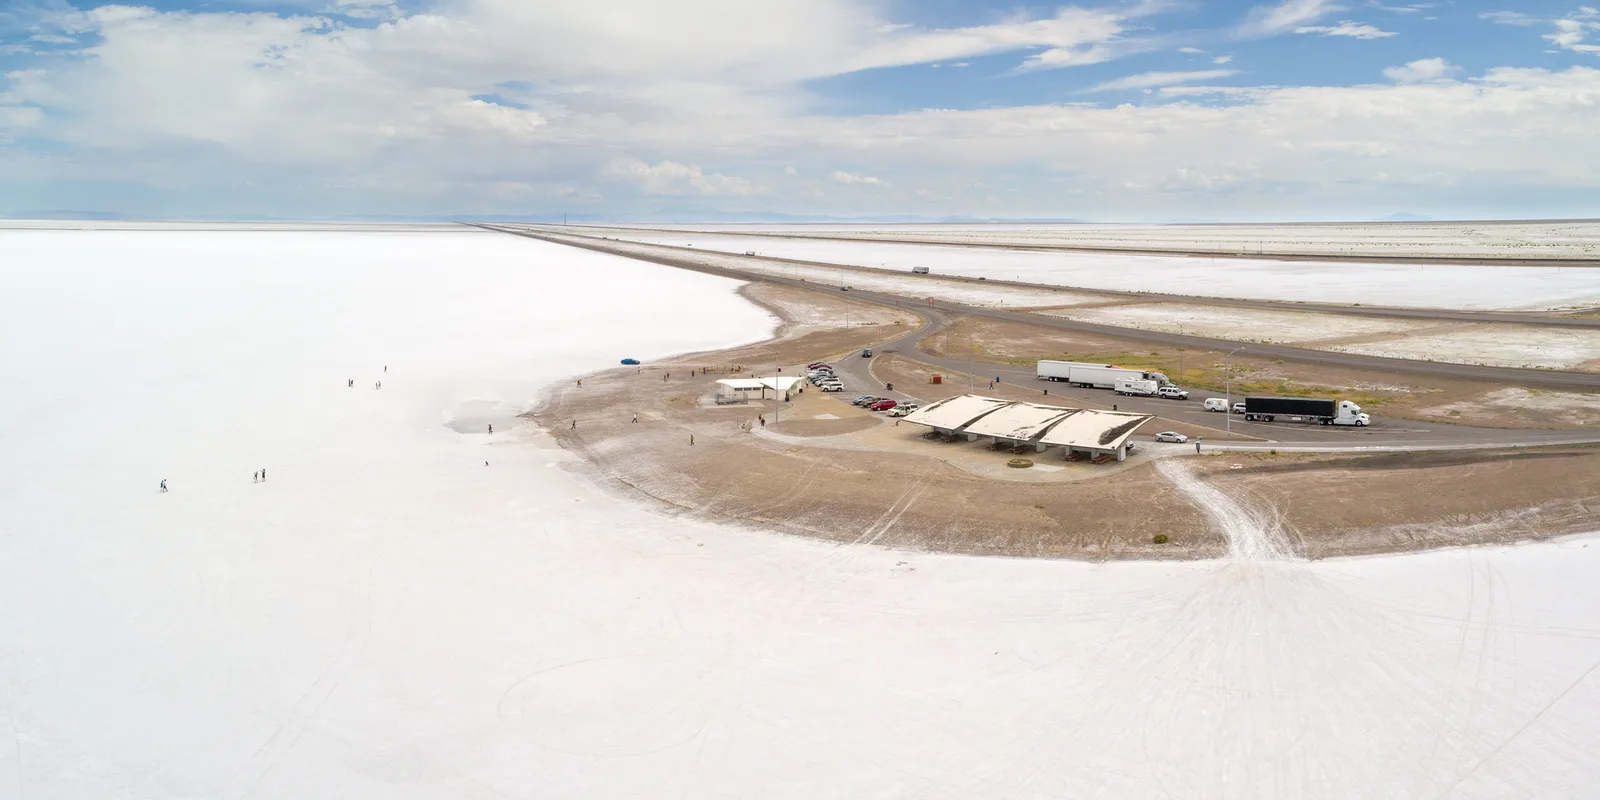
The f/22 row looks like a contradiction. If the rule depends only on the light falling on the subject, why should white surroundings change it? There are two reasons. Snow and pale sand throw a great deal of sunlight back up into the scene, so the subject really is receiving more light than it would on grass or tarmac. And a picture made mostly of very bright tones is easily spoiled by clipped highlights, so a slightly lower exposure protects the texture in the snow or sand. On digital cameras, check the histogram and use the most exposure that does not clip.
The table also assumes the sun is behind you, lighting the side of the subject that faces the camera. When it is not, the part you are photographing is partly or wholly in its own shadow, and it needs more exposure:
- Side light: open up about half a stop to one stop if detail in the shaded half matters.
- Backlight, with the subject’s shadowed side toward you: open up about two stops, to f/8 instead of f/16. The sunlit background will be very bright, which is the usual look of a backlit portrait.
- Backlight when you want a silhouette: stay at f/16. The rule exposes for the sunlit world and lets the subject go dark.
For the lighting itself, see backlighting and shooting in harsh daylight.
Looney 11: the same idea for the moon
The moon is a sunlit object, so it follows a daylight rule, not a night one. The Looney 11 rule says: f/11 at one over the ISO, so f/11 at 1/100 or 1/125 second at ISO 100. That is one stop more exposure than Sunny 16. The extra stop is there because the lunar surface is dark grey rock that reflects only a little over a tenth of the light that reaches it, because its light is dimmed on the way down through our atmosphere, and because people expect the moon to look bright.
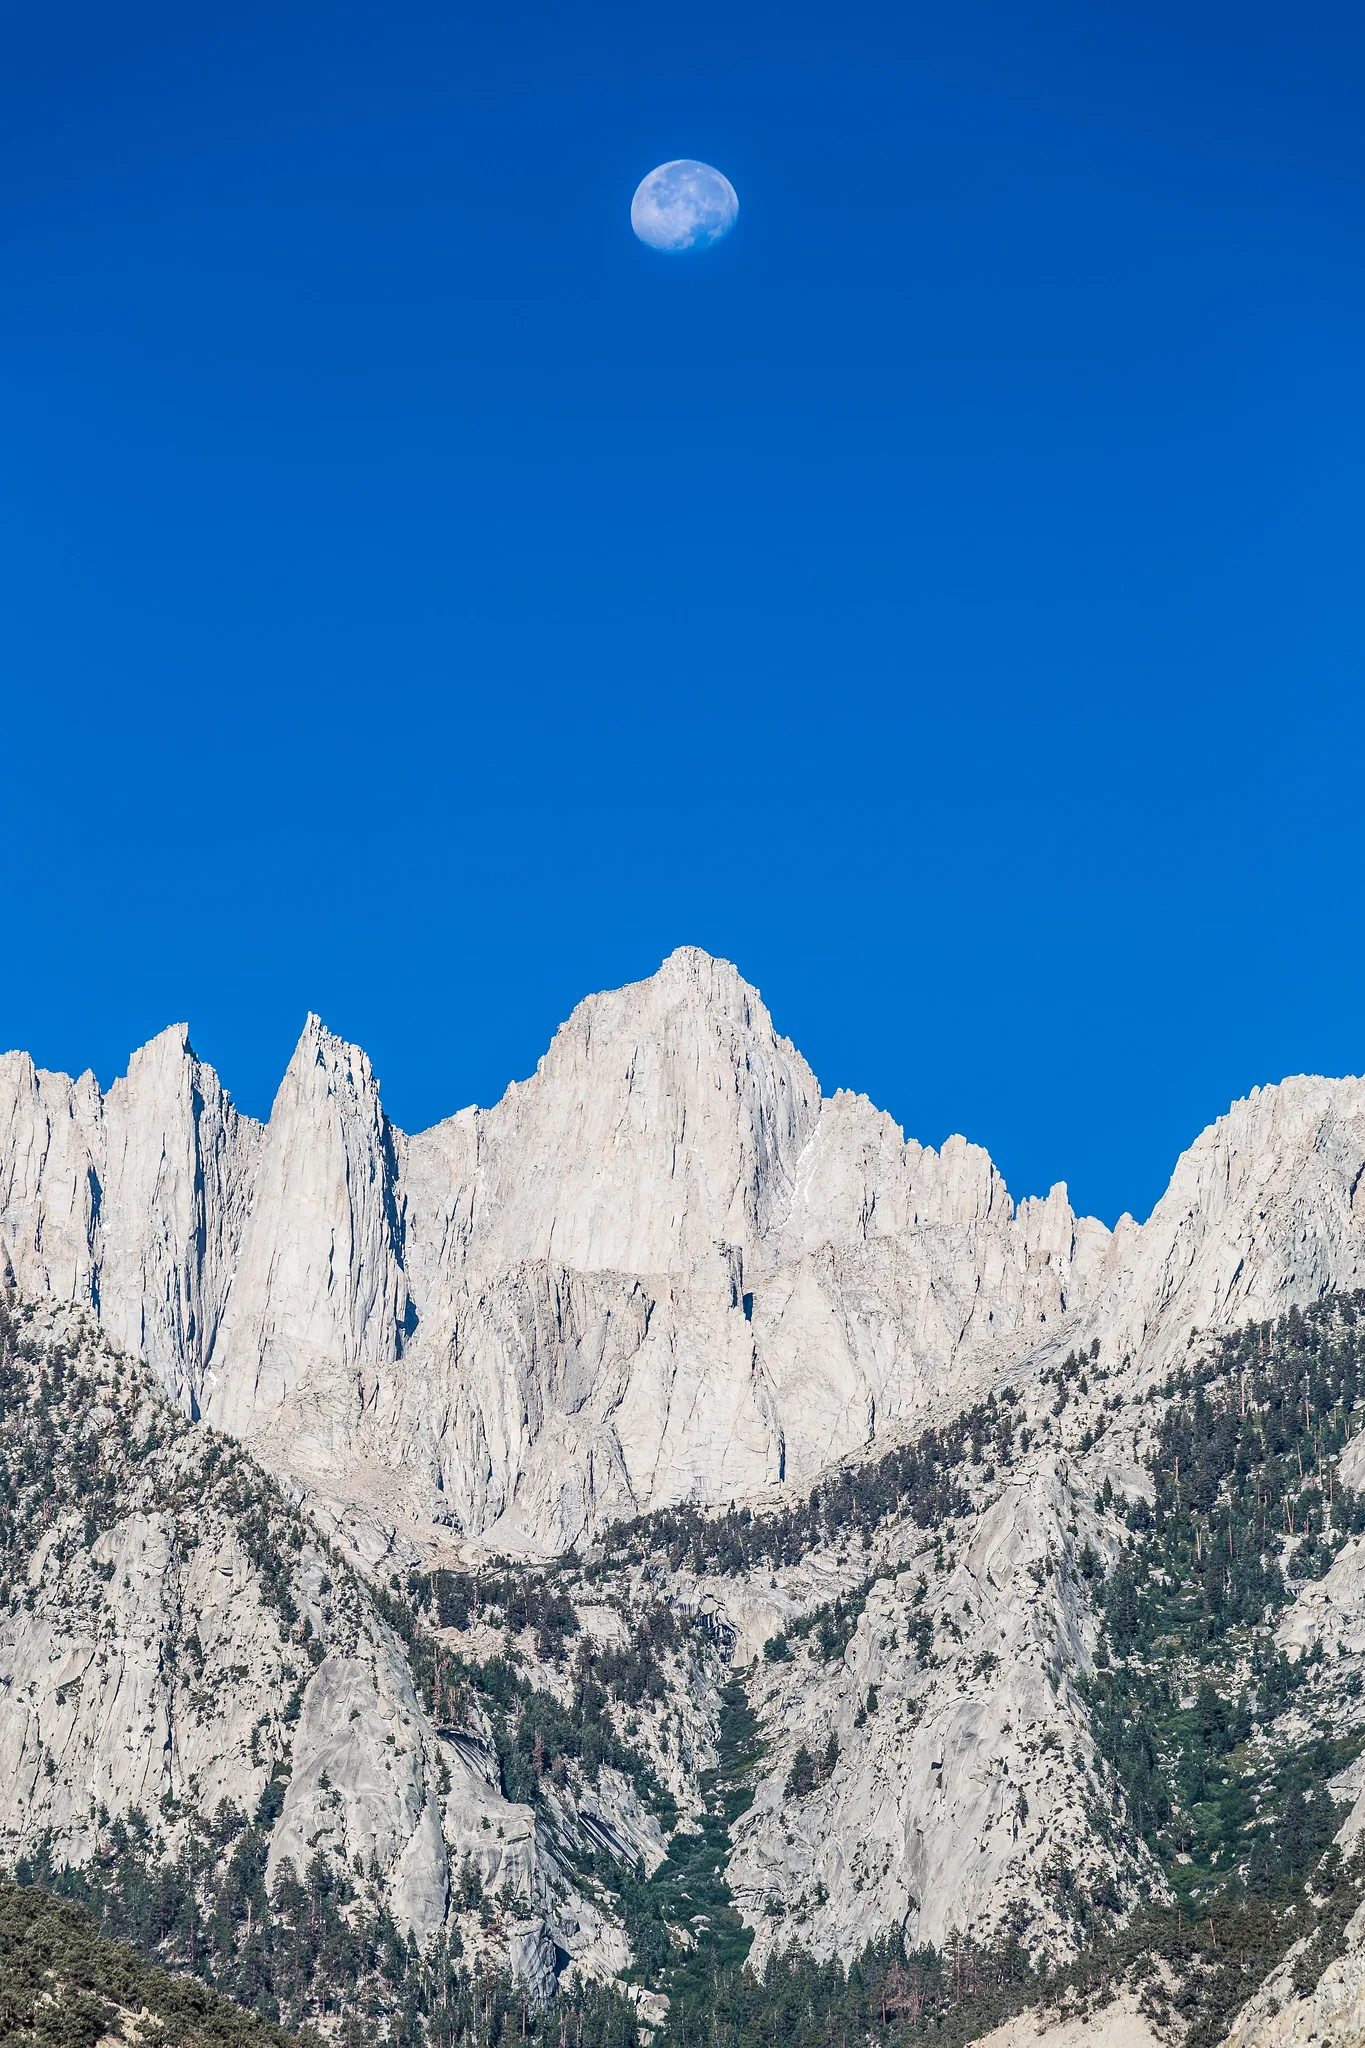
Looney 11 applies to a full or nearly full moon high in a clear sky. A moon near the horizon is dimmed by haze and needs a stop or two more, and thinner phases need more again. How to photograph the moon gives the adjustments by phase, and how to photograph a lunar eclipse covers the one night when the moon’s brightness falls by a dozen stops or more.
Using Sunny 16 with film and meterless cameras
The rule suits film well because the ISO is fixed for the whole roll. That turns exposure into a one-control job:
- Set the shutter speed once. Choose the speed nearest to the film’s ISO: 1/125 for ISO 100, 1/250 for ISO 200, 1/500 for ISO 400. Leave it there.
- Read the shadows and set the aperture from the table: f/16, f/11, f/8, f/5.6 or f/4.
- Change the aperture when the light changes. Walk from sun into shade and open four stops. A cloud crosses the sun and you open one or two.
- Trade stops only when you need to, for a faster shutter speed or a different depth of field.
How much error you can get away with depends on the film. Colour and black-and-white negative films tolerate overexposure far better than underexposure, so when you are unsure between two apertures, choose the wider one. Slide film is much less forgiving: an error of half a stop is visible, and overexposed highlights are lost for good. With slide film, treat Sunny 16 as a check on a meter and not as a replacement for one. Film photography covers the stocks, and choosing a first film camera covers bodies with and without meters.
Two practical limits come from the cameras themselves. Many older bodies have a top speed of 1/500 or 1/1000 second, so ISO 400 film in full sun leaves you at f/16 or f/11 with no way to open up. If you want wide apertures in daylight, load ISO 100 film or carry a neutral density filter. And any filter costs light: a polarising filter takes roughly one and a half to two stops, so open the aperture by that amount.
Checking a meter with Sunny 16, and where the rule stops working
Because the rule is independent of any electronics, it makes a quick test for a meter you do not trust, such as the one in a second-hand film camera.
- On a clear day with the sun well up, stand with the sun behind you.
- Fill the meter’s view with a mid-toned, evenly lit subject: a lawn, weathered tarmac, a brick wall or a grey card. Avoid sky, white walls and deep shadow.
- Set the film’s ISO and f/16, and read the suggested shutter speed.
- Compare it with one over the ISO. Within about two thirds of a stop, the meter is fine. If it is off by a consistent stop or more, the cell or battery is probably at fault, and you can either have it serviced or correct for it by changing the ISO setting.
The same comparison works in the field with any camera. If you are in full sun at ISO 100 and the meter suggests f/16 at 1/500, something bright in the frame (snow, water glare, a white building) is pulling the reading down, and the picture will come out too dark unless you override it.
The rule has clear limits:
- Low sun. It assumes the sun is well above the horizon, roughly from two hours after sunrise to two hours before sunset. Earlier and later, open up a stop or more.
- Winter and high latitudes. A low winter sun passes through more atmosphere, and many photographers far from the equator find f/11 a better starting point than f/16.
- Haze, smoke and thin cloud. These remove light without always being obvious. Trust the shadow edges, not the colour of the sky.
- Anything not lit by daylight. Interiors, night scenes and artificial light are outside the rule completely.
- Close-up work. At very close focusing distances the lens passes less light than its marked f-number suggests, so macro subjects need extra exposure.
- Precision. It is a rule of thumb, good to within about a stop when used with care. That is enough for negative film and raw files, and not enough for slide film or for JPEGs you cannot adjust.
Common mistakes
- Changing ISO and forgetting the shutter speed. The shutter speed is tied to the ISO. Fix: every time the ISO changes, reset the base speed to one over the new ISO.
- Counting stops in the wrong direction. Opening the aperture and slowing the shutter both add light, so doing both overexposes. Fix: say it aloud, “wider aperture, faster shutter”.
- Judging the light by the sky instead of the shadows. A bright white overcast sky feels sunny and is two stops darker. Fix: look at the shadow of your own hand on the ground.
- Using f/16 for a backlit subject. The face comes out dark. Fix: open about two stops when the side toward you is in shadow.
- Treating open shade as one fixed value. Fix: start at f/4, and open further under trees, awnings and porches.
- Staying at f/16 because the rule says so. Very small apertures soften the picture slightly through diffraction and force slow shutter speeds. Fix: use an equivalent such as f/8 at 1/500.
- Forgetting a filter. Fix: add the filter’s light loss to the exposure.
Try this
This takes about 15 minutes outdoors with any camera that has manual mode and a meter.
- Set ISO 100 and manual mode. Cover or ignore the meter display.
- Stand in the open, look at the shadows, and choose an aperture from the table. Set the shutter to 1/125 second and take a picture of a front-lit, ordinary subject.
- Walk into open shade and shoot again, opening the aperture by the number of stops the table gives.
- Find a backlit subject and take two frames: one at the table value and one opened two stops.
- Now look at the meter reading for each scene and note how many stops it differs from your guess. Then check the histogram of each picture.
- Repeat on a day with different weather. The aim is to guess within one stop every time, which most people manage after three or four sessions.
Frequently asked questions
What is the Sunny 16 rule in simple terms?
In bright sun, set the aperture to f/16 and the shutter speed to one over the ISO, for example 1/100 second at ISO 100. For weaker light, keep the shutter speed and open the aperture: f/11 hazy, f/8 overcast, f/5.6 heavy overcast, f/4 shade.
Does the Sunny 16 rule work with digital cameras?
Yes. The sun is the same whatever is recording it. On digital cameras it is most useful as a starting point in manual mode and as a check when the meter is misled by a very bright or very dark scene. Confirm with the histogram.
What is the Sunny 16 setting for ISO 400?
f/16 at 1/400 second, or 1/500 on cameras with traditional speeds. Equivalent settings are f/11 at 1/1000 and f/8 at 1/2000. On an overcast day at ISO 400, use f/8 at 1/500.
What is the difference between Sunny 16 and Looney 11?
Sunny 16 is for subjects on Earth in direct sun: f/16 at one over the ISO. Looney 11 is for photographing the full moon: f/11 at one over the ISO, one stop more exposure.
Why are my Sunny 16 photos too dark?
The usual causes are light that is weaker than it looks (haze, thin cloud, low sun or winter light), a subject lit from the side or behind, or a filter on the lens. Open the aperture one stop and compare.
Related guides
- Exposure value (EV): the brightness scale that Sunny 16 is one point on.
- The exposure triangle: how aperture, shutter speed and ISO trade against each other.
- How to shoot in manual mode: putting an estimated exposure into practice.
- Metering modes: how the camera’s own meter reads a scene and why it can be misled.
- Incident light meters: measuring the light falling on the subject directly.
- Film photography: where meterless exposure is still an everyday skill.
- How to photograph the moon: Looney 11 in full, with adjustments for each phase.