To use a tripod properly, extend the thickest leg sections first, spread the legs wide on firm ground, keep the centre column down, tighten every lock, and then fire the shutter without touching the camera, using the self-timer or a remote. A tripod only removes blur if the whole chain, from the ground to the sensor, stays still during the exposure. Most “blurry on a tripod” photos come from one weak link in that chain: a raised centre column, a thin bottom leg section, wind, soft ground, a finger on the button, or a stabilisation setting that should have been changed.
Setting up in the right order
A tripod is a column of joints, and each joint is a place where the camera can flex or sway. Setting up well is about keeping the stiffest parts doing the work. Follow the same order every time and it becomes automatic:
- Pick the spot first. Find your composition handheld, then set the tripod up there. It is much faster than shuffling a fully extended tripod around.
- Extend the top, thickest leg sections first. The upper sections are the widest tubes and flex the least. Only use the thinnest, lowest sections if you still need more height.
- Spread the legs to their normal stop. A wider stance is lower and more stable. On uneven ground, adjust individual legs rather than letting the tripod lean.
- Point one leg toward the subject. That puts a leg under the lens, where the weight sits, and leaves you standing comfortably between the other two instead of tripping over one.
- Press the tripod down so the feet settle into the ground before you mount the camera.
- Mount the camera and check every lock. Leg locks, head locks and the quick release plate. A plate that can twist on the camera base is a common, invisible source of blur.
- Compose, level, lock, then let it settle. Give the setup a few seconds to stop moving after you take your hands away.
If you are still choosing a tripod, the tripod buying guide covers materials, heads and load ratings. This page assumes you already have one and want it to deliver sharp photos.
The centre column problem
The centre column is the adjustable post in the middle of many tripods. It is convenient, and it is also the weakest part of the whole support. When you raise it, the camera is no longer sitting on a wide three-legged base. It is balanced on top of a single thin pole, held only at its bottom. In effect you have put a monopod on top of a tripod, and any vibration or wind makes it sway.
The decision rule is simple: raise the column last, and only when you have run out of leg. If you need the camera at eye level and your tripod is too short without the column, accept the lower viewpoint where you can, or raise the column only a little and use a shutter speed or timer approach that forgives it. Many compositions look better from slightly lower anyway, because foreground detail gains weight in the frame.
Some tripods let you remove the column entirely or swap it for a short stub so the legs can spread flat. That is worth doing for very low shots and for maximum stiffness.
Levelling the legs versus levelling the head
There are two separate things you can level, and mixing them up causes crooked panoramas.
- Levelling the head makes this one frame straight. Use the camera’s built-in electronic level or a bubble level on the head. For a single photo, this is all you need.
- Levelling the base (the top of the legs, below the head) makes the rotation axis vertical. This matters whenever you pan: panoramas, video pans, or re-framing between shots. If the base is tilted, the horizon climbs or falls as you rotate, even if the first frame was perfectly level.
You level the base by adjusting leg lengths, or with a levelling base (a small adjustable bowl or platform between the legs and the head) that lets you level in seconds without touching the legs. If you shoot panoramas often, that accessory saves a lot of frustration.
Hanging weight, and when it helps
Many tripods have a hook at the bottom of the centre column. Hanging your camera bag there lowers the centre of gravity and adds mass, which makes a light tripod much harder to knock over and more resistant to vibration.
There is a catch: a bag swinging freely in the wind is a pendulum, and a pendulum shakes the tripod rather than steadying it. Hang the bag so it just touches the ground, or shorten the strap so it cannot swing. On calm days, hanging weight helps a light tripod most. In strong gusts, a bag resting against the ground helps more than one dangling in the air.
Why your photos are still blurry on a tripod
A tripod stops you from moving the camera. It does not stop the camera from moving itself, and it does not stop the world from moving it. Work through these causes in order. If you have never checked them, one of them is almost certainly the culprit. The sharp photos guide covers focus and lens sharpness; this list is about movement.
- Pressing the shutter button. Looks like: slight doubling or smear, worst at 1/2 to 1/60 second. Fix: two second self-timer or a remote release.
- Stabilisation fighting the tripod. Looks like: random softness or drift, even in calm conditions. Fix: check your manual; turn it off if advised.
- Shutter shock. Looks like: mild softness around 1/15 to 1/200, worse with long lenses. Fix: electronic first curtain or electronic shutter.
- Mirror slap (cameras with mirrors). Looks like: similar softness in the same speed range. Fix: mirror lockup or exposure delay mode.
- Wind. Looks like: blur that varies from frame to frame. Fix: go lower, shield the camera, add weight, wait for lulls.
- Soft or moving ground. Looks like: gradual drift, or doubled lights in long exposures. Fix: push the feet in, find rock, avoid boardwalks and bridges.
- Flapping strap. Looks like: soft frames on breezy days. Fix: remove the strap or wrap it tight.
The button press
Pressing the shutter button pushes the camera down, and the tripod rings for a moment afterward. Use the self-timer set to two seconds, a cable or wireless remote, or the camera’s phone control. Many cameras also offer an exposure delay setting that waits a fraction of a second after the press before opening the shutter.
Image stabilisation on a tripod
Stabilisation is designed to counter handheld movement. On a tripod there is no such movement to correct, and some systems, particularly older lens-based ones, can introduce small corrections of their own that show up as blur. Many newer systems detect a tripod and behave themselves. Because this varies so much, the reliable rule is to read your camera and lens manual and follow what it says. If it is silent or you are not sure, turn stabilisation off for tripod work and compare a few test frames at 100 percent magnification.
Shutter shock and mirror slap
A mechanical shutter has curtains that start and stop very quickly, and that jolt can shake the camera slightly during the exposure. Cameras with a reflex mirror have a second jolt as the mirror flips up. These effects matter most at middle shutter speeds, roughly 1/15 to 1/200 second, and with long lenses that magnify every tremor. At very short speeds the exposure is over before the vibration builds. At very long speeds the vibration lasts only a tiny fraction of the exposure. The fixes are an electronic first curtain shutter, a fully electronic shutter (watch for banding under artificial light and distortion of fast subjects), or mirror lockup on cameras with mirrors.
Wind, ground and straps
Wind is the most common tripod enemy outdoors. Lower the tripod, collapse the thinnest leg sections, stand upwind so your body blocks the gusts, take the lens hood off if it acts as a sail, and shoot several frames so at least one lands in a lull. Soft ground such as mud, sand, snow or a thick lawn lets the legs sink slowly during an exposure, so press them down firmly first. Hard surfaces that carry vibration are just as bad: a boardwalk, a pier or a bridge with traffic will shake your tripod every time someone walks past. And remove or tie down the camera strap. A strap flapping in the breeze taps the camera like a tiny drum.
The camera shake guide has more ways to reduce movement in general, including handheld technique.

Water, sand and snow
Some of the best tripod shots involve putting the legs somewhere they do not want to be.
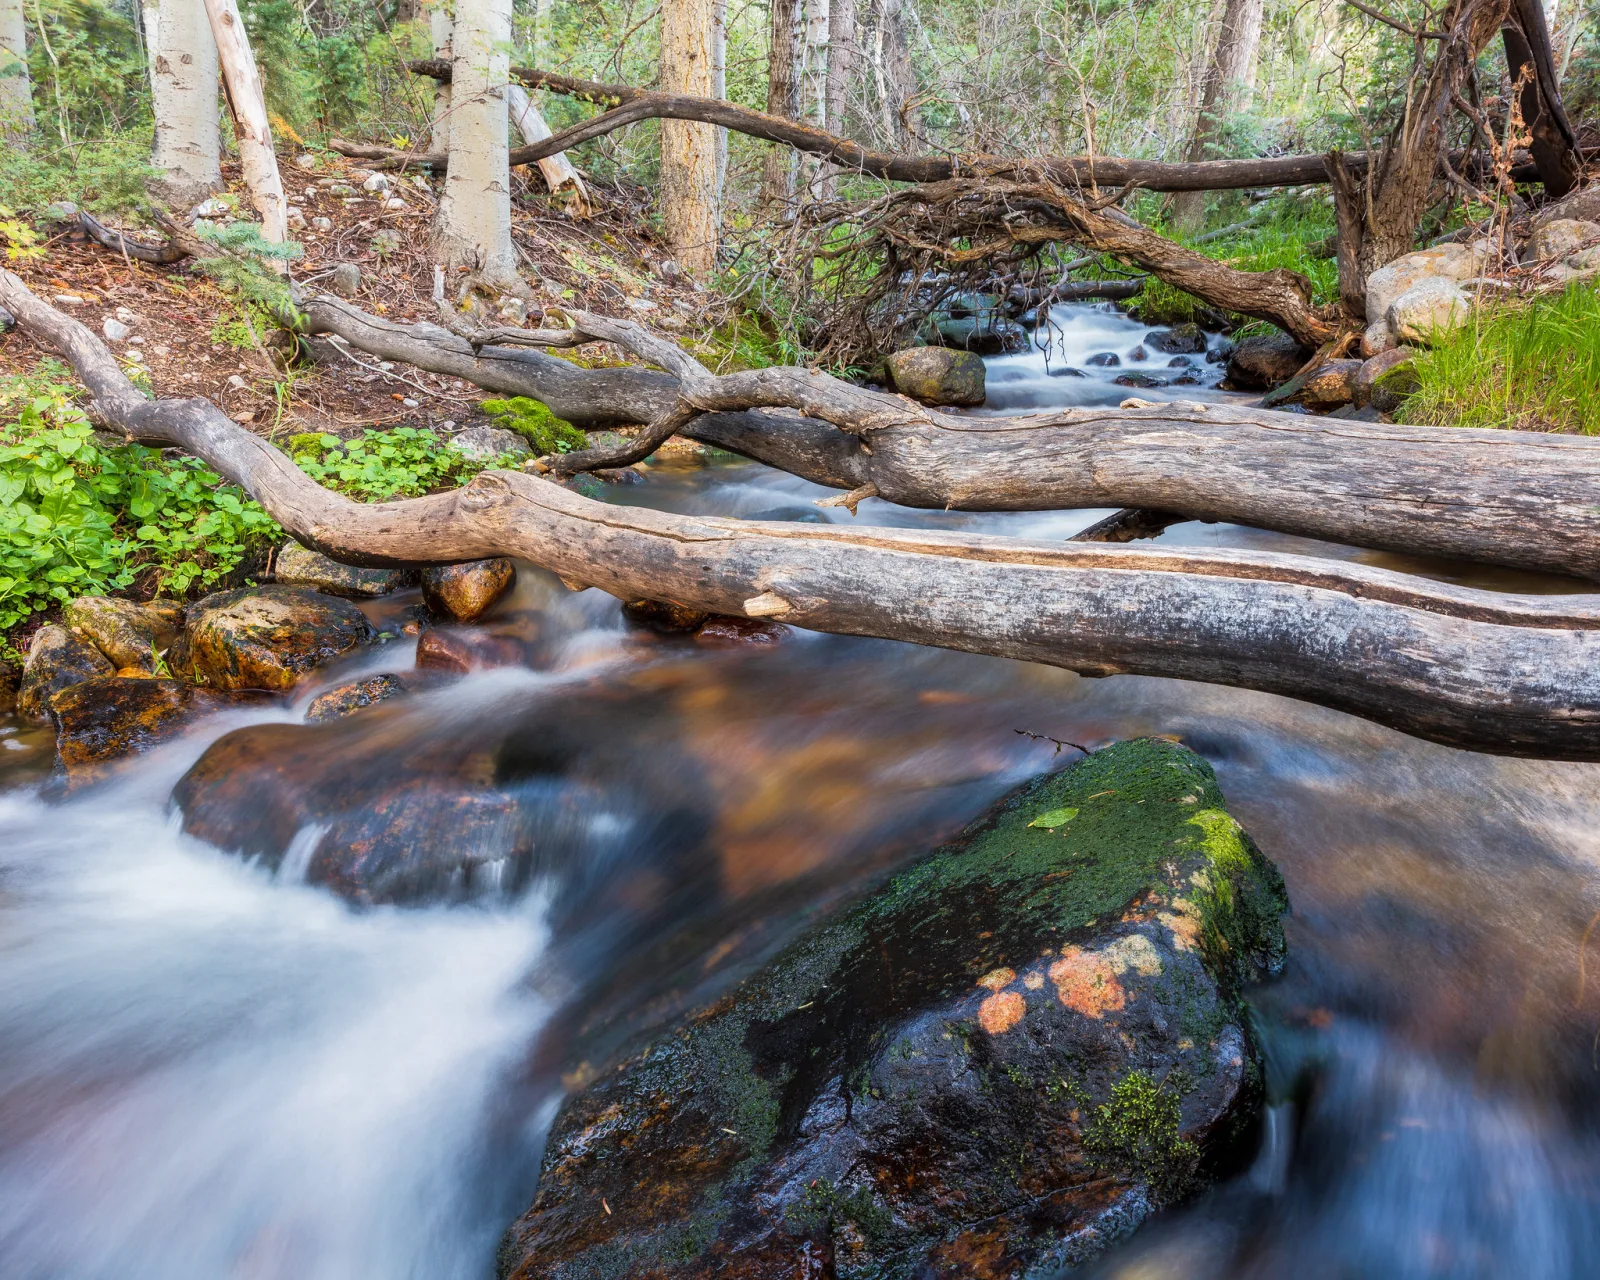
- Moving water. Current pushing against the legs makes them vibrate, which ruins exactly the slow shutter speeds you came for. Plant the feet on solid rocks where you can, keep as little leg in the flow as possible, and avoid submerging the thin bottom sections. Wait for the tripod to settle before each exposure. (The waterfall photography guide covers the settings side.)
- The shoreline. Waves wash sand out from under the feet during the exposure, so the tripod slowly tilts. Push the legs deep, time exposures between waves, and check the level after every shot.
- Salt water. Rinse the legs in fresh water the same day, especially the locks and joints, and let them dry fully extended. Salt left to dry corrodes metal parts and stiffens locks.
- Sand. Do not collapse sandy legs. The grit gets dragged into the locks and grinds the tubes. Rinse or wipe them clean first.
- Snow. Push the legs down until they reach firm packed snow or ground. Wide feet designed for snow help. In deep cold, bare metal legs are painful to carry, so leg wraps or gloves make a difference, and battery life drops, so carry spares somewhere warm.
Tripod etiquette in busy places
A tripod takes up the space of a person and can trip people who are not looking at their feet. Using one considerately keeps you welcome.
- Check the rules. Many museums, churches, historic buildings, busy attractions and some city spaces ban tripods or require a permit. Look before you arrive rather than arguing at the door.
- Keep your footprint small. Use a narrower stance or shorter legs when people need to pass. Keep a leg pointing toward the view, not into the walkway.
- Do not block paths, stairs or doorways, even briefly.
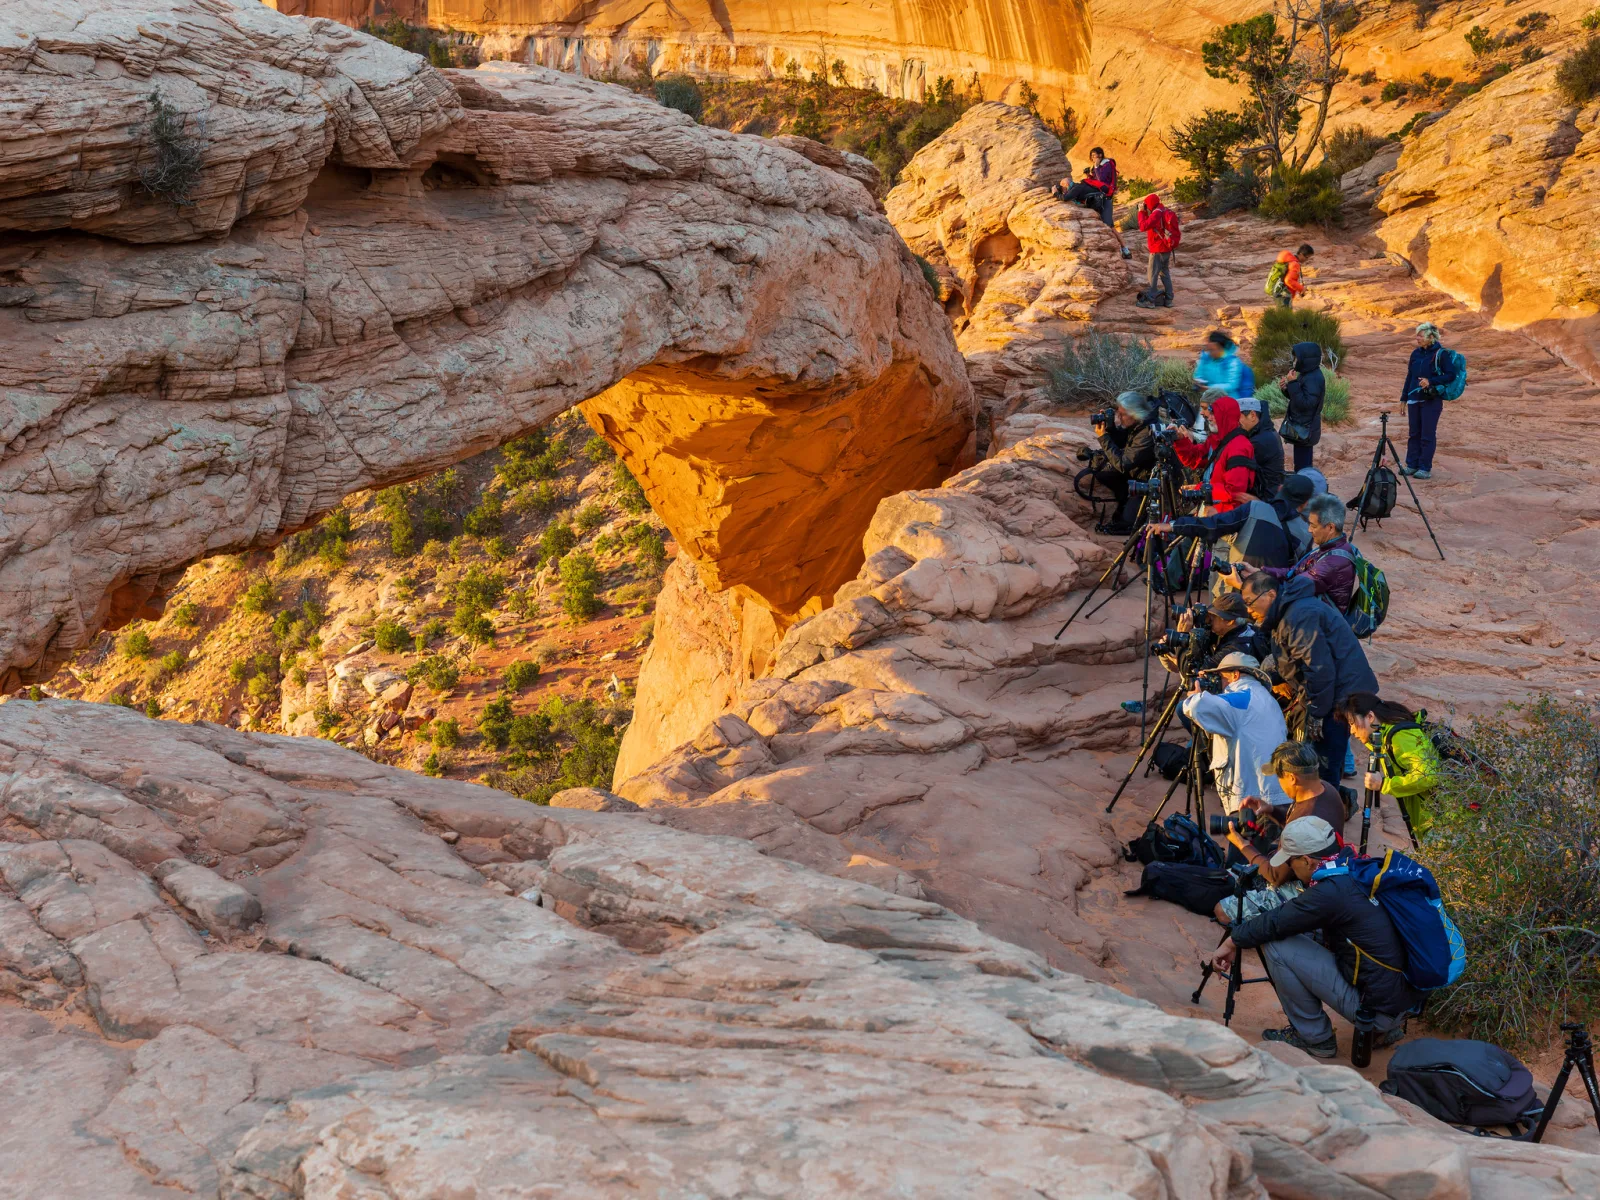
- Share popular spots. At a famous sunrise viewpoint, arrive early, set up tight beside others, take your shots, and make room. Never plant your tripod in front of someone who was there first.
- Do not walk in front of other lenses during long exposures, and do not shine a light into the scene when others are shooting at night.
- Never leave it standing unattended. A tripod with a camera on top is easy to knock over and a tempting target.
Habits for long exposures
Long exposures of several seconds to several minutes are where tripod technique is tested hardest. Build these into a routine:
- Compose and focus before adding any dark filter. Once a strong ND filter is on, autofocus may struggle. Focus, then switch to manual focus so the camera does not refocus when you press the button.
- Switch off stabilisation if your manual advises it for tripod use.
- Cover the optical viewfinder on cameras that have one. Light entering through the eyepiece can reach the sensor during long exposures and leave a haze or streak.
- Use a remote in bulb mode for exposures longer than the camera’s longest timed shutter speed, usually 30 seconds.
- Keep your hands off. Do not touch the tripod, lean on it or adjust the head while the shutter is open. If you bump it, start again.
- Check at 100 percent after the first frame. Look at small bright points such as streetlights or stars. If they are doubled or smeared in the same direction, something moved.
- Understand long exposure noise reduction. If it is on, the camera takes a second, equally long dark exposure after each shot, so a two minute exposure takes four minutes to finish. The LENR guide explains when that is worth it.
Heavy lenses need extra care. If a long lens has a tripod collar, mount the collar rather than the camera body so the weight sits over the tripod, as the guide to using a tripod with a big zoom lens explains.
Common mistakes
- Extending the thin bottom leg sections first. Fix: open the top sections first and use the thinnest only when you need the height.
- Raising the centre column to eye level by habit. Fix: leave it down and shoot from a little lower, or raise it only as a last resort.
- Pressing the shutter by hand. Fix: two second timer or a remote, every time.
- Leaving stabilisation on without checking. Fix: read the manual for your specific camera and lens and test both ways.
- Letting a hanging bag swing. Fix: let it touch the ground or shorten the strap.
- Shooting from a boardwalk or bridge. Fix: move to solid ground, or time exposures when nobody is walking.
- Carrying the tripod with the camera attached over a shoulder. Fix: if you must move it assembled, carry it upright in front of you with the head locked, or take the camera off.
- Packing sandy or salty legs away. Fix: rinse and dry them first, with the sections extended.
Try this
A 20 minute test tells you exactly how steady your setup is and which habits matter most for your gear. Indoors or outside on a calm evening, choose a subject with fine detail and a few small bright points, such as a lit sign or a string of lights.
- Set up your tripod with only the thickest leg sections extended and the centre column down. Use a longer focal length if you have one, since it magnifies movement.
- Set a shutter speed of 1/15 second and take four frames: pressing the button by hand, using the two second timer, then both again with the centre column fully raised.
- Repeat at 1 second.
- If your camera has an electronic first curtain option, repeat the 1/15 second timer shot with it on and off.
- View every frame at 100 percent and compare the bright points. Note which combination gave you doubled or smeared highlights.
You will usually see the worst results at 1/15 second with a raised column and a finger on the button, and the cleanest with the column down and the timer. Now you know, for your own tripod, how much each habit is worth.
Frequently asked questions
Should I turn off image stabilisation on a tripod?
It depends on the system. Some older lens stabilisation can cause blur on a tripod, while many newer systems detect it and adjust. Follow your manual, and if unsure, turn it off and compare test shots.
Why are my tripod photos blurry at 1/30 second but sharp at 10 seconds?
Vibration from the shutter, a mirror or your finger lasts a fraction of a second. At 1/30 that is a large share of the exposure. At 10 seconds it is a tiny share, so it barely shows. Use a timer and electronic first curtain to fix the middle speeds.
Is it bad to raise the centre column?
It is not forbidden, but it makes the setup less stable, especially in wind or with heavy lenses. Extend the legs first and use the column only for the last bit of height you need.
Do I need a remote release?
Not for most shots. The two second self-timer does the same job for free. A remote becomes essential for exposures longer than 30 seconds in bulb mode, and handy when timing a moment, such as a gap between waves.
Related guides
- Best Tripods: choosing legs, heads and materials.
- How to Take Sharp Photos: focus, lens and technique for sharpness.
- Ways to Eliminate Camera Shake: steadiness beyond the tripod.
- Long Exposure Photography: settings, filters and subjects.
- Image Stabilization: how the system works and when it helps.
- Mirror Lockup: removing mirror vibration on cameras with mirrors.
- Night Photography: where tripod skills matter most.