Try It Yourself: Camera Simulator
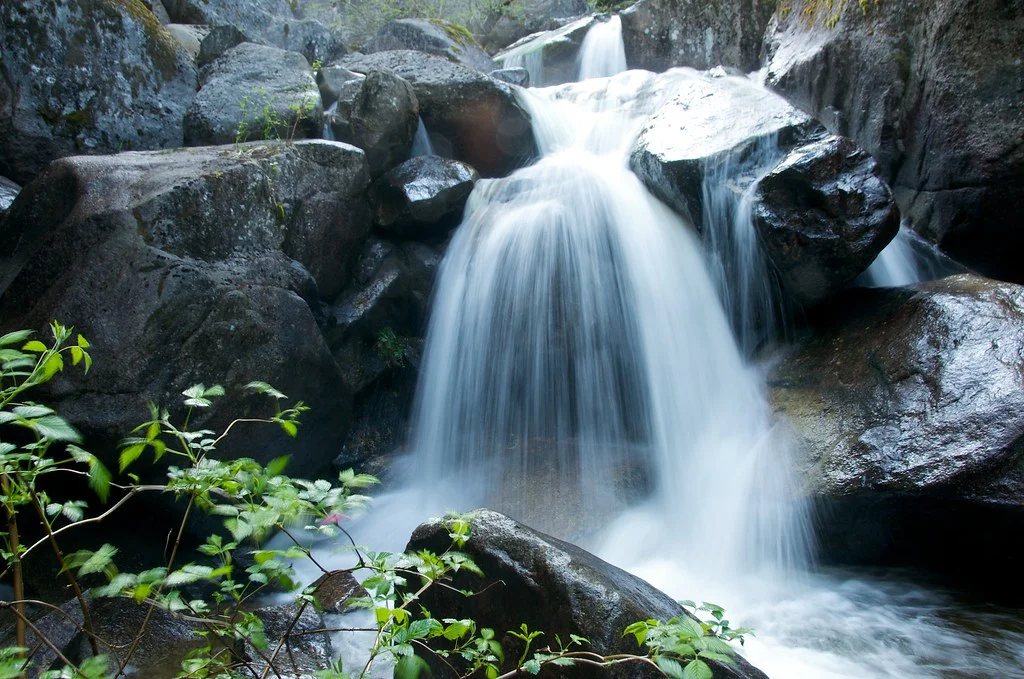
Slow shutter (1/2 sec or slower) creates silky water. Practice balancing aperture and ISO to avoid overexposure.
Why Waterfall Photography Is So Rewarding
Waterfall photography combines the best of landscape photography with creative long-exposure techniques. The silky, ethereal look of blurred water against sharp, static rocks is one of the most visually striking effects in photography, and it is entirely controlled by your camera settings. Whether you prefer the misty, dreamlike quality of a 5-second exposure or the frozen drama of individual water droplets at 1/1000s, this guide covers the exact settings and techniques for both approaches.
Waterfall photography is also wonderfully accessible. You do not need exotic locations or expensive gear. A camera with manual controls, a tripod, and a nearby stream or waterfall is all it takes. The techniques you learn here apply equally to cascading mountain waterfalls, gentle forest streams, ocean waves, and even urban fountains.
The Key Concept: Shutter Speed Controls the Water
The entire look of waterfall photography is determined by one setting: shutter speed. Everything else (aperture, ISO, filters) exists to support the shutter speed you want.
| Shutter Speed | Water Effect | Best For |
|---|---|---|
| 1/1000s or faster | Frozen. Every droplet sharp and suspended. | Dramatic splashes, powerful cascades, ocean waves |
| 1/250s – 1/60s | Slightly blurred. Motion apparent but detail preserved. | Natural-looking movement, rapids |
| 1/15s – 1/2s | Soft blur with visible texture. Individual streams still discernible. | Most waterfalls. The classic “silky but textured” look. |
| 1s – 4s | Smooth and silky. Water becomes flowing white ribbons. | Tall waterfalls, cascading streams, the most popular waterfall look. |
| 5s – 30s | Completely smooth. Water becomes a featureless white or misty veil. | Thin waterfalls, gentle streams, misty effect |
| 30s+ | Ethereal. Water may disappear into fog-like wisps. | Very gentle flows, artistic effect, ocean long exposures |
The sweet spot for most waterfalls is 0.5s to 2s. This range produces the classic silky water effect while retaining enough texture to show the flow and structure of the water. Too short and the water looks frozen; too long and it becomes a featureless white mass with no character.
Complete Settings for Waterfall Photography
| Setting | Value | Why |
|---|---|---|
| Mode | Manual (M) or Shutter Priority (S/Tv) | Direct control over shutter speed is essential |
| Aperture | f/8 – f/16 | Slows exposure while keeping scene sharp |
| Shutter Speed | 0.5s – 2s (adjust to taste) | The “silky but textured” sweet spot |
| ISO | 100 (base ISO) | Lowest possible to allow slower shutter speeds |
| White Balance | Cloudy or Auto (shoot RAW) | Waterfalls are often in shade; Cloudy adds natural warmth |
| Focus | Single Point AF on rocks/foreground | Focus on a static element, not the moving water |
| Filter | ND filter (3-stop to 6-stop) | Reduces light to enable slow shutter speeds in daylight |
| Tripod | Essential | Any exposure longer than about 1/15s requires a tripod |
| Image Stabilization | OFF | Can cause vibration on a tripod |
| File Format | RAW | Maximum recovery of highlight and shadow detail |
How to Achieve Slow Shutter Speeds in Daylight
The challenge with waterfall photography is that you want a slow shutter speed (0.5s to 2s) but you are often shooting in daylight, where there is too much light for such slow speeds. Even at f/16 and ISO 100, a sunny scene might meter at 1/60s, far too fast for silky water. Here is how to solve this.
Neutral Density (ND) Filters
An ND filter is a dark piece of glass that reduces the amount of light entering your lens without affecting color. It is the single most important accessory for waterfall photography. ND filters are measured in “stops” of light reduction:
- 3-stop ND (ND8): Multiplies your exposure time by 8x. A 1/60s reading becomes 1/8s. Good for shaded waterfalls or overcast days.
- 6-stop ND (ND64): Multiplies by 64x. A 1/60s reading becomes about 1 second. The most versatile filter for waterfall photography in most conditions.
- 10-stop ND (ND1000): Multiplies by 1024x. A 1/60s reading becomes about 16 seconds. Best for extreme long exposures or bright sunlight.
Start with a 6-stop ND. It is the most useful single filter for waterfall photography, handling most lighting conditions and producing the 0.5s to 4s range that works for nearly all waterfalls.
Shooting in Shade or Overcast
Waterfalls in shaded canyons, forests, or on overcast days may be dim enough for slow shutter speeds without a filter. At ISO 100 and f/11, a heavily shaded scene might meter at 1/2s to 1s naturally. This is why many waterfall photographers prefer overcast days. The soft, even light also eliminates harsh shadows and hot spots on wet rocks, producing more even exposures.
Time of Day
If you do not have an ND filter, shoot during the “blue hours” (the 30 minutes before sunrise or after sunset) or on heavily overcast days. The reduced light lets you achieve slow shutter speeds at low ISO and moderate apertures. Shooting at midday in direct sunlight without an ND filter makes silky water nearly impossible.
Aperture for Waterfall Photography
In waterfall photography, aperture serves three purposes: controlling depth of field, maximizing sharpness, and helping achieve your target shutter speed.
The f/8 to f/11 Sweet Spot
For the sharpest possible image, shoot at f/8 to f/11 where most lenses perform their best. This aperture range provides enough depth of field to keep both the waterfall and surrounding rocks sharp without introducing diffraction softness.
When to Use f/16
If you need a slower shutter speed and do not have an ND filter (or need even slower speeds with one), stopping down to f/16 adds one more stop of exposure time. At f/16, a small amount of diffraction softening occurs, but it is usually not noticeable except in very large prints. f/22 introduces noticeable softening and should be avoided.
Close Foreground Elements
If your composition includes a close foreground rock or plant, you may need f/11 to f/16 for sufficient depth of field. Use our depth of field calculator or hyperfocal distance calculator to determine the right aperture for your specific scene.
Composition Strategies for Waterfalls
Strong composition transforms a waterfall photo from a simple document into a compelling image. The waterfall itself is just one element in a larger scene.
Include the Entire Flow
Whenever possible, show where the water comes from and where it goes. A composition that includes the top of the falls, the cascade, and the pool below tells a complete story. This often means vertical (portrait) orientation for tall waterfalls and horizontal (landscape) for wide cascades.
Use Rocks and Logs as Foreground
Moss-covered rocks, fallen logs, and autumn leaves at the base of a waterfall add depth and interest. Use leading lines formed by the stream bed to draw the viewer’s eye toward the waterfall. Getting low and including a foreground element creates a more immersive perspective than shooting from standing height.
Simplify the Scene
Busy, cluttered compositions weaken the impact of a waterfall. Look for clean backgrounds, remove (or avoid framing) distracting branches, and use negative space around the waterfall to let it breathe. Sometimes moving one step left or right eliminates a distracting element and transforms the composition.
Try Different Angles
Do not just shoot the waterfall from the viewing platform where everyone else stands. Walk upstream, downstream, or to the side. Get low to shoot up at the falls. If safe, get close to the base for a dramatic low-angle perspective. Each position reveals a different character in the waterfall.
Isolate Sections
Not every waterfall photo needs to show the entire falls. Use a longer focal length to isolate a compelling section: a single cascade, an interesting rock pattern with water flowing over it, or a detail of moss and flowing water. These intimate details often make more interesting photos than wide overview shots.
Dealing with Spray and Moisture
Waterfalls generate spray and mist that can coat your lens front element and ruin images. This is especially problematic for long exposures, where even a single water droplet on the lens creates a large blurred spot.
Protection Strategies
- Lens cloth or microfiber: Keep one in your pocket and wipe the front element immediately before each shot. During long exposures, the lens may accumulate spray during the exposure itself, creating soft spots.
- Lens hood: Reduces spray reaching the front element, especially in light mist.
- UV or clear filter: A sacrificial filter protects the front element. Wiping spray off a filter is less nerve-wracking than wiping your expensive front element.
- Rain cover: A simple plastic camera rain cover keeps the body dry when shooting close to the spray zone.
- Shoot between gusts: Spray from waterfalls often comes in waves, especially in wind. Wait for a lull, wipe the lens, and shoot during the calm.
Working with a Polarizing Filter
A circular polarizer (CPL) is the second most useful filter for waterfall photography after the ND filter. A polarizer reduces reflections from wet rocks and water surfaces, saturates the greens of surrounding foliage, and can slightly reduce the brightness of the sky.
When to Use a Polarizer
- Wet rocks: Without a polarizer, wet rocks glare with bright reflections that distract from the texture and color beneath. A polarizer removes these reflections, revealing rich, saturated rock colors.
- Green foliage: Leaves reflect light, creating a washed-out, pale green appearance. A polarizer removes leaf reflections, deepening the green to a rich, saturated tone.
- Water surface: If you want to see through the water to rocks or fish below, a polarizer removes surface reflections.
Combining ND and Polarizer
You can stack an ND filter on top of a polarizer. The polarizer adds approximately 1 to 2 stops of additional light reduction, which combined with a 6-stop ND gives you 7 to 8 stops of total reduction. When stacking filters, be aware that with ultra-wide lenses (14mm to 20mm), the combined filter thickness may cause vignetting (dark corners). Slim-profile filters help minimize this.
Step-by-Step Waterfall Photography Workflow
Here is the complete process from arrival to final shot:
- Scout the scene. Walk around the waterfall and explore different vantage points before setting up your tripod. Look for the strongest composition.
- Set up the tripod. Place it on stable ground (not in mud that will settle). If shooting on wet rocks, spread the legs wide for stability. Some tripods have spiked feet for slippery surfaces.
- Compose. Frame the shot, checking all four edges and corners for distractions. Lock the tripod head.
- Set base settings. ISO 100, f/11, no filters. Take a test shot to check composition and exposure.
- Focus. Use single-point AF on a static element (a rock near the center of the scene). Check focus with Live View zoom. Switch to manual focus to lock it.
- Add ND filter. Screw on or slide in your ND filter. Note: focus BEFORE adding the ND filter, since the darkened view may prevent accurate autofocus.
- Calculate exposure. If your unfiltered exposure was 1/60s and you added a 6-stop ND, your filtered exposure is approximately 1 second. Adjust aperture or add/remove filter strength to hit your target shutter speed (0.5s to 2s).
- Wipe the front element. Clean any spray or moisture immediately before shooting.
- Shoot with a timer or remote. Use a 2-second self-timer or remote trigger to avoid vibration from pressing the shutter.
- Review and adjust. Check the histogram for exposure. Check the water effect. Adjust shutter speed if the water is too frozen or too smooth for your taste.
- Shoot multiple frames. Water flow varies second to second. Take 5 to 10 frames and choose the one with the most pleasing water pattern.
Common Waterfall Photography Mistakes
1. Over-Smoothing the Water
Very long exposures (10+ seconds) can turn water into a featureless white mass that loses all character. The most appealing waterfall images retain some texture and flow. Start at 0.5s to 1s and increase only if you want more smoothing. Less is often more.
2. Overexposing the Water
White water is the brightest element in the scene. Long exposures can easily blow out the water to pure white with no detail. Check the histogram and watch for highlight clipping in the water areas. Some cameras have a “blinkies” (highlight alert) feature that flashes overexposed areas on the LCD preview.
3. Forgetting to Turn Off Image Stabilization
On a tripod, image stabilization can create micro-vibrations that soften the image. Turn off stabilization (IS/VR/IBIS) whenever the camera is tripod-mounted.
4. Not Shooting in Overcast Light
Direct sunlight on a waterfall creates harsh contrast between the bright water and dark surrounding rocks that exceeds your camera’s dynamic range. Overcast days provide the most even, flattering light for waterfalls. If you must shoot in sun, expose for the highlights (the water) and recover shadows in post.
5. Using f/22 for Slow Shutter Speeds
Some photographers close the aperture to f/22 to achieve slower shutter speeds without an ND filter. This introduces diffraction that softens the entire image. It is better to invest in even a basic ND filter than to sacrifice image sharpness with extreme apertures.
6. Water Droplets on the Lens
Even one tiny water droplet on the front element creates a visible soft spot during a long exposure. Always wipe the lens immediately before pressing the shutter. Carry multiple lens cloths because they get wet quickly near waterfalls.
Frequently Asked Questions
What ND filter should I buy first for waterfalls?
A 6-stop ND filter is the most versatile first choice. It handles most waterfall situations, from bright overcast to moderate shade. If you find yourself frequently shooting in bright sunlight, add a 10-stop ND as your second filter. Variable ND filters (adjustable 2 to 8 stops) offer convenience but can cause uneven results at their extreme settings, especially with wide-angle lenses.
Can I photograph waterfalls without a tripod?
For frozen water (fast shutter speed), yes. For silky water (slow shutter speed), no. Any exposure longer than about 1/15s will show camera shake from handheld shooting. If you do not have a tripod, brace the camera on a rock, backpack, or tree trunk and use the self-timer. But for consistent, sharp results, a tripod is essential.
What is the best time of day for waterfall photography?
Overcast days at any time are ideal. On sunny days, waterfalls in shaded canyons or forests can be shot all day. If the waterfall receives direct sun, shoot during golden hour (sunrise/sunset) or blue hour for the best light and easiest exposure management. Midday sun on a waterfall creates harsh contrast that is difficult to manage.
Should I include the sky in waterfall compositions?
Often, no. A bright sky above a dark waterfall and forest creates extreme contrast that is hard to expose for. Compose to minimize or eliminate the sky, filling the frame with the waterfall, rocks, and forest instead. If the sky has dramatic clouds, include it but use a graduated ND filter or exposure blend to manage the brightness difference.
How do I photograph waterfalls in autumn with colorful leaves?
Autumn waterfalls are spectacular. Include colorful foliage in your composition. Fallen leaves in the stream bed add pops of color. Use a polarizer to saturate the leaf colors and remove reflections from wet surfaces. Overcast days produce the most saturated autumn colors. A slow shutter speed (1 to 2 seconds) will blur the waterfall while keeping the stationary leaves sharp, creating a beautiful contrast of motion and stillness.
Try This: Practice Exercises
Exercise 1: The Shutter Speed Comparison
Visit any waterfall or flowing stream. Set up your tripod and shoot the exact same composition at 1/500s, 1/15s, 0.5s, 2s, and 8s (use ND filters as needed). Review all five images side by side on your computer. Decide which shutter speed produces the look you find most appealing for this particular water flow. Most photographers discover their preference falls between 0.5s and 2s, but your personal aesthetic may differ.
Exercise 2: Polarizer Impact
Photograph a scene with wet rocks and green foliage near a waterfall. Take one shot without a polarizer and one with the polarizer rotated for maximum effect. Compare the two images. Notice how the polarizer removes glare from wet rocks, saturates green foliage, and may reveal details beneath the water surface. This exercise demonstrates why a polarizer is essential for waterfall photography.
Exercise 3: Composition Exploration
At a single waterfall, take 10 distinctly different compositions: wide establishing shot, vertical tight crop, horizontal detail of one cascade, low angle looking up, elevated angle looking down, close-up of water hitting rocks, leaves in the stream, the pool at the base, the rocks behind the waterfall, and a creative long exposure. This exercise forces you to explore beyond the obvious angle and often reveals your most compelling image in an unexpected composition.
Related Resources
- Landscape Photography Hub – Complete landscape genre guide
- Landscape Camera Settings – General landscape settings
- Shutter Speed Guide – Understanding long exposure techniques
- Depth of Field Calculator – Preview DOF for your aperture and focal length
- Hyperfocal Distance Calculator – Maximize sharpness in landscape scenes
- Tripod Guide – Stability for long exposures
- Composition Guide – Strengthen your waterfall compositions
- How to Photograph Sunsets – Golden hour techniques for landscape scenes
- RAW vs JPEG – Why RAW matters for high-contrast waterfall scenes