To photograph a sunrise, be set up 45 minutes before the published sunrise time, because the best colour usually comes 10 to 25 minutes before the sun appears. Use a tripod, ISO 100 and f/8 to f/11, focus manually while it is still dark, and expose for the sky. Expect to start with exposures of several seconds and finish at around 1/125 as the light doubles every few minutes.
Exposure, bracketing and composition for a colourful sky are already covered in how to photograph sunsets, and warm low light in golden hour photography. This guide covers what is different in the morning: the sequence runs backwards, you set up and focus in the dark, the air and water behave differently, and the place is empty.
Sunrise versus sunset: what is different
The geometry is the same at both ends of the day. The sun crosses the horizon at the same shallow angle and its light passes through the same thickness of atmosphere. The differences come from what the night has done to the air and the ground, and from the order in which things happen.
| Sunrise | Sunset | |
|---|---|---|
| Order of events | Dark, blue twilight, colour, then sun. The peak comes before you can see well. | Sun, colour, blue twilight, then dark. You can watch it build. |
| Exposure trend | Shutter speeds get shorter every minute | Shutter speeds get longer every minute |
| Air | Coolest of the day, often still and clear after the night has let dust settle | Warmer and often hazier after a day of wind, traffic and rising warm air |
| Water and moisture | Often flat calm water, with mist, dew or frost | More often ruffled by the day’s breeze, and dry |
| People | Few, even at famous places | Many |
| Direction | Sun in the east: lights east-facing coasts, cliffs and buildings | Sun in the west: lights west-facing ones |
Two practical consequences follow. A sunset forgives lateness and a sunrise does not: ten minutes late in the morning and you may have missed the best. And sunrise is the time for subjects that depend on still, damp, cold air, which are gone an hour or so after dawn.
The pre-dawn timeline: from first light to full sun
The sky starts to change long before sunrise. Twilight is divided by how far the sun is below the horizon: astronomical twilight (18 to 12 degrees below), nautical twilight (12 to 6 degrees) and civil twilight (6 degrees to the horizon). At middle latitudes civil twilight lasts roughly 25 to 40 minutes, longer in summer and longer the farther you are from the equator. Near the equator it is over in little more than 20 minutes. The golden hour calculator gives the times for your location.
| Time (mid latitudes) | What you see | What to do | Rough shutter at f/8, ISO 100 |
|---|---|---|---|
| 60 to 40 minutes before sunrise | Stars fading, a faint glow low in the east, land almost black | Arrive, set up, focus, make a test frame | 30 s or longer; raise the ISO |
| 40 to 20 minutes before | Deep blue sky, a band of orange at the horizon, city lights still on | Blue hour frames, silhouettes against the glow | 2 to 30 s |
| 20 to 5 minutes before | Clouds lit pink, red and orange from below if the horizon is clear. Often the peak of colour. | Shoot steadily. Check the histogram every minute. | 1/15 to 2 s |
| Sun on the horizon | A bright disc, strong contrast, long shadows start | Sunstars, silhouettes, bracketed frames | 1/30 to 1/250 |
| Up to 60 minutes after | Warm, low side light. Mist glows and then thins. | Turn around. Shoot what the light is falling on. | 1/125 to 1/500 |
The shutter speeds are starting points for a frame exposed to keep colour in the sky. Cloud, haze and season move them by several stops, so trust the histogram, not the table. What does hold everywhere is the pace: through civil twilight the light roughly doubles every four to five minutes. An exposure that was right five minutes ago is now a stop too bright.
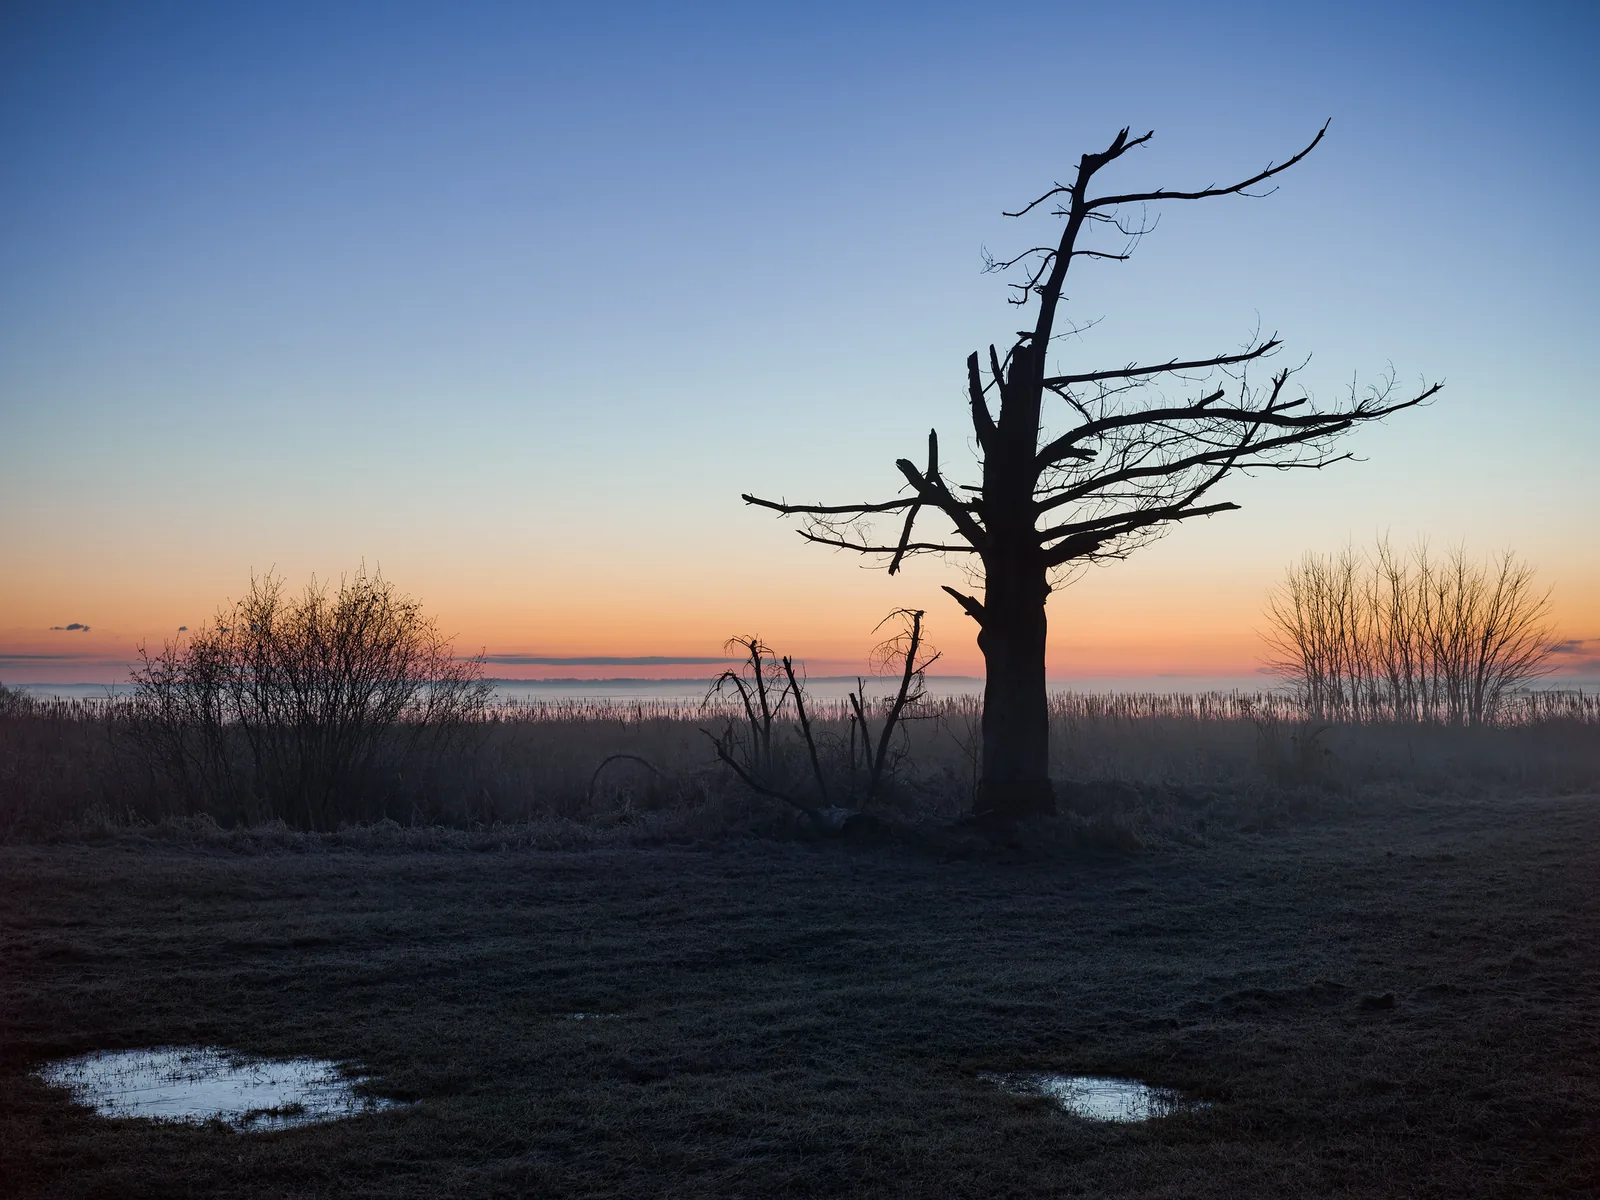
The last minutes before sunrise are when the opposite side of the sky is worth a look too. Low in the west you will often see a dark blue-grey band along the horizon with a pink band above it. The dark band is the shadow of the Earth, and the pink band is sunlight scattered back toward you from the upper air.
Reading the forecast and scouting the day before
Colour at sunrise needs two things: cloud for the light to hit, and a gap for the light to get through. The best mornings have broken high or middle-level cloud overhead and clear air on the eastern horizon, so that the sun lights the clouds from underneath before it rises. A solid sheet of low cloud usually gives a grey dawn with no colour. A completely clear sky gives a clean band of orange at the horizon, little overhead, and excellent direct light on the land a few minutes later. A clear, calm night after a damp day is the signal for mist and frost. Planning around the sun, moon and tides explains how to read cloud forecasts by height.
Then scout in daylight, the afternoon before if you can, because you cannot judge a composition by torchlight. Follow the general method in finding and scouting locations, and add these sunrise-specific checks:
- Where exactly will the sun rise? The sunrise point moves along the horizon through the year. Use an app to find its compass bearing for tomorrow, then stand at your spot and see what lies in that direction: open horizon, a hill that will delay the sun by 20 minutes, or the gap you want it to appear in.
- Choose two compositions. One toward the sunrise for colour and silhouettes, one facing away or sideways for when direct light arrives.
- Walk the route. Time the walk from the car. Look for gates, steps, wet ground, drops and anything else you would not want to meet by torch.
- Check access. Car parks, gates and some parks open at fixed hours that may be later than first light.
Work the alarm time out backwards: sunrise, minus 45 minutes on location, minus the walk, minus the drive, minus 20 minutes to get out of the door. Pack the night before, and set the camera to raw, ISO 100, f/8 and a 2 second self-timer so that it is ready when you take it out of the bag.
Focusing and composing before you can see
Autofocus needs contrast, and 40 minutes before sunrise there is very little. The lens will hunt and may settle anywhere. There are four reliable methods, in rough order of preference:
- Magnified live view on a bright point. Aim at a distant light, a bright star or planet, or the sharp line where land meets the glowing sky. Magnify the view on the rear screen to its maximum, and turn the focus ring until the point is as small as it will go. This sets focus for distant scenery.
- Torch on the foreground. If a rock or fence post a few metres away matters, light it with a torch, autofocus on it, then turn the torch off.
- Focus at a planned distance. For a wide-angle scene with a close foreground, focus at the hyperfocal distance. With a lens around 20mm at f/11 on a full frame camera that is a little over a metre, so focusing on something about a metre and a half away keeps everything from under a metre to the horizon acceptably sharp.
- Set it in daylight. Focus during your scouting visit and mark the ring position with a strip of tape.
Whichever you use, switch the lens to manual focus afterwards so that a half-press of the shutter does not undo it, and recheck at full magnification once there is enough light.
Composing is the other problem: the viewfinder shows almost nothing. Make a test frame instead. Set ISO 6400 or higher, open the aperture fully and expose for 5 to 10 seconds. The result is noisy but bright enough to show the horizon, the edges of the frame and where the foreground sits. Adjust the tripod, repeat until the framing is right, then return to ISO 100 and your working aperture. Use the electronic level, because a horizon you cannot see is easy to tilt. Keep your torch dim and the rear screen turned down, for your own night vision and for anyone photographing beside you.
Camera settings as the light changes minute by minute
The camera goes on a tripod, with stabilisation switched off if your lens or camera recommends that on a tripod, and a self-timer or remote release to avoid touching it. From there:
- Aperture: f/8 to f/11 for sharpness and depth. Go to f/16 only for a sunstar.
- ISO: 100. On a tripod there is no reason for more unless something in the frame is moving.
- Mode: aperture priority is the easy choice here, because the camera shortens the shutter speed for you as the light rises. Set exposure compensation between -1/3 and -1 to hold colour in the brightest part of the sky. Manual mode works well too, but you must shorten the shutter speed by about a third of a stop every minute or two.
- White balance: Daylight. Auto white balance tends to neutralise the blue of twilight and the orange of the horizon, which are the two things you came for.
Once the sun itself is in the frame, the brightness range is beyond a single exposure if you also want detail in the land. Shoot a bracket of three or five frames one to two stops apart and blend them later, as described in exposure bracketing, or use a graduated ND filter where the horizon is straight. When neither is practical, protect the sky and let the land go dark.
If you have to shoot handheld, wait until about 10 minutes before sunrise, open the aperture to f/4 or wider, and raise the ISO until the shutter speed is at least 1 over the focal length. On a phone, brace it against something solid, tap the sky and drag the exposure down until the colour deepens, and let night mode run its full count before moving.
Mist, dew, frost and calm water
During a clear, calm night the ground loses heat and cools the air just above it. By dawn that air is at its coldest and often its stillest. Four subjects come out of this, and each has a short life.
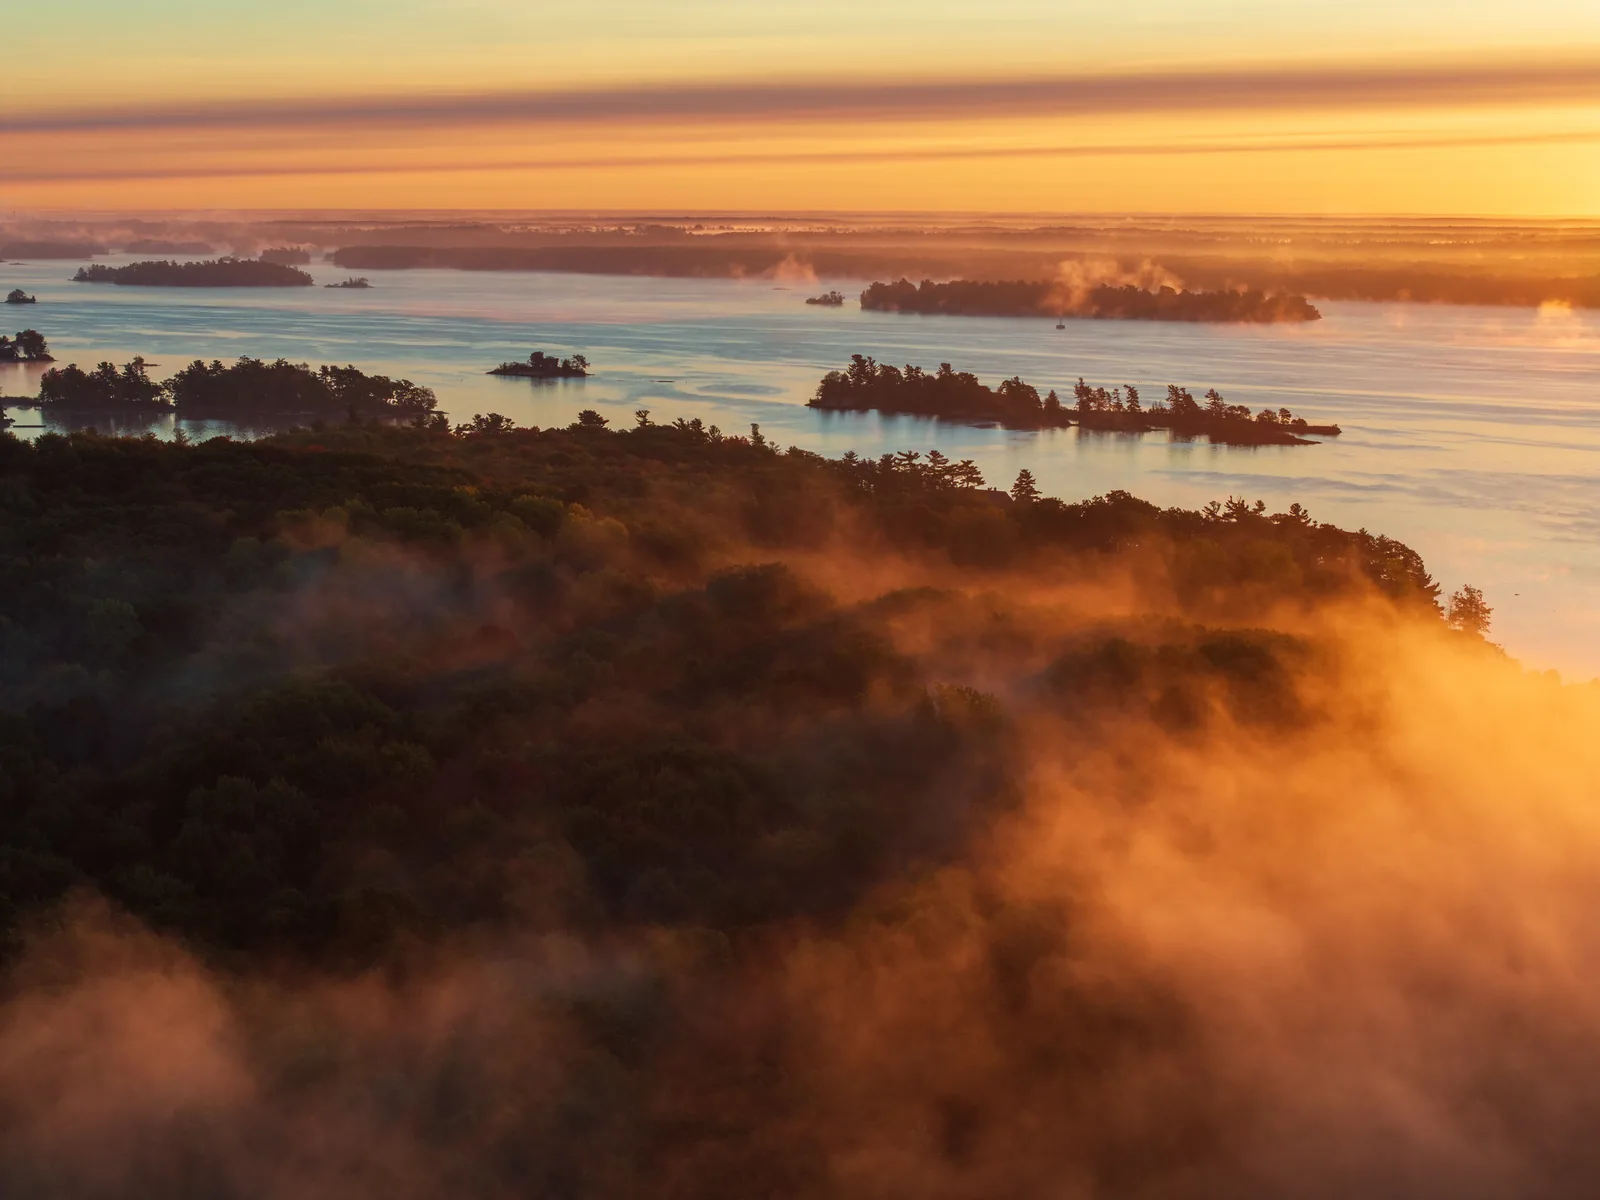
- Mist. It collects over water and in low ground. Before sunrise it is blue-grey and quiet. When the sun reaches it from behind, it turns gold and shows beams and shadows, and within an hour or so it usually thins and lifts. Shoot toward the light for glow, and expose brighter than the meter suggests, up to +1 stop, so the mist stays luminous. Fog and mist photography covers this in depth.
- Dew. Drops on grass, leaves and spider webs sparkle when backlit by a low sun. Get low, shoot toward the sun with a dark background behind the drops, and use a wide aperture so the out-of-focus drops become soft discs.
- Frost. Frost in shade looks cool blue and holds fine detail. Frost touched by the first sun glitters, then melts within minutes. Photograph the shaded version first, and be ready at the line where sunlight is advancing across the ground.
- Calm water. Wind is often lightest around dawn, so lakes and harbours give their cleanest reflections then. Shoot them early: a breeze commonly arrives once the sun starts to warm the land. See reflection photography for composing with a mirror image.
The same damp air settles on your lens. Check the front element every few minutes. A hazy patch in the middle of the frame is nearly always dew on the glass. Keep the lens cap on until you are ready, keep the lens hood fitted, carry two dry microfibre cloths, and do not breathe on the lens or viewfinder.
Shooting toward the sun and away from it
Most people at a sunrise point every frame at the sun. That is one of three pictures available.
Toward the sun you get the colour, and the land becomes shape. Look for clean outlines (a tree, a pier, a ridge, a person) and treat them as in silhouette photography. For a sunstar, set f/16 and catch the sun as it first clears the horizon or as it is half hidden by a rock or trunk. The smaller the visible sliver, the cleaner the star. How to shoot a star-shaped flare has the detail. The rising sun brightens fast: do not look at it through an optical viewfinder with a long lens. Use the rear screen.
Away from the sun the light is front-on, warm and low in contrast. Before sunrise there is the pink and blue pastel sky described above. After it, the first direct light lands on the highest things first (a mountain top, a tower, the crowns of trees) and moves downward as the sun climbs, so for a few minutes a warm, lit subject stands above a cool, shadowed foreground. That contrast of warm and cool needs no bracketing.
Sideways, at right angles to the sun, low light rakes across the ground and picks out every ridge, furrow and ripple. This is the direction for texture in fields, dunes, rock and sand, as explained in direction of light. On an east-facing coast, the same side light works along the shore: see beach photography.
A simple habit covers all three. Every five minutes, take your eye from the camera and turn through a full circle.
Cities and landmarks at dawn
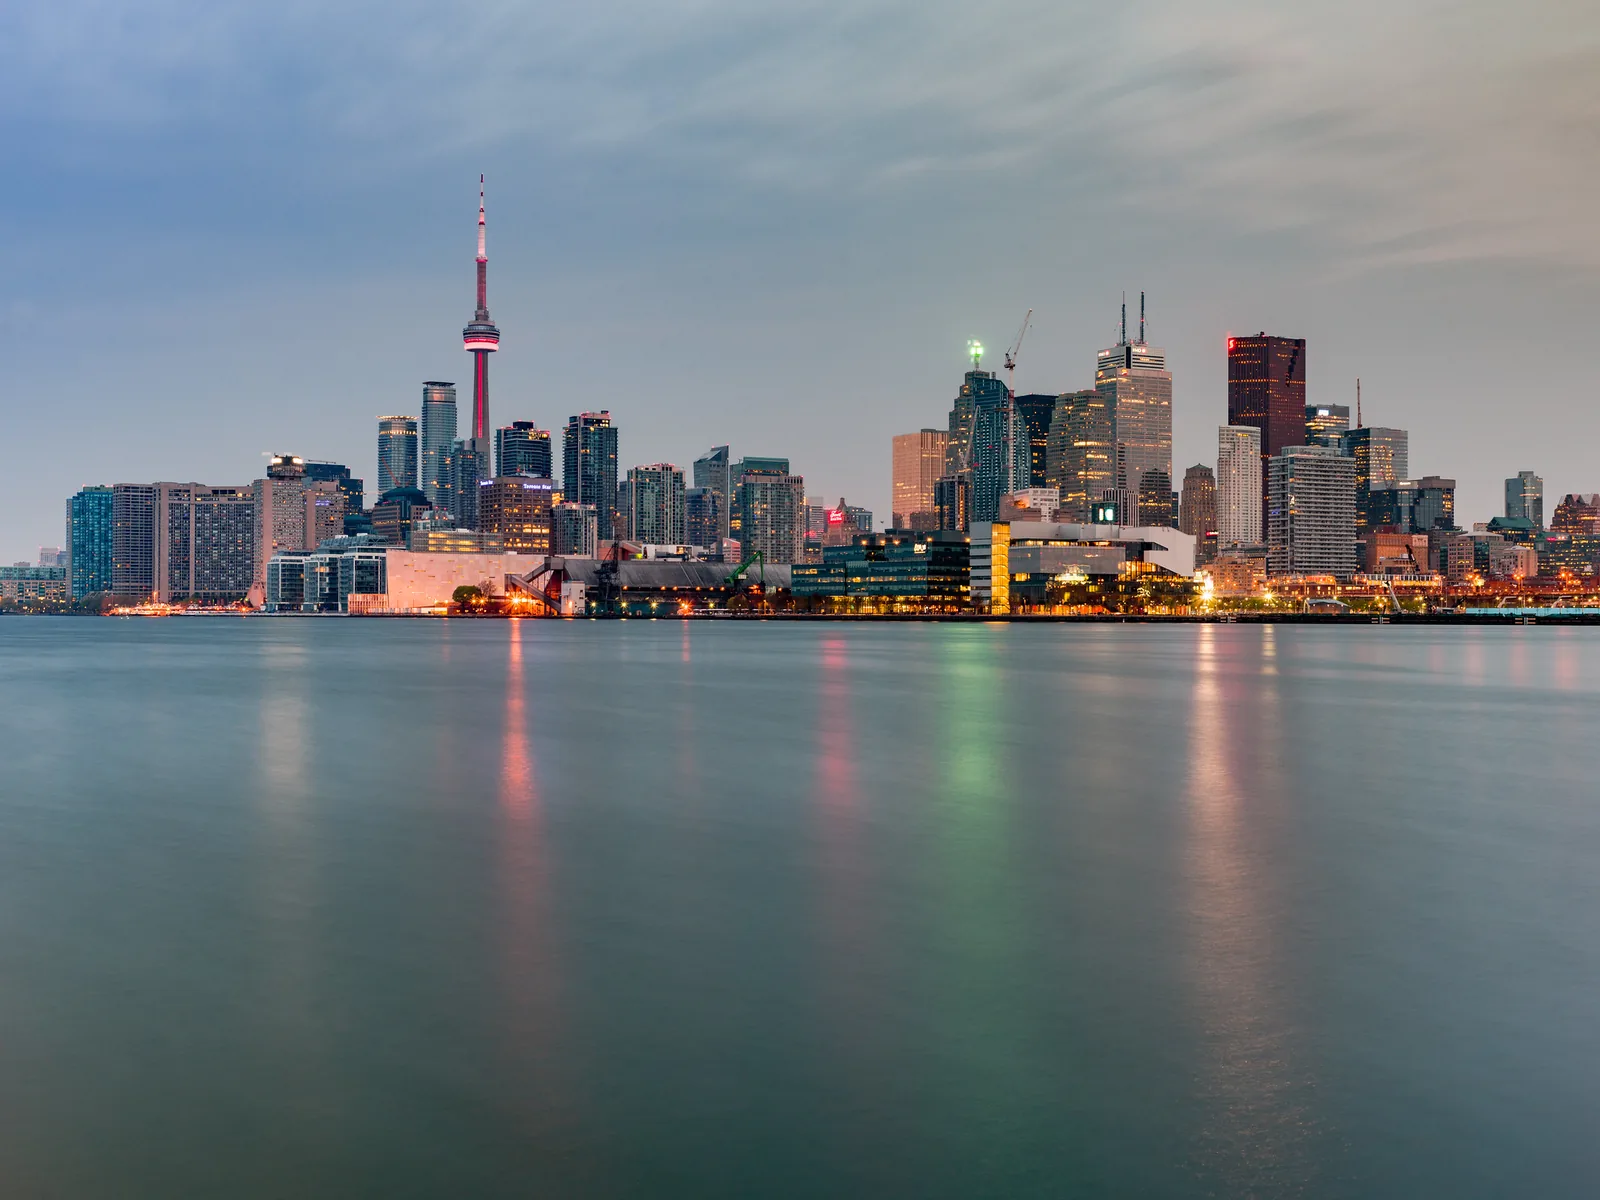
Dawn is the one time when a city is lit and empty at once. In the half hour before sunrise, street lamps, signs and office windows are still on, and the sky is bright enough to show as blue with detail in the clouds. Exposure for the lights and exposure for the sky match for only a few minutes, usually somewhere between 30 and 15 minutes before sunrise. Many street lights are switched by light sensors and go off around sunrise, so the window closes on its own.
- Empty streets and squares. Places that are packed by mid-morning are often deserted at first light, and a long exposure removes the few people who are there. Photographing busy landmarks without the crowds has more methods.
- East-facing facades. Find out which side of a landmark faces east. That side gets the first warm light, and glass towers reflect the dawn sky before the street below is lit.
- Skylines over water. Calm harbour water at dawn reflects building lights as long streaks. An exposure of several seconds or more smooths small ripples.
For skyline viewpoints and settings, see cityscape photography. Blue hour photography covers the twilight balance of lights and sky.
Common mistakes
Arriving at the sunrise time. The published time is when the sun’s edge reaches the horizon, after the best colour. Fix: be set up 45 minutes before, 60 if you have not seen the location in daylight.
Soft pictures from the first half hour. Autofocus hunted in the dark and stopped in the wrong place. Fix: focus with magnified live view on a bright point, switch to manual focus and recheck when it gets lighter.
A pale, colourless sky. The camera exposed for the dark land, or auto white balance cancelled the colour. Fix: use -1/3 to -1 exposure compensation, set Daylight white balance and shoot raw.
A hazy patch in every frame. Dew formed on the front element. Fix: look at the glass, not only the screen, and wipe it with a dry cloth.
Only ever facing east. The colour behind you and the first light on high ground went unphotographed. Fix: turn around every five minutes.
Packing up as the sun clears the horizon. Fix: stay for the next 30 to 60 minutes. Mist, frost and side light are at their best after the sun is up.
Try this
A 20 minute exercise for any morning with a view to the east, even from a window or balcony. Look up the sunrise time and start 25 minutes before it.
- Fix the camera or phone on a tripod or a ledge so the framing cannot change. Set ISO 100, f/8, Daylight white balance and aperture priority with -2/3 compensation.
- Take one frame every two minutes until five minutes after sunrise. Do not move the camera.
- After every third frame, turn around and take one handheld picture of whatever is behind you.
- Afterwards, lay the fixed frames out in order. Note the shutter speed of each, find the frame with the best colour and count how many minutes before sunrise it was taken.
That number is your arrival deadline for the next clear morning.
Frequently asked questions
What time should I arrive to photograph a sunrise?
Be set up and focused 45 minutes before the published sunrise time. The strongest colour usually comes 10 to 25 minutes before the sun appears,. Add 15 minutes if the location is unfamiliar.
What are the best camera settings for sunrise?
On a tripod: ISO 100, f/8 to f/11, Daylight white balance, raw, and aperture priority with -1/3 to -1 stop of compensation. The shutter speed will run from several seconds in twilight to around 1/125 once the sun is up. Bracket exposures when the sun is in the frame.
Is sunrise better than sunset for photography?
Neither has better light as such. Sunrise more often gives mist, frost, dew, calm water and empty locations, and its air is often clearer. Sunset is easier because you set up in daylight. Choose by which way your subject faces.
How do I focus in the dark before sunrise?
Use live view at maximum magnification on a distant light, a bright star or the edge of the horizon, and focus by hand until the point is smallest. For a close foreground, light it with a torch and autofocus on it. Then switch to manual focus so the setting stays put.
Why do my sunrise photos look washed out?
The camera has brightened the frame to show the dark land, which overexposes the sky, and auto white balance may have removed some of the warmth. Reduce exposure by two thirds of a stop to a full stop, set Daylight white balance, and blend bracketed frames if you need detail in the foreground too.
Related guides
- How to photograph sunsets: exposing for the sky, bracketing and composition at the other end of the day.
- Golden hour photography: making the most of the warm hour after the sun is up.
- Blue hour photography: settings and subjects for the twilight before sunrise.
- Planning around the sun, moon and tides: finding where the sun will rise and reading cloud forecasts.
- Fog and mist photography: exposure, focus and composition when the morning is misty.
- Busy landmarks without the crowds: why dawn is the best time at famous places.