Auto ISO lets the camera choose the ISO for each shot, inside limits you set, while you keep control of aperture, shutter speed or both. Two limits do the real work: a minimum shutter speed, below which the camera raises ISO instead of slowing down further, and a maximum ISO that caps the noise you are willing to accept. Set those two well and the camera will hold a sharp, correctly exposed picture as the light changes.
This guide explains the order in which the camera makes its decisions, how to choose both limits, how Auto ISO behaves in aperture priority, shutter priority and manual exposure, what flash does to it, and when it should be switched off. For what ISO itself is and why higher values look noisier, start with understanding ISO; this page is about handing that setting to the camera without losing control of the result.
What Auto ISO does, and in what order
With a fixed ISO, an automatic mode has one setting to adjust when the light changes. In aperture priority, for example, the shutter speed simply gets slower as the light fades, until the pictures blur. Auto ISO gives the camera a second setting to adjust, and a rule for when to use it.
In aperture priority, the usual sequence as the light falls is:
- ISO stays at its lowest value and the shutter speed slows, as it would without Auto ISO.
- The shutter speed reaches your minimum and stops there. From this point the camera raises ISO instead.
- ISO reaches your maximum. The camera has one option left, so it lets the shutter speed fall below the minimum to keep the exposure correct.
Step three surprises people. The minimum shutter speed is a preference, not a guarantee: once the ISO ceiling is reached, most cameras choose a slower shutter over a dark picture. The only warning is the shutter speed readout itself, so keep an eye on it in dim light.
Auto ISO does not mean high ISO. In good light the camera sits at base ISO, and it climbs only when the alternative is blur.
Minimum shutter speed: the setting that matters most
The minimum shutter speed lives in the ISO or exposure section of the menu, usually under the name “minimum shutter speed”. It applies in aperture priority and program modes, where the camera chooses the shutter speed. There are two ways to set it.
A fixed speed
You pick one value, such as 1/250, and the camera uses it whatever lens is attached. Choose it for the subject, not the lens:
- 1/60 to 1/125: still subjects, buildings, posed people
- 1/250: people walking and talking, street scenes
- 1/500: children, pets, casual sport
- 1/1000 or faster: field sports, running animals, birds in flight
A fixed speed is the right choice whenever the subject moves, because no automatic setting knows how fast your subject is.
Automatic, based on focal length
Set to Auto, the minimum follows the lens: roughly one over the focal length, so about 1/50 at 50mm and 1/200 at 200mm, updating as you zoom. This is the reciprocal rule built into the camera, and it protects against one thing only: blur from your own hand movement.
Most cameras let you bias the automatic value faster or slower, usually in whole stops. One step faster turns 1/50 into 1/100; two steps faster makes it 1/200. Use the bias like this:
- Faster by one step on high-resolution cameras, with unsteady hands, or when people are in the frame. The standard value is rarely fast enough to stop a moving person at wide focal lengths: at 24mm it would allow 1/25.
- Slower by one or two steps for static subjects with good image stabilization, which lets you hold slower speeds and keeps the ISO lower.
If your camera has no minimum shutter speed setting at all, it applies a version of the focal length rule without telling you. In that case, use shutter priority or manual exposure when you need a specific fast speed.

The numbers under this photo show the squeeze that long lenses in shade create. The lens is at f/5.6, the ISO is already 3200, and the shutter speed is 1/180, under half the 1/400 that the reciprocal rule suggests for 400mm. With a ceiling of ISO 3200, that is exactly where step three of the sequence takes you: the speed sinks below the minimum. A perched bird and a steady support can survive that. A bird about to take off cannot, and the only fix is a higher ceiling.
Choosing the maximum ISO ceiling
The ceiling is the highest ISO the camera may choose by itself. Set it too high and some frames will be noisier than you like. Set it too low and you get something worse: blurred or underexposed frames. Noise can be reduced afterwards; motion blur cannot be removed.
There is also a technical reason not to be timid. Noise in a photo comes mainly from how little light was captured, not from the ISO number. If you cap the ISO at 1600, shoot a frame two stops too dark and brighten it later, the result is about as noisy as an ISO 6400 frame would have been, and often worse. The low ceiling did not avoid the noise. It only moved the brightening from the camera to your editing software. The page on ISO invariance explains how far this holds for different sensors.
To find your own ceiling, run this test once:
- In a dim room, put the camera on a table or tripod and photograph a scene with fine detail, dark areas and a face or a colored object.
- Use aperture priority and shoot the same frame at every full ISO stop from 800 upward.
- Look at the pictures the way you normally show them: on a phone, on a full screen, or as a print. Do not judge at 100 percent magnification unless you crop that hard.
- Apply your usual noise reduction, then pick the highest ISO you would still be happy to show.
- Set the ceiling there, or one stop above for situations where getting the picture matters more than polish.
Results vary with sensor size and viewing size. Many photographers land somewhere between ISO 3200 and ISO 12,800, with larger sensors and smaller output tolerating more. AI noise reduction shifts the answer upward again. Leave the lower limit of the Auto ISO range at the camera’s base ISO.
Auto ISO in each exposure mode
| Mode | You set | Camera sets | Typical use |
|---|---|---|---|
| Aperture priority | Aperture, minimum shutter speed, ISO ceiling | Shutter speed first, then ISO | Travel, street, events, general use |
| Shutter priority | Shutter speed, ISO ceiling | Aperture and ISO | Panning and other work at one exact speed |
| Manual | Shutter speed, aperture, ISO ceiling | ISO only | Sport, wildlife, anything where motion and depth of field both matter |
| Program | Minimum shutter speed, ISO ceiling | Everything | Snapshots |
Aperture priority
This is the everyday pairing. You choose the aperture for depth of field, and the minimum shutter speed stands guard against blur. In bright light the camera gives you speeds well above the minimum at base ISO, so you always get the cleanest file the light allows. The guide to aperture priority mode covers the mode itself.
Shutter priority
Here the minimum shutter speed setting has no role, because you set the speed directly. The camera generally opens the lens first and then raises ISO, which means the lens ends up wide open in dim light. The details, including the blinking warnings when both run out, are in shutter priority mode.
Manual exposure with Auto ISO
Set the mode dial to M, choose a shutter speed and an aperture, and leave ISO on Auto. The camera now adjusts ISO alone to match the meter.
It has hard edges at both ends. If the scene is too bright for your settings even at base ISO, the picture overexposes. If it is too dark even at the ceiling, it underexposes. Cameras signal this by blinking the ISO value or by moving the pointer on the exposure scale away from zero. In bright sun at 1/2000 and f/2.8, for example, the correct ISO would be below 100, so you would need to stop down or use a faster speed.
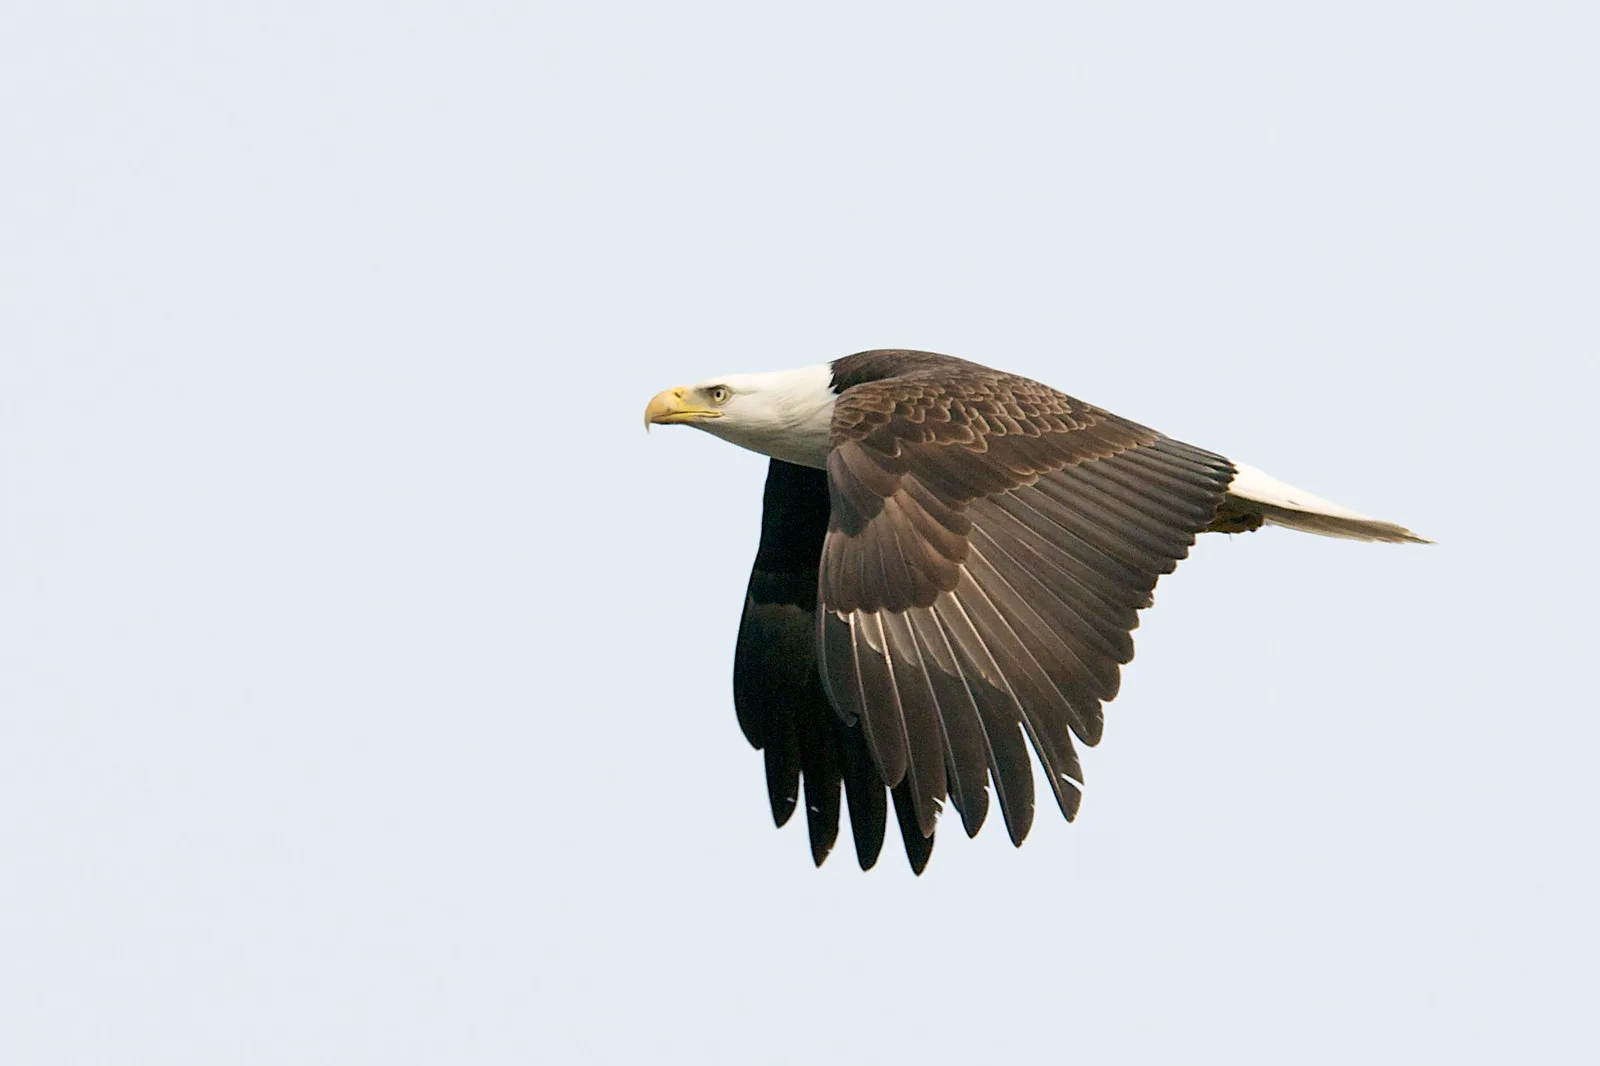
The eagle shows how little ISO a fast speed needs in good light: 1/1600 at f/7.1 came out at ISO 200. Had the bird flown in front of dark trees or into shade, the same speed and aperture would have needed ISO 1600 or more, and Auto ISO would have supplied it without a dial being touched.
Exposure compensation still works
Auto ISO aims for whatever the meter considers correct, and the meter is fooled by the same scenes as always. Exposure compensation remains the way to correct it. In manual exposure with Auto ISO it is the only brightness control you have left, and it works by shifting the ISO: +1 for a bird against a white sky doubles the ISO the camera would have picked. To hold one ISO value across several frames without leaving Auto ISO, use AE lock.
What happens when you add flash
Flash behavior differs more between makers than any other part of Auto ISO. Some cameras hold a fixed moderate ISO, often 400, whenever a flash is active. Some raise the ISO to brighten the background behind the flash-lit subject. Some provide a separate maximum ISO that applies only with flash. With an automatic (TTL) flash, any of these produces a usable picture, because the flash adjusts its power to suit the ISO chosen. Take a test frame, look at the ISO the camera picked, and set it by hand if the background is darker or noisier than you want.
Manual flash and studio strobes are different, and are covered in the next section.
When to turn Auto ISO off
Auto ISO exists to protect shutter speed. When shutter speed needs no protecting, or when every frame must match, it does harm.
- Tripod work. With the camera locked down and a still subject, a long exposure at base ISO gives the cleanest file. Auto ISO would raise the ISO to keep a handheld speed you do not need.
- Studio strobes and manual flash. The camera cannot meter a flash that has not fired. It reads the dim room, raises the ISO to suit, and the flash then overexposes the frame. Set ISO by hand to match the flash power.
- Panoramas. Each frame is metered separately, so ISO, and with it brightness and noise, can differ from frame to frame and show at the joins. Use fixed settings, as described in panorama photography.
- Time-lapse. Small ISO changes between frames show up as flicker in the finished video. Time-lapse photography explains the manual approach.
- The night sky. The meter cannot judge a field of stars, and the exposure is set by the longest time the stars stay sharp, the widest aperture and an ISO chosen to suit. See how to photograph stars.
- Bracketing for HDR. In manual exposure with Auto ISO, many cameras bracket by changing ISO, so the frames differ in noise instead of in shutter time. Fix the ISO before you bracket.
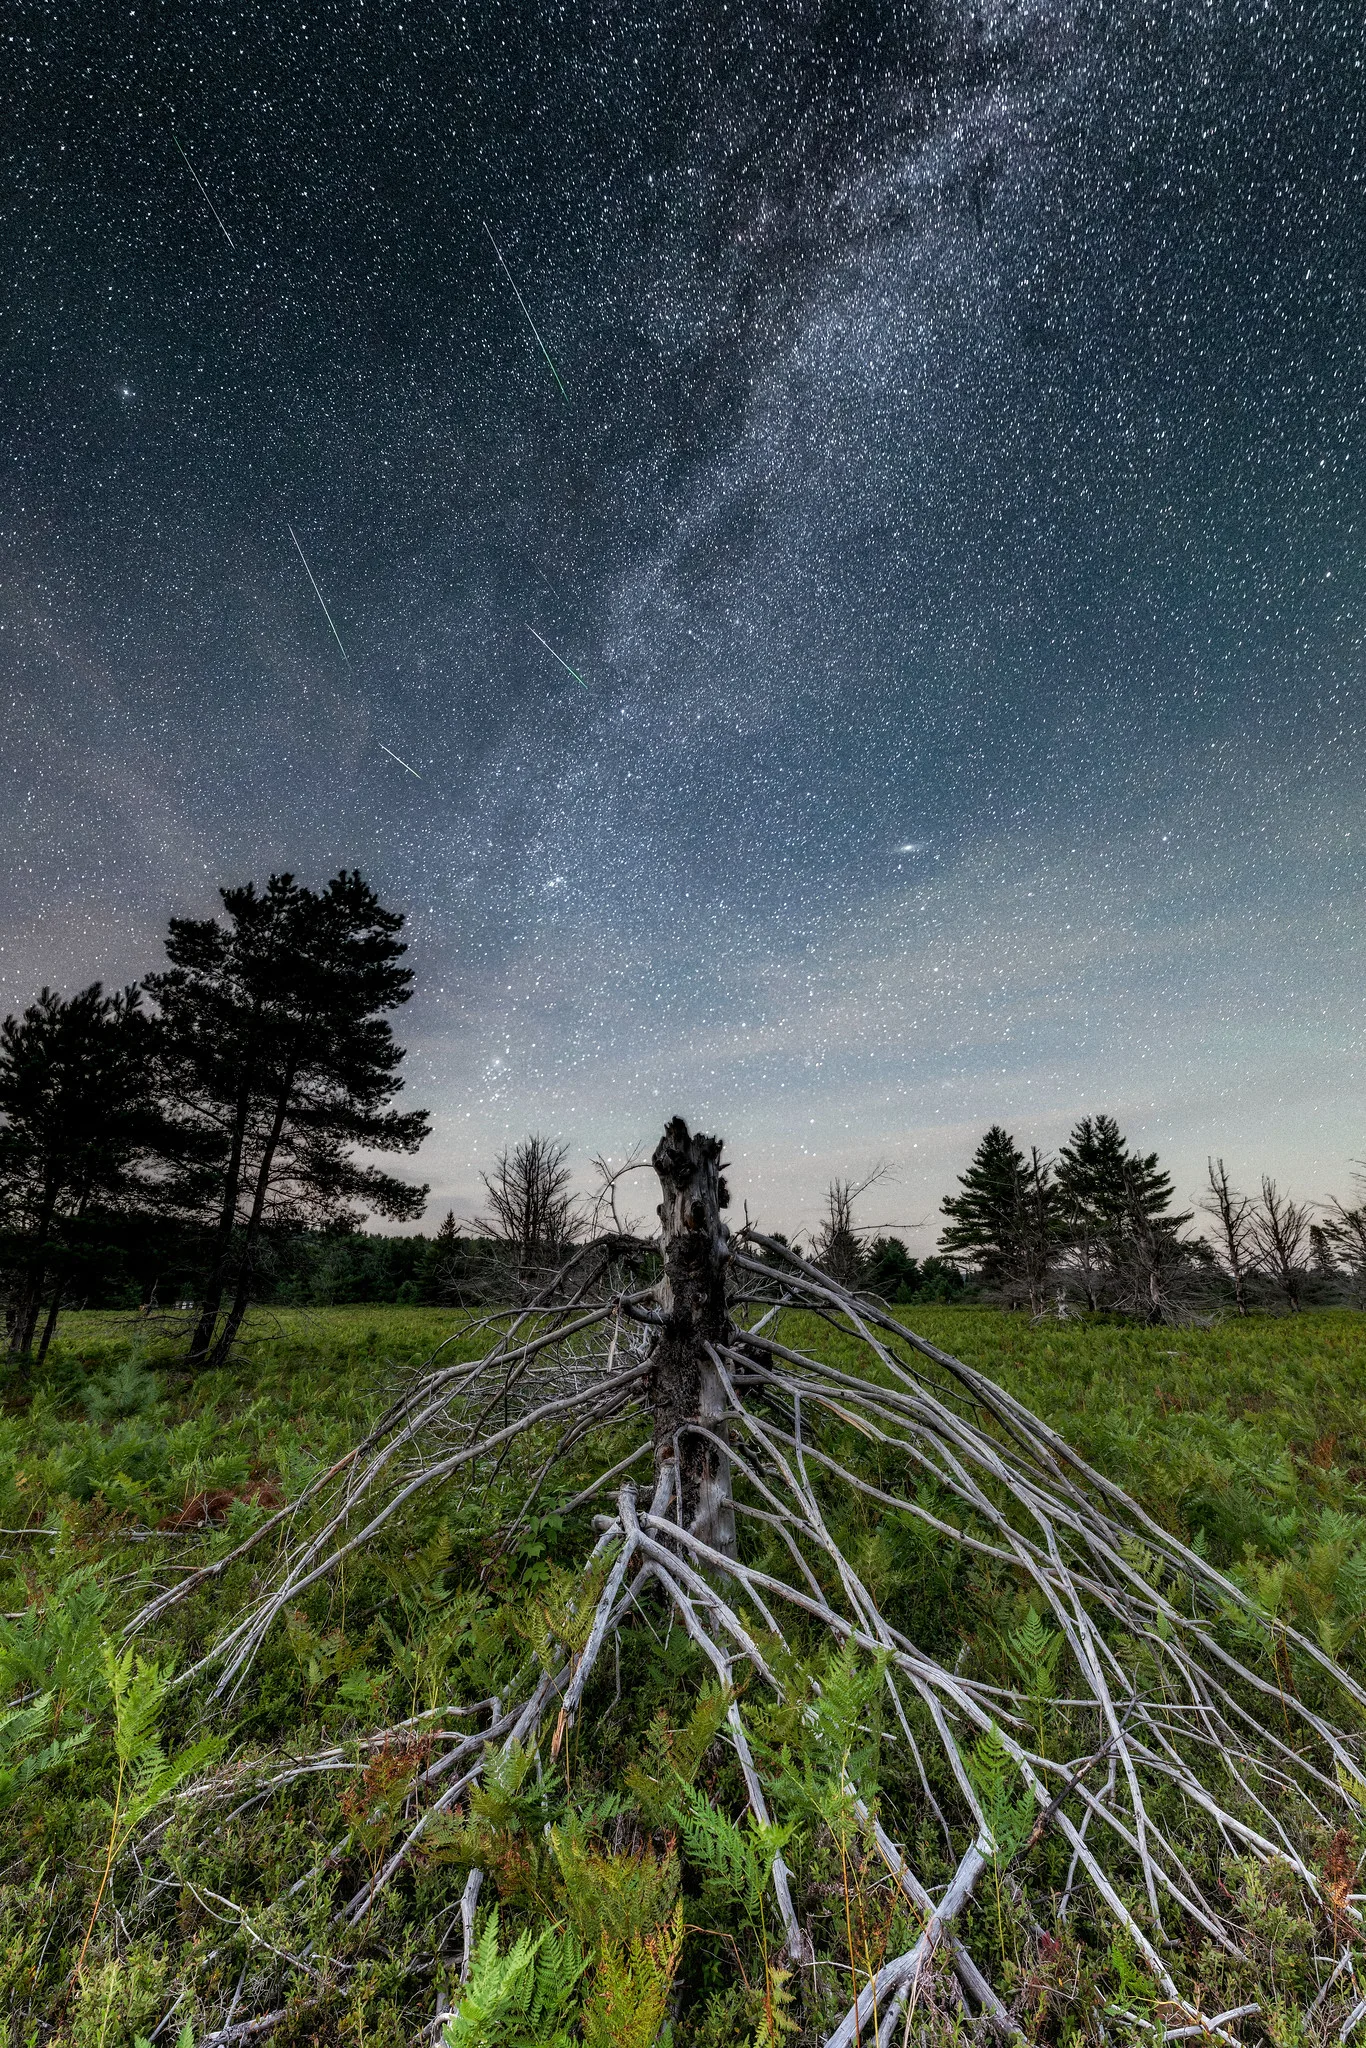
Note that a high ISO and Auto ISO are separate ideas. This sky was shot at ISO 3200, the same value as the hummingbird above, but here it was a deliberate choice: with the exposure time and aperture already set for the stars, ISO was the remaining way to record them brightly.
Starting settings by situation
The ceilings below are examples. Replace them with the value from your own test.
| Situation | Mode | Minimum or set shutter speed | ISO ceiling | Notes |
|---|---|---|---|---|
| Travel and walking around in daylight | Aperture priority, f/5.6 to f/8 | Auto, one step faster | 3200 | Stays at base ISO most of the day |
| Street photography | Aperture priority or manual, f/5.6 to f/8 | 1/250 | 6400 | Covers sun, shade and doorways without a pause |
| Children and pets indoors | Aperture priority, widest aperture | 1/250 to 1/500 | 6400 to 12,800 | Accept noise before blur |
| Indoor events without flash | Aperture priority, f/2 to f/2.8 | 1/125 | 6400 to 12,800 | Raise to 1/250 for dancing |
| Field sports | Manual, widest aperture | 1/1000 | 12,800 | Use compensation for bright or dark backgrounds |
| Birds in flight | Manual, f/5.6 to f/8 | 1/2000 | Your highest acceptable | +2/3 to +1 1/3 against bright sky |
| Concerts and stage | Manual, widest aperture | 1/200 to 1/250 | 6400 to 12,800 | -2/3 to -1 1/3 for a spotlit performer on a dark stage |
| Landscape on a tripod | Aperture priority or manual | Not needed | Auto ISO off, base ISO | Let the exposure time run long |
| Night sky, panoramas, time-lapse, studio flash | Manual | Set by hand | Auto ISO off | Every frame identical |
Genre guides go further for the demanding cases: camera settings for wildlife, camera settings for sports and concert photography settings.
Common mistakes
Leaving the minimum shutter speed on its default with moving subjects. The focal length rule at a wide angle allows speeds like 1/30, and people blur. Fix: set a fixed minimum of 1/250 or faster when anything in the frame moves.
Setting the ceiling too low. A cap of ISO 800 feels safe and produces blurred or dark pictures indoors. Fix: test, then set the ceiling at the highest value you can accept, not the one you would prefer.
Not noticing the speed has fallen below the minimum. Once the ceiling is reached, the camera slows the shutter without complaint. Fix: glance at the shutter speed in dim light. If it has dropped, open the aperture, raise the ceiling or brace the camera.
Leaving it on for tripod work. A landscape at dusk comes out at ISO 3200 and 1/60 when it could have been ISO 100 and half a second. Fix: switch Auto ISO off whenever the camera goes on a tripod.
Using it with studio or manual flash. Frames come out white. Fix: set ISO by hand before the first test shot.
Forgetting it in manual mode. You change the shutter speed to darken the picture and nothing happens, because the ISO rose to cancel it. Fix: look for the Auto ISO indicator; use exposure compensation to change brightness, or switch to a fixed ISO for full manual control.
Try this
You need fifteen minutes and a route that goes from bright to dim: a garden into a hallway, or a street into a shop. Set aperture priority at f/5.6, Auto ISO with a ceiling of 6400, and a fixed minimum shutter speed of 1/250.
- Photograph something outdoors in full light. Note the shutter speed and ISO.
- Move into shade and shoot again. Note which of the two numbers changed.
- Go indoors and repeat in the dimmest spot. Check whether the ISO has reached the ceiling and whether the shutter speed has fallen below 1/250.
- Change the minimum to Auto and repeat the indoor frame at your widest and longest focal lengths. Note the two speeds the camera chose.
- Lower the ceiling to 800 and take the indoor frame once more. Compare its sharpness with the frame from step three.
Frequently asked questions
Is Auto ISO good for beginners?
Yes. It removes the most common cause of blurred beginner photos, a shutter speed that is too slow, and lets you concentrate on one setting at a time. Set a sensible minimum speed and ceiling first so the camera’s choices stay inside limits you chose.
Do professionals use Auto ISO?
Many do, especially for sport, wildlife, events and street work, usually with manual shutter speed and aperture. They switch it off for studio, landscape and other controlled work where every frame should match.
What should I set as the maximum ISO?
The highest value whose noise you can accept at your normal viewing size after noise reduction. Find it with a test at each ISO stop in dim light. Many people end up between ISO 3200 and ISO 12,800.
Why is my camera choosing a high ISO in good light?
Usually the minimum shutter speed is set very fast, the aperture is small, or you are in manual mode with a fast speed and a small aperture. Check those three settings. A dark filter on the lens has the same effect.
Does Auto ISO reduce image quality?
Not in itself. A frame at ISO 1600 looks the same whether you or the camera chose that value. Quality only suffers if the limits let the camera pick a higher ISO than the situation needed, which is what a well-chosen minimum shutter speed prevents.
Related guides
- Understanding ISO: what the setting does and why higher values add noise.
- Exposure compensation: correcting the meter, which Auto ISO still relies on.
- Shutter priority mode: how Auto ISO shares the work with the aperture when you fix the speed.
- How to shoot in manual mode: the full manual method, with and without Auto ISO.
- Camera shake: choosing a minimum speed that really holds the camera steady.
- AE lock: holding one exposure, including the ISO, across several frames.