Try It Yourself: Camera Simulator
Use the simulator to practice finding correct exposure without the safety net of auto modes.
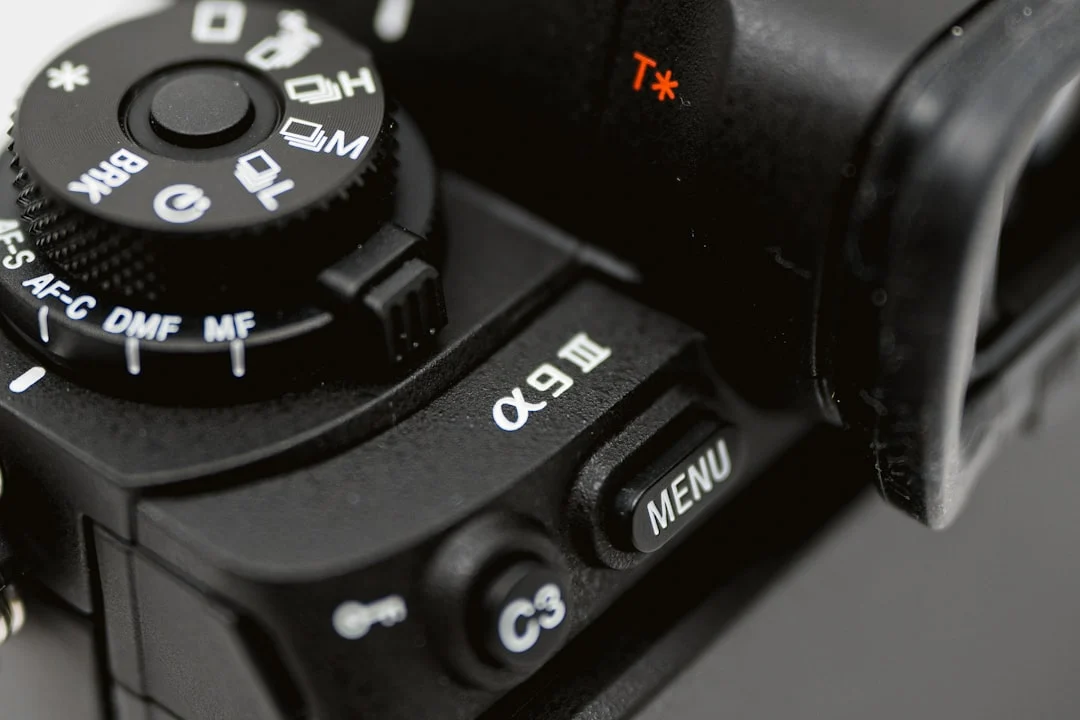
Manual mode is where you take full creative control of your camera. Instead of letting the camera decide how bright, sharp, and focused your image should be, you make every decision yourself. This sounds intimidating, but it is actually simpler than most people think, and the creative payoff is enormous.
Most photographers who learn manual mode wonder why they did not do it sooner. Auto modes do an adequate job in average conditions, but they struggle with challenging lighting, creative effects, and consistent exposures across a series of shots. Once you understand the three variables you are controlling, manual mode becomes intuitive rather than complicated.
This guide walks you through the process step by step. No jargon-heavy theory. Just a clear, practical workflow you can practice today with whatever camera you own. By the end, you will understand how to read your camera’s meter, set your three exposure controls, and evaluate the result using the Camera Histogram.
Why Learn Manual Mode?
There are three compelling reasons to shoot in manual mode, and none of them are “because professionals do it.”
Creative Control
In automatic modes, the camera aims for technically correct exposure. But technically correct and creatively right are not always the same thing. A silhouette is technically “underexposed,” but it can be stunning. A deliberately overexposed high-key portrait is “too bright” by technical standards, but it might be exactly the mood you want. Manual mode lets you expose for the image you envision, not the image the camera thinks you should have.
Consistency
When you shoot on auto in changing conditions (moving between sun and shade, for example), the camera changes its exposure settings for every frame. This produces inconsistent brightness across a series of images, which is a problem for event photography, product shoots, and anything that needs a cohesive look. In manual mode, the settings stay exactly where you put them until you change them, producing consistent exposure from frame to frame.
Understanding
Shooting in manual mode forces you to understand how Aperture, Shutter Speed, and Iso interact. This understanding makes you better at every other mode too. When you know why the camera made a particular choice in aperture priority, you can predict when it will make the wrong choice and compensate proactively. The Exposure Triangle stops being an abstract concept and becomes a tool you wield instinctively.
The Three Pillars of Exposure
Every photograph is made by controlling three variables. Together, they determine how much light reaches the sensor and how the image looks.
Aperture (f-stop)
Aperture is the size of the opening in your lens. It is measured in f-stops: f/1.4, f/2, f/2.8, f/4, f/5.6, f/8, f/11, f/16, f/22. Confusingly, smaller f-numbers mean larger openings (more light), and larger f-numbers mean smaller openings (less light). Think of the f-number as a fraction: f/2 is a bigger opening than f/8, just like 1/2 is bigger than 1/8.
Beyond brightness, aperture controls Depth Of Field. A wide aperture (f/1.8, f/2.8) produces a thin plane of sharpness with a blurry background. A narrow aperture (f/8, f/11, f/16) produces a deep plane of sharpness where more of the scene is in focus. This is one of the most powerful creative tools in photography.
Shutter Speed
Shutter Speed is how long the sensor is exposed to light. It is measured in fractions of a second: 1/1000, 1/500, 1/250, 1/125, 1/60, 1/30, 1/15. Faster shutter speeds (1/1000) let in less light but freeze motion. Slower shutter speeds (1/30) let in more light but allow motion blur.
The minimum handheld shutter speed depends on your Focal Length. The general rule is 1/(focal length). With a 50mm lens, use 1/50s or faster. With a 200mm lens, use 1/200s or faster. Image Stabilization can extend this by 2-5 stops depending on the system.
ISO
Iso controls the sensor’s sensitivity to light. Lower ISO values (100, 200) produce clean images with minimal Noise. Higher ISO values (1600, 3200, 6400) brighten the image but introduce grain/noise. Think of ISO as a last resort brightness adjustment when aperture and shutter speed cannot provide enough light on their own.
Modern camera sensors handle high ISO remarkably well compared to cameras from even five years ago. Do not be afraid to raise ISO when needed. A sharp, slightly noisy photo is always better than a blurry, clean one.
Step-by-Step Manual Mode Workflow
Here is a practical workflow you can use every time you shoot in manual mode. With practice, these steps become second nature and happen in seconds.
Step 1: Set Your ISO
Start by assessing the available light and setting a base ISO.
- Bright sunlight: ISO 100-200
- Open shade or overcast: ISO 400-800
- Indoors with window light: ISO 800-1600
- Indoors with artificial light: ISO 1600-3200
- Dark environments: ISO 3200-6400+
You can always adjust ISO later if you cannot get the right exposure with aperture and shutter speed alone. This starting point simply gets you in the right range.
Step 2: Choose Your Aperture for Depth
Now make a creative decision about depth of field. Ask: do I want a blurry background or a sharp-throughout image?
- Blurry background (portraits, detail shots): f/1.8 to f/4
- Moderate depth (environmental portraits, small groups): f/4 to f/5.6
- Sharp throughout (landscapes, architecture): f/8 to f/11
Avoid going beyond f/16 unless you specifically need extreme depth of field, as Diffraction begins to soften the image.
Step 3: Adjust Shutter Speed for Correct Exposure
With ISO and aperture set, look through the viewfinder or at the rear LCD and find the exposure meter. It looks like a number line with 0 in the middle, negative numbers on one side, and positive on the other. Adjust your shutter speed until the meter reads 0 (or wherever you want it for your creative intent).
The meter at 0 means the camera believes the exposure is “correct” based on its Metering Modes reading. You might disagree. A snow scene should be brighter than “correct” (+1 to +2). A moody dark scene should be darker (-1 to -2). But 0 is a reliable starting point.
Step 4: Check Your Shutter Speed Is Safe
Before shooting, verify that the shutter speed from Step 3 is fast enough to avoid camera shake. If you are holding a 50mm lens and the meter reads 0 at 1/15s, that is too slow for handheld shooting. You have two options: raise your ISO (which lets you use a faster shutter speed) or open your aperture wider (which also lets you use a faster shutter speed, but changes depth of field).
Step 5: Shoot, Check, Adjust
Take the photo. Review it on your LCD screen. Do not trust the image brightness on the screen (it varies with ambient light and screen brightness). Instead, check the Camera Histogram. The histogram shows the distribution of brightness values in your image.
- If the histogram is piled up on the left side, the image is underexposed (too dark). Use a slower shutter speed, wider aperture, or higher ISO.
- If the histogram is piled up on the right side, the image is overexposed (too bright). Use a faster shutter speed, narrower aperture, or lower ISO.
- If the histogram is spread across the range with nothing clipped at either edge, the exposure is well-balanced.
Understanding the Exposure Meter
Your camera’s built-in exposure meter measures the brightness of the scene and tells you whether your current settings will produce an image that is too dark, too bright, or balanced. It uses one of several Metering Modes: evaluative/matrix (measures the whole scene), center-weighted (prioritizes the middle), or spot (measures a tiny area).
The meter assumes every scene should average out to a medium brightness (approximately 18% gray). This works well for most scenes but fails with extremes. A snow-covered field will be underexposed (gray instead of white) and a black cat on a dark sofa will be overexposed (gray instead of black). Learning when to override the meter is part of mastering manual mode.
Exposure Compensation is a tool available in semi-automatic modes (Aperture Priority, Shutter Priority) that shifts the meter’s target. In Manual mode, you achieve the same effect by intentionally setting your exposure above or below the meter’s 0 mark.
When Manual Mode Is Not the Best Choice
Manual mode is not always the right mode. Here are situations where other modes may serve you better:
- Rapidly changing light. Walking in and out of buildings, moving between sun and shade, or shooting under flickering stage lights. Aperture Priority with exposure compensation handles these transitions faster than manual adjustments.
- Fast-paced events. At a wedding, street festival, or sports event where lighting changes constantly and you cannot afford to miss moments while adjusting settings, Aperture Priority or Shutter Priority keeps you shooting.
- When learning composition. If you are focused on learning Photography Composition, using a semi-automatic mode lets you concentrate on framing and timing without the cognitive load of exposure management.
The goal is not to shoot in Manual mode 100% of the time. The goal is to understand Manual mode so thoroughly that you can make informed decisions about when to use it and when to use other modes.
Practice Scenarios
These structured exercises build your manual mode skills progressively.
Scenario 1: Static Subject, Consistent Light
Find a stationary subject in consistent lighting (a potted plant by a window, a cup on a table). Set your camera to Manual mode and follow the five-step workflow above. Take the photo, check the histogram, and adjust. Repeat until the histogram looks balanced. This is the simplest possible manual mode scenario and the best starting point.
Scenario 2: Aperture Exploration
Set up a scene with a clear subject and background. Keep ISO constant. Take the same photo at f/2.8, f/5.6, f/8, and f/16, adjusting shutter speed each time to maintain the same exposure (meter at 0). Compare the depth of field changes across the series. This teaches you to see how aperture affects the image beyond just brightness.
Scenario 3: Moving Subject
Photograph a moving subject (a person walking, a pet playing, water flowing from a faucet). First, freeze the motion with a fast shutter speed (1/500 or faster). Then deliberately blur the motion with a slow shutter speed (1/30 or slower). You will need to adjust ISO and/or aperture to compensate. This teaches the creative possibilities of shutter speed.
Scenario 4: Changing Light Walk
Take a 30-minute walk with your camera in Manual mode. As you move from bright sun to shade and back, practice adjusting your settings quickly. The goal is to keep the exposure correct as conditions change. Start slow. You will get faster with practice.
Common Mistakes
- Checking the LCD image instead of the histogram. The LCD screen’s apparent brightness changes with ambient light and screen brightness settings. The Camera Histogram is always accurate. Learn to trust it.
- Forgetting to adjust when conditions change. In Manual mode, the camera does not adjust for you. If you walk from shade into sunlight without changing settings, your photos will be overexposed. Stay aware of changing light.
- Setting ISO too low out of fear. Raising ISO to 1600 or 3200 is completely acceptable on modern cameras. A sharp photo at ISO 3200 is always better than a blurry photo at ISO 100. Do not sacrifice shutter speed to keep ISO artificially low.
- Treating the meter as absolute truth. The meter provides a starting point, not a final answer. Learn when the meter is wrong (snow, backlighting, very dark subjects) and how to override it.
- Over-thinking every shot. Manual mode should eventually become fast and intuitive. If you are spending 30 seconds adjusting settings for every frame, practice the step-by-step workflow until it becomes automatic.
- Never moving beyond the comfort zone. Some photographers set one set of manual settings and never change them. Challenge yourself with different lighting conditions, moving subjects, and creative effects.
Try This
- Manual mode week. Commit to shooting exclusively in Manual mode for seven days. By day three, you will start to find a rhythm. By day seven, the settings adjustments will feel natural.
- Sunny 16 practice. On a bright sunny day, set your camera to f/16, ISO 100, and 1/100s (or the closest equivalent). This is the classic “Sunny 16” rule and should produce a well-exposed image in direct sunlight. Verify with the histogram.
- Deliberate over/under-exposure. Take three versions of the same photo: one at the meter’s suggestion (0), one deliberately underexposed (-2), and one deliberately overexposed (+2). Evaluate which you prefer and think about why.
- Manual mode for a familiar scene. Photograph a scene you know well (your kitchen, a park, a friend’s face) in Manual mode. The familiarity with the subject lets you focus entirely on the technical process.
- Histogram training. Before you look at the LCD image, try to predict what the histogram will look like based on the scene. Then check. This trains your ability to evaluate exposure by eye.
Frequently Asked Questions
Is Manual mode better than Aperture Priority?
Neither is universally “better.” Manual mode gives you complete control, which is ideal for consistent lighting and creative exposure choices. Aperture Priority is faster and more adaptive, which is ideal for changing conditions. Many professionals use Aperture Priority with Exposure Compensation as their default and switch to Manual for controlled situations.
How long does it take to learn Manual mode?
Most photographers feel comfortable with the basics after a week of daily practice. True fluency (where settings adjustments happen without conscious thought) takes a few months of regular shooting. The key is consistency: shoot a little every day rather than a lot once a month.
What should I do if every photo is too dark/bright?
If every photo is consistently off, your Metering Modes setting might be the issue. Make sure you are using evaluative/matrix metering (which measures the whole scene) rather than spot metering (which measures a tiny area). Spot metering on a bright or dark part of the scene can throw off your exposure dramatically.
Can I use Auto ISO in Manual mode?
Yes, and many photographers do. Auto ISO in Manual mode lets you set aperture and shutter speed while the camera adjusts ISO for correct exposure. This gives you creative control over depth of field and motion while maintaining correct brightness. It is a practical hybrid approach, though purists argue it is not truly “manual.”
What about flash in Manual mode?
In Manual mode with Flash Photography, you control the ambient exposure with your three settings, and the flash power determines how much additional light hits the subject. This separation of ambient and flash exposure is one of the most powerful reasons to use Manual mode for flash work.
Do I need to shoot in Manual mode to be a good photographer?
No. Many excellent photographers primarily use Aperture Priority or Shutter Priority. Understanding Manual mode makes you a better photographer because it deepens your knowledge of exposure, but your shooting mode does not define the quality of your work. The Exposure Triangle is the concept that matters. The mode is just how you apply it.
Continue Learning
Strengthen your exposure knowledge with these related guides:
- Exposure Triangle: The foundational concept behind Manual mode
- Aperture: Deep dive into aperture and depth of field
- Shutter Speed: Master shutter speed for motion control
- Iso: Understand ISO sensitivity and noise management
- Camera Histogram: Learn to read the histogram for accurate exposure evaluation
- Metering Modes: Understand how your camera measures light
- Exposure Compensation: The quick adjustment tool for semi-auto modes
- Parts of a Camera: Understand the controls you are using in Manual mode