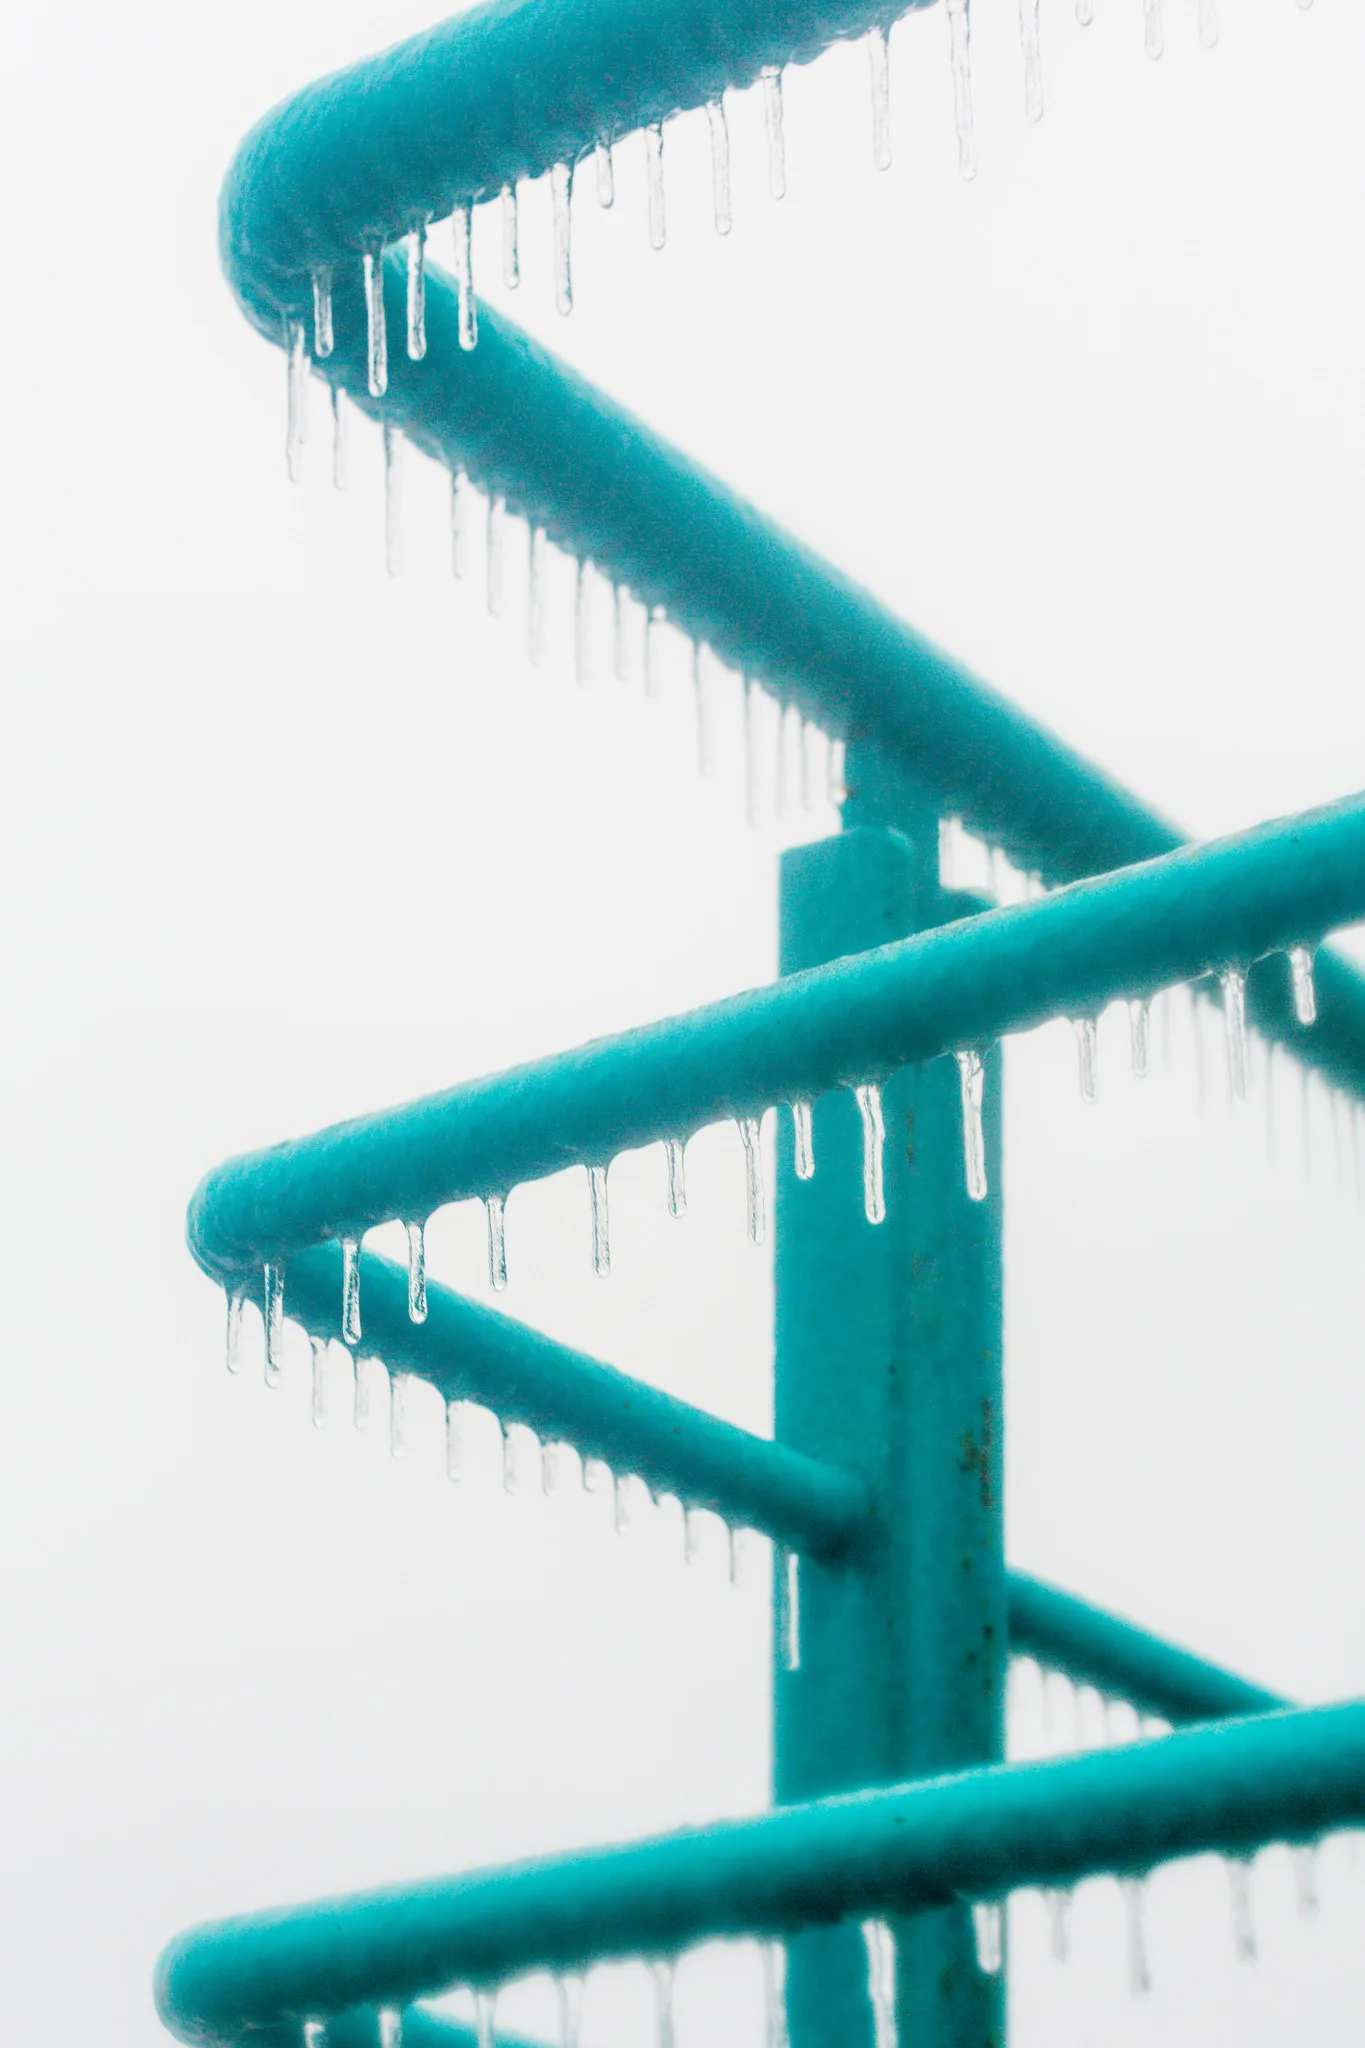
Cold weather builds some of the most delicate and beautiful subjects in nature. Feathery frost on a leaf, rows of icicles on a railing, bubbles frozen in a lake, cracked ice on a puddle and branches lined with snow all appear for a few hours or days and then vanish. Ice and frost photography is about getting up early, looking closely and working quickly before the sun melts your subject. It rewards curiosity, and you can practice it in your own yard.
This beginner guide covers when frost forms, where to look, frost crystals up close, icicles, frozen lakes and bubbles, puddles and cracks, ice on plants and branches, light, exposure, color, staying comfortable and safe, settings, phones, editing, common mistakes and a short exercise. It pairs well with the winter photography guide.
Why ice and frost are special
Frozen water turns ordinary scenes into something magical.
- Fleeting. Frost often melts within an hour of sunrise, which makes every picture feel rare.
- Patterns. Ice crystals grow into feathers, needles, stars and fractals that look designed.
- Light. Clear ice sparkles, glows and bends light in surprising ways.
- Simplicity. A white coat of frost simplifies busy scenes into clean shapes.
- Everywhere. Frost covers lawns, cars, fences and windows as well as wild places.
Because frost and ice change from hour to hour, the same spot can look different every morning. That makes it a perfect subject for repeated practice close to home.
When frost forms
Knowing the conditions for frost helps you be out at the right moment.
- Clear, calm nights. Without clouds, the ground loses heat quickly and frost forms on cold surfaces.
- Damp air. A clear night after a damp or misty day brings the thickest frost.
- Just before dawn. Temperatures are usually lowest around sunrise, so frost is at its best then.
- Freezing fog. Fog that freezes on contact builds thick, spiky rime on branches, fences and grass.
- Hollows. Cold air sinks into valleys and low fields, so frost is often heavier there.
Check the forecast for a clear, cold night with little wind, set an early alarm and be outside as the light rises. The guide to sunrise photography covers planning for first light. Frost on the shady side of trees and buildings lasts longer, so start in the sun and move into shade as the morning warms.
Keep a simple notebook or phone note of frosty mornings. Over a season you will learn which spots near you collect the best frost, which hollows fill with freezing fog and how long the crystals last after sunrise. That knowledge makes every cold morning more productive.
Where to look
- Gardens and lawns. Grass, seed heads, leaves and petals hold frost beautifully.
- Fences and railings. Wood and metal surfaces grow feathery frost and icicles.
- Windows and cars. Frost patterns on glass make fern like designs.
- Ponds and puddles. Thin ice traps bubbles, leaves and cracks.
- Streams and waterfalls. Splashing water freezes into icicles, ice shelves and sculpted forms.
- Lakeshores. Waves spray rocks and trees, building thick coats of ice on cold, windy days.
Walk slowly and look closely. Some of the best frost subjects are tiny, such as a single leaf or a spider web on a fence post.
Window frost
Frost on a window grows into ferns, feathers and swirls that look like drawings. Photograph it from inside a cold room, such as a garage, porch or car, so the glass stays frosted. Shoot straight on to keep the pattern even, and place something dark or colorful outside the window, such as a tree or a painted wall, to make the white crystals stand out. Sunrise light behind the glass can turn the whole pattern gold. Use a small aperture, since frost on glass can sit at slightly different depths.
Frost crystals up close
Macro views reveal the astonishing detail of frost.
- Get close. A macro lens, close up filter or the phone’s macro mode shows individual crystals.
- Edges first. Frost on the edges of leaves and petals stands out against darker centers.
- Mind your breath. Warm breath melts frost instantly, so breathe away from the subject or hold your breath.
- Stay steady. Rest the camera on a beanbag or the ground, and use a short timer.
- Small aperture. Use f/8 to f/11 for enough depth of field across crystals.
Look for frost on colorful leaves in autumn and early winter. Red, orange or green edges rimmed with white crystals make striking pictures. The guide to macro photography covers close up gear and focusing.
Spider webs are another frosty treasure. On cold, damp mornings, webs on fences and shrubs become strings of white beads. Photograph them against a dark background with side or back light, and work slowly, since a touch of breath or wind can shake them. A single frosted web in low sun can be one of the most delicate pictures of the winter.
Icicles
Icicles make natural patterns, sparkle in sunlight and glow against dark backgrounds.
- Rows and patterns. A line of icicles along a roof or railing makes a strong repeating design. See the guide to pattern and repetition.
- Backlight. Light shining through icicles makes them glow. Shoot toward the sun with care.
- Dark backgrounds. Position icicles against shaded walls or trees so they shine.
- Drips. On sunny days, a fast shutter speed freezes falling drips at the tips.
- Color. Bright railings, painted walls or sunset light behind icicles add color.
Never stand directly beneath large icicles, which can fall without warning. Work from the side and keep a safe distance.
Icicles also make lovely abstract close ups. Fill the frame with the tips of several icicles, or focus on one and let the others blur behind it. Look inside a thick icicle in backlight, where trapped bubbles and streaks of light make tiny worlds of their own.
Frozen lakes and bubbles
Frozen water holds a hidden world of shapes and colors.
- Trapped bubbles. Gas rising through some lakes freezes into stacked white discs in clear ice.
- Black ice. Thin, clear ice over dark water looks black and shows cracks and bubbles clearly.
- Pressure ridges. Ice pushing together forms broken, glassy ridges along lakes.
- Leaves in ice. Autumn leaves frozen into a pond make colorful, abstract designs.
- Shoreline ice. Waves freeze into ice coatings on rocks, docks and branches.
Safety comes first. Only walk on ice that is known to be safe and thick enough, and check local guidance. Many of the best views can be found from the shore, a dock or a shallow puddle. A polarizing filter cuts glare on the ice surface and reveals what lies beneath.
Puddles and cracks
Frozen puddles are an easy, safe subject. Thin ice forms swirls, lines and star shaped cracks as it freezes and thaws. Shoot straight down to make a flat, abstract pattern, or tilt slightly so light catches the surface texture. Dark pavement under the ice makes the white patterns stand out. Puddles in a parking lot can be just as beautiful as a wild lake.
Frozen waterfalls and streams
In deep cold, waterfalls and streams build curtains of icicles, frozen spray and shelves of ice around open water. The contrast between moving water and still ice makes wonderful pictures. Try a slow shutter speed of around half a second on a tripod, so flowing water turns soft while the ice stays crisp. Visit frozen falls only on safe, well used paths, wear traction on your boots and stay well away from overhanging ice. The guide to waterfall photography covers flowing water in every season.
Ice on plants and branches
After freezing rain or freezing fog, every twig can be coated in ice.
- Glazed branches. Freezing rain covers branches in clear ice that sparkles in sun.
- Rime. Freezing fog builds white, feathery crystals on the windward side of trees and grasses.
- Berries in ice. Red berries encased in clear ice make jewel like pictures.
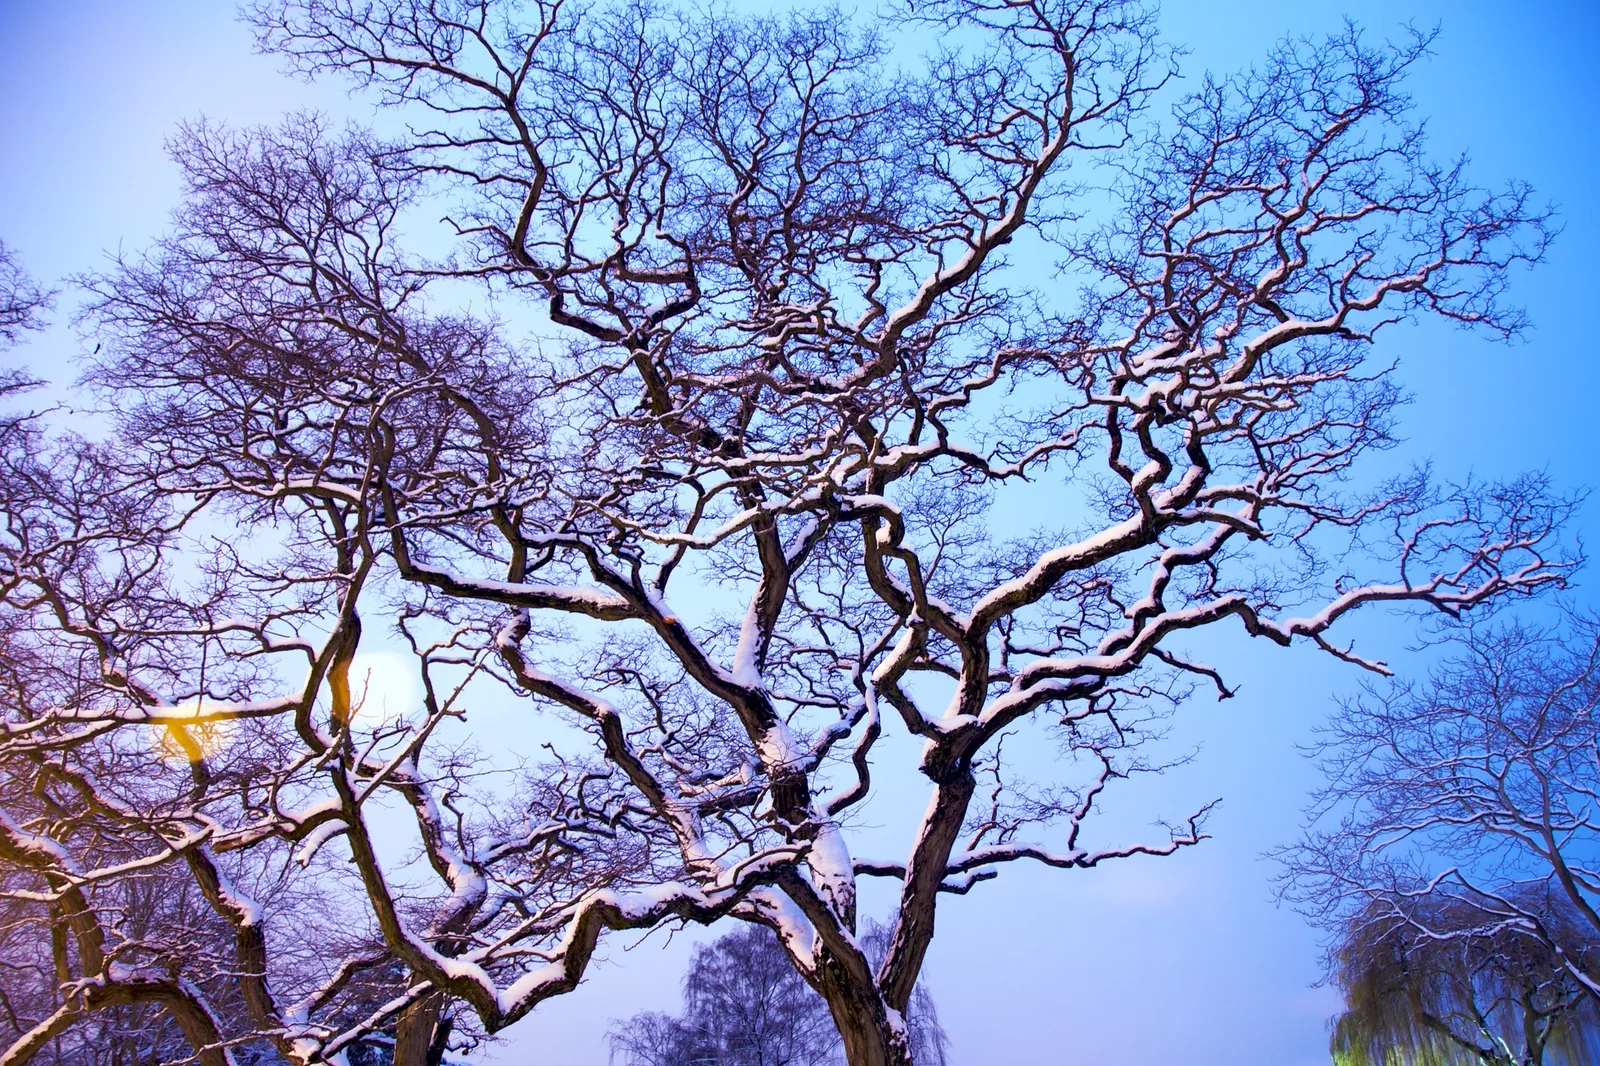
- Snowy branches. Fresh snow lines dark branches with white, especially against a blue sky.
- Seed heads. Grasses and flower heads hold frost in delicate shapes.
Ice laden branches can break, so stay clear of heavily loaded trees and power lines.
Curious about the whole winter season? The winter photography guide covers snow, cold light and keeping gear working.
Light on ice and frost
Light makes ice sparkle or glow, and it decides the mood of the picture.
- Sunrise. Low, warm light makes frost glitter and adds golden tones to the white.
- Backlight. Light from behind lights up the edges of crystals and the inside of icicles.
- Side light. Raking light shows texture in frost, rime and cracked ice.
- Overcast light. Soft, cool light suits gentle, quiet scenes and detailed macro work.
- Blue hour. Before sunrise and after sunset, ice and snow take on cool blue tones.
Sparkles on frost and ice catch the light as small points. A wider aperture turns distant sparkles into soft circles of light, which adds a magical background to close ups.
Composition ideas
Ice and frost often work best as simple, bold pictures. Fill the frame with a repeating pattern, such as icicles along a roof or frost feathers on glass. Use a single frosted leaf on a dark background as a minimal portrait, an idea explored in the guide to minimalist photography. Look for lines and curves in cracked ice that lead the eye across the frame. For wider views, include a frosty foreground with a sunrise sky behind. In every case, ask what the most beautiful part of the scene is, then remove anything that does not help it.
Exposure and color
Bright frost and ice can fool your camera into dark, gray pictures.
- Add exposure. Use plus two thirds to plus one and a third stops of exposure compensation for bright frosty scenes.
- Check the histogram. Push the data toward the right without clipping the brightest highlights. The guide to the histogram explains how to read it.
- White balance. Daylight white balance keeps early morning frost warm and dusk ice cool and blue.
- Cool or warm. Blue tones feel cold and crisp, while warm tones feel gentle and inviting. Choose deliberately.
A spot of color makes frost pictures sing. Look for a red leaf, a teal railing, a yellow berry or a pink sunrise sky to contrast with the white and blue of ice.
Staying comfortable and safe
- Dress warmly. Layers, a hat and thin gloves under warm mittens let you work longer.
- Spare batteries. Cold drains batteries quickly. Keep spares in an inside pocket.
- Avoid condensation. Put the camera in a sealed bag before going indoors, and let it warm slowly.
- Watch your step. Frosty boardwalks and icy rocks are slippery. Wear good boots.
- Ice safety. Never walk on ice unless it is known to be safe.
Settings and lenses
- Macro lens. Best for frost crystals, droplets and tiny icicles.
- Telephoto lens. Isolates icicles and frosty branches against soft backgrounds.
- Wide lens. Shows frozen lakes, icy shorelines and frosty fields.
- Aperture. f/8 to f/11 for detail, f/2.8 to f/4 for soft sparkle backgrounds.
- Shutter speed. Use a tripod for macro and dawn scenes, or keep speed at least 1/250 hand held.
- ISO. Low on a tripod, higher in dim morning light.
Using a phone
Phones are excellent for frost. Use macro mode for crystals, tap to focus and slide exposure up slightly so frost stays white. Keep the phone in an inside pocket between shots, since cold drains its battery quickly. Rest the phone on a fence post or the ground for sharp close ups.
Editing ice and frost photos
Adjust white balance first to choose a cool or warm mood. Lower highlights to bring back detail in bright ice, and lift whites gently so frost looks clean. Add a little texture or clarity to show crystal detail, but avoid harsh, crunchy sharpening. Remove dust spots, which show clearly against plain white backgrounds.
Common mistakes
- Gray frost. Add exposure compensation so whites stay bright.
- Arriving late. Frost melts fast. Be out at first light.
- Breathing on the subject. Warm breath melts tiny crystals instantly.
- Busy backgrounds. Position frost and icicles against dark or plain backdrops.
- Ignoring safety. Stay off uncertain ice and away from falling icicles.
- Too much blue. Strong cool tones can look unnatural. Choose the mood carefully.
Try this: a 10-minute frost hunt
On the next clear, cold morning, step outside at first light with your camera or phone.
- Find one frosty leaf or blade of grass and make a close up of the crystals.
- Find a fence, railing or window with frost patterns and fill the frame.
- Look for one icicle or frozen puddle and photograph it against a dark background.
- Turn toward the low sun and photograph frost sparkling in backlight.
- Step back for one wider view of the frosty yard or street.
Compare the five pictures, and notice how much more you see when you slow down and look closely.
Frequently asked questions
When is the best time to photograph frost?
At sunrise after a clear, calm, cold night, before the sun melts the crystals.
Why does my frost look gray in photos?
The camera underexposes bright scenes. Add exposure compensation to keep frost white.
What lens is best for frost?
A macro lens for crystals, and a telephoto for icicles and frosty branches.
How do I photograph bubbles in frozen lakes?
Find clear ice from a safe shore, use a polarizer to cut glare and shoot straight down.
Can I photograph snowflakes?
Yes. Catch them on a dark glove or cloth on a very cold day, and use a macro lens or phone macro mode quickly before they melt.
How do I keep my camera safe in cold weather?
Carry spare batteries in a warm pocket, and bag the camera before bringing it indoors.
Love the tiny world of frosty leaves? The guide to fall photography covers colorful leaves at their peak.
Want ice that glows and sparkles? The guide to backlighting explains how to shoot into the light.
For terms such as macro, rime and exposure compensation, see the photography glossary.