Lakes are some of the most peaceful places to photograph. On a still morning, the water becomes a perfect mirror for mountains, trees and sky. On a windy afternoon, it sparkles and churns. At dusk, it glows with the last color of the day. Whether it is a famous mountain lake or a small pond in a local park, a lake offers calm, reflection and a wide range of moods.
This guide covers when to photograph lakes, how to make the most of reflections, how to use shorelines and foregrounds, how to photograph mist, boats and wildlife, how lakes change through the seasons and the settings that work best. For wider scenes with lakes as one part, the guide to landscape photography is a good companion, and the guide to reflection photography goes deeper into mirrored scenes.
Why lakes make good pictures
A lake brings several useful things to a photograph at once, which is why lakes appear in so many favorite landscapes.
- Reflections. Calm water doubles a scene, creating symmetry and a sense of stillness that few other subjects offer.
- Simplicity. Open water is a natural area of calm in a frame. It gives the eye a rest and makes surrounding shapes stand out. The guide to negative space explains why this works.
- Mood. Lakes change character with weather and light, from bright and cheerful to misty and mysterious.
- Life. Boats, swimmers, birds and animals come to lakes, adding stories to a scene.
- Access. Many lakes have shoreline paths, docks and viewpoints, which makes them easy places to explore with a camera.
Lakes also suit every kind of photographer. A phone at a city pond, a beginner on a lakeside walk and an experienced landscape photographer at a mountain lake can all find good pictures.
When to photograph a lake
The time of day matters more at a lake than almost anywhere else, because wind and light change the water so much.
- Early morning. Wind is often lightest around dawn, which gives the calmest water and the clearest reflections. Mist may also rise from the surface. The guide to sunrise photography covers early light.
- Golden hour. Warm, low light colors the surrounding hills and trees and makes the water glow. See golden hour photography.
- Midday. Light is harsh and wind often rises, but clear water can show rocks and colors below the surface. A polarizing filter cuts glare to reveal them.
- Evening. Wind often drops again toward sunset, giving a second chance for reflections with colorful skies.
- Blue hour. After sunset, a lake can turn deep blue, with lights from cabins or towns reflected on the surface. See blue hour photography.
If you are visiting a lake for the first time, try to arrive the evening before and stay for the following morning. You will see it in two different lights and learn where the best views are.
Making the most of reflections
A mirror reflection is the classic lake picture. A few simple ideas make reflections stronger.
- Look for calm water. Even a light breeze breaks up reflections. Sheltered bays, small ponds and early mornings give the best chances.
- Get low. Lowering the camera closer to the water makes the reflection larger in the frame and can reveal more of the mountain or trees behind.
- Place the horizon with care. For a symmetrical picture, put the shoreline in the middle of the frame so the scene and its reflection balance. The guide to symmetry explains how.
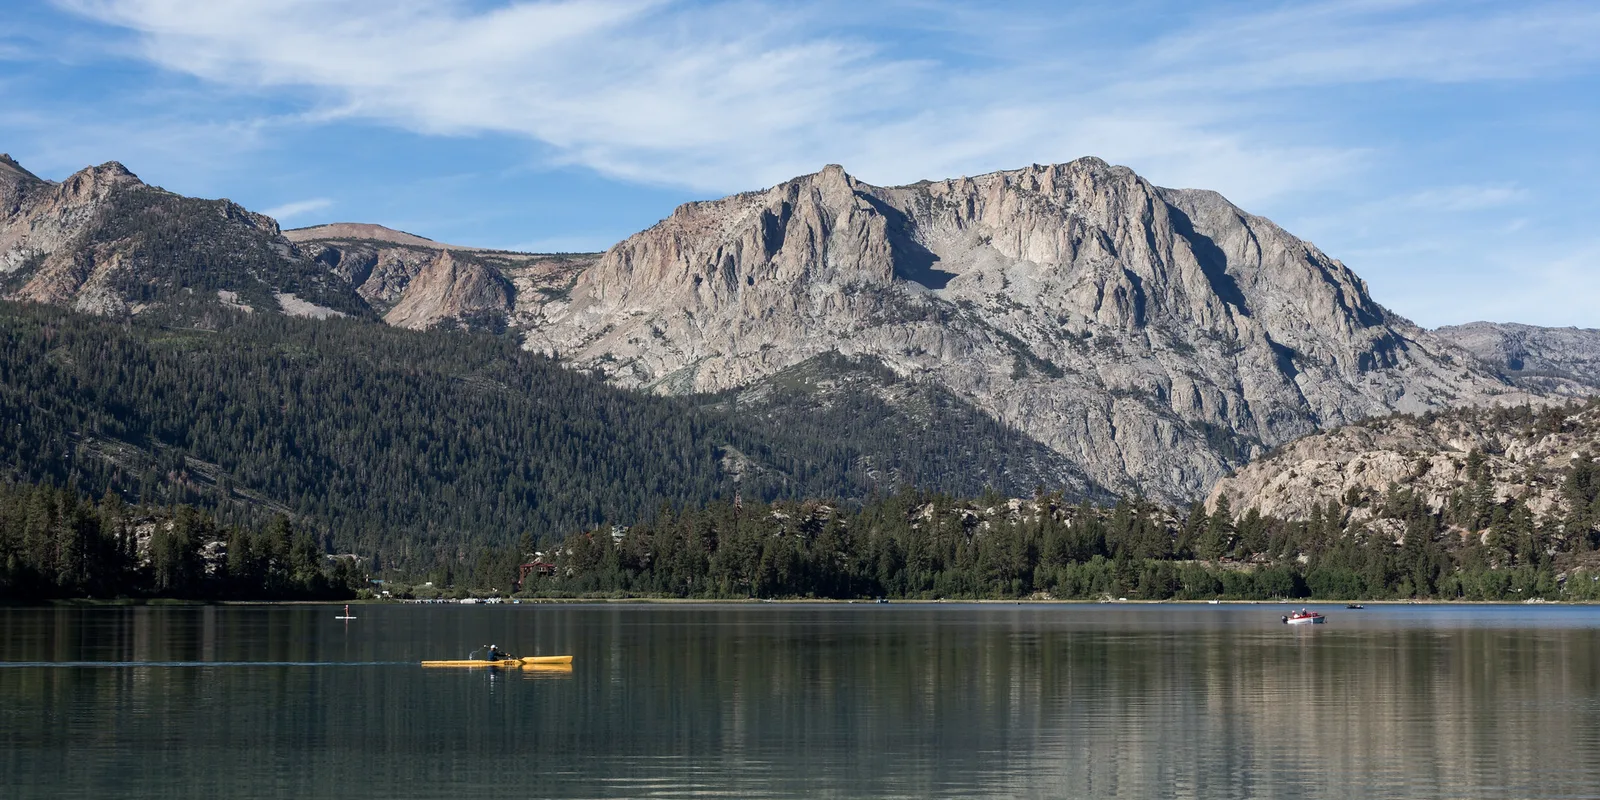
- Add one element. A boat, a rock, a bird or a kayaker breaks the perfect symmetry and gives the eye a focal point, like the kayaker at the top of this page.
- Use ripples. When water moves gently, reflections break into abstract patterns of color. Fill the frame with them for a painterly picture.
- Control the polarizer. A polarizing filter can cut glare but can also remove the reflection you want. Rotate it while watching the effect.
Reflections are usually a little darker than the scene above them. That is natural, and a gentle graduated adjustment in editing can balance them if needed.
Want to go further with mirrored scenes? The guide to reflection photography covers puddles, glass and water in depth.
Perfect reflections are not the only option. On breezy days, look for the shapes the wind makes: dark ripples in sheltered corners, bright streaks of sparkle in the sun and gusts darkening patches of water as they move across the lake.
Shorelines and foregrounds
The shore is where much of a lake picture’s interest lies. A good foreground turns a pretty view into a picture with depth.
- Rocks and pebbles. Colorful stones under clear shallow water make a beautiful foreground, especially with a polarizer to cut glare.
- Driftwood and fallen trees. Bleached logs and branches give shape and texture at the water’s edge.
- Reeds and grasses. Tall plants at the shore frame a view and add life.
- Docks and piers. A wooden dock stretching into a lake is a classic leading line. The guide to leading lines explains how to use them.
- Curving shorelines. The edge of a bay or a beach can lead the eye around the frame toward a mountain or island.
Get close to your foreground, often within a meter or two, and use a small aperture such as f/11 to keep both the near rocks and the distant hills sharp. The guide to foreground interest has more.
Islands are another gift. A small wooded island in the middle of a lake gives the eye a natural focal point, especially when it is reflected in still water. Place it off center and leave plenty of water and sky around it.
Mist, fog and moody weather
Lakes often produce their own weather. Cool mornings after warm days can fill a lake basin with mist.
- Arrive before sunrise. Mist often forms overnight and burns off soon after the sun rises.
- Use backlight. With the sun low behind mist, the air glows and trees on the far shore become soft silhouettes.
- Simplify. Mist hides clutter, leaving only a few shapes. A single tree, dock or boat can carry the picture.
- Expose a little brighter. Mist can fool the camera into making the scene gray. Add a little exposure compensation.
- Use storms. Dark clouds over a bright lake, or rain moving across the water, add drama.
The guide to fog photography explains exposure and composition in mist in more detail.
Boats, people and wildlife
A lake is rarely empty for long. Life on and around the water adds stories to a scene.
- Boats and kayaks. A small boat on open water gives scale to mountains and a sense of peace. Wait for it to reach a good spot in the frame.
- People at the shore. Swimmers, people fishing and families on a dock add warmth and life. Photograph from a respectful distance.
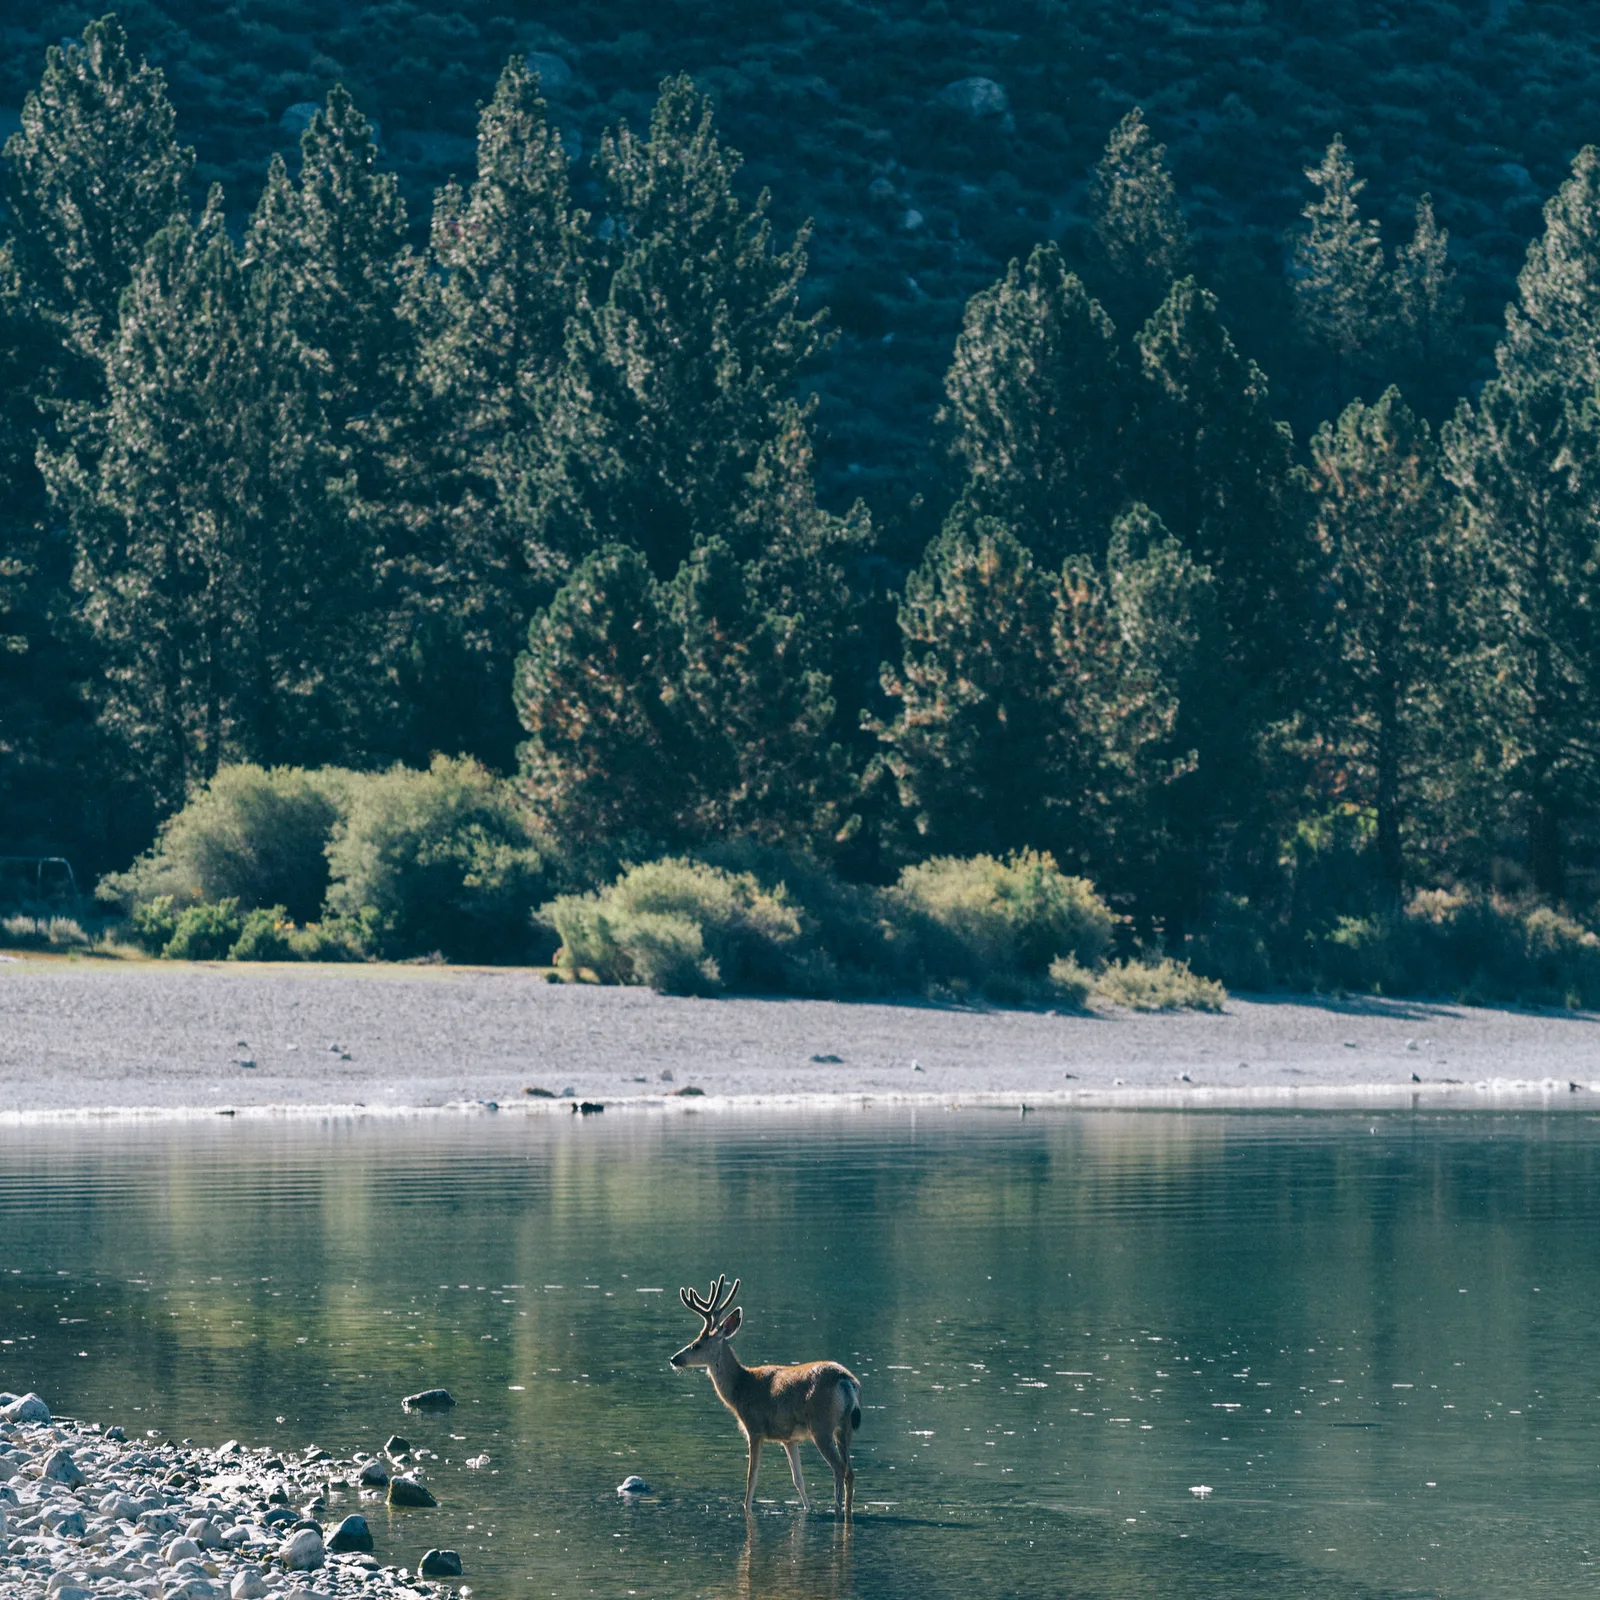
- Wildlife. Deer, birds and other animals often come to the water early and late. A longer lens lets you photograph them without disturbing them, like the deer in the second photo on this page.
- Waterbirds. Ducks, geese, herons and loons are common on many lakes. The guide to photographing birds covers settings for them.
Move slowly and quietly near wildlife, and never chase or feed animals. A calm, patient approach gives better pictures and keeps the animals at ease.
If you would like to photograph wildlife at a lake, sit still in one spot near the shore for twenty minutes or more. Animals that fled when you arrived often return once you are quiet, and you will notice birds and movement you missed while walking.
Lakes through the seasons
| Season | What to look for |
|---|---|
| Spring | High water, fresh green shores, mist on cool mornings, returning birds |
| Summer | Swimmers and boats, long evenings, wildflowers on shores, storms |
| Autumn | Colorful trees reflected in still water, morning mist, low golden light |
| Winter | Ice patterns, snow on shores, frozen bubbles, clear crisp air |
Frozen lakes offer special subjects: cracks, bubbles trapped in ice and patterns of snow on the surface. Only walk on ice where it is known to be safe and allowed, and never alone. The guide to winter photography covers cold weather.
Settings for lake photography
- Wide scenes: f/8 to f/11, low ISO, a tripod in low light. Focus about a third of the way into the scene.
- Reflections: the same as the scene above. Focus on the subject, not the water surface.
- Smooth water: a slow shutter speed of several seconds turns ripples into a glassy surface. Use a tripod and an ND filter in daylight. See long exposure photography.
- Wildlife and boats: 1/500 or faster with a longer lens.
- Bright water: check the histogram, because sparkling water and bright skies can fool the meter.
Bring a cloth for your lens. Mist, spray and morning dew can coat the front element without you noticing, softening every picture.
Small lakes and ponds close to home
You do not need a famous mountain lake. A park pond or a small local lake can give wonderful pictures, and visiting often lets you learn its moods.
- Visit in all weather. A pond you see every week will reward you on its best mornings.
- Look closely. Lily pads, insects, ripples and reflections of nearby trees make strong close-ups.
- Watch for birds. City ponds are often full of ducks, geese and herons used to people.
- Photograph the same spot across the year for a seasonal series.
Interested in photographing moving water as well? The guide to long exposure photography explains how to smooth water and skies.
Viewpoints around a lake
A lake looks very different from each part of its shore and from above. Exploring a little before settling on a spot usually leads to a better picture.
- Walk the shoreline. A few minutes along the shore can line up a mountain with a bay, an island with a dock or a tree with its reflection. Small changes in position make a big difference to how shapes overlap.
- Climb for a high view. A hill or trail above a lake shows its shape, the color of the water and the land around it. Turquoise mountain lakes look especially striking from above.
- Look across, not just along. The far shore is often the subject. Choose a side where the far shore has mountains, cliffs or colorful trees, and where the light falls on it.
- Use the outlet and inlet. Streams flowing in and out of a lake add movement and a natural leading line.
- Get on the water. A kayak, canoe or boat lets you photograph the lake from its center, looking back at the shore. Keep gear in a dry bag.
Note which side of the lake is lit at sunrise and which at sunset. Mountains on the west shore catch the morning light, while those on the east shore glow in the evening.
Editing lake photos
A light touch keeps lake pictures calm and believable, which suits their mood.
- Level the horizon. Water makes even a slight tilt obvious, so straighten first.
- Balance the reflection. A gentle graduated adjustment can brighten a dark reflection or tame a bright sky so the two halves feel balanced.
- Keep water color natural. Blue and turquoise water can quickly look artificial with too much saturation. Adjust blues and aquas on their own if needed.
- Use dehaze carefully. A little can clear distant haze over the far shore, but too much destroys the soft mood of mist. See dehaze.
- Remove small distractions such as litter on the shore or a bright buoy at the edge.
Want a clear routine for editing landscapes? The guide to editing landscape photos walks through a simple, natural workflow.
Common mistakes
- Arriving after the wind rises. Fix: go at dawn for calm water.
- A crooked horizon. Water shows tilt instantly. Fix: use the grid and level the horizon.
- Empty foreground. Fix: include rocks, a dock or plants near the camera.
- Removing the reflection. Fix: rotate the polarizer to keep the reflection you want.
- Glare hiding the water. Fix: use a polarizer or change your angle.
- Disturbing wildlife. Fix: stay back, move slowly and use a longer lens.
Try this: a 10-minute lakeshore study
- Minutes 1 to 2: Make a wide picture of the lake with the horizon level.
- Minutes 3 to 4: Get low and make the reflection as large as possible.
- Minutes 5 to 6: Find a foreground of rocks, plants or a dock and include it.
- Minutes 7 to 8: Fill the frame with ripples or reflections for an abstract.
- Minutes 9 to 10: Wait for a bird, boat or person to add life.
Frequently asked questions
What is the best time to photograph a lake?
Early morning, when water is often calmest, and evening, when the wind drops again and light is warm.
How do I get a perfect reflection?
Choose a calm morning, get low and place the shoreline in the middle of the frame. Avoid turning a polarizer to its strongest setting.
Should I use a polarizing filter at a lake?
Yes, to cut glare and reveal rocks below the surface, but turn it carefully if you want to keep reflections.
Can I photograph lakes with a phone?
Yes. Use the grid to keep the horizon level, get low for reflections and tap to expose for bright skies.
How do I photograph a lake at night?
Use a tripod and start in blue hour, when the sky still has color. On clear, dark nights, stars may reflect in calm water. Focus on a bright star or distant light and use a wide aperture.
How do I make lake water look smooth?
Use a slow shutter speed of several seconds on a tripod. In daylight you will need an ND filter to make the exposure long enough.
What lens is best for lakes?
A wide lens suits big scenes with foreground, and a longer lens isolates reflections, boats and wildlife on the far side.
For terms such as reflection, polarizing filter, ND filter and symmetry, see the photography glossary.