Instant film photography offers something no other medium can: a physical photograph in your hands moments after pressing the shutter. No uploading, no editing, no printing queue. You compose, shoot, and watch the image appear before your eyes. The chemistry is sealed inside the film itself, developing autonomously in ambient light. Whether you are drawn to the nostalgic charm of the format, the tangible permanence of a print you can hand to someone, or the creative discipline of working with a finite number of exposures, instant film remains one of photography’s most engaging mediums.
The History of Instant Film
Edwin Land invented instant photography in 1947 after his three-year-old daughter asked why she could not see a photograph right away. The first Polaroid camera, the Model 95, went on sale in 1948. It produced sepia-toned prints in about 60 seconds through a peel-apart process where the photographer pulled the film through chemical-spreading rollers and then separated the print from the negative after development.
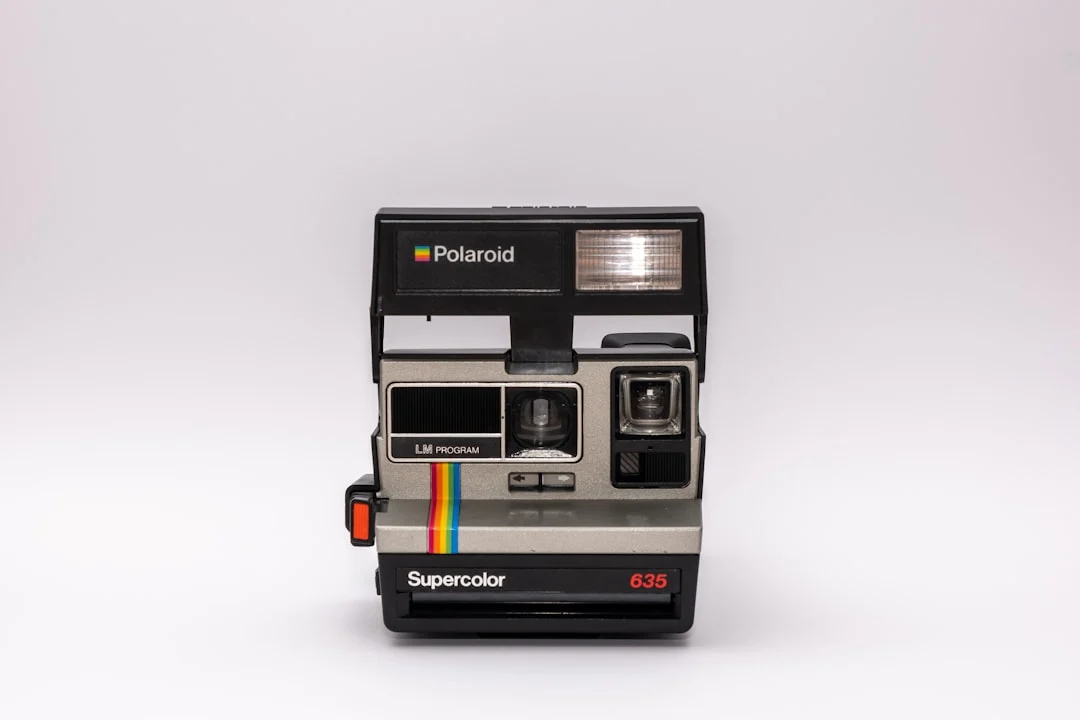
The iconic Polaroid SX-70, introduced in 1972, changed everything. It was the first camera to produce integral instant prints, meaning the entire development process happened inside a sealed unit that ejected from the camera automatically. No peeling, no timing, no waste. The film developed in daylight while you watched. This is the format most people think of when they imagine instant photography.
Fujifilm entered the instant film market in 1998 with Instax, which has since become the dominant instant film format worldwide. When Polaroid stopped manufacturing film in 2008, a group of enthusiasts formed The Impossible Project (later renamed Polaroid Originals, now simply Polaroid) to restart production of instant film for classic Polaroid cameras.
How Instant Film Works
Instant film is a marvel of chemical engineering. Each frame contains all the chemistry needed to develop the image, arranged in microscopically thin layers within a sealed unit.
When you press the shutter, light exposes silver halide crystals in the light-sensitive layers (there are separate layers for cyan, magenta, and yellow, just like conventional color film). The exposed frame then passes through steel rollers that burst a pod of chemical reagent at the bottom of the frame. The reagent spreads evenly between the layers, initiating development. Dye molecules migrate through the layers and form the visible image on the viewing surface. A white opacifier protects the developing image from further light exposure.
The entire process takes 10 to 30 minutes for full development, though a recognizable image appears within the first minute or two. Temperature significantly affects development speed. Cold conditions slow the chemistry and can cause color shifts. Warm conditions speed development and generally produce better results.
Current Instant Film Formats
Today, several instant film formats are actively produced. Each has its own image size, color characteristics, and camera ecosystem.
| Format | Image Size | Character |
|---|---|---|
| Instax Mini | 62 x 46mm | Wallet-sized, sharp, vibrant colors |
| Instax Wide | 99 x 62mm | Larger format, excellent detail, natural tones |
| Instax Square | 62 x 62mm | Square format, balanced colors |
| Polaroid 600/i-Type | 79 x 79mm | Classic square format, softer look, nostalgic color palette |
| Polaroid SX-70 | 79 x 79mm | Requires SX-70 camera, slightly different chemistry, beautiful subtlety |
| Instax Mini Evo (hybrid) | 62 x 46mm | Digital capture, then select and print on Instax Mini film |
Instax film generally offers more consistent results, sharper images, and lower cost per frame than Polaroid film. Polaroid film has a warmer, softer, more unpredictable character that many photographers specifically seek. The choice depends on whether you prioritize reliability or analog charm.
Shooting Tips for Instant Film
Understanding Exposure
Most instant cameras have limited exposure control. Many use a simple automatic system that meters the scene and sets Aperture and Shutter Speed accordingly. The most important control you have is the lighten/darken dial or slider found on most instant cameras. Learn to use it. In bright, contrasty conditions, dial toward darker to retain highlight detail. In flat, overcast light, dial toward lighter to keep shadows from going muddy.
Instant film has limited Dynamic Range, roughly 5 to 6 stops compared to 12+ stops for a modern digital sensor. This means you need to be more careful about the contrast range in your scene. Avoid harsh midday sun with deep shadows. Open shade and overcast light produce the most pleasing instant film results because the contrast range fits within the film’s capability.
Working with Light
Instant film loves soft, even Natural Light Photography. Golden Hour Photography produces warm, glowing results. Overcast days give smooth, flattering skin tones. Avoid mixed lighting (daylight and artificial) because instant film cannot be White Balance corrected after the fact. What you shoot is what you get.
Flash is sometimes necessary in low light, and most instant cameras have a built-in flash. The flat, direct flash look is part of the instant film aesthetic. For more flattering results, diffuse the flash with a small piece of translucent tape or a thin napkin held over the flash window. This softens the light and reduces harsh shadows.
Temperature Effects
Temperature has a dramatic effect on instant film development. Below about 55 degrees F (13 degrees C), development slows significantly and colors shift. Polaroid film in particular becomes very sluggish in cold weather. Below freezing, development may stall entirely.
- In cold weather, shield the ejected print immediately. Tuck it inside your jacket to develop against your body heat.
- In very hot weather (above 95 degrees F / 35 degrees C), development speeds up and colors can shift warm. Keep film packs out of direct sun.
- Store film in the refrigerator before use (not the freezer). Let it warm to room temperature before shooting.
- Protect developing prints from direct sunlight for the first few minutes, especially Polaroid film.
Composition on a Small Frame
The small image area of instant film rewards simple, bold compositions. Fill the frame with your subject. Avoid cluttered backgrounds. The Rule Of Thirds works well, but centered compositions also suit the format. Remember that the viewfinder on most instant cameras shows a slightly different view than the lens captures (parallax error), especially at close distances. Leave a little extra space around your subject to compensate.
Creative Techniques
Double Exposure
Some instant cameras offer a double exposure mode. Shoot one frame, then shoot a second frame on the same piece of film without ejecting. The two images blend together, creating layered, ghostly, or surreal effects. For best results, combine a dark subject on a light background with a second exposure of a texture or pattern. The dark areas of the first exposure allow the second exposure to show through. This is the same principle as Double Exposure Photography with conventional film.
Emulsion Manipulation (Polaroid)
Classic SX-70 Polaroid film allows emulsion manipulation. While the print is still developing (warm and soft), use a blunt tool like a rounded pen cap or a wooden stylus to press and push the emulsion through the plastic cover layer. This creates painterly distortions, smears, and textures within the image. The effect is permanent once the emulsion hardens. Work gently. Too much pressure can break the chemical pod seal and damage the print.
Emulsion Lifts and Transfers
With peel-apart instant film (now difficult to find) or some Polaroid integral films, you can separate the image layer from its backing and transfer it to another surface: watercolor paper, fabric, wood, or ceramic. Soak the developed print in hot water, carefully peel away the image layer, and float it onto the new surface. Wrinkles, folds, and distortions are part of the aesthetic. This technique produces truly unique, unreproducible art objects.
Storing and Preserving Instant Prints
Instant prints are durable but not invulnerable. With proper care, they can last for decades. Without it, they fade and deteriorate.
- Keep prints out of direct sunlight, which causes fading over time
- Store in a cool, dry location. Heat and humidity accelerate deterioration.
- Use archival photo albums or acid-free boxes for long-term storage
- Handle prints by the edges or the white border. Fingerprints on the image surface can cause permanent marks.
- Never laminate instant prints. The heat and pressure can damage the chemical layers.
- For valuable prints, scan them at high resolution to create a digital backup
Hybrid Workflow: Scanning Instant Film
Scanning instant prints gives you the best of both worlds: the unique analog character of the print plus a digital file you can share, print larger, or archive. A flatbed scanner at 600 to 1200 DPI captures the full detail of an instant print. Place the print face down on the glass, close the lid, and scan. A phone camera with good Macro Photography capability can also capture a usable digital version in a pinch.
When scanning, you can choose to include or exclude the white border. Including the border emphasizes the instant film format. Cropping to just the image gives a cleaner look. Minor Photo Editing For Beginners adjustments (slight exposure correction, dust spot removal) are reasonable. Heavy editing defeats the purpose of shooting instant film in the first place.
Why Instant Film Still Matters in a Digital World
In an age of unlimited digital storage and infinite retakes, instant film imposes constraints that many photographers find liberating. You get one shot. You cannot review and re-shoot. You cannot apply filters or crop later. This forces you to slow down, consider your Photography Composition carefully, and commit to the moment before pressing the shutter. The discipline translates to stronger photographic instincts across all your work.
There is also the tangible, physical nature of the print. Handing someone an instant photograph creates a connection that sending a digital file never achieves. The photograph is a physical object with weight, texture, and presence. It exists in one place at one time. In a world saturated with digital images that are seen once and forgotten, a physical instant print has a permanence and intimacy that stands apart.
Many professional photographers carry an instant camera alongside their professional kit for behind-the-scenes moments, client gifts at weddings, or personal creative work. The instant photograph serves a different purpose than the polished digital file. It captures the feeling and spontaneity of the moment in a format that is immediately shareable in the most literal sense.
Choosing Your First Instant Camera
The instant camera market offers options for every budget and preference. Simple point-and-shoot models with fixed-focus lenses are the easiest to use and the most affordable. Mid-range models add features like adjustable exposure, multiple shooting modes, and better lenses. At the high end, some instant cameras offer manual controls, interchangeable lenses, or hybrid digital-instant capability.
Consider what format you want to shoot. Instax Mini produces wallet-sized prints that are charming but small. Instax Wide gives a more substantial image area that shows more detail. Polaroid format offers the classic square print with the iconic white border. The film format determines which cameras you can use, so choose the format first and then select a camera within that system.
Vintage instant cameras (original Polaroid SX-70, SLR 680, or Spectra models) are available on the used market and produce distinctive images with character that modern reproductions do not always match. However, they are decades old, may need maintenance or repair, and their availability and reliability vary. If you enjoy the process of finding and using vintage equipment, they are worth exploring. If you want reliable, consistent results out of the box, a current-production camera is the safer choice.
Common Mistakes
- Shaking the print: The old “shake it like a Polaroid picture” advice is wrong. Modern instant film develops best when left flat and still. Shaking can cause uneven development.
- Exposing the print to sunlight during development: Shield Polaroid prints from bright light for the first 30 seconds. The opacifier layer needs time to fully protect the developing image.
- Shooting in extreme cold without protection: Cold temperatures cause color shifts and incomplete development. Shield developing prints against your body in cold weather.
- Storing film in heat: Never leave instant film in a hot car. Heat damages the chemistry before you even shoot.
- Expecting digital-level sharpness: Instant film is soft by digital standards. Embrace the aesthetic rather than fighting it.
- Wasting frames trying to learn: At the cost per frame of instant film, use the lighten/darken dial and shooting tips to improve your success rate from the start.
Try This
- Shoot a roll of instant film in Golden Hour Photography conditions. Note how the warm light transforms the color palette of the film.
- Try a double exposure on instant film. Shoot a portrait first, then shoot a textured surface (leaves, brick, fabric) as the second exposure. Notice how the dark and light areas interact.
- Photograph the same subject with both instant film and your digital camera. Compare the emotional quality of the two images. Which feels more “present”?
- Give an instant print to someone as a spontaneous gift. This is one of the unique joys of the format.
Frequently Asked Questions
Which instant film format should I start with?
Instax Mini is the most affordable per frame and produces consistent, attractive results. It is the best starting point for most people. If you want a larger image, Instax Wide is excellent. If you specifically want the classic Polaroid look, Polaroid i-Type or 600 film delivers that aesthetic.
How many shots do I get per pack?
Instax Mini, Wide, and Square packs contain 10 exposures. Polaroid film packs contain 8 exposures. This is part of the discipline of instant photography. Every frame costs money, so you think more carefully before pressing the shutter.
Can I use expired instant film?
Expired instant film can produce interesting results, but it is unpredictable. Colors shift, contrast changes, and some frames may not develop at all. Film expired by a year or two (stored in a refrigerator) usually still works reasonably well. Film expired by many years is a gamble. If you find a stash of expired film, shoot it for fun but do not rely on it for anything important.
Why are my Polaroid prints coming out too dark or too light?
The lighten/darken adjustment dial is your primary tool. If prints are consistently dark, dial toward lighten. If consistently light, dial toward darken. Also check that you are not shooting in conditions that confuse the meter: very bright backgrounds behind a dark subject, or a small bright subject against a dark background. In these situations, use Exposure Compensation concepts and adjust the dial accordingly.
Do instant cameras have manual controls?
Most consumer instant cameras are fully automatic with minimal manual override. The Polaroid SX-70 and some Mint-branded SLR instant cameras offer aperture and shutter speed control. Some Instax cameras offer a limited set of scene modes. For full manual control, consider an Instax back or instant film holder for a camera system that already supports Manual Mode shooting.
How should I store unused film?
Store unopened instant film packs in a refrigerator (not the freezer). This slows the chemical aging process and extends shelf life. Let the film warm to room temperature for 30 to 60 minutes before loading it into the camera. Once loaded, use the film within a few weeks for best results.
Can I scan instant film prints to share digitally?
Absolutely. A flatbed scanner at 600 DPI or higher captures the full character of the print, including the film’s grain structure and unique color palette. Many photographers shoot instant film specifically for the aesthetic and then scan to share online. You can also photograph the print with a phone camera for quick sharing, though a scanner produces a higher quality result.