Lens flare is light from a bright source that does not follow the intended path through the lens. Instead it reflects between glass surfaces or scatters inside the barrel, and shows up as a haze that lowers contrast (veiling flare), as colored shapes strung across the frame (ghosting), or as streaks. You prevent it by keeping direct light off the front element with a hood, your hand or an object in the scene, by removing unnecessary filters, and by keeping the front element clean. When you want it, you can also place the light deliberately and use flare for warmth and atmosphere.
Where flare comes from inside the lens
A modern lens is a stack of glass elements, often a dozen or more. Every air-to-glass surface reflects a small fraction of the light that hits it, even with good anti-reflection coatings. Most of that reflected light is harmless because the scene is not very bright. But when the sun, a streetlight or a stage light shines straight into the lens, even a tiny percentage of reflected light is bright enough to record.
Some of that stray light bounces from one surface back to another and then forward to the sensor, forming secondary images of the light source. Some scatters off the inside of the barrel, the edges of elements, dust, or a smudge on the front glass, and spreads across the image as a diffuse glow. The sensor itself is also reflective, so light can bounce off it, back to the rear element, and onto the sensor again.
Coatings are the main defense. Multiple thin layers on each glass surface cancel much of the reflection by interference, which is why a well-coated modern lens pointed at the sun shows far less flare than an uncoated lens from the early twentieth century. Coatings reduce flare; they cannot eliminate it. Lenses with many elements, such as wide-range zooms, have more surfaces and therefore more opportunities for ghosts.
Veiling flare, ghosting and starbursts are three different things
Photographers often call everything that happens around a bright light “flare”, but the three main effects have different causes and respond to different fixes.
| Effect | What you see | Main cause |
|---|---|---|
| Veiling flare | A hazy wash, lifted blacks, weak colors | Scattered stray light spread across the frame |
| Ghosting | Discrete circles, polygons or arcs, often in a line | Reflections between lens surfaces |
| Starburst (sunstar) | Sharp rays radiating from a point of light | Diffraction at the aperture blade edges |
Veiling flare
Veiling flare is the least dramatic and the most damaging. Stray light is spread across part or all of the frame, so dark tones become gray, colors lose saturation and the whole image looks washed out. It can happen even when the light source is outside the frame, which is why a photo taken toward a low sun can look flat for no obvious reason. Because it lowers contrast across the whole image, veiling flare is the effect a lens hood exists to prevent.
Ghosting
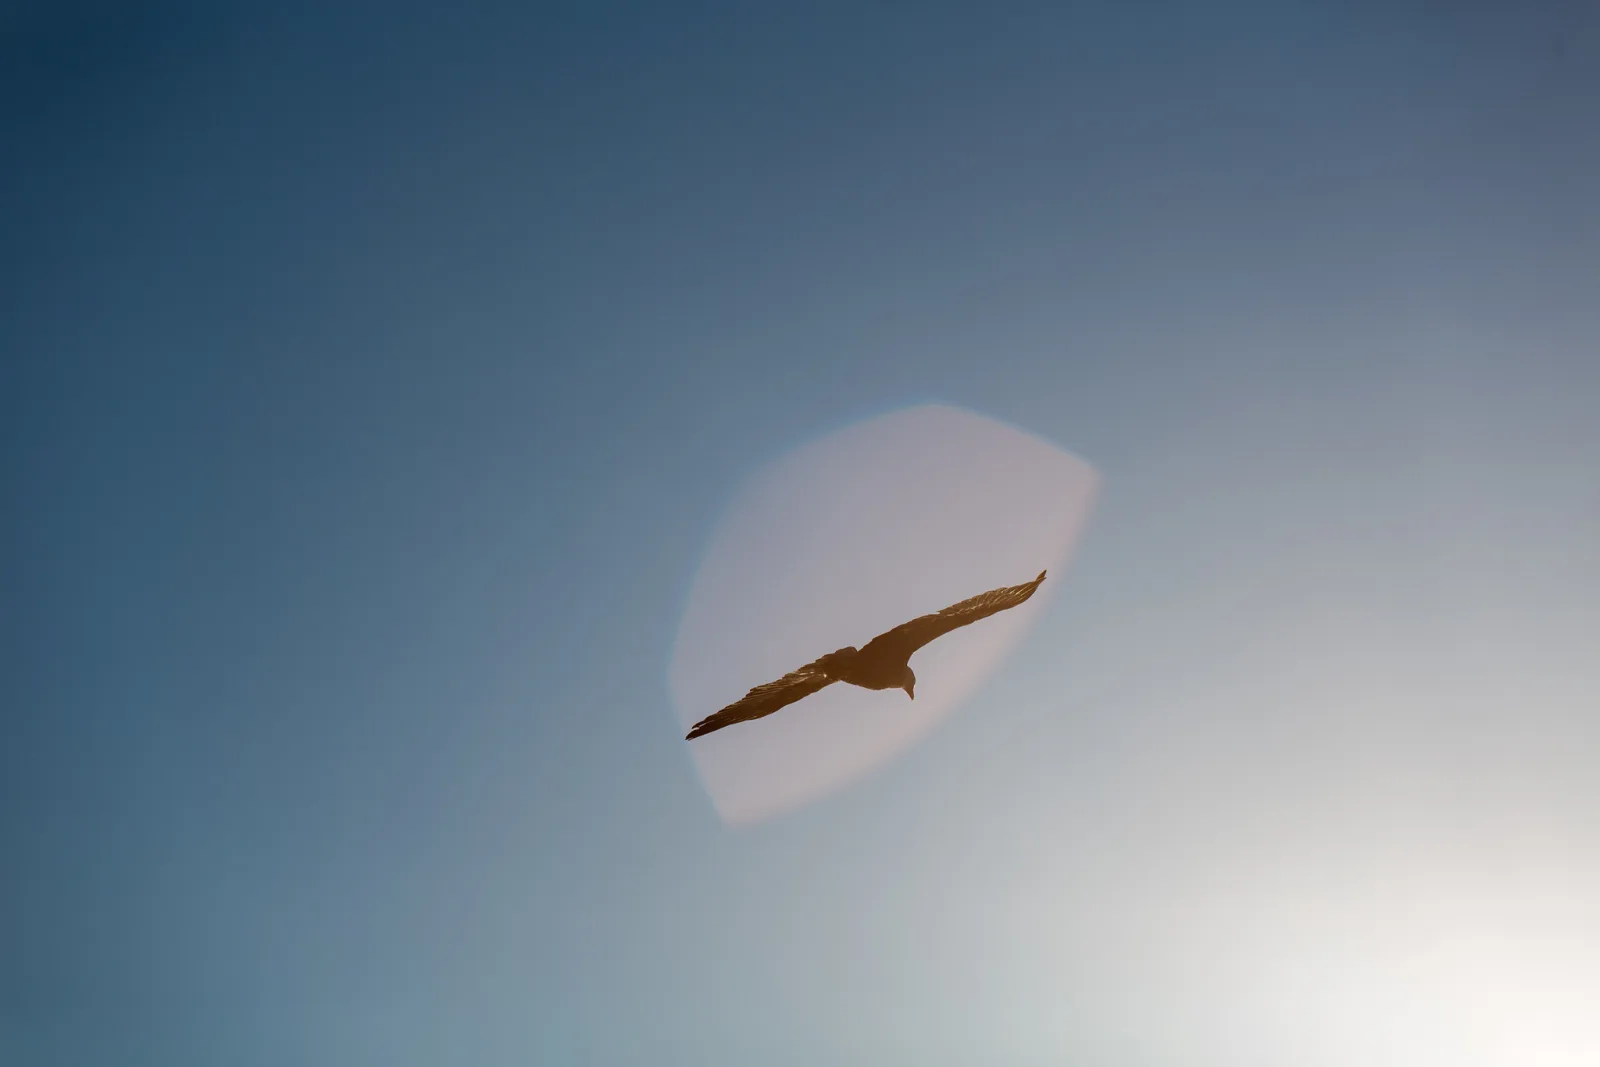
Ghosts are distinct shapes: circles, hexagons, octagons, arcs and rings, sometimes in several colors. Each one is light that has reflected between a particular pair of surfaces. In a normal lens these ghosts fall on a straight line that runs from the light source through the center of the frame, so if the sun is in the top left, the ghosts line up toward the bottom right. Many ghosts take the shape of the aperture opening, which is why they become more angular as you stop down and why their shape changes with the aperture you choose. The colors come from the coatings, which suppress some wavelengths more than others.
Starbursts
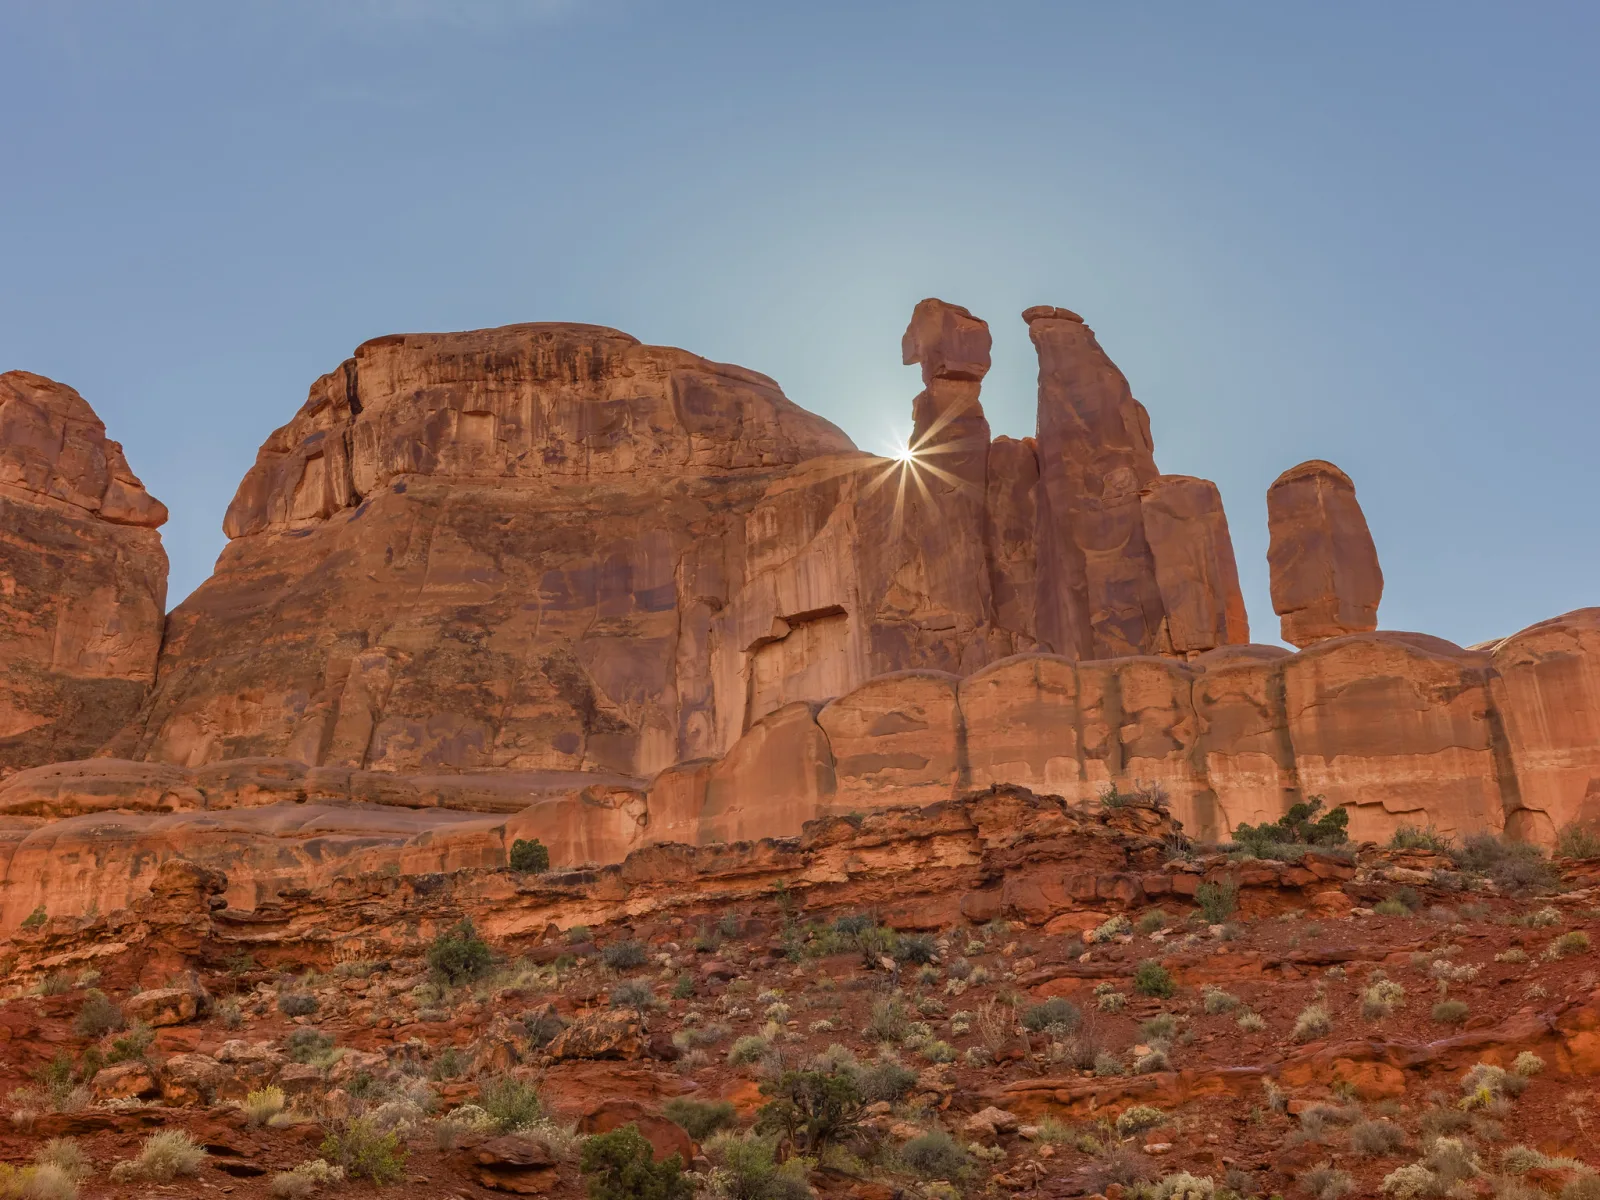
A starburst, often called a sunstar, is not a reflection at all. It is diffraction: light bending around the straight edges of the aperture blades. Each blade edge produces a pair of opposite rays, so a lens with an even number of blades gives as many points as it has blades, and a lens with an odd number gives twice as many because the rays do not overlap. Stars are crisper at small apertures such as f/11 to f/16, and they need a small, intense point of light. The full technique is covered in how to shoot a star-shaped lens flare.
What makes flare worse
- A bright source in or just outside the frame. The sun in the frame is the obvious case, but a source just beyond the frame edge often causes more veiling flare, because its light strikes the front element at a steep angle and scatters inside.
- A dirty front element. Fingerprints, water spots, salt spray and dust scatter light in every direction. A smear that is invisible on an overcast day can turn a sunset shot into a milky blur.
- Filters, especially cheap ones. A flat filter adds two more reflective surfaces directly in front of the lens. The classic symptom is a ghost of every bright light appearing on the opposite side of the frame center, which is very visible at night with streetlights. Protective clear and UV filters are frequent culprits.
- Wide-angle lenses. Their wide view makes it more likely the sun is in or near the frame, and their hoods have to be short to avoid cutting into the corners, so they give less protection.
- Complex zooms. More elements mean more surfaces, and therefore more possible reflections.
- Night scenes with many lights. Each bright light can create its own set of ghosts, so a city at night can be scattered with small repeated shapes.
How to prevent lens flare
Work through these in order. The first two solve most problems.
- Use the lens hood. A lens hood blocks light arriving from outside the frame, which is the main source of veiling flare. Use the hood designed for your lens: it is shaped to shade the front element as much as possible without appearing in the corners. It does nothing for a light source inside the frame.
- Flag the light with your hand. When the source is just outside the frame, hold your hand, a hat or a card so its shadow falls across the front element. Watch the live view as you move it: the haze clears the moment the shadow covers the glass. Check the edges of the frame afterwards to make sure your fingers are not in the shot. On a tripod this is easy; handheld, use your left hand while you shoot with the right.
- Put the sun behind something. A tree trunk, a building edge, a rock or a person can hide most or all of the sun. Hiding it completely removes the ghosts. Letting a sliver peek past the edge turns it into a small point of light, which reduces ghosting and often gives an attractive starburst.
- Remove filters you do not need. Take off a protective filter whenever you shoot toward a bright light. If you must use a filter, such as a polarizer or ND, use a good multi-coated one.
- Clean the front element. Blow off dust, then wipe with a clean microfiber cloth and a drop of lens cleaning fluid if needed. Look at the front glass at an angle against the light; smudges show clearly that way.
- Change your position slightly. Because ghosts sit on a line through the frame center, moving the camera a little often slides a ghost off your subject or out of the frame entirely. A different focal length can do the same.
- Check at the shooting aperture. Ghosts change shape and position as you stop down. Use live view or an exposure preview so you see them as they will be recorded.
Using flare creatively
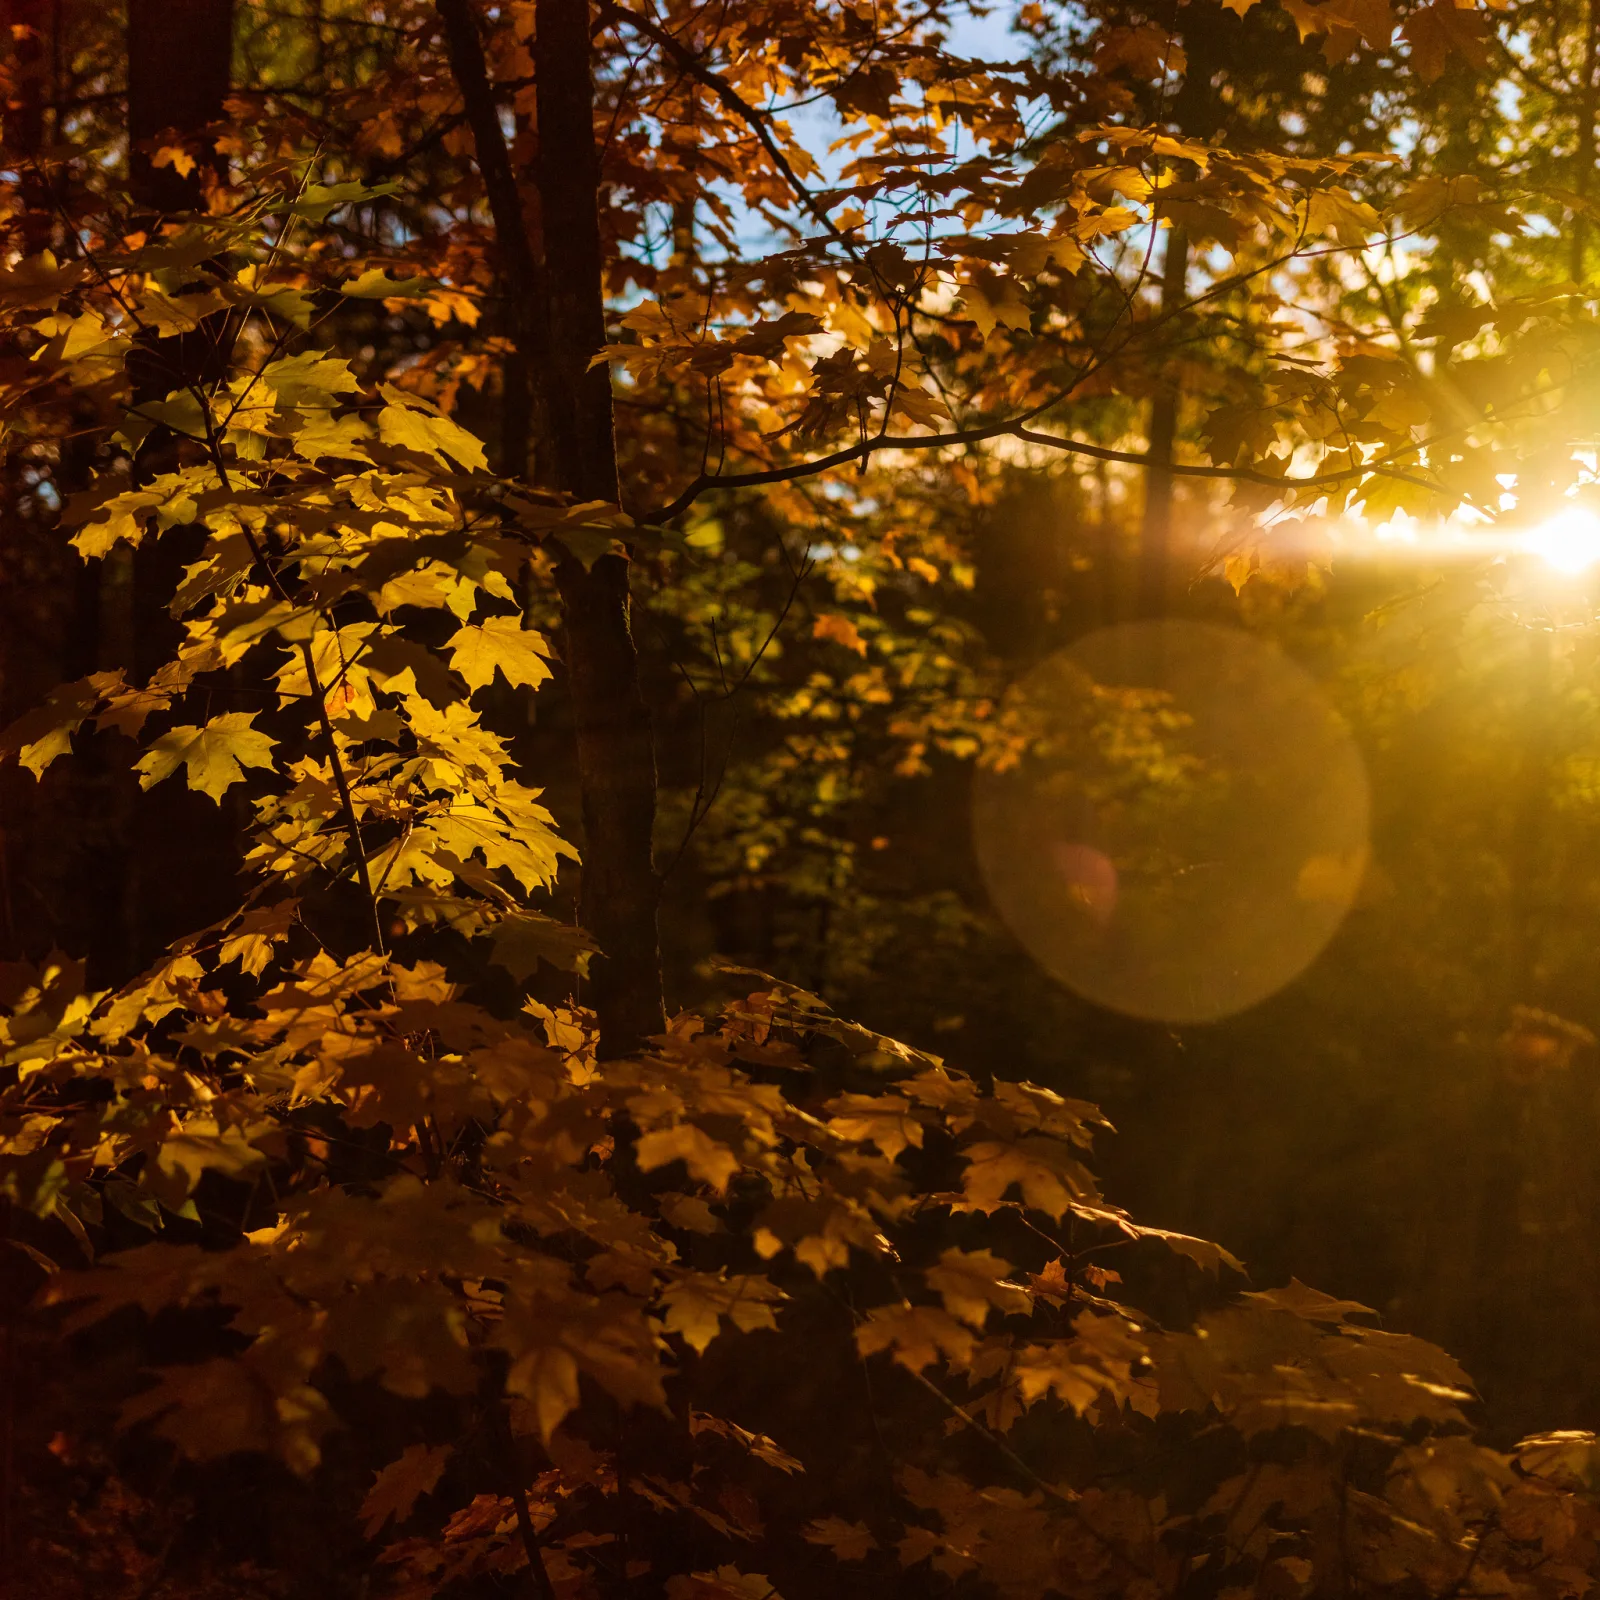
Flare is not always a flaw. A soft wash of warm light can make a scene feel sunny, nostalgic or dreamlike, and many portrait, lifestyle and golden hour images use it on purpose. The difference between a mistake and a choice is control.
- Use a low sun. Late afternoon light is warmer and less intense, so its flare is golden and gentle instead of harsh white. See how to photograph sunsets for timing.
- Place the sun at the edge of the frame. Positioned in a corner or just behind the edge of a subject, it produces glow and a few ghosts while leaving the subject clear.
- Keep ghosts off faces and key details. Move a step sideways or tilt the camera slightly to slide ghosts into empty sky or shadows.
- Take the hood off deliberately. For a stronger wash, remove the hood and angle toward the light, then shoot a series while making tiny changes in angle. Flare changes dramatically with small movements, so take many frames.
- Expose for the subject. Backlighting with flare often fools the meter into underexposing the subject. Add exposure compensation, or use it to make a clean silhouette instead.
- Protect autofocus. Heavy flare can make autofocus hunt because contrast drops. Focus with the sun blocked by your hand, then remove your hand and shoot.
A wide aperture gives rounder, softer ghosts and a larger glow. A small aperture gives crisper, more angular ghosts and adds starburst rays. Neither is right; they create different moods.
Fixing flare in editing
How much you can repair depends on the type of flare.
- Veiling flare: Restore contrast by setting the black point so the darkest tones are truly dark again, then add a little contrast or a dehaze adjustment. Apply it locally with a graduated or brush adjustment if the veil only covers part of the frame. See the dehaze guide for how that control works. Detail lost in heavy veiling flare cannot be recovered, only made to look less flat.
- Small ghosts: Remove them with a healing or clone tool, the same way you remove dust spots. They are easiest to fix over sky or smooth surfaces.
- Large ghosts or streaks over detail: These are hard to remove convincingly. The reliable fix is taken in the field: shoot one frame normally, then a second identical frame with your finger or a card blocking the sun, and blend the clean area from the second frame into the first. A tripod makes this easy.
- Color casts from flare: A local white balance or color adjustment over the affected area can neutralize a magenta or green haze.

Common mistakes
- Leaving the hood in the bag or reversed on the lens. A reversed hood gives no protection. Mount it facing forward whenever you are shooting.
- Stacking filters when shooting into the light. Every extra piece of glass adds ghosts. Remove all filters you do not need for the shot.
- Judging flare through a wide-open optical viewfinder. Ghosts look different at the shooting aperture. Check live view or the review image at 100 percent.
- Blaming the lens for a dirty front element. A smear causes glow and haze that looks like poor lens quality. Clean the glass first.
- Letting a ghost sit on a face. A small change of position moves it. Review each frame and adjust before the light changes.
- Trying to fix heavy flare only in editing. Shooting a second frame with the sun blocked takes seconds and saves a long, often unsuccessful retouching session.
Try this
Go out about an hour before sunset with any lens and its hood. Put the camera on a tripod or a steady surface and frame a scene with the sun just outside the top corner. Take four shots: hood off, hood on, hood on with your hand shading the lens, and one with the sun moved into the frame. Then move so a tree, post or building edge hides all but a sliver of the sun, and shoot at f/4 and f/16.
Compare the frames side by side. Look at the darkest shadows in each: you will see how much veiling flare lifts them and how much the hood and your hand bring them back. Find the ghosts and check that they line up through the frame center. Compare the f/4 and f/16 frames of the partly hidden sun to see the starburst appear. The whole exercise takes about 20 minutes and teaches you more about flare than any list of rules.
Frequently asked questions
Does a lens hood stop all lens flare?
No. It blocks light from outside the frame, which prevents most veiling flare. When the light source is inside the frame, only positioning, blocking the source with an object, or lens coatings reduce the ghosts.
Why do ghosts appear on the opposite side of the frame from the sun?
Ghosts are reflections, and in a normal lens they are arranged along a line through the center of the image. A light in one corner produces ghosts extending toward the opposite corner.
Are more expensive lenses less prone to flare?
Often, because they tend to have better coatings, but design matters more than price. Some simple primes with few elements handle flare very well, and some complex zooms show many ghosts. Testing your own lenses tells you more than their price does.
Is lens flare the same as chromatic aberration?
No. Flare comes from stray reflected or scattered light. Chromatic aberration is colored fringing along edges caused by the lens focusing different wavelengths differently. Both are common in backlit scenes, which is why they are often confused.
Can flare damage my camera?
Flare itself cannot. Pointing a lens at the sun for long periods can harm a sensor, a shutter or your eyes through an optical viewfinder, especially with long lenses. Keep sessions with the sun in frame short, and never look at the sun through a telephoto lens.
Related guides
- Lens hood: how hoods block stray light and which shape suits your lens.
- Star-shaped lens flare: the full starburst technique and aperture trade-offs.
- Backlighting: shooting toward the light, where flare is most likely.
- Chromatic aberration: the other artifact that shows up on high-contrast edges.
- Photography filters: which filters are worth their extra reflections.
- Dehaze: restoring contrast in hazy or flared images.
- Photographing sunsets: working with a low sun in or near the frame.