A blend mode is a formula that combines each pixel on a layer with the pixel beneath it. Multiply multiplies the two values, so the result is always darker. Screen multiplies their inverses, so it is always lighter. Overlay and Soft Light do both at once, using 50% grey as the turning point, which adds contrast. Color and Luminosity split a layer into its colour and its brightness and apply only one of them.
The short list of modes in layers and masks in Photoshop tells you what each one is for, and double exposure photography uses two of them creatively. This guide goes underneath: the arithmetic behind each group, worked numbers you can check, the neutral colour that makes each mode invisible, and the handful of photographic jobs where a mode beats a slider. The same maths applies in any layer-based editor, so the names carry over almost unchanged.
What a blend mode calculates
Every blend involves two pixels: the base (what is already there, from the layers below) and the blend (the pixel on the layer whose mode you are changing). The mode is a function that takes those two and returns a result. In Normal mode the function simply returns the blend pixel, which is why an ordinary layer covers what is under it.
The formulas are easiest to read if you think of every value as a number from 0 (black) to 1 (white) instead of 0 to 255. Mid grey is 0.5. Most modes run the same formula separately on the red, green and blue channels. That detail matters: a mode can shift colour as well as brightness, because the three channels of a coloured pixel are three different numbers going through the formula.
Three ideas explain almost everything that follows:
- Neutral colour. Most modes have one value that changes nothing. For Multiply it is white (anything times 1 is itself). For Screen it is black. For Overlay and Soft Light it is 50% grey. A layer filled with a mode’s neutral colour is invisible, and that is what makes grey dodge and burn layers and black “light” layers possible.
- Order matters for some modes. Multiply, Screen, Lighten, Darken and Difference give the same result whichever layer is on top. Overlay, Hard Light, Color and Luminosity do not, because they treat base and blend differently.
- Opacity is a mix with Normal. At 40% opacity the result is 40% of the blended value plus 60% of the untouched base. Opacity never changes the formula, only how much of its output you see.
| Group | Main modes | Neutral colour | Effect |
|---|---|---|---|
| Darken | Darken, Multiply, Color Burn, Linear Burn | White | Result is never lighter than the base |
| Lighten | Lighten, Screen, Color Dodge, Linear Dodge (Add) | Black | Result is never darker than the base |
| Contrast | Overlay, Soft Light, Hard Light, Vivid Light, Linear Light | 50% grey | Darker than grey darkens, lighter than grey lightens |
| Comparison | Difference, Exclusion, Subtract, Divide | Black (Difference, Exclusion, Subtract), white (Divide) | Shows how two layers differ |
| Component | Hue, Saturation, Color, Luminosity | None | Takes one property from the blend layer and the rest from the base |
Multiply and the darken group
Multiply is base times blend. Because both numbers are between 0 and 1, the product can never be larger than either of them. Mid grey over mid grey is 0.5 × 0.5 = 0.25, a clearly darker grey. Black (0) on either layer gives black. White (1) on either layer leaves the other unchanged.
Uses that earn their place in a photo workflow:
- Adding density to a washed-out area. Duplicate the image, set the copy to Multiply and mask it to the pale sky or the overexposed wall. Each pixel is multiplied by itself, so light tones drop a lot (0.8 becomes 0.64) while near-white stays near-white (0.98 becomes 0.96). Clipped white stays clipped: Multiply cannot invent detail that was never recorded.
- The same thing without the file size. Add a Curves or Levels adjustment layer, change nothing in it, and set its mode to Multiply. An untouched adjustment layer blends the image with itself, so it behaves like the duplicate above but adds almost nothing to the file and updates when you edit the layers below.
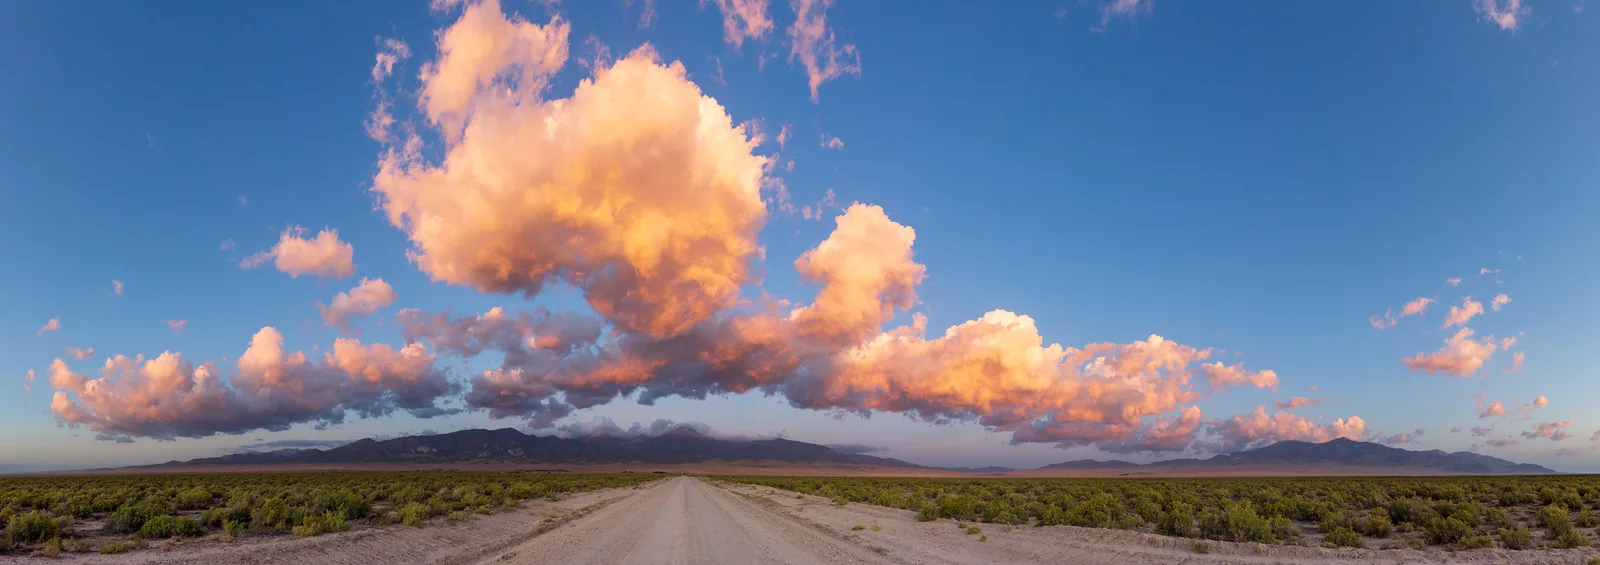
Darken does no arithmetic: it compares the two pixels channel by channel and keeps the lower number in each. Linear Burn (base + blend − 1) and Color Burn darken faster and turn harsh quickly. For photographs, Multiply and Darken cover nearly every real need.
Screen, Lighten and adding light
Screen is Multiply turned upside down: invert both layers, multiply them, invert the result. Written out, it is 1 − (1 − base) × (1 − blend). Mid grey over mid grey gives 1 − 0.25 = 0.75. The result can never be darker than either layer, black changes nothing, and white gives white.
Lighten does no maths at all. It compares the two pixels and keeps the higher value in each channel. That makes it the right mode for combining many frames of bright things on a dark background:
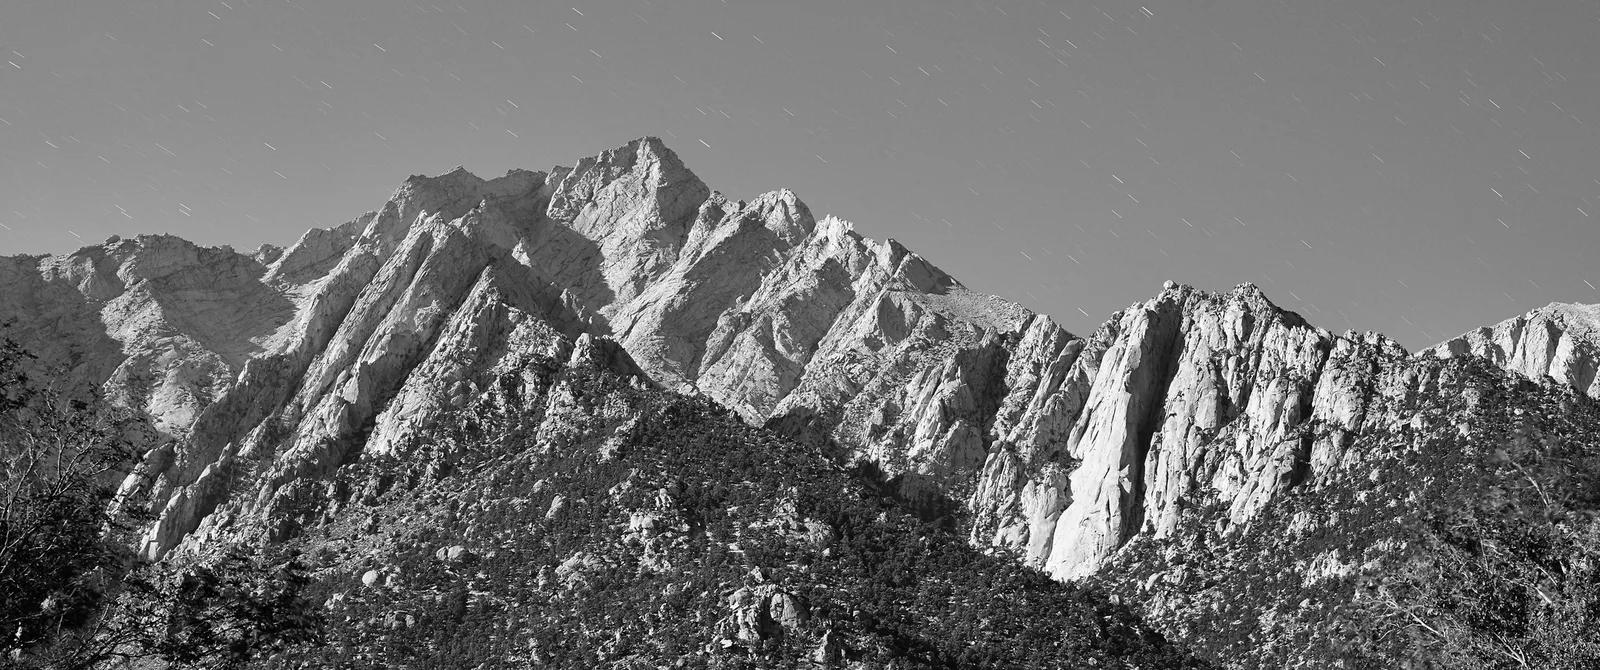
- Star trails. Stack dozens of consecutive frames and set every layer above the bottom one to Lighten. Each star’s position in each frame survives, and the dark sky stays as dark as its darkest frame allows, because sky noise does not add up the way it would with Screen. The shooting side is in star trail photography.
- Fireworks and light trails. Several bursts shot from a tripod combine into one fuller frame the same way. See how to photograph fireworks for the exposures that keep the bursts from clipping.
Choose between the two by asking whether overlapping light should build up. With Lighten, two overlapping bursts of the same brightness stay at that brightness. With Screen they get brighter, which looks more like real added light but also lifts the sky a little with every layer. Linear Dodge (Add) is plain addition, base + blend, with no roll-off: the most physically accurate way to add light, and the quickest to blow out.
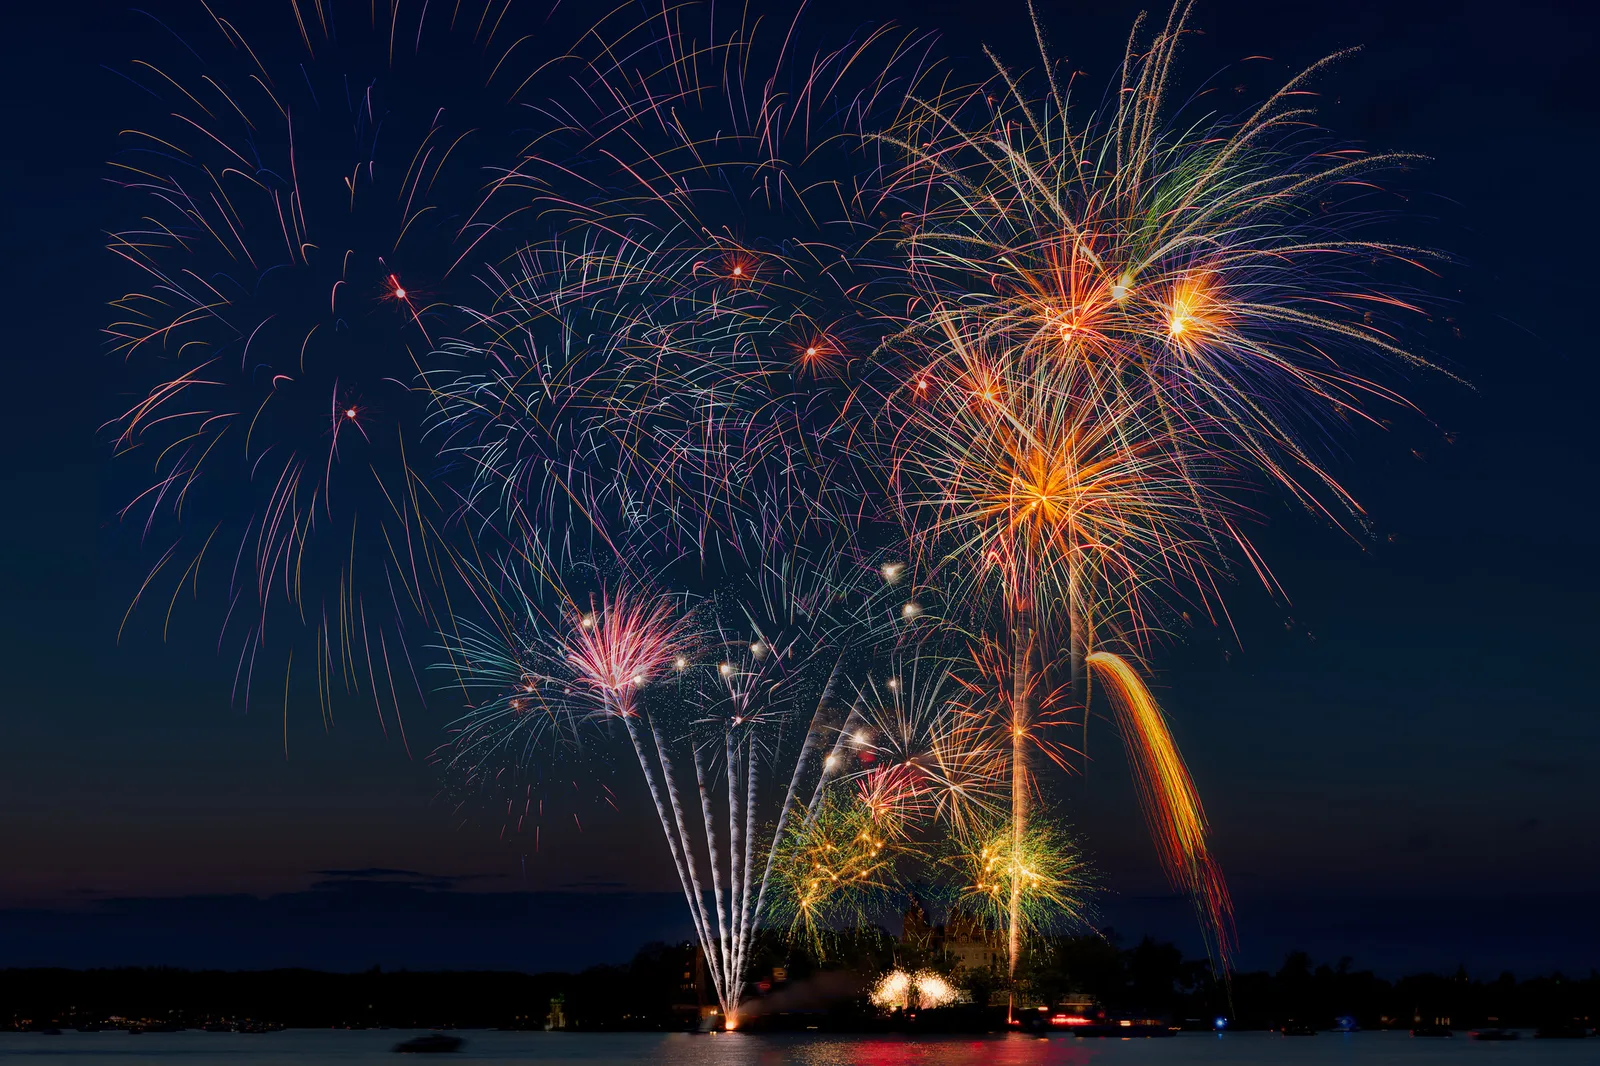
Screen is also how you add anything photographed or painted on black: a lens flare, falling snow, sparks, a beam of light. Put the element on its own layer, set it to Screen, and the black disappears.
Overlay, Soft Light and Hard Light
The contrast group applies Multiply to one half of the tonal range and Screen to the other, each doubled so that the two halves meet at mid grey.
Overlay decides by the base pixel. Where the base is darker than 0.5, the result is 2 × base × blend (a doubled Multiply). Where the base is lighter, it is 1 − 2 × (1 − base) × (1 − blend) (a doubled Screen). Blend an image with itself in Overlay and a shadow value of 0.25 falls to 0.125 while a highlight of 0.75 rises to 0.875. That is an S-curve: darks darker, lights lighter, pure black and pure white fixed in place.
Hard Light is the identical formula with the roles swapped: the blend pixel decides which half applies. Overlay with layer A over layer B gives exactly the same picture as Hard Light with B over A.
Soft Light is the gentle member of the family. Its exact formula differs slightly between editors, but the behaviour is consistent. A blend value of 0.5 changes nothing. Pure black on a Soft Light layer squares the base (0.5 becomes 0.25) and pure white takes roughly its square root (0.5 becomes about 0.71). The important consequence is that Soft Light can never drive a midtone all the way to black or white, so it is hard to wreck a picture with it.
Two things follow for everyday editing:
- Contrast without a curve. An untouched adjustment layer set to Soft Light at 20 to 40% opacity is a quick, gentle contrast boost. For a deliberate result, a shaped curve is more controllable: see curves and levels.
- High pass sharpening. A High Pass filtered copy is mid grey everywhere except along edges, where it is slightly lighter on one side and darker on the other. Grey is neutral in this group, so only the edges change. Soft Light gives mild sharpening, Overlay more, Hard Light more again.
Linear Light (base + 2 × blend − 1) has no roll-off, which makes it too harsh for general contrast but exact enough for techniques that have to add back precisely what they subtracted. That is why frequency separation rebuilds the image with the texture layer in Linear Light.
Dodging and burning on a Soft Light grey layer
The neutral colour is what makes this classic technique work. A layer filled with 50% grey in Soft Light mode is invisible. Anything you paint lighter than grey lightens the image under it, and anything darker than grey darkens it, with the image’s own texture passing through the formula intact.
- Add an empty layer above the image and fill it with 50% grey (the Fill command offers it as a preset in most editors). Set the mode to Soft Light.
- Choose a soft round brush at 100% opacity and a flow of 3 to 10%. Low flow lets the effect build with repeated strokes.
- Paint with white to dodge and black to burn. Switching between the two colours with one key keeps the work fluid.
- To undo an area, paint 50% grey back over it. The layer returns to neutral there.
- Lower the layer opacity at the end. Stepping away and reducing it to 60 or 70% almost always improves the result.
Overlay on the same grey layer hits harder and pushes saturation up where you darken. Where to lighten and darken, and why, is covered in dodging and burning.
Color and Luminosity: separating tone from colour
The component modes do not run a formula per channel. They describe each pixel as a hue, a saturation and a brightness, then build the result from a mix of the two layers.
- Luminosity takes brightness from the blend layer and hue and saturation from the base.
- Color takes hue and saturation from the blend layer and brightness from the base. It is the exact reverse of Luminosity.
- Hue takes only the hue from the blend layer.
- Saturation takes only the saturation from the blend layer.
The practical value is control over side effects. A steep contrast curve in Normal mode raises saturation, because it pushes the three channels of each pixel further apart. Set that adjustment layer to Luminosity and the contrast stays while the colour remains as it was. Sharpening is another case: sharpen a merged copy and set it to Luminosity, and the coloured halos that strong sharpening can create along edges disappear, because only brightness is taken from the sharpened layer.
Color mode works the other way. A white balance fix, a colour grade or a hand-painted tint on a Color layer changes hue and saturation and leaves every tone exactly where it was. It is also the way to apply the looks described in color grading in photography without disturbing a tonal balance you have already finished.
Difference: aligning and comparing layers
Difference subtracts one pixel from the other and discards the sign. Identical pixels give 0, which is black. Any mismatch shows as something lighter than black, and the bigger the mismatch, the brighter it shows.
That makes it a measuring tool:
- Aligning frames by hand. Put one frame over the other, set the top one to Difference, and nudge or rotate it until the image goes as dark as possible. Edges that are out of register glow as bright outlines. This is useful when automatic alignment fails on a bracketed set before exposure blending, or when lining up a scan with a re-scan. Switch back to Normal when the layers match.
- Finding what an edit changed. Put the edited version over the original in Difference. Black means untouched. This shows exactly where a retouch, a filter or a compression setting altered the picture.
Opacity, Fill and Blend If
Opacity scales the whole layer, including any layer effects. Fill scales only the layer’s pixels and leaves effects such as strokes and glows at full strength. For most modes the two sliders give identical results on a plain photo layer. In Photoshop, eight modes respond differently to Fill: Color Burn, Linear Burn, Color Dodge, Linear Dodge, Vivid Light, Linear Light, Hard Mix and Difference. With those, lowering Fill tends to keep the effect in the highlights or shadows while releasing the midtones, so if one of them looks crude at reduced Opacity, try the same number on Fill instead.
Blend If hides parts of a layer according to brightness, with no mask. In Photoshop it sits in the Layer Style dialog as two gradient bars. The upper bar hides the layer’s own darkest or lightest pixels. The lower bar hides the layer wherever the image underneath is dark or light. Dragging a slider gives a hard cut-off; holding Alt or Option while dragging splits the slider in two, and the gap between the halves becomes a smooth transition.
Typical uses: keep a colour grade out of the deepest shadows, or restrict a grain layer to the midtones. It is a quick, live form of the brightness-based masking explained in luminosity masks. Menus and dialog layouts move between versions, so look for the feature by name if it is not where you expect.
The same modes in other layer-based editors
The formulas above are not owned by one program. Most layer-based editors, desktop or browser, offer the same core set under the same names, and layered files moved between them usually keep their modes. The differences are in the edges.
| What you want | Usual name | Also called |
|---|---|---|
| base + blend | Linear Dodge (Add) | Add, Addition |
| Brighten by dividing | Color Dodge | Dodge |
| Darken by dividing | Color Burn | Burn |
| Brightness only | Luminosity | Luminance, Lightness (close, not always identical) |
Points that catch people moving between programs:
- Soft Light is not standardised. A grey dodge and burn layer built in one editor can look slightly stronger or weaker in another. Judge it by eye after moving a file.
- Raw editors generally have no blend modes. They work with masks and adjustments on a single image. Blend modes belong to pixel editors such as Photoshop, Affinity Photo and the free options compared in free photo editors.
Common mistakes
Leaving a contrast mode at 100%. Overlay at full strength on a duplicate crushes shadows and clips highlights. Fix: treat 100% as the ceiling, start at 30%, and compare against the layer switched off.
Expecting Multiply to recover a blown sky. White times white is white. Fix: recover highlights in the raw file first, or blend in a darker exposure; use Multiply only where there is still tone to build on.
Using Screen to stack star trail frames. The sky brightens with every layer and the trails lose contrast. Fix: use Lighten, which keeps the sky at the level of a single frame.
Colour shifts from a contrast adjustment. Skin goes orange and skies go electric after a strong curve. Fix: set the adjustment layer to Luminosity and add saturation separately if the picture needs it.
Try this: five modes on one photograph
Allow 15 minutes. Open any photograph with a full range of tones in a layer-based editor.
- Add an untouched Curves or Levels adjustment layer and set it to Multiply. Note how much the light tones fall and how little pure white moves. Switch it to Screen and watch the shadows instead.
- Switch the same layer to Overlay, then Soft Light, then Hard Light, and rank them by strength.
- Make a steep S-curve on a second Curves layer in Normal mode. Look at the most saturated colour in the picture, then change the mode to Luminosity and watch only that colour as you toggle between the two.
- Duplicate the photo layer, move the copy two pixels sideways, and set it to Difference. Every edge lights up. Move it back and confirm the picture goes completely black.
- Add a 50% grey layer in Soft Light and spend the last five minutes brightening one area and darkening another with a low-flow brush. Toggle the layer to see what you built.
Frequently asked questions
What is the difference between Overlay and Soft Light?
Both darken where the tones are below mid grey and lighten where they are above it, which adds contrast. Overlay is stronger and raises saturation more. Soft Light uses a gentler curve and cannot push a midtone to pure black or white, which makes it the safer choice for dodge and burn layers and subtle contrast.
Which blend mode makes black transparent?
Screen, Lighten and Linear Dodge (Add) all treat black as neutral, so anything shot or painted on black shows only its bright parts. Screen is the usual choice for flares, sparks, rain and snow. For the opposite job, hiding white, use Multiply or Darken.
When should you use the Luminosity blend mode?
Use it whenever an adjustment should change brightness but not colour. The common cases are contrast curves that would otherwise oversaturate the picture, and sharpening layers that would otherwise put coloured edges around fine detail. Its mirror image, Color mode, is for changing colour while leaving the tones alone.
Are blend modes the same in every editor?
The core modes (Multiply, Screen, Overlay, Lighten, Darken, Difference, Color, Luminosity) use the same maths almost everywhere. Soft Light and a few specialised modes vary slightly, and some programs use shorter names such as Add, Dodge and Burn. Check the result by eye after moving a layered file between programs.
Related guides
- Layers and masks in Photoshop: the layer types, masks and clipping that blend modes sit on top of.
- Luminosity masks: restricting any of these blends to a range of brightness.
- Dodging and burning: where to lighten and darken once the grey layer is set up.
- Double exposure photography: Screen and Lighten used to merge two pictures into one.
- Frequency separation: a retouching method built on Linear Light.
- Star trail photography: shooting the frames that Lighten stacks into trails.
- How to add film grain to digital photos: grain layers blended in Overlay or Soft Light.