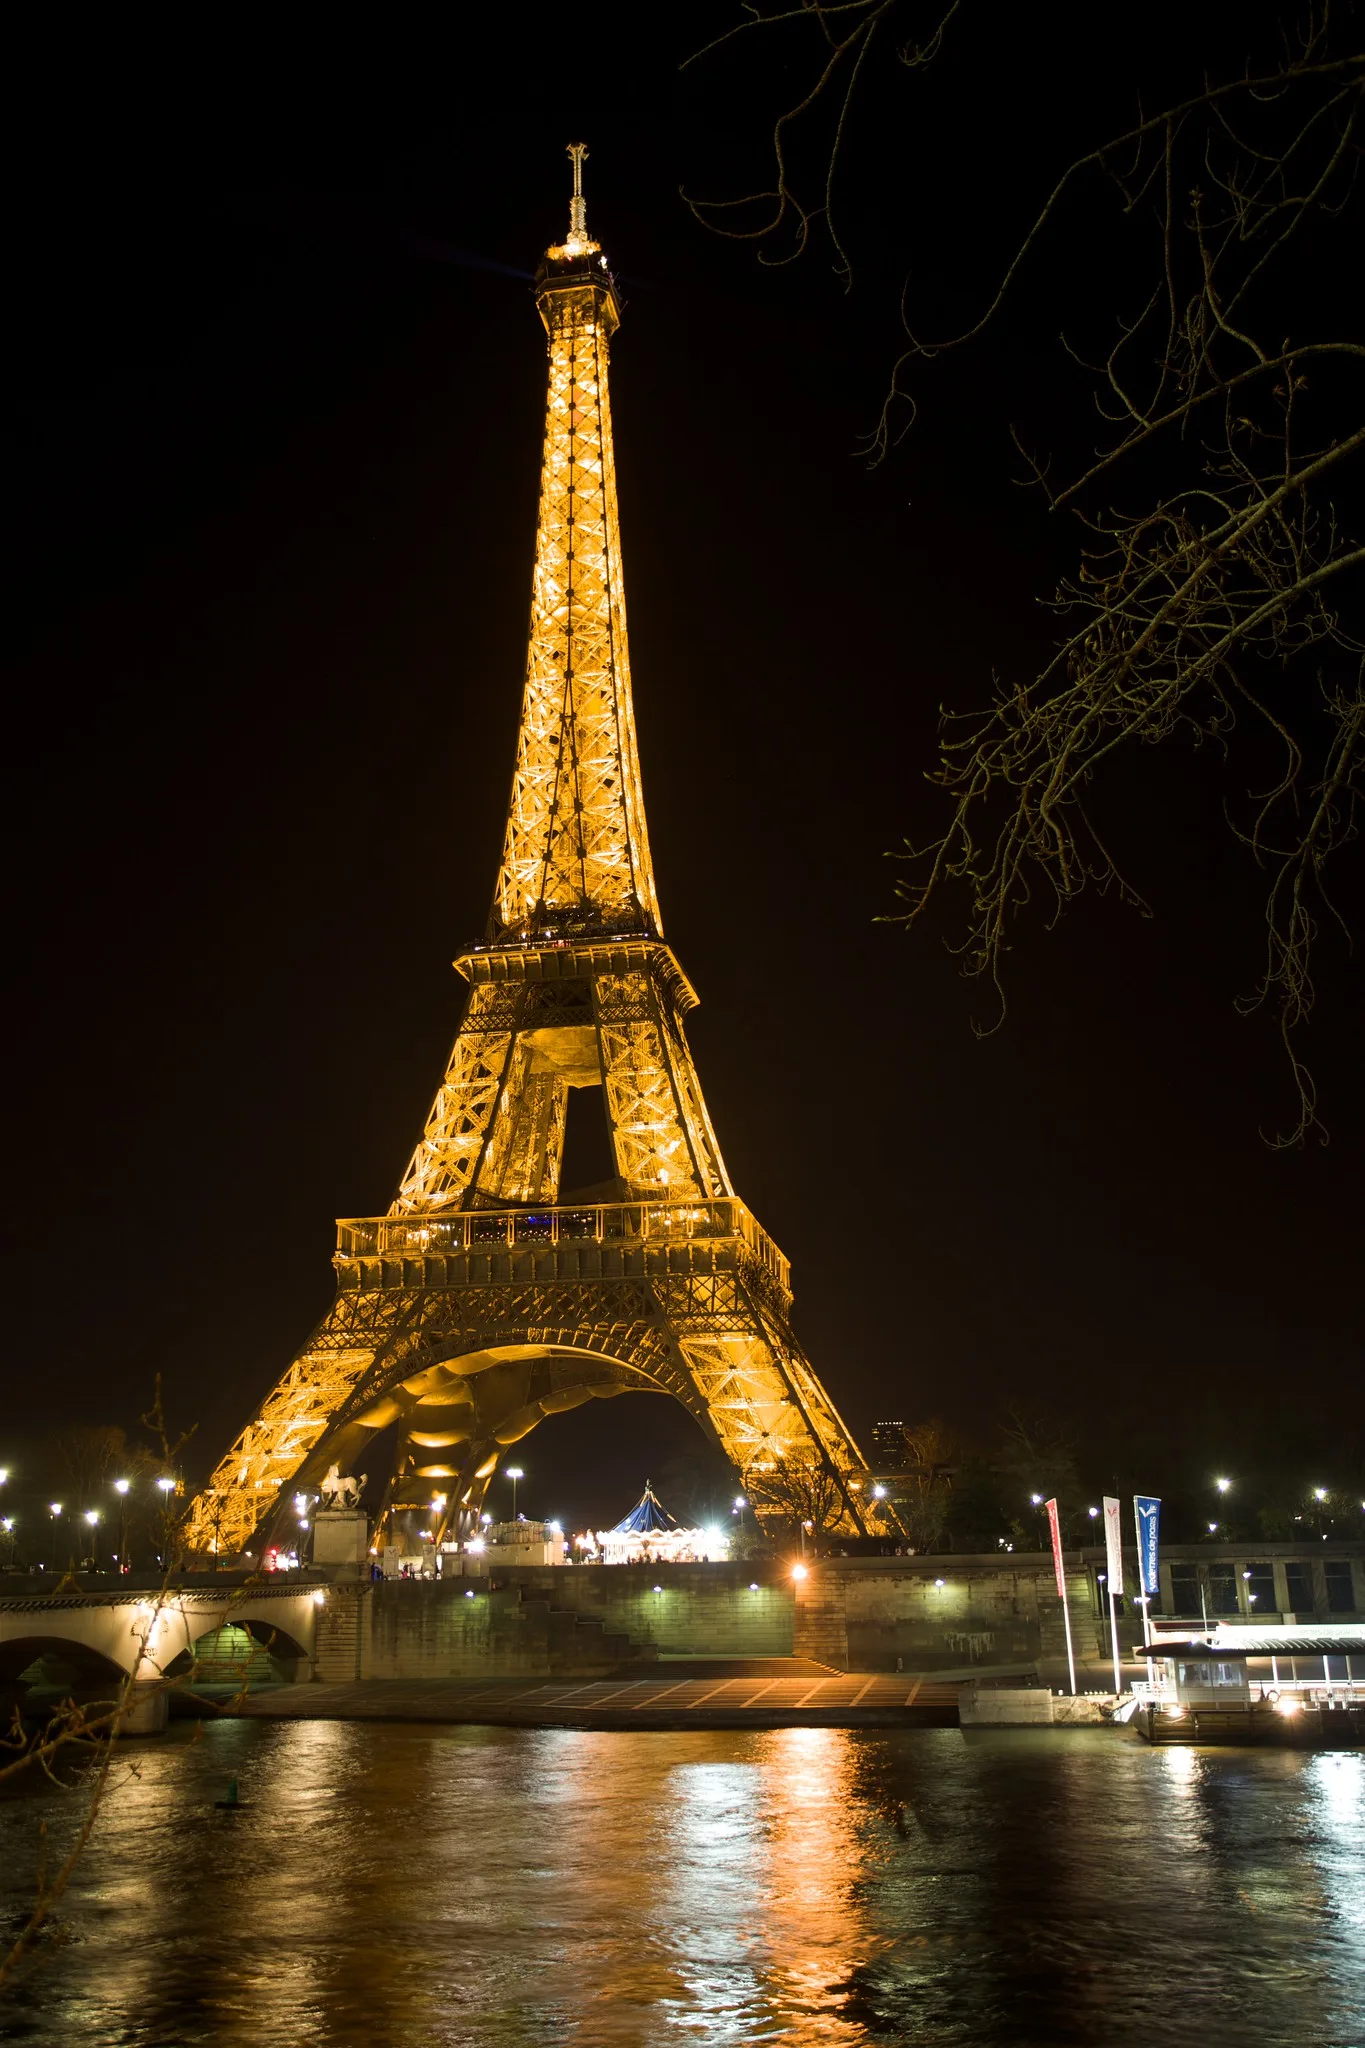
Towers draw the eye upward. A famous iron landmark glowing at night, a stone church spire above village roofs, a clock tower over a town square, a water tower on the edge of a farm town or a slender lookout above a forest all invite us to look up and wonder. Tower photography combines architecture, travel and a sense of scale, and it teaches beginners some of the most useful skills in photography: controlling lines, choosing a viewpoint and timing the light.
This beginner guide covers why towers are rewarding subjects, kinds of towers, finding the best viewpoint, keeping lines straight, looking up, towers in their setting, light through the day, towers at night, framing and foreground, details, the view from the top, crowds and famous landmarks, settings, phones, editing, common mistakes and a short practice exercise. It pairs well with the guide to architecture photography.
Why towers are rewarding subjects
Towers are simple in idea but full of possibility.
- Strong verticals. Tall shapes make bold, simple compositions, especially in portrait orientation.
- Landmarks. Many towers define a city or town skyline and instantly tell viewers where they are.
- Scale. A tower rising above houses, trees and people shows height in a single picture.
- Structure. Lattice iron, carved stone, brick and steel reveal how the tower was built.
- Change. The same tower looks completely different at dawn, noon, sunset and night.
Because towers are often photographed, the challenge is to find a fresh view. Walking a little farther, waiting for unusual light or returning in a different season can make a familiar tower feel fresh to viewers.
Thinking like a tower photographer
Before lifting the camera, spend a moment asking what makes this particular tower special. Is it the height, the material, the way it catches light or the way it sits above everything around it? A slender spire might be about grace, a heavy stone keep about strength and a rusty water tower about memory and small town pride. Once you name the quality you want to show, choices about viewpoint, lens and time of day become much easier. Write one or two words in a notebook or phone note, such as “lonely” or “towering,” and let them guide each frame you make.
It also helps to think in sets. A single picture rarely tells the whole story of a tower, but three or four pictures can: a distant view, a close portrait, a detail and a view at night. Planning a small series encourages you to explore more widely, and the pictures look wonderful together on a wall or in an album.
Kinds of towers
- Famous landmarks. Iron, steel and concrete towers that define great cities.
- Church spires and bell towers. Stone and wood towers rising above towns and villages.
- Clock towers. Civic towers with faces that glow at night.
- Water towers. Round tanks on legs, often painted with a town name.
- Lighthouses. Coastal towers with lamps and stripes. See the guide to lighthouse photography.
- Observation and fire towers. Lookouts above forests and hills.
- Industrial towers. Chimneys, cooling towers and communications masts.
Each type suggests a different approach. A landmark tower may suit a grand view across a river, a church spire a view over rooftops and a water tower a simple portrait against a blue sky.
Finding the best viewpoint
Where you stand matters more than any setting.
- Walk around. Circle the tower at different distances before deciding on a view.
- Across water. Rivers, lakes and harbors give open views and reflections.
- From a hill. High ground puts you closer to the middle of the tower, which keeps lines straight.
- Down a street. A street lined with buildings can frame a distant tower at the end.
- Through gaps. Arches, trees and alleys reveal the tower in surprising ways.
Use a map to find parks, bridges and hilltops with a line of sight to the tower. Local photographers often share their favorite viewpoints, and a few minutes of research can save hours of walking. The guide to location scouting explains how to plan.
Keeping lines straight
Tilting the camera up to fit a tall tower makes it lean backward. This is called converging verticals.
- Step back. From farther away you can keep the camera level and still fit the tower in.
- Go higher. A hillside, bridge or upper floor reduces the upward angle.
- Use a longer lens. From a distance, a telephoto shows a tall tower with straight sides.
- Crop later. Shoot wide and level, then crop away extra foreground.
- Correct in editing. Most editing apps can straighten verticals in seconds.
Leaning lines are fine when they are bold and deliberate, as when looking straight up from the base. Slightly leaning lines simply look like a mistake. The guide to perspective distortion explains why this happens.
Orientation and placement
Tall towers naturally suit portrait orientation, which matches their shape and leaves little wasted space at the sides. Landscape orientation works better when the setting matters, such as a tower on the edge of a wide skyline or a spire above a long row of houses. Try both every time. Place a lone tower slightly off center with room in the direction it seems to lean or face, or center it boldly when the scene is symmetrical, such as a tower at the end of a straight avenue. The guide to the rule of thirds explains how placement changes balance.
Looking up
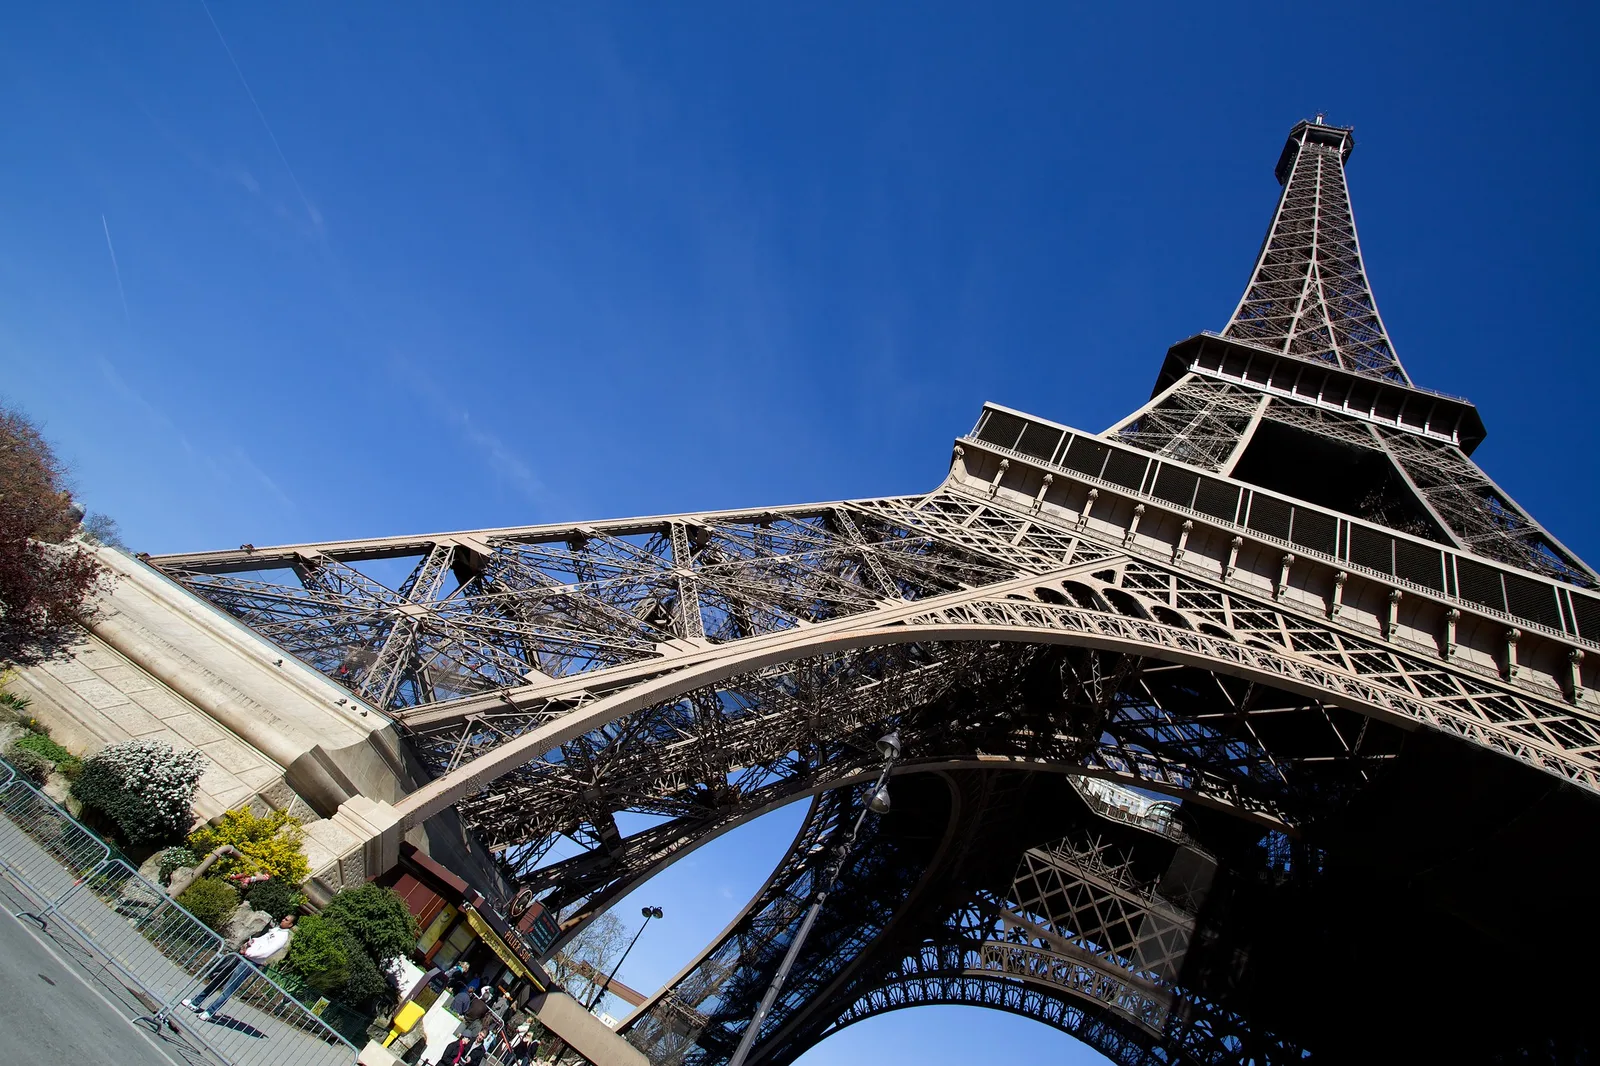
Standing at the base and looking up turns a tower into a dramatic, abstract picture.
- Wide lens. Exaggerates height and makes the top seem far away.
- Center it. Standing directly beneath a symmetrical tower gives a striking pattern.
- Diagonal views. Standing off to one side makes the tower sweep across the frame.
- Clean sky. A deep blue sky or a few clouds make a simple background.
- Lattice patterns. Iron towers reveal webs of beams when seen from below.
Hold the camera steady and take care where you stand, since busy plazas and roads surround many towers. Black and white can make these upward views even more graphic.
Towers in their setting
A tower is part of a place. Showing its setting tells the viewer much more.
- Skylines. A tower rising above a city shows how it dominates its surroundings.
- Rooftops. A church spire above tiled roofs captures the character of a town.
- Countryside. A water tower or silo above fields shows small town life.
- Reflections. Water doubles the tower and adds calm.
- Compression. A long lens from far away stacks the tower behind houses, trees or hills.
A tower small in a big landscape can be just as powerful as a close view. The guide to lens compression explains how distance changes the relationship between near and far.
Light through the day
- Sunrise. First light touches the top of a tower before the streets below, creating a glowing tip.
- Golden hour. Warm side light shows stone texture and ironwork. See the guide to golden hour photography.
- Midday. Hard light suits graphic views from below with strong shadows.
- Storms. Dark clouds behind a sunlit tower look dramatic.
- Fog. Mist can hide the top of a tall tower, creating mystery.
Notice which side of the tower faces the sun at different times. A quick check on a map or a sun app helps you choose when to return for the best light.
Weather and seasons
Weather transforms towers. Low cloud slicing through a tall tower makes it look impossibly high, and a clearing storm can light it brightly against a dark sky. Snow on the ledges of a stone tower outlines every carving, and a hot summer haze softens a distant skyline into layers. Autumn trees around a church spire bring warm color, while bare winter branches make delicate frames. Keep an eye on the forecast and treat unusual weather as an invitation to go out rather than a reason to stay home.
Towers at night
Many towers are lit at night, and some sparkle or change color.
- Blue hour. Shoot soon after sunset, when the sky is deep blue and balances with the lights. See the guide to blue hour photography.
- Tripod. Long exposures keep detail sharp and noise low.
- Reflections. Lit towers mirrored in rivers and wet streets add sparkle.
- Light trails. Traffic passing in the foreground adds streaks of color.
- Starbursts. Small apertures turn bright lamps into stars.
Expose for the brightest lit parts of the tower so they do not turn pure white. Some famous towers have rules about how night images may be used commercially, so check before selling any.
Ready to photograph whole skylines after dark? The guide to cityscape photography covers city views and urban light.
Framing and foreground
- Natural frames. Branches, arches and doorways frame the tower and add depth.
- Foreground interest. A bench, flowers, a statue or a fountain gives the eye a starting point.
- Leading lines. Paths, roads, rails and rivers lead toward the tower.
- People. A small figure looking up shows scale and adds story.
- Seasons. Spring blossoms, autumn leaves or snow in the foreground set the mood.
Look for one strong foreground element rather than many. The guide to framing in photography explains how frames focus attention.
Details and the view from the top
Move closer for details, and climb up for a different view.
- Ironwork and rivets. Lattice towers show beautiful patterns up close.
- Clock faces. Hands, numerals and glowing dials make lovely close ups.
- Carvings and bells. Church towers hold gargoyles, saints and bells.
- Painted names. Water towers often carry a town name or emblem.
- From the top. Many towers have observation decks with sweeping views of the city below.
On observation decks, press the lens close to the glass to cut reflections, and look for patterns in streets and rooftops below. The guide to photographing through glass has more tips.
Crowds and famous landmarks
- Go early. Sunrise brings soft light and quiet plazas.
- Shoot from afar. Distant viewpoints avoid crowds at the base.
- Look up. Angling the camera up leaves people out of the frame.
- Include people well. One person looking up can tell a lovely story.
- Find a fresh angle. Side streets and parks often hide the most interesting views.
The guide to photographing crowded landmarks has more strategies for busy places.
Telling the story of a tower
Every tower has a story. A clock tower may have kept time for a town for generations, a water tower may carry the name of a place proudly painted by local people, and an iron landmark may once have been called ugly before becoming beloved. Reading a little history before a visit helps you notice details that matter, such as an old bell, a plaque or a repaired section of stone. Pictures of people living around the tower, such as children playing in the square below or a cyclist passing at dusk, show how it fits into daily life. Shared with a short caption, these pictures become far more meaningful than a postcard view.
Settings and lenses
- Wide lens. Looking up and close views.
- Standard lens. Natural views with the setting.
- Telephoto lens. Distant towers, compression and details.
- Aperture. f/8 to f/11 for sharpness, f/11 to f/16 for starbursts at night.
- Shutter speed. Hand held by day, tripod at night.
- ISO. Low on a tripod, higher for hand held dusk views.
Using a phone
Phones are great for towers. Turn on the grid to keep lines straight, use the telephoto lens from a distance and try the ultra wide lens for dramatic views from below. Night mode handles lit towers well when the phone is steady. Portrait orientation suits tall, narrow towers.
Editing tower photos
Straighten verticals and horizons first. Lower highlights to save bright skies and lights, and lift shadows gently. Add a touch of clarity for stone and iron texture. Black and white suits graphic views from below, while warm tones suit golden hour and night views.
Safety and respect
Stay on public paths and observe signs around towers, especially industrial and communications towers, which are often fenced for good reason. Never climb a tower without permission. Busy plazas and roads surround many landmarks, so watch for traffic and cyclists when looking up through a viewfinder. Church towers are places of worship, so check visiting hours and avoid flash during services. Respecting these rules keeps you safe and keeps places open for other photographers.
Common mistakes
- Slightly leaning towers. Keep lines straight or make them boldly dramatic.
- Cutting off the top. Leave a little space above the tip.
- Blown out lights. Expose for bright lit areas at night.
- Same view as everyone. Explore side streets, parks and water.
- Cluttered foregrounds. Simplify with one strong element.
- Ignoring the light. Return when the light flatters the tower.
Try this: a 10-minute tower study
Choose one tower near you, from a church spire to a water tower, and make five pictures in ten minutes.
- A distant view showing the tower in its setting.
- A straight, level portrait of the whole tower.
- A dramatic view looking up from the base.
- A detail, such as a clock, window or painted name.
- A framed view through branches, an arch or a street.
Return at blue hour and repeat the first view to compare day and night.
Frequently asked questions
How do I stop towers from leaning in photos?
Keep the camera level, step back or go higher, and correct verticals in editing.
What lens is best for photographing towers?
A telephoto from a distance for straight sides, and a wide lens for dramatic views from below.
When is the best time to photograph a tower?
Sunrise for a glowing tip, golden hour for warm texture and blue hour for lit towers.
How do I photograph a famous tower without crowds?
Arrive early, shoot from a distance or angle the camera up to leave people out.
Curious about tall towers by the sea? The guide to lighthouse photography covers coastal towers, beams and storms.
For terms such as converging verticals, compression and blue hour, see the photography glossary.