A photogram is a photograph made without a camera: you lay objects directly on light-sensitive paper, expose it to light, and the paper records their shadows at life size. Where an object blocks the light the paper stays pale, and where light reaches it the paper turns dark. The simplest versions use sunlight on cyanotype paper or on ordinary black and white photographic paper; the classic version is made in a darkroom under an enlarger or a single bulb.
This page covers the three ways to make one, how to choose objects, how to test exposure, how to compose when there is no viewfinder, and what to do with the finished sheet. It does not repeat the chemistry and paper coating in cyanotype photography or the room and equipment in darkroom basics; it deals with the part those pages leave out, which is making pictures from objects and shadows alone.
What a photogram is, and why the tones are reversed
A camera uses a lens to form a small image of a distant scene. A photogram has no lens and no image in that sense. It is a shadow, caught by the surface it falls on. Three things follow from that.
- Everything is life size. A leaf 8 centimeters long makes a shape 8 centimeters long. The sheet of paper is the frame, and the objects must fit on it.
- The tones are reversed. The papers used here darken where light strikes them. An opaque object leaves a pale shape on a dark ground: white on black with darkroom paper, white on blue with cyanotype. The result reads like a negative.
- Each one is unique. There is no negative to print again. The sheet you exposed is the only original, which is one reason to scan it.
The idea is as old as photography. Some of the first photographs ever made were leaves and pieces of lace laid on sensitized paper in sunlight, which William Henry Fox Talbot called photogenic drawings. Artists in the 1920s made the technique famous as a form of abstract art; Man Ray, working in Paris, named his versions rayographs.
Sun prints: cyanotype paper and lumen prints
Two versions need no darkroom at all. Both use the sun as the light source, and both are slow enough that you can set them up in ordinary indoor light.
Cyanotype paper
Cyanotype paper is coated with iron salts that react to ultraviolet light. You can buy it ready coated or coat your own. Lay the objects on the sheet indoors, cover them with a sheet of clear glass to hold them flat, and carry the whole stack into the sun. Exposure takes minutes: a few in strong direct sun, a good deal longer in weak sun or under cloud. The uncovered paper visibly changes color as it exposes, and the instructions with the paper say what to look for.
Development is plain water. Rinse the sheet until the unexposed coating has washed out of the covered areas and they are white, then dry it. The exposed areas are blue, and the blue deepens over the following day as the print dries. This is the only version on this page that needs no chemicals beyond what is already in the paper.
Lumen prints
A lumen print uses ordinary black and white photographic paper, the kind made for darkroom printing, but with no developer. Old, out-of-date paper works well. Place plants or other objects on the paper, press them flat under glass, and leave the stack in the sun for a long time: anything from tens of minutes to several hours. Given that much light the paper darkens by itself, and it does so in color. Pinks, purples, browns and oranges are common, and they vary with the brand of paper, the length of the exposure and the moisture that fresh plants give off under the glass.
The result is unstable. The paper is still sensitive, so the picture keeps darkening whenever it is in the light. You can fix it, which makes it permanent but shifts the colors and usually makes them paler, or scan it first and keep the original in the dark.
| Cyanotype paper | Lumen print | Darkroom photogram | |
|---|---|---|---|
| Light source | Sun | Sun | Enlarger, bulb or flashlight |
| Typical exposure | Minutes | Tens of minutes to hours | Seconds |
| Processing | Water only | None, or fixer and a wash | Developer, stop bath, fixer, wash |
| Room needed | Any room, plus a place in the sun | Any room, plus a place in the sun | A room that can be made dark, with a safelight |
| Look | White shapes on blue | Pale shapes on soft pinks, purples and browns | White and gray shapes on black |
Curious which other old processes can be printed by sunlight? Alternative photography processes gives an overview of the processes, how to begin, how to combine analog and digital workflows and how to set up a workspace.
The darkroom version: an enlarger or a bare bulb
Darkroom paper used with developer is far more sensitive than either sun process. Exposures are counted in seconds, the blacks are deep and neutral, and translucent objects record in a long range of grays. In exchange you need a room that can be made fully dark and a safelight. Black and white paper responds to blue and green light and is almost blind to deep amber and red, so under the safelight named in the paper’s instructions you can see what you are doing without exposing the sheet.
- Set out four trays in order: developer, stop bath, fixer and water, mixed as their labels direct.
- Set up the light. With an enlarger, leave the negative carrier empty, raise the head until the light covers the whole sheet with room to spare, and close the lens down two or three stops so the exposure is long enough to time. Without an enlarger, a single small bulb or a flashlight fixed well above the table does the same job.
- Switch to the safelight and take out one sheet. Close the paper box before any white light comes on again.
- Lay the paper shiny side up and arrange the objects on it.
- Expose for the time found from a test strip, described below.
- Develop for the full time on the developer’s instructions, rocking the tray gently. Do not pull the sheet early because it looks dark; under a safelight everything looks darker than it is.
- Stop, fix and wash as described further down, then dry.
If you are using a bulb and the paper goes black at the shortest time you can manage, the light is too strong. Move it farther away or use a dimmer one. Distance is a powerful control: doubling the distance from a small lamp to the paper cuts the light to a quarter, so the same exposure takes four times as long.
Choosing objects: opaque, translucent and three-dimensional
Objects fall into three groups, and each records differently.
- Opaque and flat. Keys, scissors, coins, cut paper shapes, washers, combs. These block the light completely and give a clean, pale silhouette with a hard edge. They show outline and nothing else, so choose things with a distinctive outline.
- Translucent. Leaves, petals, feathers, lace, tissue, tracing paper, thin fabric, glassware, a dish of water. These pass some light, so they record as grays, and the grays show their inner structure: the veins of a leaf, the weave of a cloth, the thickness of a glass rim. This is where photograms become more than outlines.
- Three-dimensional. A spring, a seed head, a drinking glass, a crumpled sheet of plastic, a hand. Only part of the object touches the paper. The touching parts print sharp and pale; the parts that rise off the paper print soft and gray, because light gets in underneath them.
Why distance from the paper softens the edge
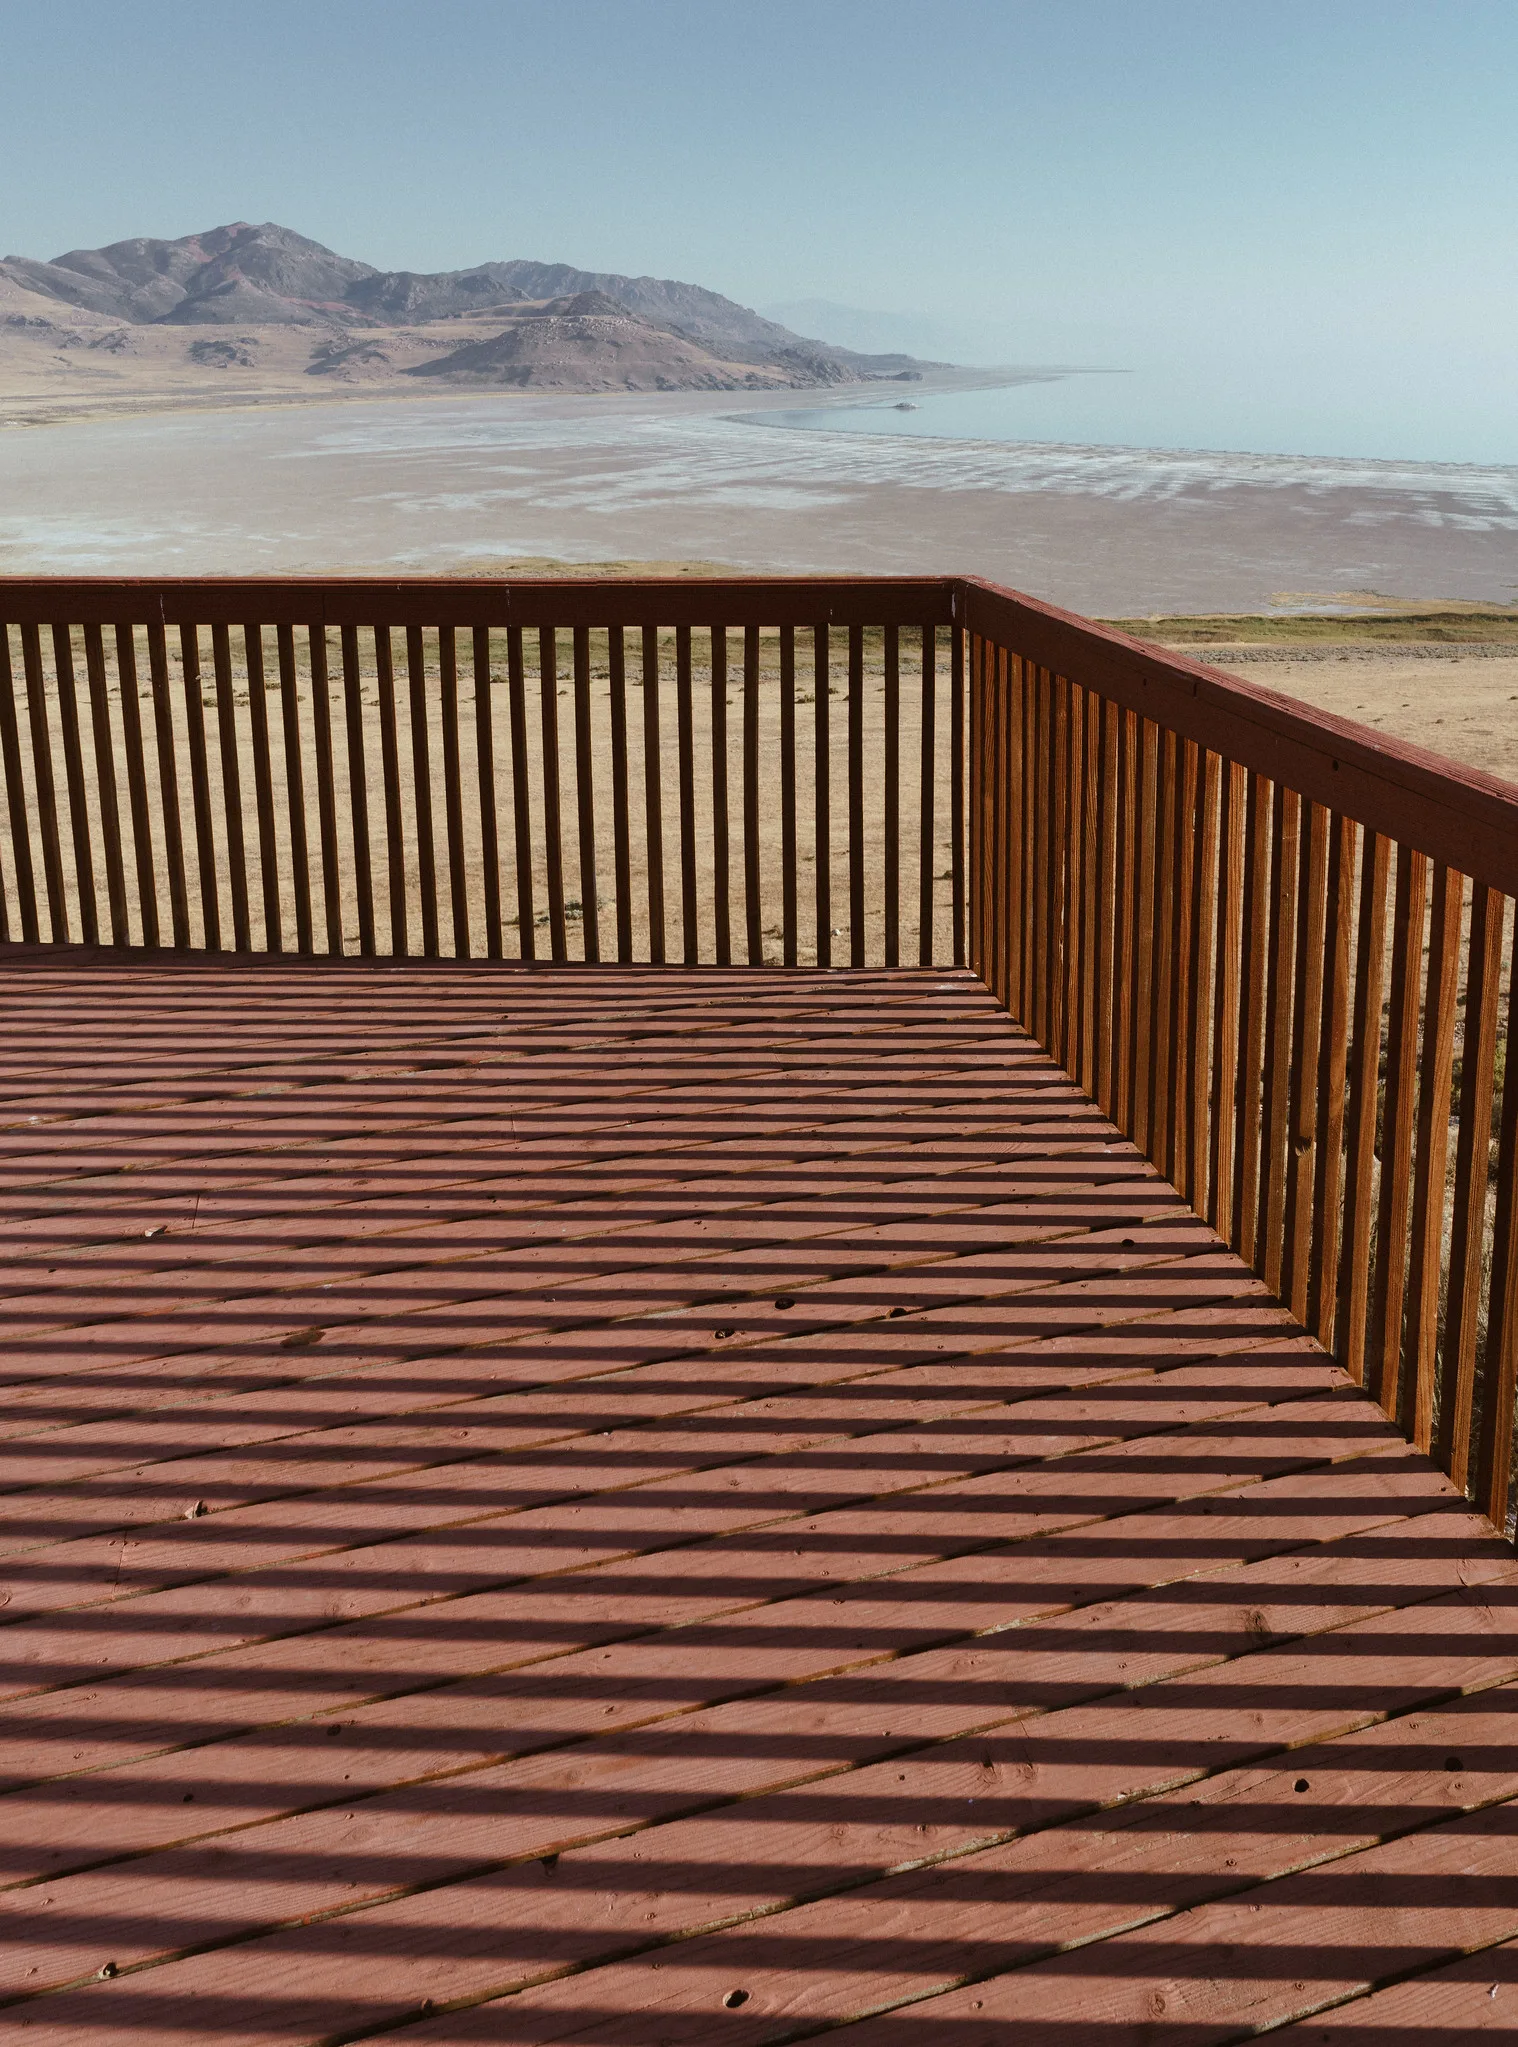
No light source is a perfect point. Each edge of an object casts a zone of partial shadow, and the width of that zone depends on three things: it grows with the height of the edge above the paper, it grows with the size of the light source, and it shrinks as the source moves farther away. This is the same rule that separates hard light from soft light in any photograph.
The sun is small in the sky, about half a degree across, so in direct sun the blur at an edge is only about one hundredth of the edge’s height above the paper. A petal held 10 millimeters up still prints almost sharp. Under an overcast sky the whole sky is the source, and anything not pressed flat dissolves into a soft blur. An enlarger lens closed down and raised high is also a small source and gives crisp shadows; a large frosted bulb held close gives soft ones.
Use this deliberately. Press everything flat under glass for maximum sharpness. Leave a flower standing so the petals touching the paper are crisp and the rest fades away. Or aim a small flashlight from low at one side, which stretches the shadow of a three-dimensional object across the sheet like the long shadows in shadow photography.
One caution for sun prints: ordinary clear glass is fine as a cover, but glass or plastic sold as ultraviolet-filtering for picture framing blocks the very light that cyanotype needs.
Testing exposure with a strip
Guessing wastes paper. A test strip gives several exposures on one small piece, so you can choose the right time by looking.
- Cut a strip from a sheet of the same paper and lay it where the picture will go. Put a sample of your object on it, especially if the object is translucent.
- Expose the whole strip for one step. In the darkroom a step might be 2 seconds; in the sun, a minute or two for cyanotype.
- Cover one fifth of the strip with a piece of opaque card and expose for another step.
- Move the card to cover two fifths and expose again. Continue until only the last fifth is uncovered for the final step.
- Process the strip exactly as you will process the print. With 2 second steps, the five bands have received 2, 4, 6, 8 and 10 seconds.
Read the strip in normal room light once it is fully processed. Find the first band where the bare paper is as dark as it is going to get; the bands after it look no darker. That is the shortest exposure that gives a full black, or a full blue, and it is the time to use for opaque objects. Less leaves the background gray and weak. Much more does not darken the background further, but it lets light burn through thin objects and creep under edges, so detail in leaves and fabric disappears.
For translucent objects, pick the band where the sample’s inner structure shows best, even if that is a step past the first full black. Judge cyanotype only after the strip is dry, because the wet blue looks different. In the sun, make the test and the real print one after the other: a time found at midday is wrong by late afternoon.
Composing without a camera
With no viewfinder, composition is arranging objects on a rectangle and imagining the tones reversed. A few habits make that easier.
- Rehearse in the light. Arrange the objects on a sheet of glass, clear plastic or plain paper the same size as the photographic paper. With glass or clear plastic you can lift the whole arrangement and set it down on the sensitive sheet in one move.
- Think in outlines. Two opaque objects that overlap merge into one shape with no line between them. Leave gaps where you want separate things to read as separate, and overlap translucent things where you want the grays to build up.
- Use the edges. A stem or a chain that runs off the sheet ties the picture to its frame. Small objects floating in the middle of a large dark field tend to look lost.
- Make grays with time. Remove an opaque object halfway through the exposure and its shape prints mid-gray instead of white. Shift an object partway through and it leaves a pale shape with a gray ghost beside it.
If you want the objects dark on a light ground instead, scan the photogram and invert it. Or, in the darkroom, lay the dry photogram face down on a fresh sheet under glass and expose through it as a paper negative, which needs a much longer exposure and gives a softer result.
Want a picture of a real scene on the same paper, still without a lens? Pinhole photography explains how pinhole cameras work, how to build one, exposure times and developing the images.
Fixing and washing in outline
A darkroom photogram goes through the same four baths as any black and white print.
- Developer turns the exposed parts of the paper dark.
- Stop bath, a mild acid, halts development at once.
- Fixer dissolves the light-sensitive material that was not exposed, so the pale areas stay pale when the room lights come on. An unfixed or underfixed print darkens and stains with time.
- The wash removes the fixer. Fixer left in the paper also causes stains later. Resin-coated paper washes in a few minutes of running water; fiber-based paper takes far longer.
Follow the times printed on each product, and keep the sheet moving in each tray.
A lumen print skips the developer. Never put one in developer: the whole sheet has been exposed and would turn black. To make it permanent, put it straight into fixer for the time on the label, then wash and dry it, and expect the colors to change as it fixes. A cyanotype needs only its water wash.
Want to process film as well as paper? How to develop film at home lists the equipment you need, walks through developing black and white film step by step and covers setting up a workspace.
Scanning the result
Because every photogram is a single original, a scan is both your backup and your way to print, invert or share it.
- Scan only when the print is completely dry, on a clean flatbed scanner in reflective mode. Never put a damp print on the glass.
- Use enough resolution to enlarge. At 600 pixels per inch, a 5 by 7 inch sheet becomes a file 3,000 by 4,200 pixels, enough to print at twice the size at 300 pixels per inch.
- Scan in color for cyanotypes and lumen prints, and save an uncompressed or lossless file such as TIFF as the master.
- Turn off automatic corrections, which try to normalize a picture that is meant to be mostly dark or mostly blue.
- Scan an unfixed lumen print promptly and only as often as you need to: the scanner’s lamp adds a little exposure on each pass. Afterward, store the print in the dark or fix it.
Scanning other prints as well? How to digitize old photos, prints and albums covers flatbed settings that protect the original look, how much resolution each print size needs, and file formats and names for your masters.
Working safely with the chemicals
- Read the label and the safety sheet for every product before you open it, and mix and use it only as directed.
- Ventilate the room. Stop bath and fixer give off fumes that build up in a closed space.
- Keep chemicals off your skin. Use print tongs or gloves. Developers can irritate skin and can cause sensitivity with repeated contact.
- Keep food, drink and kitchenware out of it. Trays, jugs and tongs used for photography are never used for food again. Label every bottle and store it out of reach of children and pets.
- Treat cyanotype chemicals with respect. Ready-coated paper is the gentlest way in, and it is still not for mouths or unwashed hands. If you mix your own solution, wear gloves and avoid breathing the dry powders. Potassium ferricyanide must never be mixed with strong acids or heated strongly, because it can then give off a poisonous gas.
- Do not pour used fixer down the drain without checking. It carries dissolved silver. Ask your local waste authority or a photo lab how it should be handled where you live.
- Keep electricity and liquids apart. Lamps, timers and the enlarger belong on a dry side of the room, away from the trays.
Common mistakes
- A gray, weak background. The exposure was too short. Fix: make a test strip and use the first band that reaches full black or full blue.
- Translucent objects printing as blank white shapes. Too little light got through them. Fix: lengthen the exposure a step or two, judging from a sample on the test strip.
- Blurred outlines that were meant to be sharp. The object was lifted off the paper, the light source was large or close, or something moved. Fix: press flat under glass, use direct sun or a small distant lamp, and shelter sun prints from wind.
- Pulling the print from the developer early. Blacks come out muddy and uneven. Fix: correct the exposure instead, and always develop for the full time.
- Developing a lumen print. The sheet goes black. Fix: lumen prints get fixer only, or nothing.
- A crowded arrangement. Overlapping opaque objects merge into one blob. Fix: use fewer objects and leave clear gaps between them.
Try this
On a sunny day, take one sheet of ready-coated cyanotype paper and collect three things: something flat and opaque such as a key, something translucent such as a thin leaf or a feather, and something three-dimensional such as a seed head or a small spring. Indoors, lay the key and the leaf flat on the paper under a sheet of clear glass, and stand the third object on the paper beside the glass. Expose in direct sun for the time the packet suggests, wash in water and dry: about twenty minutes in all. Then compare three edges: the hard outline of the key, the veins showing inside the leaf, and the place where the third object goes from sharp, where it touched the paper, to soft, where it rose away from it.
Frequently asked questions
What is the difference between a photogram and a photograph?
A photogram is a kind of photograph: both are made by light acting on a sensitive surface. The difference is that a photogram uses no camera and no lens. Objects sit directly on the paper and record as life-size shadows.
Can you make a photogram without a darkroom?
Yes. Cyanotype paper and lumen prints are both exposed in sunlight and can be set up in ordinary indoor light. Cyanotype develops in water, and a lumen print needs no processing at all unless you choose to fix it.
Why is my photogram white on black instead of black on white?
The paper darkens where light reaches it, and the object keeps the light away, so the object’s shape stays pale. To reverse it, scan the print and invert the scan, or print through the photogram onto a second sheet in the darkroom.
How long do you expose a photogram?
It depends entirely on the paper and the light: seconds under an enlarger, minutes in the sun for cyanotype, and up to hours for a lumen print. A test strip with five stepped exposures gives the right time for your own setup.
Related guides
- Cyanotype photography: the chemistry, coating your own paper, and toning blue prints.
- Darkroom basics: choosing a space, essential equipment and making a first print.
- How to develop film at home: equipment, workspace and step-by-step film processing.
- Alternative photography processes: other historic and handmade ways to print.
- Pinhole photography: making images of scenes without a lens.
- Man Ray: rayographs and other darkroom experiments.