Prism photography adds rainbows, reflections, light flares, and ethereal distortions to your images using nothing more than a piece of glass held in front of your lens. The technique is simple in concept but remarkably versatile in practice. A single triangular prism can split white light into a spectrum, reflect part of a scene into the frame, create dreamy blurred edges, or add streaks of color that transform an ordinary photo into something otherworldly.
Unlike heavy post-processing effects that can look artificial, prism effects are genuinely optical. They interact with real light in real time, which gives them an organic, unpredictable quality that is hard to replicate digitally. Every slight tilt, rotation, or shift of the prism produces a different result, making the process feel more like painting with light than following a formula.
This guide covers the physics of how prisms work, the types of prisms available, practical shooting techniques, camera settings, and creative applications to expand your photography in unexpected directions.
How Prisms Create Photographic Effects
A prism produces three distinct optical effects that photographers can use.
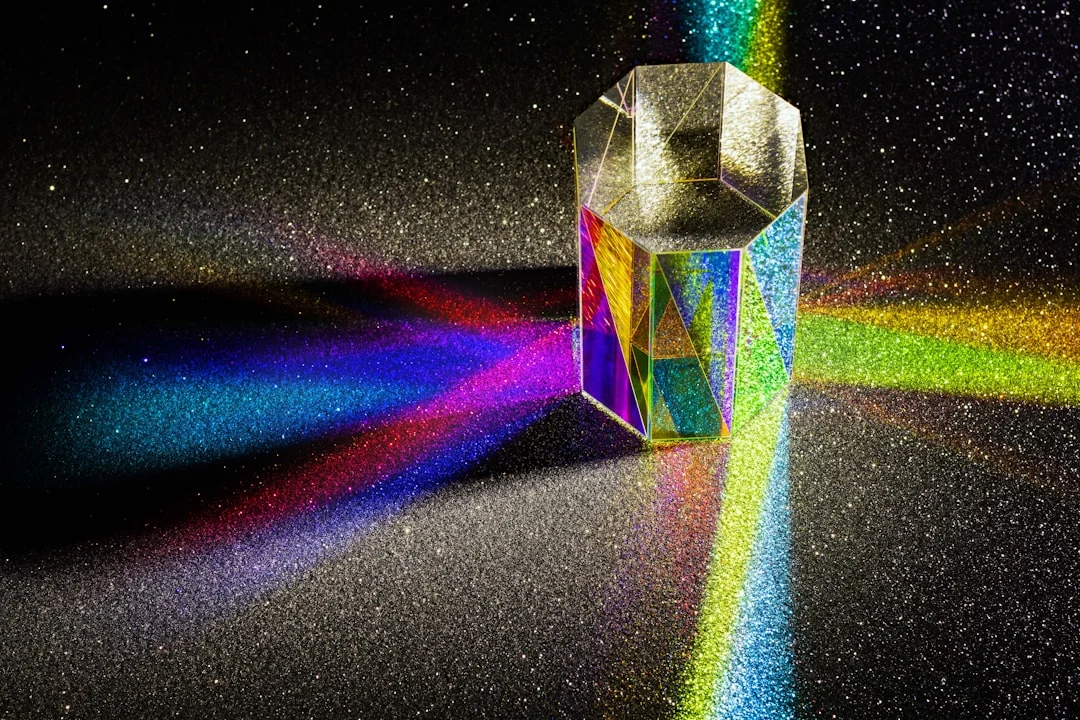
Refraction and rainbow effects
When white light enters a prism, different wavelengths (colors) bend at slightly different angles. This separates the light into its component spectrum: red, orange, yellow, green, blue, and violet. By positioning the prism so it catches direct light and redirects the spectrum into your lens, you can add rainbow streaks, color washes, or spectral flares to your images.
Reflection
A prism’s flat surfaces can act as mirrors at certain angles. When you hold a prism near your lens, one face may reflect part of the surrounding environment into the frame. This creates ghostly double exposures, where a reflected scene overlays your primary subject. Trees, buildings, sky, or even your own hand can appear as dreamlike reflections, similar to Double Exposure Photography but created entirely in-camera.
Blur and distortion
When part of the prism covers a portion of your lens, it distorts that area while leaving the rest of the image clear. This creates selective blur, softened edges, or warped regions that draw attention to the sharp, unaffected part of the frame. It is a way to create Bokeh-like softness without changing your Aperture.
Types of Prisms for Photography
| Prism Type | Effect | Best For |
|---|---|---|
| Triangular (equilateral) | Rainbow spectrums, reflections, edge blur | Most versatile; the standard photography prism |
| Right-angle | Strong reflections, partial frame distortion | Mirror-like reflections of the environment |
| Kaleidoscope/fractal filter | Repeated, symmetrical versions of the subject | Portraits, abstract art, psychedelic effects |
| Dichroic prism (beam splitter) | Color-split duplicate images | Experimental, artistic effects |
| Crystal wand/tube | Elongated refractions along one axis | Adding streaks of color or light |
For beginners, start with a standard equilateral triangular prism. It is inexpensive, widely available, and produces the broadest range of effects. A 6-inch (150mm) prism is a good size for photography. It is large enough to cover part of your lens without being unwieldy.
How to Hold a Prism While Shooting
The technique for prism photography is all about hand position and experimentation.
- Hold the prism right against or near your lens. The closer it is, the more of the frame it affects. Touching the lens creates maximum coverage; holding it an inch away creates more subtle edge effects.
- Use your non-shooting hand. Hold the camera with your right hand on the grip, and hold the prism with your left hand near the front element of the lens. This gives you independent control of both.
- Angle the prism slowly. Tiny rotations produce dramatically different effects. Move in small increments, checking your viewfinder or LCD constantly.
- Cover about one-third to one-half of the lens. Covering the entire lens creates a fully distorted, often unusable image. Covering a portion creates the desirable mix of sharp subject and dreamy distortion.
- Shoot in live view. Optical viewfinders may not accurately show the prism’s effect because the viewfinder and lens have slightly different viewpoints. Live view shows exactly what the sensor will record.
- Expect a high discard rate. Prism photography is experimental by nature. Shoot many frames with slight variations and select the best afterward. A 10% keeper rate is normal.
Camera Settings for Prism Photography
- Aperture: f/1.8 to f/4. Wide Aperture settings emphasize the prism’s effects by making the refracted and reflected light more prominent against a soft background. Smaller apertures reduce the prism’s impact.
- Focus: manual recommended. Autofocus can be confused by the prism’s interference. Switch to Focus Modes manual and focus directly on your subject through the clear portion of the lens.
- Metering: evaluate exposure carefully. The prism may direct bright light into the lens, fooling your Metering Modes. Check your Camera Histogram and adjust Exposure Compensation as needed.
- White balance: experiment. The prism introduces color that interacts with your White Balance setting. Auto white balance may try to correct the rainbow colors. Try setting a fixed white balance (daylight or shade) to preserve the spectral colors.
- Shoot RAW. The unpredictable color and light effects of prism photography benefit from RAW’s editing latitude. See Raw Vs Jpeg for why this matters.
Prism Effects in Portrait Photography
Prism photography pairs naturally with Portrait Photography. The combination of a sharp subject with dreamy, colorful light effects creates an otherworldly quality that is popular in creative portraiture, fashion, and editorial work.
- Position the prism to add rainbow light across your subject’s face or body without obscuring their eyes.
- Use the prism’s reflective surface to blend environmental reflections around the subject’s edges.
- Create partial blur around the subject by covering only the edges of the lens, framing the sharp face within soft distortion.
- Experiment during Golden Hour Photography when warm directional light creates the strongest spectral effects.
- Ask your subject to hold still and take multiple frames while slowly rotating the prism. The best result is often not the one you expected.
Light Source Positioning
The direction and quality of light dramatically affect what your prism produces.
- Direct sunlight from behind you. Sun hitting the prism from behind you (the photographer) creates strong rainbow refractions into the lens.
- Backlight (sun behind the subject). Creates flare-like effects as the prism catches and redirects the backlight. Combined with Natural Light Photography backlighting techniques, this produces stunning results.
- Window light indoors. Strong directional window light works well because you can control the angle. Stand near the window with the prism between the window and your lens.
- Artificial light. Studio strobes and continuous lights create controllable, repeatable effects. Position a light to hit the prism at an angle. Colored gels on the light add another dimension.
- Cloudy or overcast. Diffused light produces subtler prism effects. You get softer reflections and gentler color washes rather than sharp rainbows.
DIY Alternatives to Prisms
If you do not have a prism, several everyday objects produce similar (though different) effects.
- Drinking glass or wine glass. Held near the lens, glass creates reflections and distortions. A stemless wine glass works especially well.
- CD or DVD. The reflective, rainbow surface of a disc adds spectral light when held near the lens at the right angle. This creates rainbow streaks rather than clean refractions.
- Chandelier crystal. Drop-shaped crystals create unique refractive patterns.
- Sunglasses. Polarized or colored sunglasses held over part of the lens create color shifts and reflections.
- Clear plastic wrap. Stretched over part of the lens with a hole in the center creates dreamy edge blur.
- Vaseline on a UV filter. Smear petroleum jelly on a cheap UV filter (never on the lens itself) for a vintage, soft-focus effect with selective clarity.
Prism Photography Across Different Genres
While prisms are most commonly used in portrait photography, they enhance many other genres as well.
- Landscape photography. Hold a prism at the bottom of the frame while photographing a Landscape Photography scene. The prism reflects the sky into the lower portion of the image, creating an ethereal foreground effect that replaces mundane ground cover with light and color.
- Wedding and event photography. A prism creates romantic, dreamy effects perfect for candid moments. Hold it near the edge of your lens during ceremony or reception shots to add soft, rainbow-tinged edges without using post-processing filters.
- Product photography. Prisms can add rainbow reflections to product surfaces, creating eye-catching images for Photography Portfolio work or commercial clients.
- Night and urban photography. In Night Photography, city lights refracted through a prism create spectacular streaks of color. Neon signs, traffic lights, and streetlamps all produce vivid spectral effects.
- Abstract photography. Point the camera directly through the center of a prism to create fully abstract compositions of pure color and light. These images work well for backgrounds, textures, and fine art prints.
Post-Processing Prism Photography
Prism images benefit from specific Photo Editing For Beginners techniques that enhance the optical effects.
- Boost vibrance selectively. The rainbow and spectral colors from the prism respond well to vibrance adjustments. Increase vibrance in the prism-affected areas while keeping the subject natural.
- Adjust White Balance creatively. Shifting the white balance warmer or cooler changes how the spectral colors interact with the overall image tone. Try multiple white balance settings before settling on a final version.
- Use selective desaturation. If the prism colors overwhelm the subject, selectively desaturate the spectrum while keeping the subject’s natural colors intact.
- Crop to emphasize the effect. Sometimes the most interesting part of a prism image is a small section where the spectrum, reflection, and subject intersect. Do not be afraid to crop aggressively to isolate the strongest area.
- Combine with Color Grading Photography. A cohesive color grade that complements the prism’s rainbow tones unifies the image and prevents the spectral effects from looking random.
Building Your Prism Photography Kit
You do not need to invest heavily to start with prism photography, but having the right tools makes the process smoother.
- Start with a single 6-inch triangular prism. These are widely available and inexpensive.
- Add a UV protective filter for your primary lens. This protects the front element when the prism inevitably touches the lens.
- Consider a small pouch or padded case to protect the prism in your camera bag. Glass prisms can chip if they contact hard surfaces.
- Keep a microfiber cloth handy. Fingerprints on the prism faces reduce clarity and introduce unwanted softness.
- As you advance, add a kaleidoscope filter and a right-angle prism to expand your creative options.
Common Mistakes
- Covering the entire lens. This produces a fully distorted image with no clear focal point. Always leave part of the lens clear for a sharp subject area.
- Moving the prism too quickly. The sweet spot is fleeting. Move slowly and deliberately, checking your results after small adjustments.
- Using a narrow aperture. At f/8 or f/11, the prism’s edges become visible as sharp, distracting lines rather than soft, blended effects. Stay wide at f/1.8 to f/4.
- Expecting consistent results. Prism photography is inherently variable. Embrace the unpredictability rather than trying to replicate exact effects.
- Scratching your lens. Glass prisms can scratch lens coatings. Either hold the prism slightly away from the lens front element or attach a protective UV filter first.
- Only shooting in direct sun. While direct sun creates the strongest rainbows, many of the most interesting prism effects come from softer, directional light sources.
Try This: Practical Exercises
- Rainbow portrait. Set up a portrait in directional light (window or late-afternoon sun). Hold a triangular prism near the top or side of your lens and slowly rotate it until rainbow light streaks across your subject’s face. Use f/2.0 and manual focus on the eyes.
- Environmental reflection blend. Find a scene with a building, tree, or colorful wall beside you. Hold a prism flat against one side of your lens so its surface reflects that environment into the frame while your subject remains sharp in the center.
- Kaleidoscope abstract. If you have a fractal or kaleidoscope filter, hold it centered on your lens and photograph a colorful subject (flowers, neon signs, Christmas lights). The repeated pattern creates abstract compositions.
- Light painting with a prism. In a dark room, use a flashlight and a prism together. Shine the flashlight through the prism during a Long Exposure Photography to paint rainbow light into the scene.
Frequently Asked Questions
Will a prism scratch my lens?
It can if you press glass against coated glass. Use a protective UV filter on your lens as a sacrificial surface, or hold the prism just slightly away from the front element. Even a few millimeters of air gap prevents contact.
What size prism works best?
A 6-inch (150mm) equilateral triangular prism is ideal for most photography. Smaller prisms are harder to hold near the lens, and larger ones become unwieldy. The 6-inch size covers enough of the lens to produce strong effects while remaining easy to manipulate with one hand.
Can I replicate prism effects in post-processing?
You can add rainbow overlays, lens flares, and blurred edges in editing software, but the results tend to look artificial because they lack the organic interaction between real light and glass. In-camera prism effects interact with the actual scene lighting in unpredictable, natural-looking ways that are hard to simulate digitally.
Does prism photography work with phone cameras?
Yes, though the small lens of a phone camera means you need a smaller prism or to hold it very close. The results can be excellent, especially because phone cameras’ wide lenses and computational processing handle the light effects in interesting ways.
What is the difference between a prism and a filter?
A photographic filter is designed to produce a specific, controlled effect and threads onto your lens. A prism is a free-form glass object that you hold by hand, producing variable, unpredictable effects based on angle and position. Both are valid creative tools with very different workflows.
What if I get rainbow flare but no defined rainbow streak?
You are likely holding the prism too far from the lens, or the light angle is not quite right. Move the prism closer to the front element and rotate it very slowly. The defined rainbow streak appears at a specific angle where the prism separates direct light into a clear spectrum. Try moving your body angle relative to the light source. Even a few degrees can change a vague wash of color into a crisp spectral band.
Can I use prisms with Flash Photography?
Yes, and the results can be striking. A flash fired through or near a prism splits the light into spectral components before it reaches the subject. Position the prism between the flash and the subject for colorful spectral lighting. You can also hold the prism at the lens while using flash for fill, combining the flash’s light freeze with the prism’s optical effects. Studio work with prisms gives you repeatable control because you set the light angle precisely.
How do prisms compare to Intentional Camera Movement?
Both techniques add creative distortion to images, but they work very differently. Intentional camera movement blurs the entire frame by moving the camera during exposure. Prism photography keeps part of the frame sharp while adding optical effects to other areas. You can actually combine both techniques by holding a prism and introducing slight camera movement during a longer exposure for extremely abstract, painterly results.