To shoot better video on a phone, record at 1080p or 4K and 24 to 30 frames per second, lock exposure and focus before you press record, hold the phone in two hands and move your body instead of your wrists, turn your subject toward the light, and get the microphone within about a metre of anyone speaking. Then shoot short, varied clips that cut together, not one long wandering take.
This guide covers the whole job on a phone: settings, exposure, motion, stability, light, sound, orientation, shooting for the edit, storage and simple editing. Video for photographers and camera settings for video explain the same ideas for dedicated cameras with interchangeable lenses; this page deals with what changes when the camera is a phone with a small sensor, a fixed aperture and a built-in microphone.
Choosing resolution and frame rate on a phone
Resolution is how many pixels each frame has. Frame rate is how many frames are recorded per second (fps). Set both before you shoot, and keep them the same for every clip in a project, because mixing them forces the editing app to convert footage and motion can stutter.
Resolution. 1080p (1920 by 1080 pixels) is enough for almost everything watched on a phone or laptop. 4K (3840 by 2160) has four times as many pixels. Its real advantage is room to crop, reframe and stabilise in the edit without the picture going soft. The cost is storage: 4K files are several times larger, and the phone runs hotter and drains faster.
Frame rate. 24 or 25 fps gives the slightly dreamy motion people associate with cinema. 30 fps is the everyday standard for online video. 50 or 60 fps looks very smooth, which suits sport and fast action, and it can be slowed to half speed on a 25 or 30 fps timeline. 120 fps and above is for slow motion only.
| Situation | Resolution | Frame rate | Why |
|---|---|---|---|
| Everyday clips, talking to camera | 1080p or 4K | 30 (or 25) | Natural motion, modest files, good in ordinary light |
| Planned short film, travel piece | 4K | 24 or 25 | Film-like motion and room to crop |
| Sport, children, pets | 1080p or 4K | 50 or 60 | Smooth fast movement, option of half-speed replay |
| Deliberate slow motion | 1080p | 120 or 240 | Plays back four to eight times slower at 30 fps. Needs strong light |
| Dim rooms, evening streets | 1080p or 4K | 24, 25 or 30 | Each frame can gather light for longer, so less noise |
| One shoot for horizontal and vertical versions | 4K | 30 (or 25) | A vertical crop from horizontal 4K is still over 1080 pixels wide |
The 25 and 50 options exist because mains electricity runs at 50 hertz in much of the world and 60 hertz elsewhere. Matching the frame rate to the local system (25 or 50 in 50 hertz countries, 30 or 60 in 60 hertz countries) helps prevent artificial lights from flickering in the footage.
Locking exposure, focus and white balance
A phone left on automatic keeps adjusting during the shot. A bright shirt walks through and the whole picture darkens. A hand passes the lens and focus lurches forward and back. These shifts, called exposure pumping and focus hunting, are the clearest sign of unplanned footage, and you can stop them before recording.
- Frame the shot.
- Press and hold on your subject until the camera app shows that exposure and focus are locked. Most built-in camera apps do this with a long press.
- Drag the brightness control (usually a small sun or slider beside the focus box) until the brightest important area, often a face or the sky, holds detail.
- Record. The lock stays until you tap elsewhere.
If the subject will move toward or away from you, either leave autofocus on with face tracking or keep the same distance by moving with them. Exposure lock covers the technique on any camera.
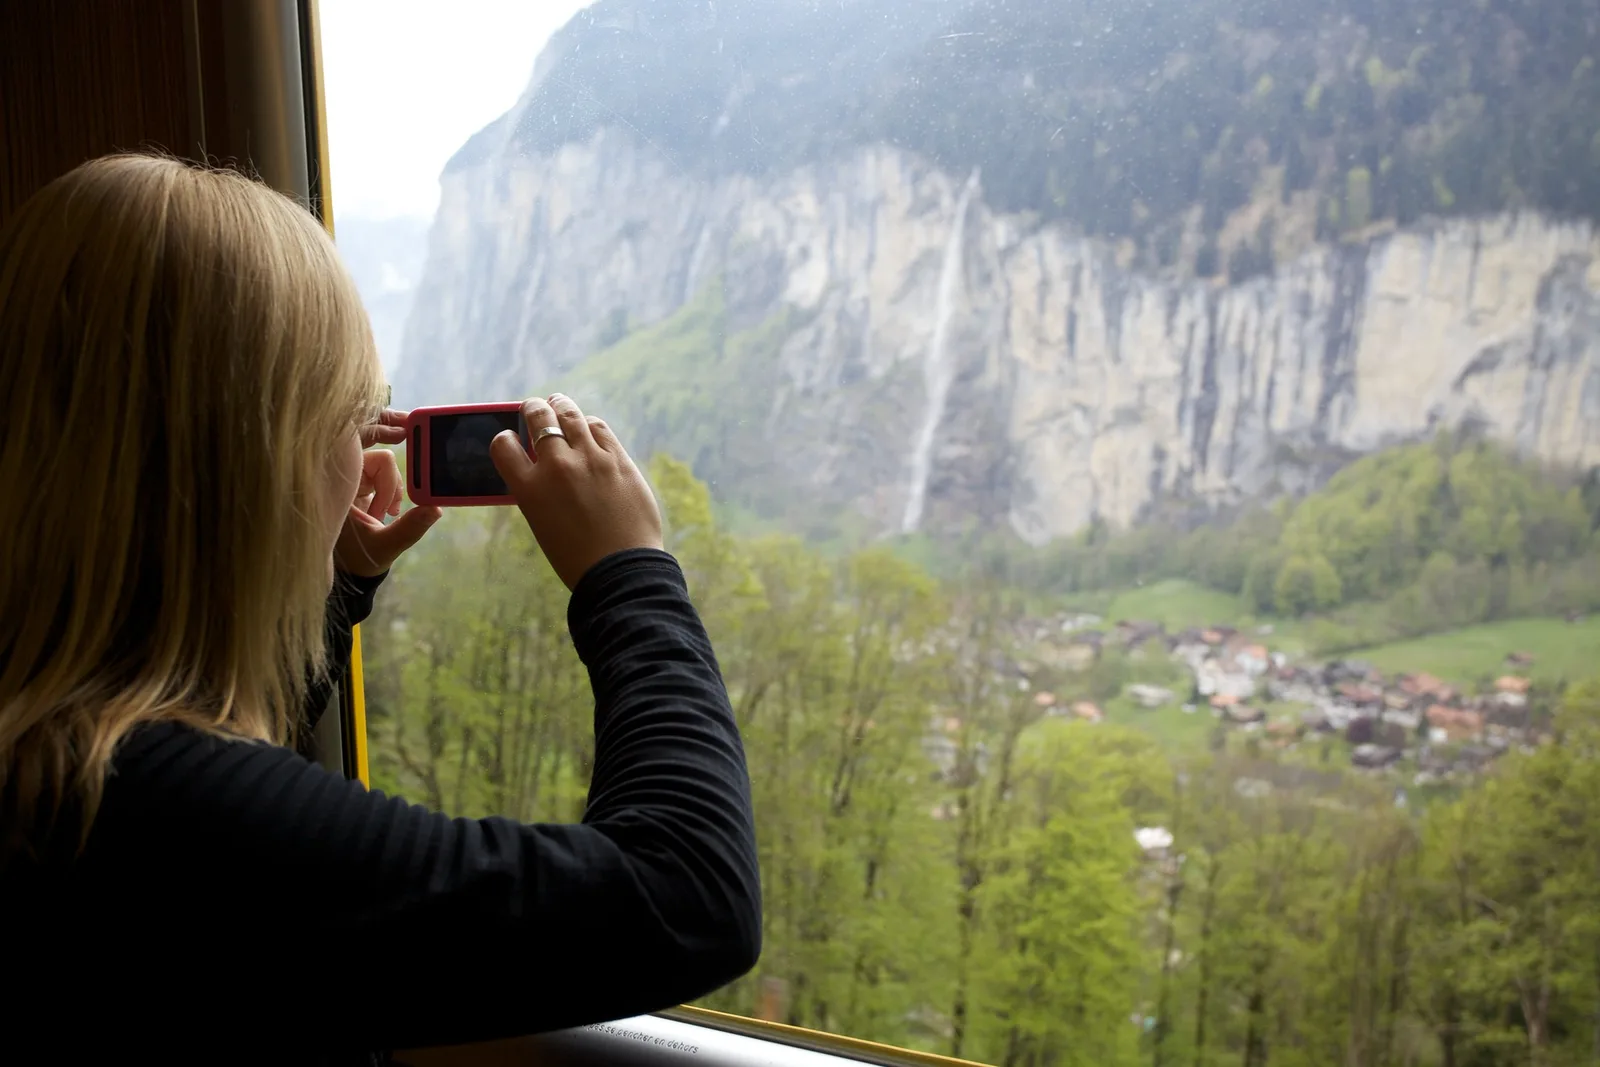
White balance drifts too. Walk from a window into a lamp-lit room and automatic colour swings from blue to orange mid-shot. Built-in apps do not always offer a white balance lock, but manual video apps do. If yours has it, lock it for each location. If not, avoid moving between light sources of different colours within one shot.
Shutter speed, motion blur and flicker
Motion in video looks natural when each frame carries a little blur. The usual guide is a shutter speed of about one over twice the frame rate: 1/50 at 24 or 25 fps, 1/60 at 30 fps, 1/120 at 60 fps.
Phones struggle to follow this in daylight. The lens aperture is fixed on most phones, so the only ways left to cut light are a lower ISO and a faster shutter. In bright sun the phone may run at 1/1000 or faster. Every frame is frozen sharp, and movement takes on a choppy, staccato look, most obvious in walking people, waving hands and running water. Two fixes:
- A neutral density filter. A clip-on ND filter works like sunglasses for the lens. Combined with an app that lets you set shutter speed manually, it brings the shutter back to 1/50 or 1/60 in daylight.
- Softer light. Open shade, overcast skies and early or late light need less extreme shutter speeds, so motion blur returns on its own.
In dim light the problem reverses. The shutter cannot stay open longer than the frame interval: 1/30 at 30 fps, 1/60 at 60 fps. Once it reaches that limit the phone raises ISO, and the picture gets noisy and smeared by noise reduction. Dropping from 60 to 30 fps doubles the time each frame has to collect light.
Rolling bands or pulsing brightness under indoor lights is flicker. Match the frame rate to the mains frequency as described above. If your app allows manual shutter, use 1/50 or 1/100 in 50 hertz countries and 1/60 or 1/120 in 60 hertz countries.
Stabilisation: how to hold the phone and how to move
Phones steady video in two ways. Optical stabilisation physically shifts the lens or sensor. Electronic stabilisation crops into the frame slightly and shifts that crop to cancel movement, which is why the view often narrows when you switch from photo to video. Both are effective in good light. In low light electronic stabilisation can produce a shimmering, jittery look, because each frame already contains blur that cannot be shifted away.
Technology helps, but technique does more:
- Two hands, elbows against your ribs. The phone, forearms and chest form a triangle. How to hold your camera covers the stance.
- Lean on something. A wall, a railing, a table edge or your own knee turns a hand-held shot into something close to a tripod shot.
- Use the main camera. It usually has the best stabilisation and the best low-light quality. The ultra-wide hides shake but distorts edges. The telephoto magnifies every tremor.
- Move with your legs. To follow or approach a subject, bend your knees slightly and walk heel to toe, letting your legs absorb the steps. Turn from the hips for a pan.
- Pan slowly. Take at least five seconds to sweep across a scene. Fast pans smear and can skew vertical lines, an effect of the sensor’s rolling shutter.
- Walk in, do not zoom in. Pinch zooming during a shot is jerky and, beyond the phone’s real lenses, it only crops. Optical versus digital zoom explains the difference.
- Hold still at both ends. Begin recording, count three seconds, make the move, then hold three more seconds. Those handles give you clean places to cut.
A small tripod with a phone clamp is the most useful accessory for interviews, time-lapses and anything with you in the frame. A gimbal smooths walking shots, but it is one more thing to charge, balance and carry, and it does not fix poor light or poor sound.
Light: giving a small sensor enough to work with
A phone sensor is small, so it needs a lot of light to make clean video. In good light phone footage can look excellent. In dim light it turns noisy, soft and smeary. Adding or finding light improves quality more than any setting.
- Face the window. Indoors, turn your subject toward a window and stand with your back to it, or at 45 degrees to it for gentle shadow on one side of the face. Window light is large, soft and free.
- Avoid a bright background. A subject in front of a window or bright sky becomes a silhouette, or the background burns to white. Move so the light falls on the subject instead.
- Outdoors, look for open shade at midday, or shoot in the first and last hour of sun when the light is low, warm and soft. See golden hour photography.
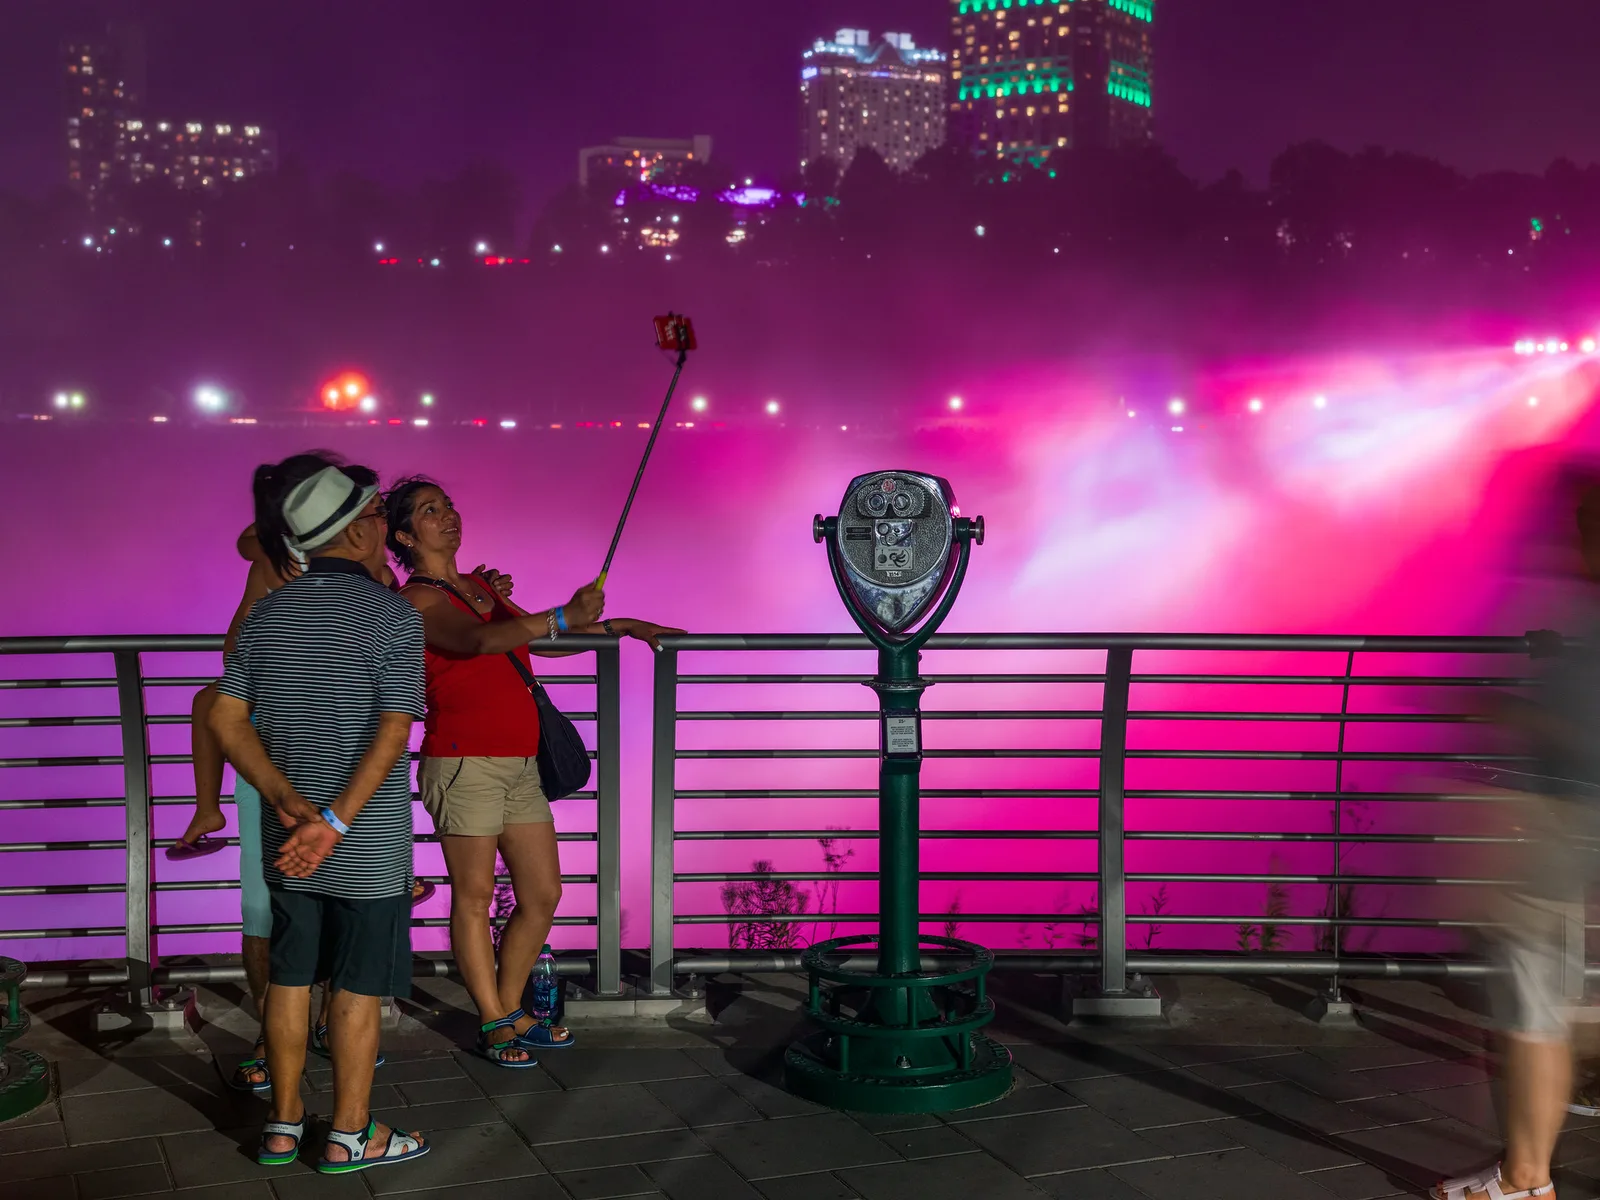
- At night, go where the light is. Shop windows, street lamps and signs are your key lights. Bring the subject close to them.
Sound: the biggest gap between phone video and good video
Viewers forgive a soft or shaky picture far more readily than sound they have to strain to hear. A phone’s built-in microphone picks up everything around it more or less equally, so the main control you have is distance. Each time you halve the distance between microphone and speaker, the voice gets clearly louder against the background while the room noise stays the same.
With the built-in microphone
- Get close. Within about a metre for speech. Frame wider with the lens if you need to, but keep the phone near.
- Know where the microphones are (small holes at the bottom edge and near the lenses on most phones) and keep fingers and cases off them.
- Choose the quietest spot. Move away from roads, fans, fridges and air conditioning. Small rooms with carpet, curtains and furniture echo less than bare kitchens and halls.
- Block the wind. Wind across the microphone causes a low rumble that is very hard to remove. Turn your back to the wind and shield the phone with your body, or use a foam or fur cover.
- Silence the phone. Switch on do not disturb or flight mode so calls and alerts do not interrupt or stop the recording.
With an external microphone
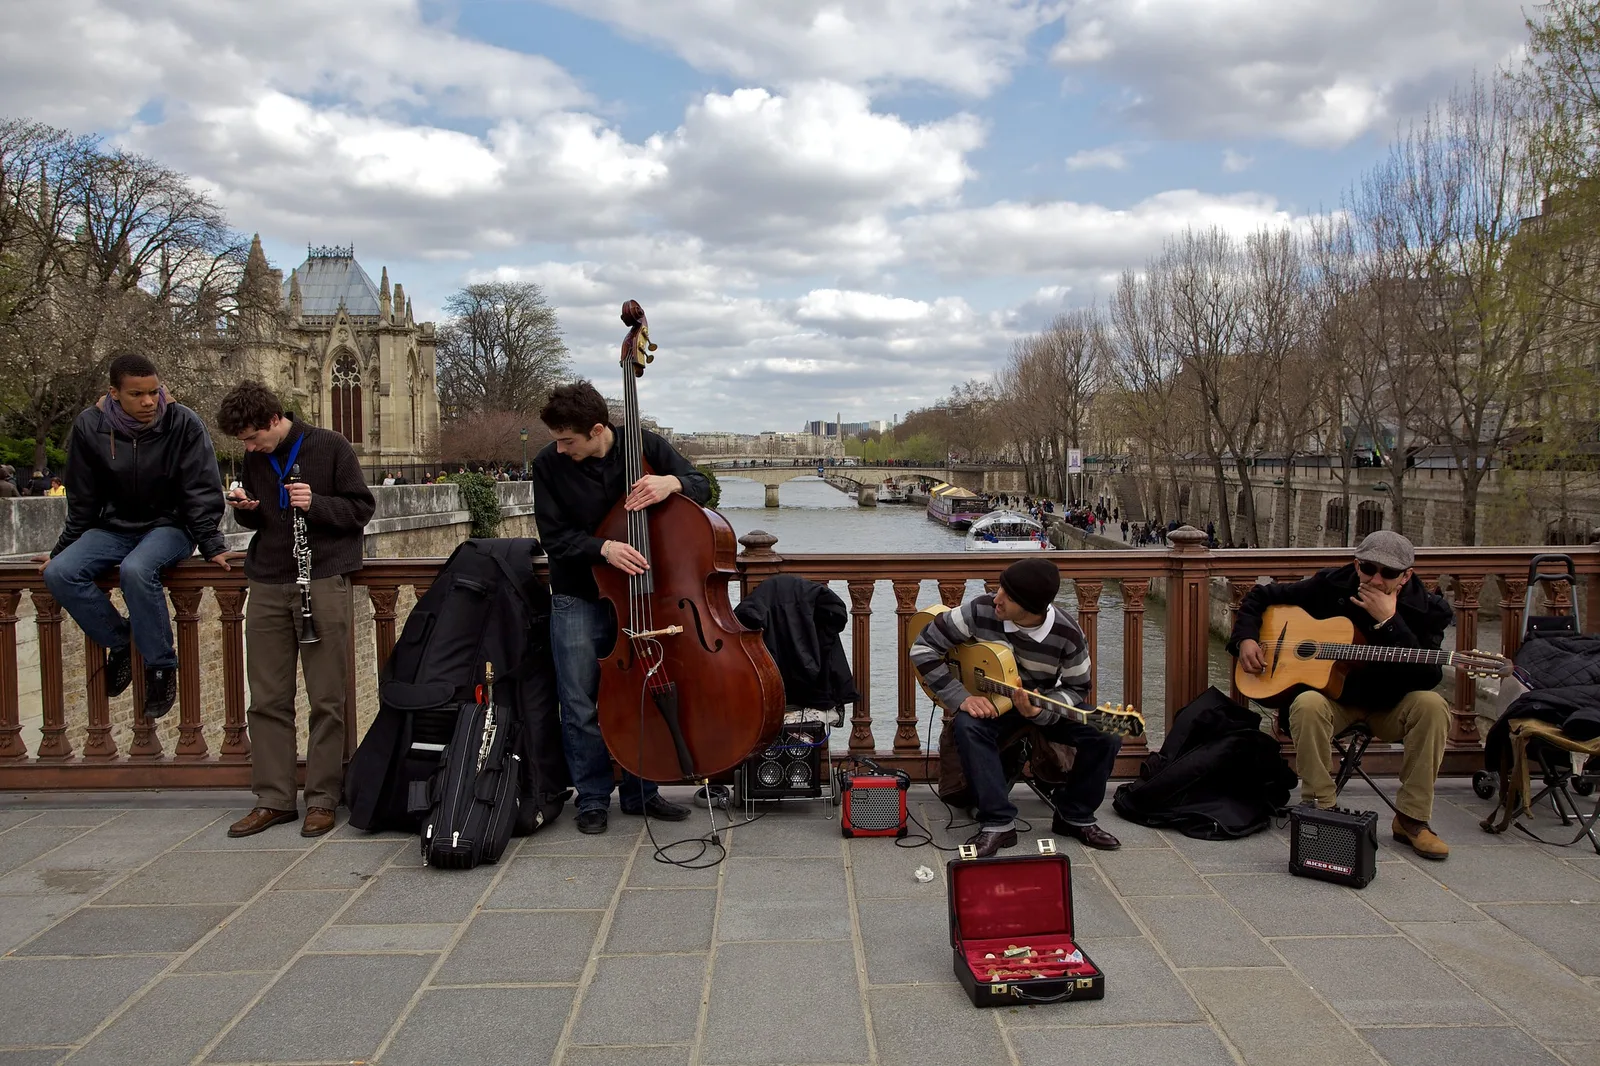
A small clip-on (lavalier) microphone, wired or wireless, puts the microphone a hand’s width from the speaker’s mouth, wherever the phone is. It is the largest single improvement you can make to phone video. Whichever you use, record ten seconds and play it back through headphones before the real take, since phones do not always switch to the external microphone automatically.
A second phone makes a good recorder. Start a voice recording on it, put it in the speaker’s shirt pocket or on the table in front of them, clap once on camera, and line up the clap in the edit.
Horizontal or vertical: decide by where it will be watched
Orientation is not a matter of taste. It follows the screen.
- Horizontal (16:9) for televisions, computers, presentations, long-form video sites and anything you will keep as a family record.
- Vertical (9:16) for short-form feeds and stories watched on a phone held upright. Shooting vertical video for social media covers composition in the tall frame.
Decide before you record, and never rotate the phone during a shot. If you need both versions from one shoot, record horizontally in 4K and keep the subject near the centre with space on either side. A 9:16 slice cut from a 3840 by 2160 frame is about 1215 by 2160 pixels, which is more than the 1080 pixels of width that vertical platforms use. The same crop from 1080p footage is only about 608 pixels wide and will look soft. Aspect ratio explains how frame shapes relate.
In either orientation, switch on the grid overlay in the camera settings. It helps keep horizons level and makes it easy to place eyes on the upper third line, following the rule of thirds.
Shooting for the edit: sequences, not single takes
The habit that most separates watchable video from raw footage is shooting in sequences: several short shots of the same action from different distances and angles, made to be cut together.
A simple five-shot sequence works for almost any activity:
- Close-up of the hands doing the thing.
- Close-up of the face, concentrating.
- Wide shot showing the person and where they are.
- Over the shoulder, seeing what they see.
- One unusual angle: from the floor, from above, through a doorway.
Rules that make sequences cut smoothly:
- Hold every shot for at least ten seconds, even if you expect to use three.
- Change both the distance and the angle between shots. Two shots that are nearly the same produce a visible jump when cut together.
- Let moving subjects enter and leave the frame instead of chasing them. An empty frame is a natural cutting point.
- Collect cutaways: signs, details, reactions, the view out of the window. They cover joins and hide mistakes.
- For anything planned, write the shots down first. Types of camera shots gives the vocabulary, and how to write a shot list gives the method.
Storage, battery and heat
Video fills a phone quickly. As a rough guide, 1080p at 30 fps uses in the region of 60 to 130 megabytes per minute and 4K uses roughly 170 to 400 megabytes per minute, depending on frame rate and on which compression format the phone is set to. The camera settings screen usually shows the phone’s own figures.
- Check free space before an event, not during it. A phone that fills up stops recording, sometimes without an obvious warning.
- Wipe the lens. It lives in a pocket, and a film of grease produces hazy footage and streaks around lights.
- Watch for heat. Long 4K recording in direct sun can make a phone dim its screen or stop recording. Shade the phone, remove thick cases and record in shorter takes.
- Move originals off the phone by cable, direct wireless transfer or cloud sync. Sending clips through messaging apps recompresses them heavily.
- Keep two copies of anything that matters before deleting it from the phone. How to back up your photos applies equally to video.
Simple editing on the phone
Every phone has at least one free editing app, and their layouts change between versions, but the order of work is the same in all of them.
- Set the project to the orientation, resolution and frame rate you shot.
- Pick only the best clips. Leaving out weak material is most of editing.
- Trim hard. Start each clip just as something happens and end it just after. Most shots in a finished piece run two to five seconds.
- Order for sense: a wide shot to establish the place, then closer shots, then a closing image.
- Fix the sound next. Level voices so they are consistent from clip to clip. If you add music, keep it well below speech and fade it in and out.
- Use plain cuts. Save dissolves for a change of time or place. Spinning and zooming transitions date quickly.
- Adjust colour lightly. Match brightness and white balance between neighbouring clips before applying any look.
- Export once at the resolution and frame rate you shot, at the highest quality offered, and keep that file as the master.
Short-form video for photographers goes further into pacing and hooks for social platforms.
Common mistakes
- Recording speech from across the room. Fix: move the phone, or a clip-on microphone, to within a metre of the speaker.
- Letting exposure and focus drift. Fix: press and hold to lock both before recording, then set brightness with the slider.
- Rotating the phone mid-shot, or shooting vertical for a horizontal screen. Fix: choose orientation by destination before the first clip.
- Zooming with a pinch while recording. Fix: stop, move closer or change lens, and start another shot.
- Shooting at 60 fps in a dim room. Fix: drop to 24, 25 or 30 fps so each frame gets more light.
- Waving the phone around to “get everything”. Fix: hold still, let the action move within the frame, and shoot several separate angles.
Try this
Film a 30-second sequence of someone making a hot drink. It takes about 15 minutes. Set the phone to 1080p at 30 fps, horizontal, with the grid on. Turn the person toward a window. For each of the five shots listed above (hands, face, wide, over the shoulder, unusual angle), lock exposure and focus, hold the phone in two hands and record ten seconds without moving. Then record ten seconds of the kettle or machine from close range for sound. In the editing app, trim each shot to between three and six seconds, put them in an order that makes sense, lay the close sound under the pictures and export. Watch it once with the sound off and once with your eyes closed, and note which half needs more work.
Frequently asked questions
Should I shoot phone video in 4K or 1080p?
Use 1080p for everyday clips and when storage is tight: it looks sharp on phones and laptops. Use 4K when you want to crop, stabilise or make a vertical version from horizontal footage, or when the video will be watched on a large screen. Expect files several times larger.
Is 30 fps or 60 fps better for phone video?
30 fps is the better default. It looks natural, handles dim light better and makes smaller files. Choose 60 fps for fast action or when you plan to slow the footage to half speed, and only when there is plenty of light.
How do I stop phone video from being shaky?
Hold the phone in both hands with your elbows tucked in, lean on something solid where you can, use the main camera instead of the telephoto, and move from your legs and hips. Keep stabilisation switched on. For long static shots, a small tripod is steadier than any hand.
Do I need an external microphone?
Not for scenery, music from close range or quick clips. For anyone speaking more than about a metre from the phone, outdoors in wind, or in a noisy or echoing room, a small clip-on microphone makes a larger difference than any picture setting.
Related guides
- Video for photographers: the principles of motion, sequences and sound on any camera.
- Camera settings for video: frame rate, the shutter rule, picture profiles and codecs in depth.
- Shooting vertical video for social media: composing and moving in the 9:16 frame.
- Short-form video for photographers: planning, pacing and posting short clips.
- Phone camera settings: what the camera app controls and which settings to change once.
- Types of camera shots: shot sizes and movements to plan a sequence with.