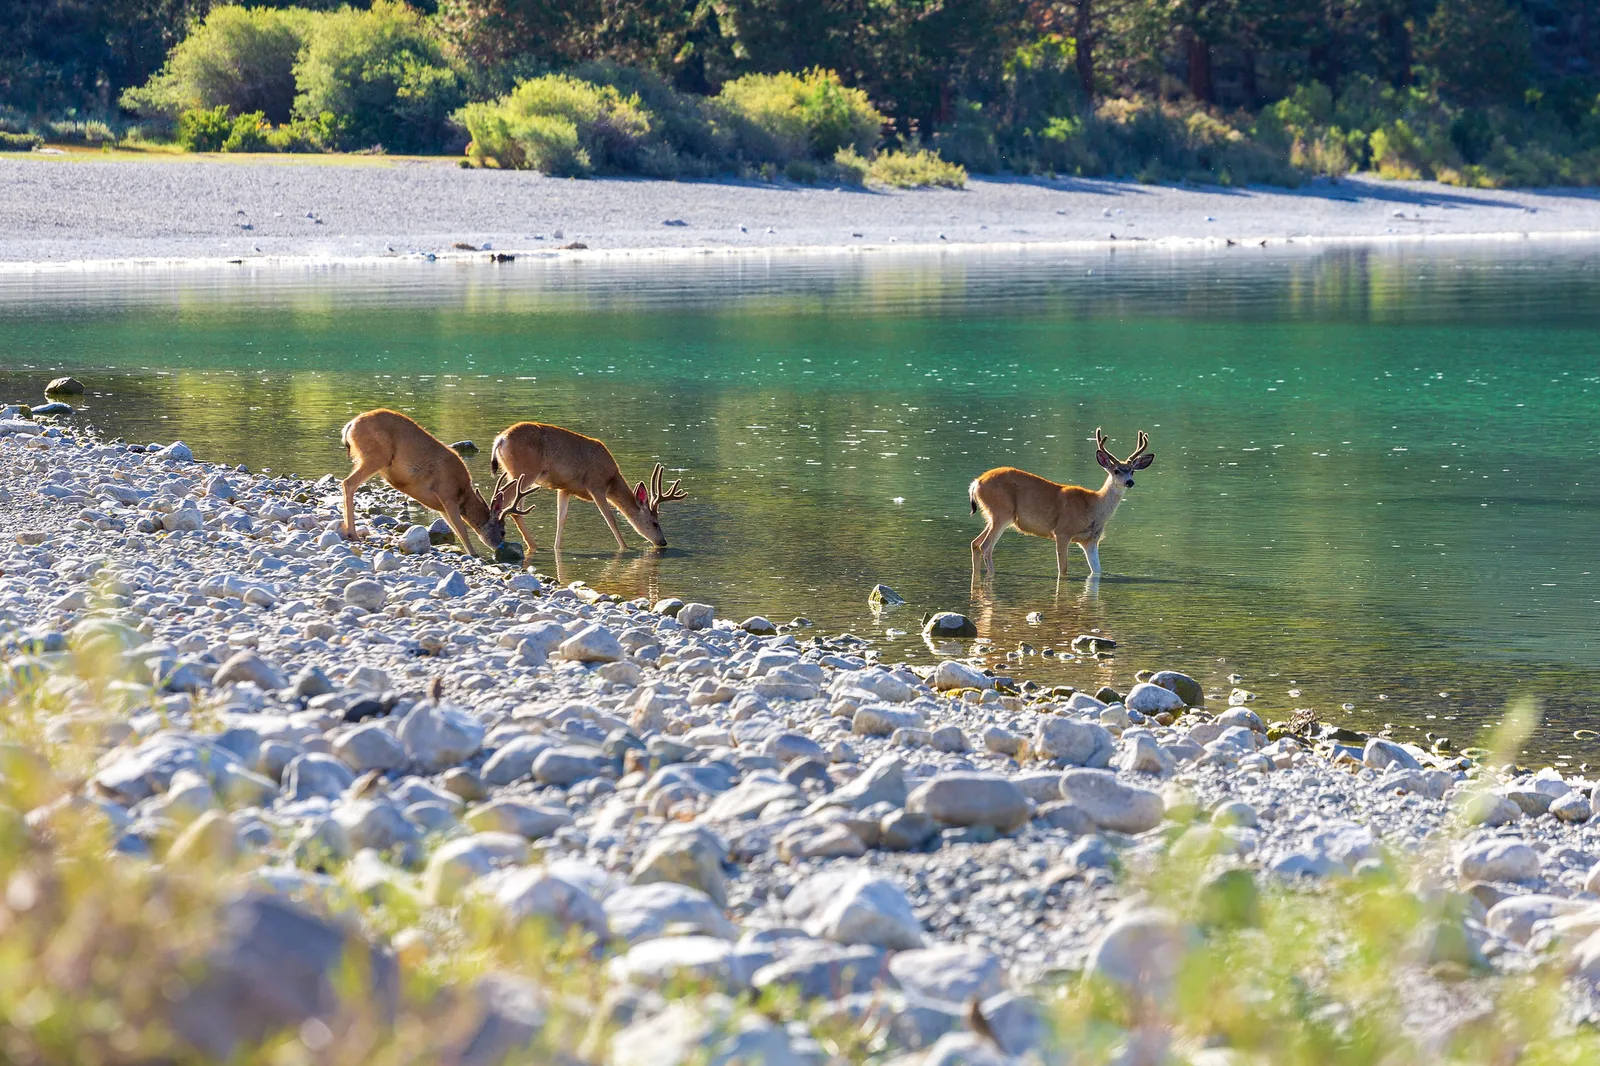
Deer are among the most rewarding animals a beginner can photograph. They live in forests, fields, parks and even suburbs, they are active in beautiful early and late light and they move with a grace that makes every picture feel calm. With their larger relatives, elk and moose, they offer everything from quiet portraits to dramatic scenes of animals in big landscapes.
This guide covers where and when to find deer, how to approach quietly, keeping a safe distance, getting to eye level, using light, the autumn rut, photographing deer in their landscape, settings and ethics. For broader wildlife skills, see the guide to wildlife photography, and for camera settings across many animals, see the best camera settings for wildlife.
Why deer make great subjects
Deer combine accessibility with real wildness, which makes them ideal for learning.
- They are widespread. Many kinds of deer live across forests, farmland, mountains and suburbs, so most people can find some within a short drive.
- They are active in good light. Deer feed mostly around dawn and dusk, exactly when light is warm, soft and beautiful.
- They are expressive. Large ears, alert eyes and graceful movement give deer pictures a lot of character.
- They live in beautiful places. Misty meadows, autumn forests and lakeshores make lovely settings.
- They change through the year. Spotted fawns in summer, antlers in autumn and thick winter coats give each season its own pictures.
Deer also teach the core skills of wildlife photography: patience, quiet movement, reading behavior and timing. Those skills carry over to almost every other animal.
Deer and their relatives
The same skills work for many hoofed animals. Small woodland deer are shy and quick, so they reward patience at a forest edge. Larger deer in open country, such as elk, are easier to see but need more distance. Moose live around wetlands and lakes and should always be treated with great caution. Pronghorn, antelope and wild sheep live in open grassland and mountains, where a longer lens and careful approach matter most. Learning the habits of the animals near you is the first step to photographing them well.
Where to find deer
Deer like edges, where cover and open feeding ground meet.
- Forest edges and meadows. Deer often feed in open grass near the shelter of trees. Scan the edge of a field at dawn and dusk.
- Lakes and rivers. Deer come to water to drink, especially early in the morning, like the deer at the top of this page.
- Parks and reserves. Many nature reserves, country parks and national parks have deer that are used to people on trails.
- Farmland. Deer graze in fields, especially in early spring and after harvest. Photograph from roads and public paths.
- Suburbs and golf courses. In some areas deer wander into gardens and green spaces. Always respect private property.
Look for signs: tracks in mud, trails through grass, droppings and nibbled plants. Local park staff and other photographers can often tell you where deer are seen. The guide to location scouting covers planning.
When to go
Timing matters more than gear for deer photography.
- Dawn. Deer are often most active in the first hour of light, and mist may hang over fields. Arrive before sunrise.
- Dusk. The last hour before dark is another active time, with warm, low light.
- Overcast days. Deer may feed longer on cloudy days, and soft light shows fur detail well.
- Seasons. Spring brings new growth and pregnant does; summer brings spotted fawns; autumn brings antlers and the rut; winter brings thick coats and snow.
The guide to golden hour photography explains why the low sun at these times is so flattering.
Hoping to catch deer in early light and mist? The guide to fog photography explains how to expose for soft, misty mornings.
Keep a simple notebook or phone note of where and when you see deer. Patterns appear quickly: the same field at the same time, the same trail to the water. Within a few visits you will know where to wait.
Approaching quietly
Deer have excellent hearing, smell and eyesight. Getting good pictures means staying calm and unthreatening.
- Move slowly and pause often. Walk a few steps, stop, wait. Deer are alarmed by steady approach far more than by stillness.
- Approach at an angle, never straight toward the animal. A zigzag route seems less threatening.
- Stay low. Crouching or kneeling makes you smaller and gives better pictures.
- Watch the wind. Deer smell you if the wind blows from you toward them. Approach with the wind in your face.
- Wear muted colors and avoid noisy fabrics.
- Use cover. Trees, bushes and the edges of fields help hide your shape.
- Read the signs. If a deer stops feeding, raises its head, stamps or flicks its tail, stop moving. If it walks away, let it go.
Often the best approach is not to approach at all. Find a spot where deer come regularly, sit quietly and let them come to you.
A vehicle can also be a good hide. In many parks and rural areas, deer are more relaxed around a parked car than a person on foot. Pull fully off the road, turn off the engine to stop vibration and rest the lens on a folded jacket or beanbag on the window frame.
Safe and respectful distances
Deer are wild animals, and their larger relatives can be dangerous. Keeping your distance protects both you and them.
- Use a long lens rather than getting closer. A telephoto lens lets you fill the frame from a respectful distance. See the guide to the telephoto lens.
- Be careful in the rut. In autumn, male deer and elk become aggressive and may charge. Stay well back.
- Give mothers space. Does with fawns are protective. Never approach a fawn lying alone; its mother is usually nearby.
- Treat moose with great caution. They are large and unpredictable. Keep a very wide distance.
- Follow park rules, which often set minimum distances from wildlife.
If an animal changes its behavior because of you, you are too close. The best wildlife pictures show animals behaving naturally, which only happens when they feel safe. Treat distance as part of good technique, not a limit on it, and the pictures will look calmer and more honest.
Eye level and sharp eyes
Two simple habits make deer pictures far stronger.
- Get to eye level. Kneeling or sitting so the camera is near the deer’s eye height makes a picture feel intimate. Shooting down from standing height looks like a snapshot.
- Focus on the eye. Use a single focus point or animal eye detection and place it on the nearest eye.
- Look for catchlights. A small reflection of the sky in the eye brings a deer to life.
- Watch the ears. Deer with ears forward, alert and looking toward the camera often make the most engaging portraits.
The guide on how to choose focus points explains focus areas for animals.
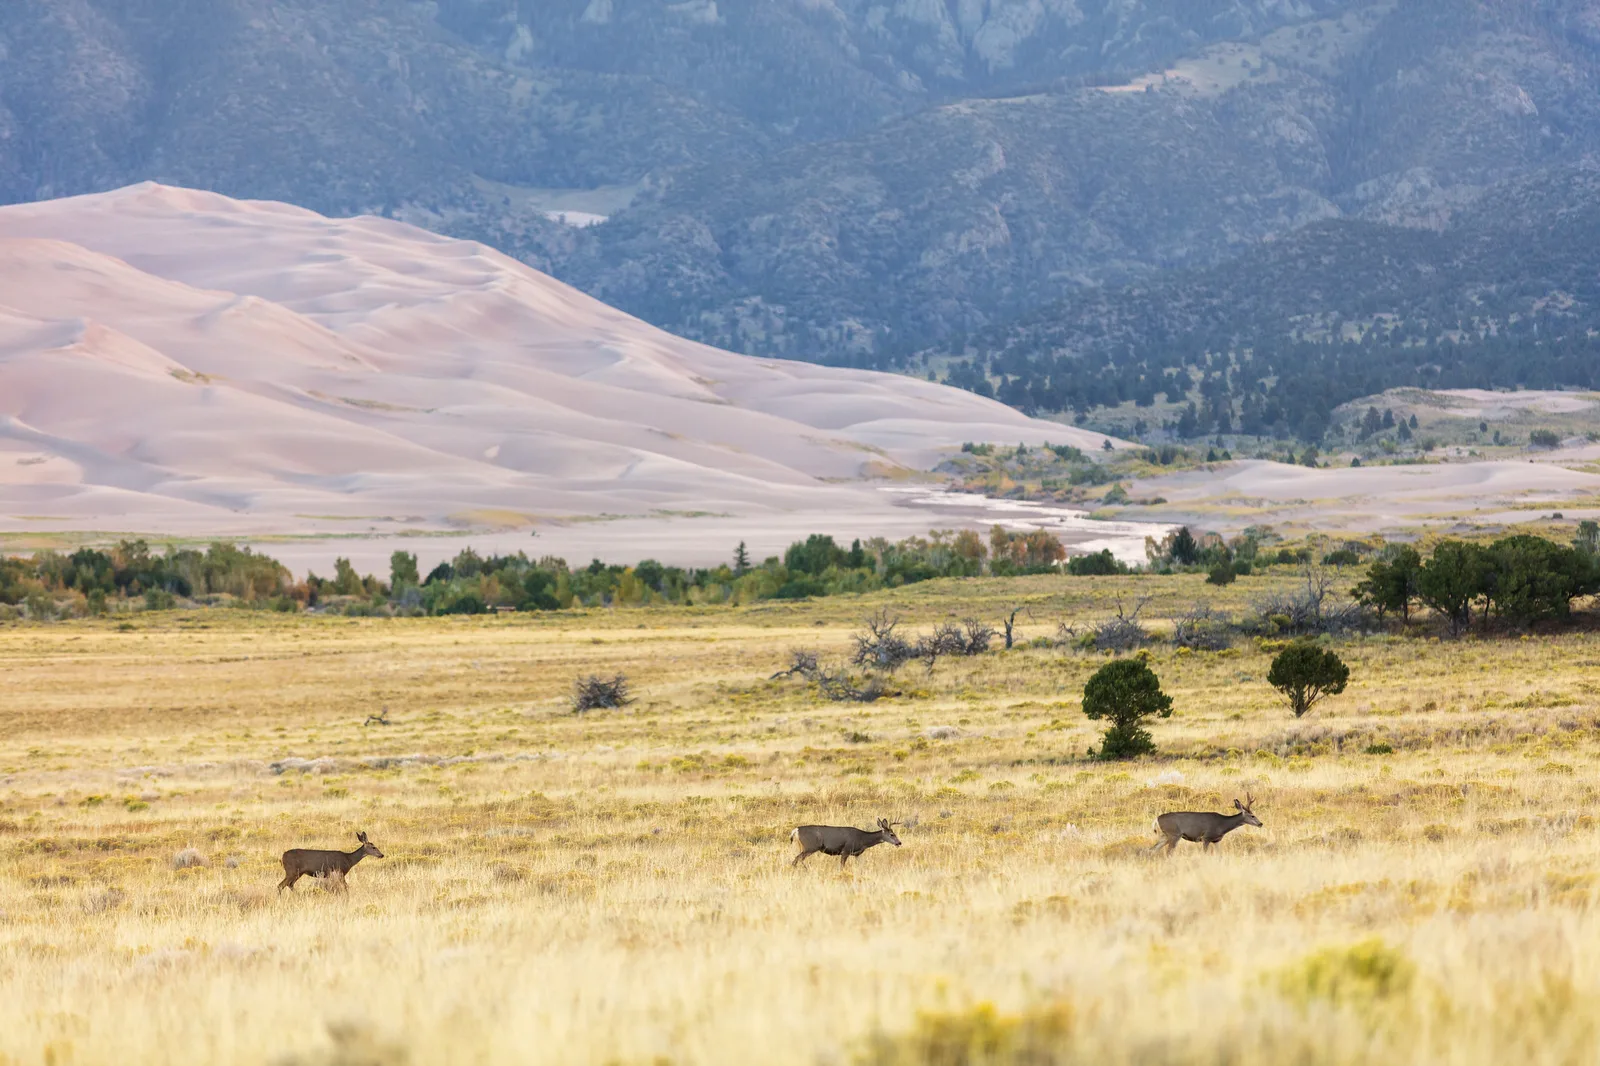
Antlers deserve attention in autumn and winter. Make sure the whole rack is inside the frame and sharp, and watch for branches behind the head that can look like extra points. A small change of position often separates antlers cleanly against the sky or a distant hillside.
Light and backgrounds
- Front light at dawn and dusk shows warm fur and bright eyes.
- Backlight rims deer with a glowing outline and lights up breath in cold air. Expose for the animal.
- Soft overcast light shows fur detail evenly in forests and meadows.
- Clean backgrounds make deer stand out. Move until the background is distant grass, trees or water, and use a wide aperture such as f/4 to f/5.6 to blur it. See depth of field.
- Foreground blur. Shooting through grass or leaves close to the lens creates a soft frame of color around the deer.
Fawns and family groups
Fawns are irresistible subjects, but they need special care. Mothers often leave very young fawns hidden in long grass while they feed elsewhere, and a fawn lying still is not abandoned. Never approach, touch or move one, and leave quietly if you find one by chance. Older fawns following their mothers through a meadow make lovely pictures from a distance, especially in soft morning light. Family groups also show behavior: grooming, nursing and young deer playing. Watch quietly and let the moments happen.
The autumn rut
The rut, when male deer and elk compete for mates, is one of the most exciting times to photograph. Males bellow, spar and display, and herds gather in open places.
- Learn the timing. The rut happens at different times for different species and regions, usually in autumn.
- Listen. Bugling elk and roaring stags can be heard from far away.
- Stay very far back. Rutting males are unpredictable and dangerous.
- Look for breath. On cold mornings, the breath of calling males makes dramatic backlit pictures.
- Use a fast shutter speed for sparring, at least 1/1000.
Winter is a quieter but beautiful time. Deer in thick coats against snow stand out clearly, and frost on fur or breath in the cold air adds atmosphere. Expose a little brighter than the meter suggests so snow stays white.
Deer in the landscape
Close portraits are wonderful, but some of the most memorable deer pictures show the animals small in a big scene.
- Step back and include the meadow, forest, mountains or water, as in the second photo on this page.
- Use silhouettes. A deer on a ridge against a sunrise sky is a classic picture.
- Use mist and snow to simplify the scene around the animal.
- Show groups. A herd moving across a field shows behavior and space.
The guide to landscape photography helps with composing wide scenes. When the deer are small in the frame, place them where the eye naturally travels, such as along a line of light or at the edge of a shadow, so they do not get lost.
Telling a story with behavior
A sharp portrait is a good start, but behavior makes pictures memorable. Look for a deer stretching to reach leaves, scratching an ear with a hind foot, shaking off rain, leaping a fence or looking back over its shoulder. Watch an animal for a while before you shoot and you will begin to anticipate these moments. A short burst as the action starts gives you the best chance of catching the peak.
Settings for deer
| Situation | Shutter speed | Aperture | Notes |
|---|---|---|---|
| Grazing deer | 1/500 | f/5.6 | Single point on the eye |
| Walking or alert | 1/1000 | f/5.6 | Continuous focus |
| Running or sparring | 1/2000 | f/5.6 | Burst mode, wider focus area |
| Deer in landscape | 1/500 | f/8 | Focus on the deer |
| Low dawn light | 1/250 | Widest | Raise ISO, brace the lens |
Use auto ISO so the camera keeps the shutter speed high. Dawn light is dim, so do not be afraid of higher ISO; some noise is better than blur.
Editing deer photos
Keep editing natural. Brighten the eyes slightly if they are in shadow, lift dark fur gently and keep warm dawn light warm without turning everything orange. Crop to give the deer space in the direction it faces, and remove small distractions such as a bright twig across the face only if it can be done cleanly. Most of all, keep the scene honest: do not add animals or change the landscape around them.
Need a simple, step by step editing routine? The guide to photo editing for beginners walks through the basics in order.
Ethics and responsibility
- Never feed deer or use bait to draw them closer.
- Do not chase or surround animals. Let them move away freely.
- Stay on trails in reserves to avoid disturbing wildlife and habitat.
- Do not use calls to attract males during the rut.
- Drive carefully at dawn and dusk, when deer often cross roads.
Ready for other animals? The guide to wildlife photography covers fieldcraft, lenses and behavior for many species.
Common mistakes
- Walking straight at deer. Fix: move slowly at an angle and pause often.
- Shooting from standing height. Fix: kneel or sit for eye level.
- A soft eye. Fix: put the focus point on the nearest eye.
- Midday visits. Fix: go at dawn and dusk when deer are active.
- Getting too close. Fix: use a long lens and respect distance.
- Busy backgrounds. Fix: change position and use a wide aperture.
Try this: a 10-minute deer watch
- Minutes 1 to 3: At dawn, find a field edge or lakeshore and sit quietly.
- Minutes 4 to 6: When a deer appears, photograph it at eye level with focus on the eye.
- Minutes 7 to 8: Move slightly to find a cleaner background.
- Minutes 9 to 10: Make one wide picture showing the deer in its landscape.
Frequently asked questions
What is the best time to photograph deer?
Dawn and dusk, when deer feed and light is warm.
What lens is best for deer?
A telephoto zoom lets you fill the frame from a safe distance. In parks with tame deer, a standard zoom may be enough.
How close can I get to deer?
Close enough to photograph without changing their behavior. If a deer stops feeding or moves away, step back.
Is it safe to photograph elk and moose?
Only from a long distance. Both can charge, especially during the rut or with young.
How do I photograph deer in low dawn light?
Raise the ISO, open the aperture and brace the lens on a beanbag, fence post or your knee. Take short bursts so at least one frame is sharp, and accept some noise in exchange for a sharp image.
Can I photograph deer with a phone?
Only when deer are used to people, such as in some parks. Phones need you to be close, so never approach wild deer to get the shot. Use the zoom carefully and show the deer small in its landscape instead.
How do I stop deer from running away?
Move slowly, stop often, stay low and approach at an angle with the wind in your face. Better still, wait quietly where deer come naturally.
For terms such as telephoto lens, depth of field, burst mode and noise, see the photography glossary.