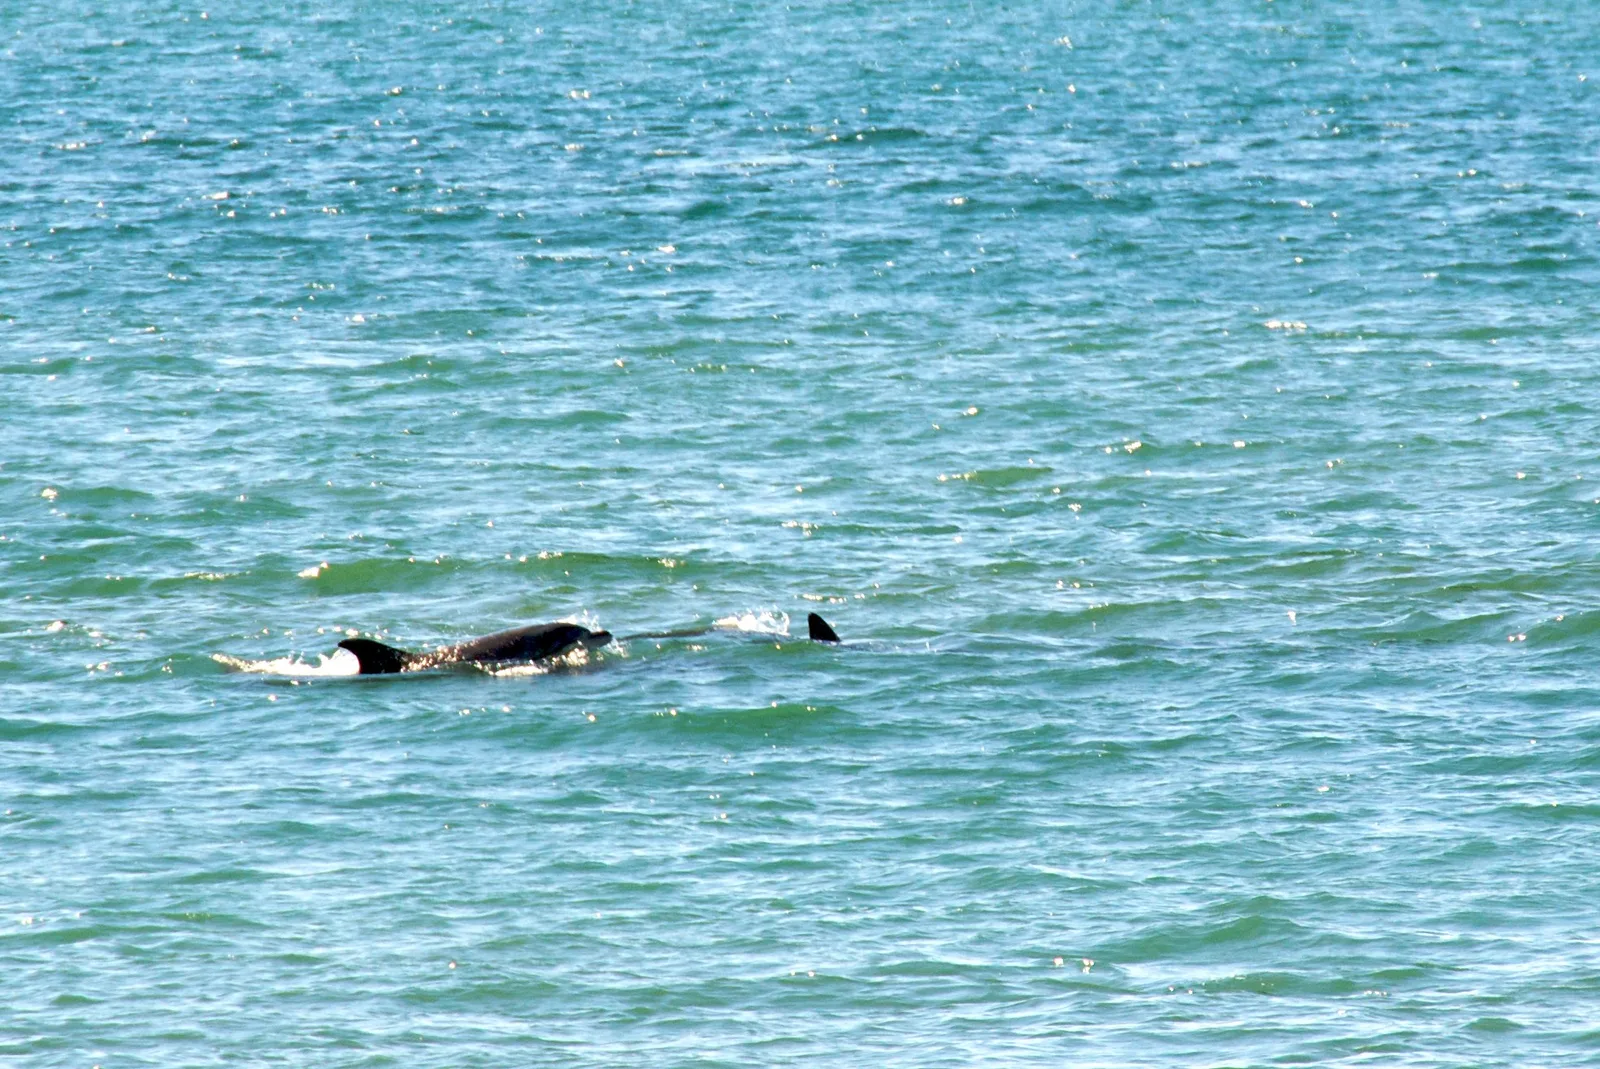
Few moments in nature feel as magical as a dolphin rolling through a wave or a whale’s tail rising slowly from the sea. Dolphin and whale photography combines the thrill of wildlife photography with the beauty of the ocean, and it is surprisingly accessible. From coastal clifftops, beaches, ferries and whale watching boats, beginners can photograph these remarkable marine mammals with ordinary cameras and a little preparation.
This beginner guide covers why marine mammals are rewarding subjects, where and when to find them, photographing from shore, whale watching boats, reading behavior, timing breaches and blows, settings for fast action, dealing with glare and spray, composition, light, ethics and rules, phones, editing, common mistakes and a short practice exercise. It builds on the guides to wildlife photography and camera settings for wildlife.
Why dolphins and whales are rewarding
- Wonder. Seeing a wild whale or dolphin is unforgettable, and good pictures preserve the moment.
- Action. Leaps, breaches, tail slaps and spouts create dramatic frames.
- Grace. Smooth backs and fins arcing through water form beautiful curves.
- Setting. Ocean, coastline and sky provide simple, powerful backgrounds.
- Challenge. Brief, unpredictable appearances sharpen timing and patience.
Most of the time you will see only backs, fins and spouts. That is part of the charm, and learning to make those fleeting glimpses into strong pictures is a satisfying skill.
Kinds of marine mammals
- Dolphins. Fast, social and playful, often riding bow waves or surfing.
- Porpoises. Smaller and shyer, showing brief glimpses of triangular fins.
- Orcas. Large black and white dolphins with tall dorsal fins.
- Humpback whales. Known for breaching, tail flukes and long songs.
- Gray and blue whales. Huge migrating whales with tall spouts.
- Seals and sea lions. Often seen on rocks and docks nearby.
Each species has its own habits. A little reading before a trip tells you what to expect: whether to watch for spouts, fins or splashing groups.
Patience and preparation
Marine mammal photography is mostly waiting. Whales may surface for a minute and then vanish for ten, and dolphins can pass in seconds. Prepare before you go: charge batteries, clear memory cards, set the camera for action and keep it switched on and ready in your hands rather than in a bag. Dress in layers, since sea air is often colder than expected, and bring water and snacks for long watches. Patience is rewarded not only with pictures but with the quiet pleasure of watching the sea, which many photographers come to love as much as the animals themselves.
Where and when to find them
- Migration routes. Many whales follow coastlines on seasonal migrations, passing headlands at predictable times of year.
- Feeding areas. Bays and channels rich in fish attract whales and dolphins.
- Calm mornings. Smooth water makes fins and spouts easier to spot.
- Local knowledge. Visitor centers, tour operators and sighting reports show where animals have been seen.
- Ferries. Coastal ferries often cross waters where marine mammals feed.
Plan trips around peak seasons, and allow several outings, since sightings are never guaranteed. The guide to location scouting helps with planning.
Photographing from shore
Shore watching is free, peaceful and often very rewarding.
- High viewpoints. Clifftops and headlands give wide views and reduce glare.
- Binoculars. Scan the water first, then lift the camera when you spot activity.
- Long lens. A telephoto of 300mm or more brings distant animals closer.
- Tripod or monopod. Supports a heavy lens during long waits.
- Dolphins near beaches. Many dolphins feed and surf close to shore, just beyond the breaking waves.
Watch for birds diving, splashes and patches of disturbed water, which often signal feeding dolphins or whales. The guide to telephoto photography covers long lens technique.
Reading the water
Experienced whale watchers learn to read the sea. A sudden puff of mist on the horizon is a blow. A smooth, glassy patch on rippled water, called a footprint, marks where a whale has just dived. Flocks of birds wheeling and diving often mean fish near the surface, which attract dolphins and whales. Splashes far away might be dolphins leaping. Train your eyes by scanning slowly from left to right, then back again, pausing on any disturbance. Binoculars help enormously, and many photographers keep a pair around their neck alongside the camera.
Whale watching boats
- Choose a responsible operator. Look for companies that follow wildlife guidelines and keep proper distances.
- Find your spot. The bow and upper decks give clear views; move to the side where animals appear.
- Brace yourself. Boats rock, so keep knees soft and lean on rails for support.
- Zoom lens. A 70 to 300mm or 100 to 400mm zoom covers near and far encounters.
- Protect gear. Spray and salt are hard on cameras, so carry a rain cover and cloth.
Animals sometimes approach boats closely. Keep a wider lens or phone ready for these moments, when a long lens may be too tight.
Seasickness and comfort
It is hard to photograph well while feeling seasick. Choose larger boats for rougher waters, sit near the middle and low down where motion is gentler, and keep your eyes on the horizon between sightings. Avoid looking at the camera screen for long periods while the boat rocks. Fresh air on deck helps, as does a light meal before leaving. Feeling comfortable lets you focus on the animals and enjoy the trip.
Reading behavior
- Blows. A spout of mist means a whale has surfaced to breathe, usually several times before diving.
- Arched backs. A whale rounding its back high often means it is about to dive and show its tail.
- Splashing groups. Dolphins feeding or playing create bursts of white water.
- Bow riding. Dolphins often ride the wave in front of boats.
- Breaching. Whales that breach once often breach again nearby.
Spend time watching patterns before shooting. Knowing when a dive or leap is coming gives you a head start.

Timing breaches, flukes and leaps
- Burst mode. Hold the shutter through the whole leap or dive.
- Pre-roll. Start shooting as soon as the animal starts rising.
- Peak moment. The top of a leap or the fully raised tail is usually the best frame.
- Watch the area. After a breach, keep the camera on the same patch of water.
- Wider framing. Leave room around the animal so you do not clip tails or fins.
The guide to burst mode explains how to capture fast sequences.
Telling the story of an encounter
The most memorable sets of pictures tell the whole story of a day on the water. Include the harbor at dawn, the boat heading out, fellow passengers pointing at a spout, the first distant blow, the close encounter and the return at sunset. Wide views of the boat dwarfed by a whale show scale and excitement, while close views of flukes and fins show detail. Pictures of people’s reactions, taken respectfully, capture the joy that these encounters bring. Variety turns a handful of fin pictures into a story worth sharing.
Settings for fast action
- Shutter speed. 1/1000 second or faster freezes leaps and splashes. See the guide to freezing motion.
- Aperture. f/5.6 to f/8 for enough depth.
- ISO. Auto ISO keeps shutter speeds fast as light changes.
- Autofocus. Continuous focus with a zone or wide area works well on moving animals.
- Exposure. Bright water can darken animals, so check the histogram.
Exposure on bright water
Bright, sparkling water can fool the camera meter, making dark dolphins and whales look like black shapes with no detail. Spot metering on the animal, or adding a little exposure compensation, helps keep detail in dark skin. On the other hand, white splashes and spouts can lose detail if the exposure is too bright. Check the highlight warning after a few frames and find a balance. Shooting in RAW gives extra room to recover both.
Glare, spray and the horizon
- Polarizing filter. Cuts glare on water and deepens blue.
- Sun position. Keep the sun behind or beside you to reduce glare.
- Level horizon. On a rocking boat, straighten the horizon later.
- Lens hood. Blocks spray and stray light.
- Dry cloth. Wipe salt spray off the front element often.
The guide to the polarizing filter explains how it handles reflections.
Weather and sea conditions
Sea conditions make a huge difference. Calm, glassy water makes fins and spouts easy to see and gives clean reflections, while choppy water hides animals in whitecaps. Light overcast reduces glare and harsh contrast, which can be helpful on bright days. Fog may hide distant animals but makes close encounters feel mysterious. Wind blows spouts sideways and adds spray, which can look dramatic in backlight. Check marine forecasts and plan outings for calm periods, especially from small boats.
Composition and light
- Space to move. Leave room ahead of a swimming animal.
- Include the setting. A coastline, island or boat shows place and scale.
- Groups. Several dolphins rising together create rhythm.
- Details. Tail flukes, fins and blowholes make strong close ups.
- Golden light. Early and late sun makes spouts glow and water shimmer.
- Backlit spouts. Sun behind a whale lights its blow beautifully.
Interested in what lives beneath the surface? The guide to underwater photography covers reefs, fish and diving cameras.
Identifying individuals
Many whales and dolphins can be recognized individually from markings. Humpback whales have unique black and white patterns on the undersides of their tails, while dolphins and orcas have distinctive nicks and scars on their dorsal fins. Researchers use photographs to track individuals over years, and some projects welcome pictures from the public. A sharp, straight on picture of a raised tail or a side view of a fin can be scientifically useful as well as beautiful. Ask your tour operator about local identification projects.
Dolphins near the beach and in the surf
Some of the most charming dolphin pictures are made right from the beach. In many coastal areas, dolphins hunt fish close to shore and even surf breaking waves alongside people. Early morning is often best, when the sea is calm and beaches are quiet.
- Watch the waves. Dolphins surfing appear as dark shapes inside the face of a wave, best seen when the sun is behind you.
- Use a long lens. Even near shore, dolphins are usually farther than they seem.
- Pier views. Piers and jetties put you closer to deeper water.
- Surfers for scale. Dolphins near surfers make lively, joyful pictures.
- Stay out of the water. Let animals come and go without people swimming toward them.
The guide to surf photography covers photographing waves and action from the beach.
Ethics and rules
- Keep distance. Many places have legal minimum distances for boats, swimmers and drones.
- Never chase. Let animals approach on their own terms.
- No feeding or touching. It changes natural behavior and can harm animals.
- Drones. Check rules before flying near marine mammals; many areas forbid it.
- Honest captions. Say when animals were photographed in captivity.
Ethical photography protects animals and keeps encounters possible for others. The guide to conservation photography shows how pictures can help marine life.
Using a phone
Phones struggle with distant animals, but they shine when dolphins ride the bow or whales surface close to a boat. Use burst mode, tap to focus and lock exposure on the water, and record video, which lets you save a still from the perfect moment.
Editing dolphin and whale photos
Straighten horizons first. Lower highlights on bright water and lift shadows on dark backs. Crop to improve composition, but avoid heavy cropping that adds noise. Reduce haze gently for distant animals and keep ocean colors natural.
Captive dolphins and marine parks
Dolphins are sometimes kept in marine parks, aquariums and resort lagoons. These places can offer close views and leaping animals, but many people have concerns about the welfare of captive marine mammals. If you photograph captive animals, say so honestly in captions rather than presenting the pictures as wild encounters. Many photographers choose to focus on wild animals and responsible tours instead. The guide to zoo and aquarium photography covers photographing animals in captivity.
Common mistakes
- Too slow a shutter. Use 1/1000 second or faster.
- Crooked horizons. Level them in editing.
- Clipped tails. Frame a little wider.
- Glare. Use a polarizer and watch the sun.
- Chasing animals. Wait patiently instead.
- Missing the moment. Keep the camera ready between sightings.
Practicing before a trip
Practice tracking moving subjects before a whale watching trip. Photograph seabirds in flight, surfers or boats passing a harbor entrance with the same settings you plan to use. This builds the habit of following a subject smoothly and pressing the shutter early, so you are ready when a dolphin finally leaps.
Try this: a 10-minute ocean watch
From a beach, pier or headland, spend ten minutes watching the sea.
- Set 1/1000 second, continuous focus and burst mode.
- Scan the water for splashes, birds or fins.
- Practice tracking a moving boat, bird or surfer to prepare.
- If animals appear, photograph them in burst, wider than you think.
- Make one wide picture of the seascape to set the scene.
Frequently asked questions
What lens is best for whale watching?
A 100 to 400mm zoom covers most encounters, with a phone or wide lens for close moments.
What shutter speed do I need for dolphins?
1/1000 second or faster to freeze leaps and splashes.
Can I photograph dolphins from shore?
Yes. Many dolphins feed near beaches, especially in calm morning water.
How do I photograph a whale breach?
Keep watching the same area, use burst mode and start shooting as the whale rises.
Do I need a boat to photograph whales?
No. Headlands and clifftops on migration routes can give excellent views from land.
How do I stop glare on the water?
Use a polarizing filter and keep the sun behind or beside you.
What time of day is best for dolphins?
Early morning often brings calm water, soft light and active feeding close to shore.
Love watching wildlife along the coast? The guide to seabird photography covers puffins, gulls and cliffs.
For terms such as burst mode, polarizer and shutter priority, see the photography glossary.