To photograph through a zoo fence, zoom in, open the aperture as wide as it goes, put the front of the lens right up against the mesh and wait until the animal is well behind it: the wire blurs so much it vanishes. To photograph through glass, press a rubber lens hood flat against the pane so no reflections can reach it, and wear dark clothes. In aquariums, raise the ISO rather than reaching for flash, and fix the blue cast with white balance afterwards.
Zoos and aquariums are the easiest places to get close to a tiger or a shark, and some of the hardest places to make a clean photograph of one. Almost every obstacle (wire, glass, dim light, colored water) has a physical cause, and once you understand it the fix needs no special equipment.
Why a fence disappears (and when it will not)
A lens can only focus at one distance. Anything much closer than that distance is rendered as a soft blur, and the size of that blur depends on three things: how far the obstruction is from the subject, how long the lens is, and how wide the aperture is. Put a wire mesh a few centimeters from the lens, focus on an animal ten meters beyond it, and each wire becomes a smear so wide and so faint that it simply washes out. That is the whole trick.
Work through the variables in this order, because each one helps more than the last:
- Get the lens as close to the fence as you safely can. Touching distance is ideal. At half a meter the wire is still recognizable as a grid; with the lens against it, it is usually gone. Never put your fingers or lens through a barrier into an enclosure.
- Use the widest aperture you have. Every stop you close down shrinks the blur and brings the mesh back. At f/8 you will see a faint grid of lines across the animal; at f/4 or f/5.6 on a long lens you usually will not.
- Use a long focal length. Blur from close objects grows quickly with focal length, which is why the same fence that ruins a phone snapshot vanishes at 300mm. Anything from about 200mm up works well.
- Wait until the animal is well behind the fence. The fence needs to be near you and the subject far from it. A lion lying two meters beyond the wire is easy; one pressed up against it has the mesh printed across its face, and no setting will fix that.
Two further details make the difference between a fence that disappears and one that leaves a gray haze. First, shoot square on. Looking through mesh at an angle, you see through the wire along a longer path and the gaps close up, so the fence acts like a denser screen. Second, pick a shaded section of fence. Wire in direct sun glows and spreads a bright veil over the whole frame, while wire in shade adds almost nothing. If sunlight is striking the mesh right in front of you, your own body or a hand held above the lens can shade it.
Autofocus often grabs the fence instead of the animal, because the wire is high contrast and close. Use a single small focus point placed on the animal’s eye, or focus on the animal and then switch to manual focus so the camera cannot change its mind. If the lens has a focus limiter switch, set it to the far range so it will not even try to focus on something a meter away.
Beating reflections on glass
A reflection is light from your side of the pane (your shirt, an exit sign, a bright doorway) bouncing off the glass into the lens. The cure is to stop that light reaching the patch of glass in front of the lens.
The most effective way is to put the lens right against the glass. With the lens or its hood touching the pane, the patch of glass it looks through is enclosed and stray light has nowhere to come from. A soft rubber lens hood is ideal: it presses flat without scratching, and the folding kind lets you angle the lens slightly while keeping the seal. A hard hood works too, but hold it gently, because it slips and can mark acrylic. If you have no hood, cup your free hand around the end of the lens to make the same seal.
When you cannot touch the glass (a railing in the way, a glass wall too far away), control what is behind you instead:
- Wear dark, plain clothing. A white shirt or a bright logo is a reflector aimed straight at the pane. Black is almost invisible.
- Move until the dark part of the room is behind you. Reflections are brightest when there is a lit display or doorway directly behind the camera.
- Change your angle slightly. Tilting a few degrees moves a reflection off the subject, but keep the angle small, because thick glass bends light and softens the image the further you are from square on.
A polarizing filter cuts reflections from glass only when you view it at an angle, roughly 30 to 40 degrees from the surface. Square on, where thick glass gives the sharpest image, it does very little, and it costs one to two stops of light you cannot spare in an aquarium. A lens pressed to the glass beats a polarizer almost every time. Reflection photography explains why reflections behave the way they do.
Smudges, scratches and thick panels
A smudge right in front of the lens is so far out of focus that it rarely shows as a mark. Instead it lowers contrast and adds a soft glow around bright areas, which is easy to mistake for a focus problem. Scratches behave the same way. Choose a clean patch, often higher than a child can reach, and wipe your side with a soft cloth if needed. Never use anything abrasive: large tanks are usually acrylic, which scratches far more easily than glass.
Very thick panels bend and slightly split light, so fine detail softens and edges can pick up colored fringes, worst at an angle or near the edge of the panel. Stand square on to the part you are shooting through, and expect results to be a little softer than on dry land.
Aquarium light: dim, blue and moving
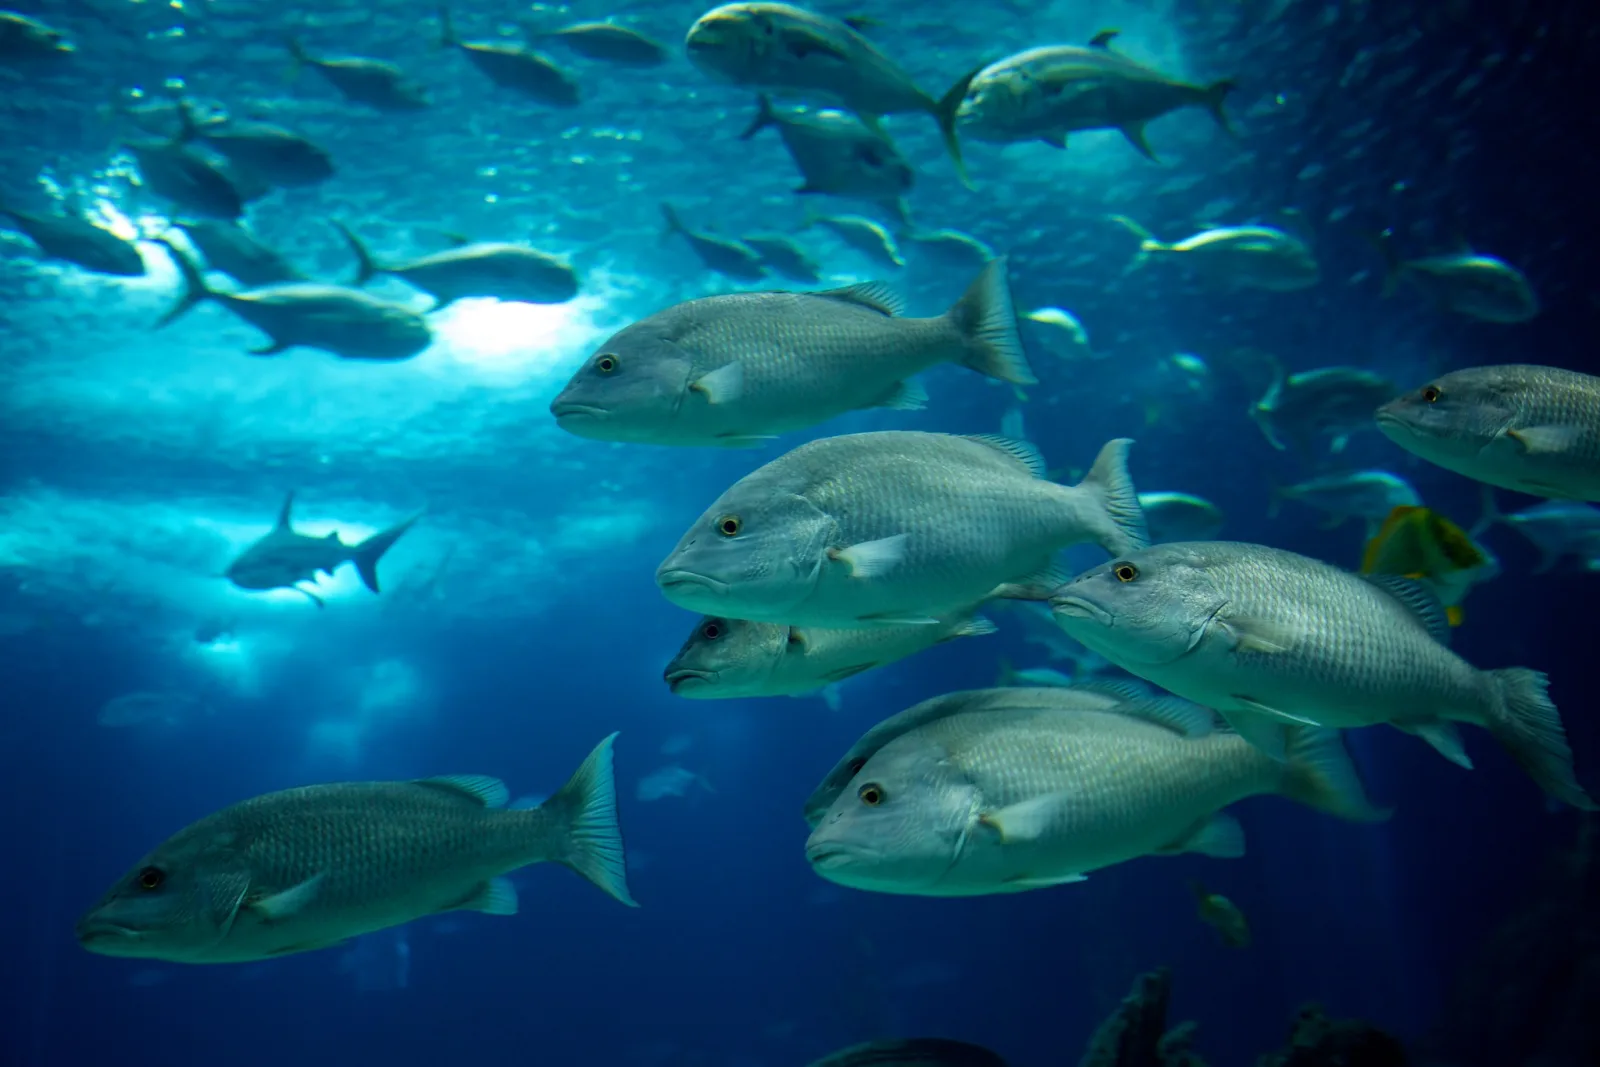
Aquariums are dark on purpose. The visitor side is kept dim so the tanks glow and so people can see into them without reflections, which means your camera is working with very little light. Fish rarely stop, so you need a shutter speed fast enough to freeze them, a wide aperture and a high ISO. Accept the noise. A sharp fish at ISO 6400 is a photograph; a soft fish at ISO 800 is not. Noise reduction can clean up a high ISO file; nothing can repair motion blur.
The color cast has two causes. Water absorbs red light first, then orange and yellow, so the deeper and larger the tank, the more everything shifts to blue and green. Tanks are also often lit with cool or deliberately colored light to show off the animals. Your camera’s automatic white balance will pull some of it back but rarely all.
The practical fix is to shoot RAW and correct afterwards. In your editor, click the white balance picker on something that should be neutral: pale sand on the bottom of the tank, a white belly, a gray rock. If nothing neutral is in the frame, warm the temperature and add a little magenta until the fish look plausible rather than perfect. Do not expect to recover a full rainbow of color from a deep tank. When the red light has been absorbed before reaching the camera, the information is not in the file, and pushing the red channel hard just brings up noise. Some photographers keep a touch of the blue deliberately, because it tells the viewer the subject is underwater.
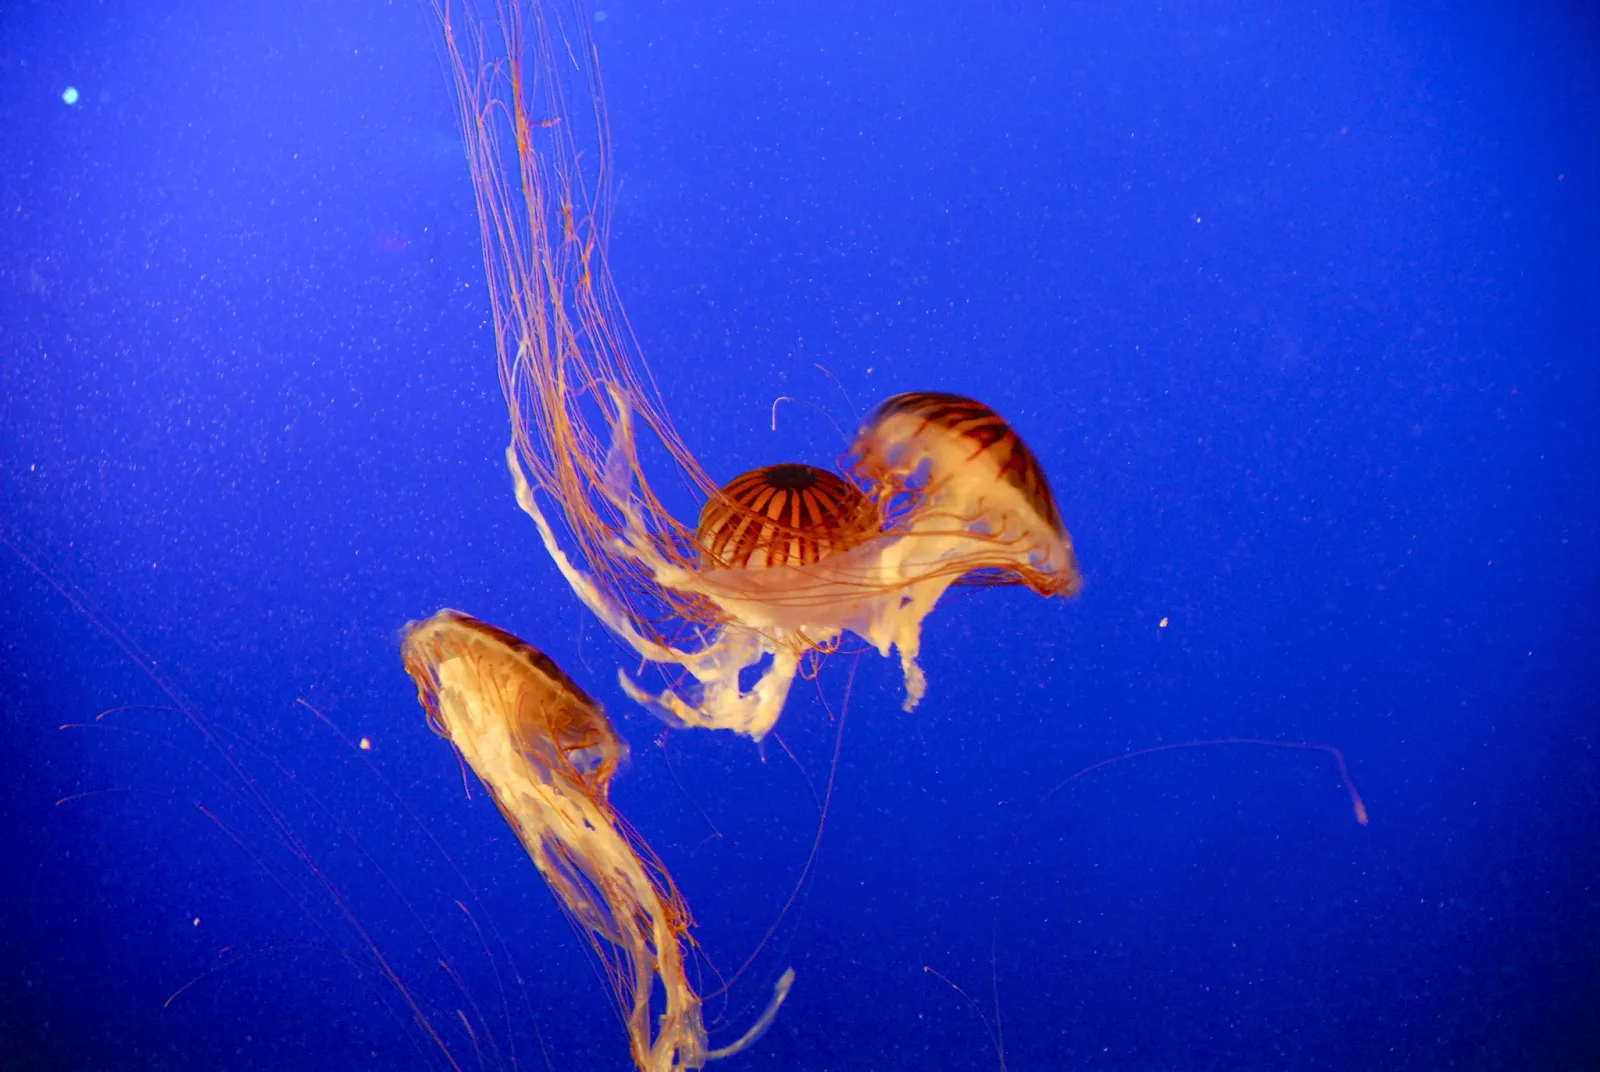
Jellyfish tanks are the gift of the aquarium. The animals drift slowly, often against a single strong color, so you can use a slower shutter speed than any fish would allow. Treat them like still life and spend time on composition: one jelly with its tentacles trailing, placed with plenty of space around it.
Flash: why it fails on glass and when to leave it off
Many zoos and aquariums ban flash, and you should follow the rule wherever it is posted. Beyond the rule, there are three good reasons to leave flash off even where it is allowed.
First, it does not work. A flash on the camera fires straight at the glass, which throws it back into the lens as a white hotspot. Second, water is full of tiny particles, and flash lights every one of them, filling the frame with specks. Divers call this backscatter, and it is the reason underwater photographers mount their lights on long arms well away from the lens. Third, the animals and the other visitors did not ask for it. Nocturnal houses and deep-sea exhibits are kept dark for the animals’ sake, and a burst of light in a dark gallery also ruins the view for everyone around you.
If flash is explicitly permitted and you need it, the only approach that works through glass is to press the lens against the pane and hold the flash off to one side, also against the glass, aimed in at an angle. The reflection then bounces away from the lens instead of into it. For most visitors on most days, the better answer is simply a higher ISO. The flash photography guide covers flash technique in settings where it belongs.
Hiding the enclosure, and being honest about it
Enclosures are built to look natural from the paths, but concrete, feeding bowls, hoses, signs and visitors on the far side are always waiting at the edges of the frame. Most of the work of a clean zoo photograph happens before you press the shutter.
- Choose the background first, then wait for the animal. Walk around the enclosure and find the angle where the animal would be in front of foliage, rock or water. Then wait for it to move into that spot. Animals in captivity follow routines, and they often return to the same resting places.
- Use a long lens and a wide aperture for a narrow field of view and a blurred background. A painted wall two meters behind a tiger is obvious; at 300mm and f/5.6 with the wall twenty meters back, it becomes a soft brown wash. The telephoto photography guide explains why long lenses compress and simplify backgrounds.
- Crop in the camera. A head-and-shoulders portrait hides the whole enclosure. So does a detail: an eye, a paw, the pattern of scales.
- Watch the edges. Before you shoot, run your eye around the border of the viewfinder for a corner of a sign, a bright plastic toy or a piece of rope.
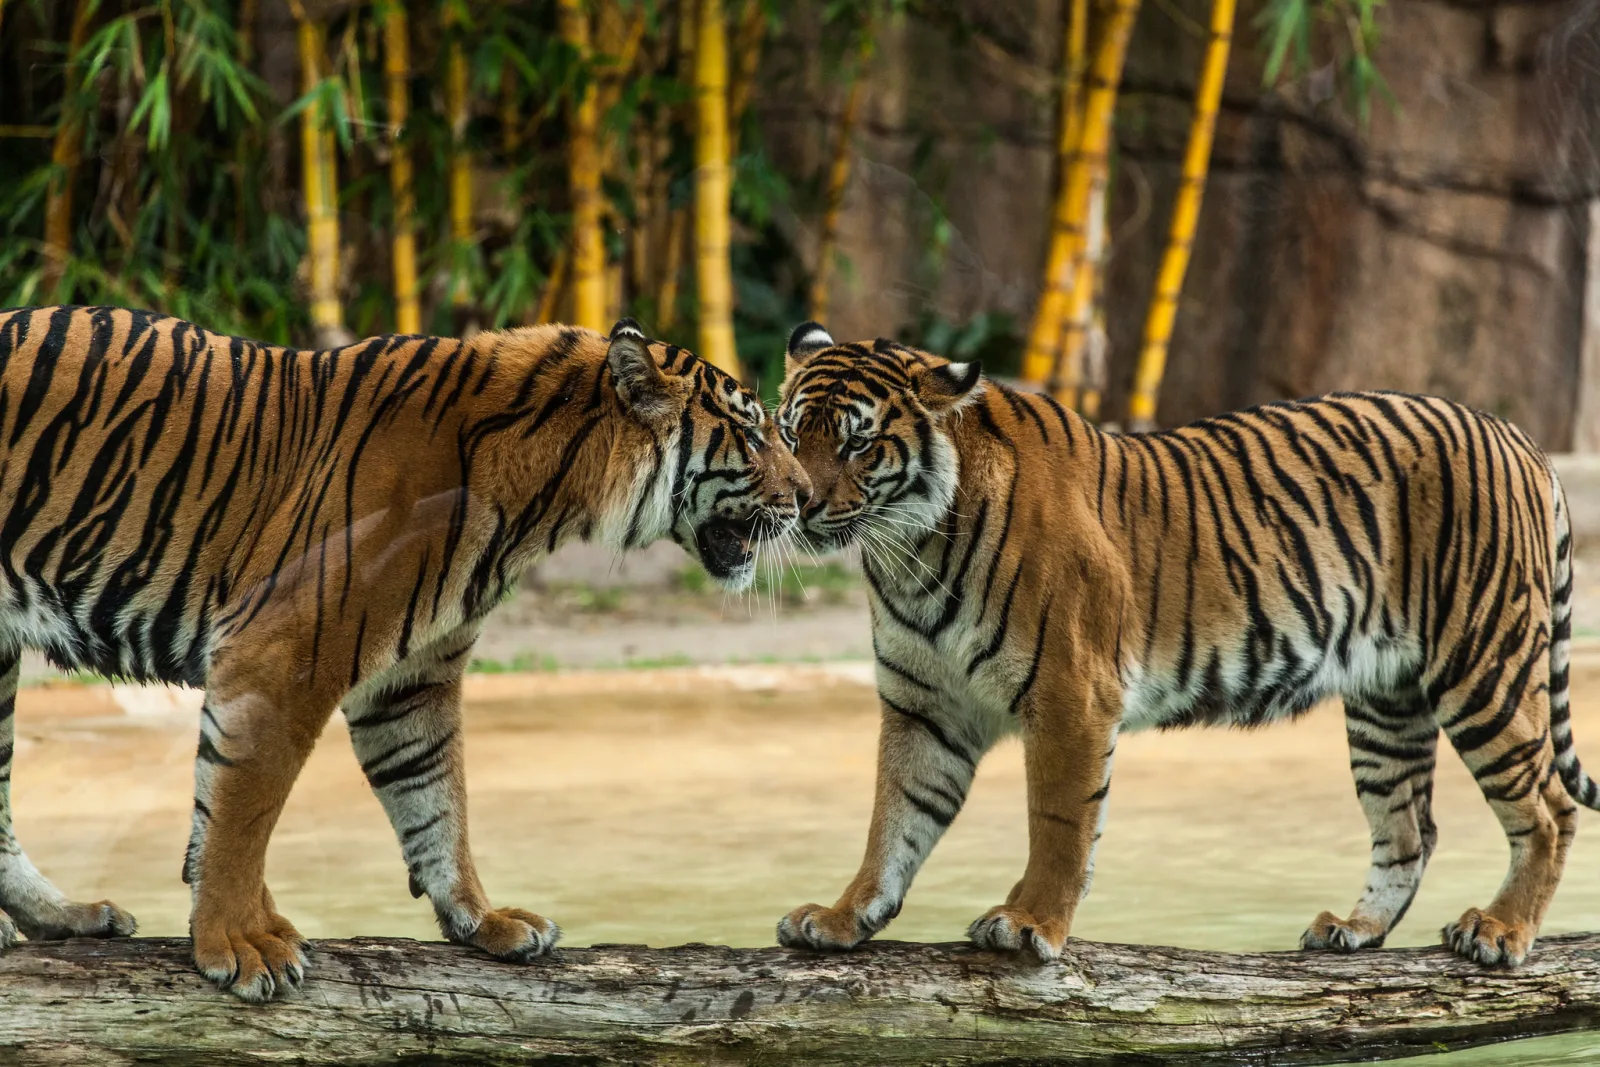
Making the enclosure disappear is good craft. Making the viewer believe the animal was wild is not. When you share a zoo or aquarium photograph, say where it was taken. Many wildlife photography competitions require captive animals to be declared, or exclude them from wild categories entirely, and a photograph of a captive snow leopard presented as a wild encounter misleads people about how hard that encounter is. A caption as simple as “at the city zoo” keeps you honest and costs nothing. The wider principles are in photography ethics.
Sometimes include the setting on purpose. Visitors silhouetted against a huge tank or a keeper at work are honest photographs of how people and animals meet.
Timing: when captive animals actually move
The most common zoo photograph is of a sleeping animal, because that is what most animals are doing most of the day. Timing matters as much here as it does in the wild, and it is far easier to plan.
- Arrive at opening time. Many animals are most active in the cool early hours and after keepers have been in the enclosure. Crowds are also thinner, which means clean glass and room to work.
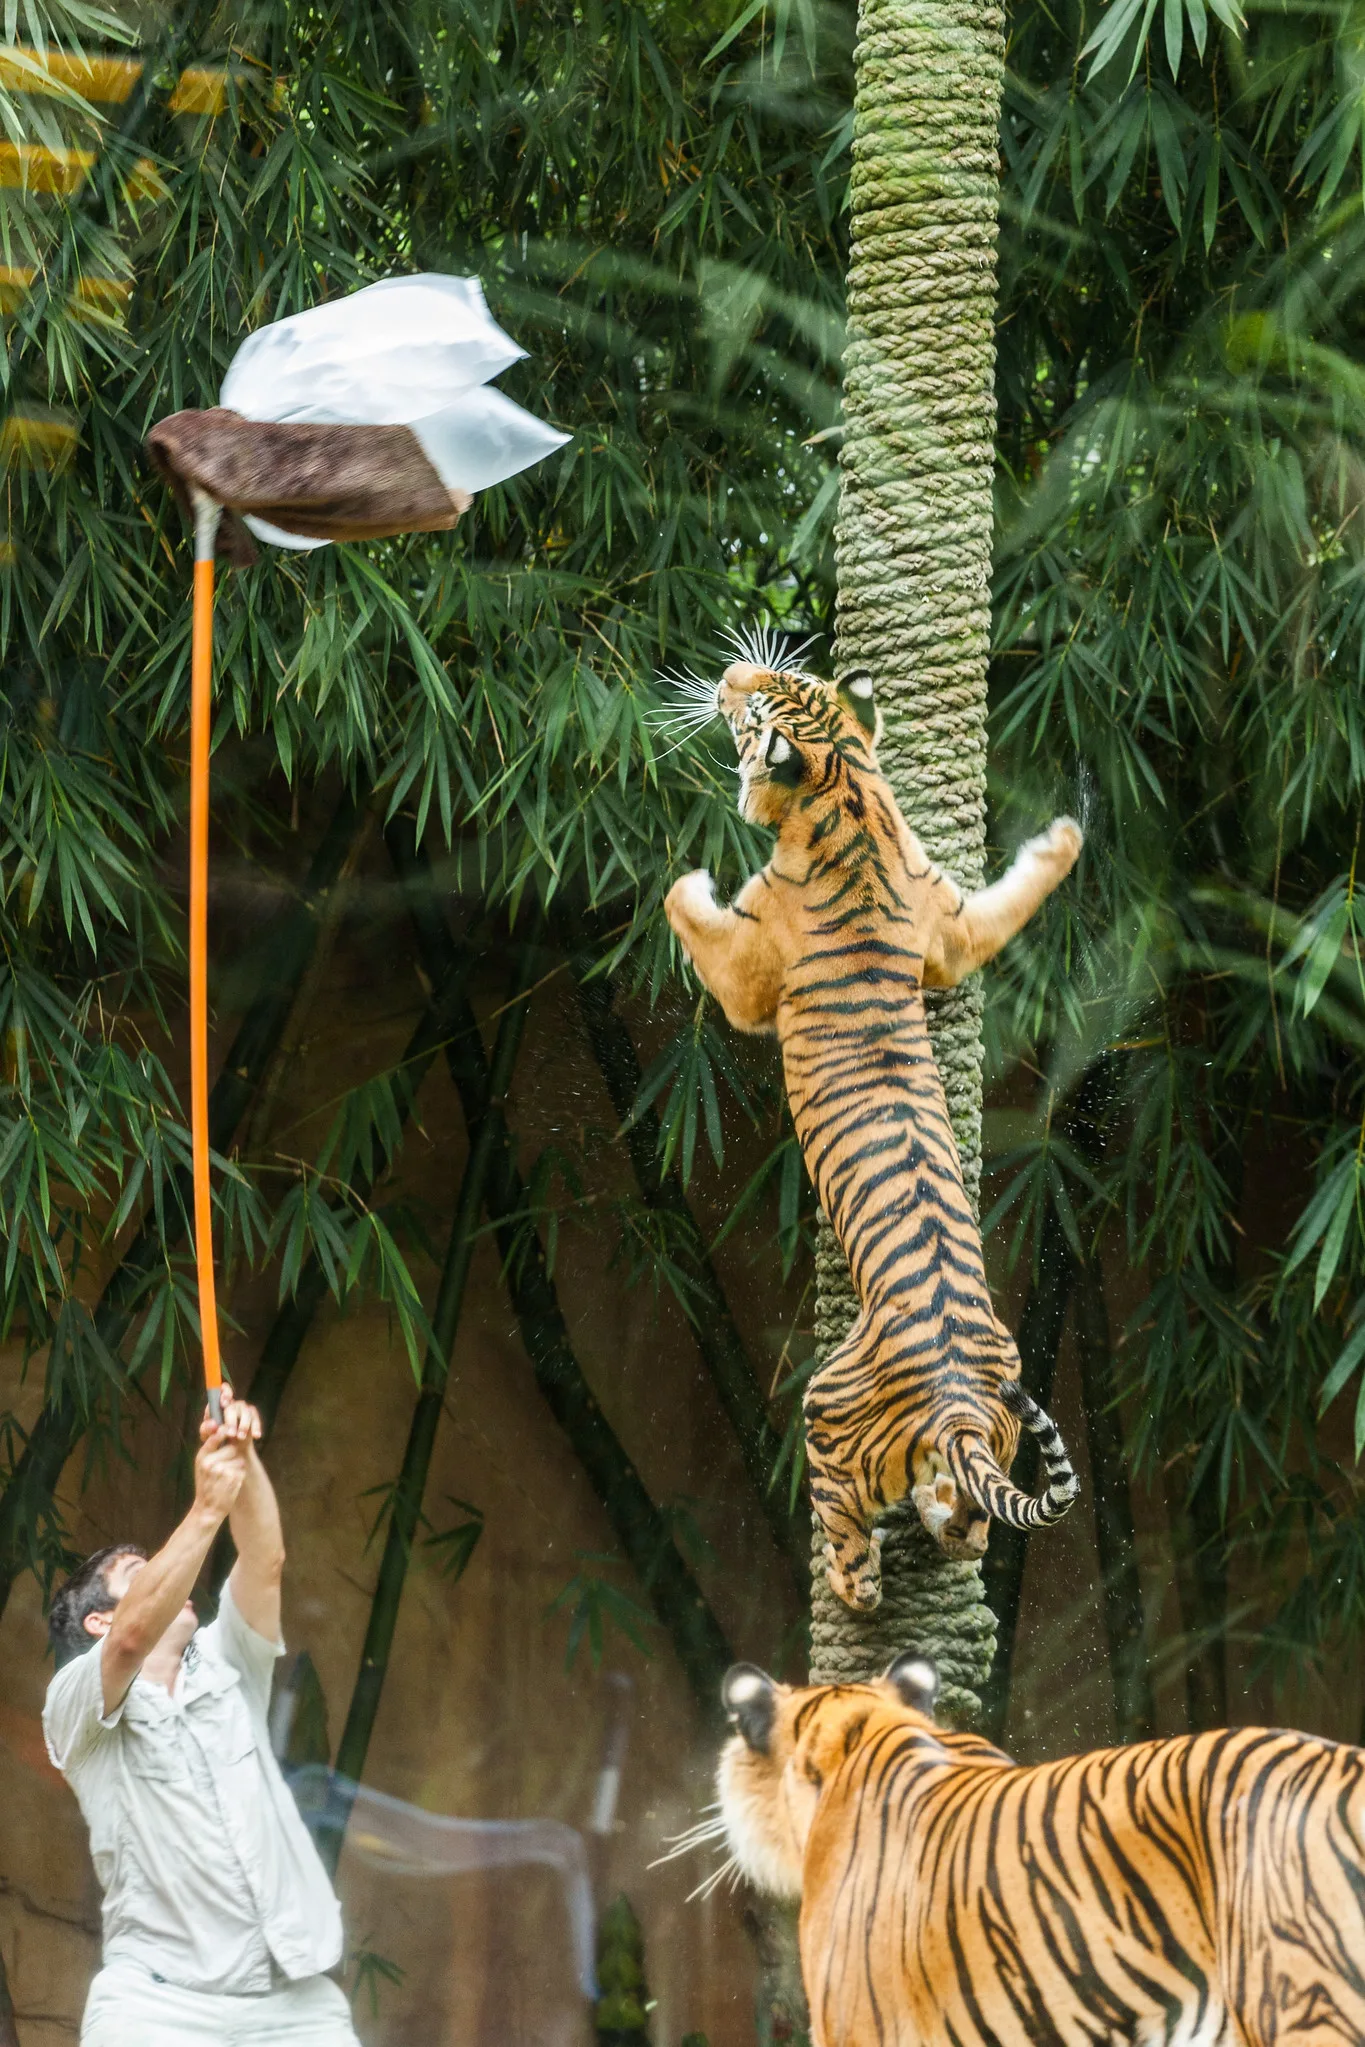
- Check the feeding and keeper talk schedule on the way in. A scheduled feed is the one time a big cat is guaranteed to be awake, alert and moving toward a predictable spot. Arrive fifteen minutes early to claim a position with a good background.
- Choose cool or overcast days. On hot days many animals retreat to shade and sleep. Soft overcast light also removes the harsh shadows and bright hotspots that make fur and feathers hard to expose.
- Stay with one animal. Twenty minutes at one enclosure beats two minutes at ten. You learn the animal’s circuit, where it pauses, and which way it turns its head.
In aviaries, birds settle once you stop moving, and the fieldcraft from bird photography applies unchanged. A zoo is an excellent place to rehearse the skills in wildlife photography before you try them on animals that will not wait for you.
Starting settings for each situation
These are starting points, not rules. Set the shutter speed and aperture for the subject, then let auto ISO find the exposure, and check the result on the screen with the image magnified.
- Large mammal through chain-link: 200 to 400mm at the widest aperture, 1/500s or faster, auto ISO (usually 200 to 1600 outdoors).
- Birds in an aviary through mesh: 200mm or longer, widest aperture, 1/1000s (faster for flight), auto ISO up to 6400.
- Fish in a big tank: standard zoom at f/2.8 to f/4, 1/125s to 1/250s, ISO 1600 to 6400.
- Jellyfish: f/2.8 to f/4, 1/30s to 1/60s, ISO 800 to 3200.
- Reptile or nocturnal house through glass: widest aperture, 1/60s to 1/125s, ISO 3200 to 12800.
Turn image stabilization on: it will not freeze a moving fish, but it removes your own shake. Many zoos and aquariums ban tripods, and a lens braced against glass or a rail is often just as steady. Use continuous autofocus with a single point or small zone for anything moving.
Common mistakes
- Standing back from the fence. A meter away, the wire stays visible whatever the aperture. Put the lens right up against the mesh.
- Stopping down for more sharpness. f/8 or f/11 brings the fence back as a faint grid. Shoot wide open and accept the shallow depth of field.
- Shooting glass from a distance in a white shirt. Your reflection lands right on the animal. Press the lens to the glass or wear something dark.
- Using flash through glass. The flash reflects back as a hotspot and lights every particle in the water. Raise the ISO instead.
- Trusting autofocus near a fence. The camera locks onto the wire. Use a single point on the eye, or focus and switch to manual.
- Trying to turn a deep tank completely neutral. The red is gone and pushing it brings noise. Correct most of the cast and leave a hint of blue.
- Presenting a zoo animal as wild. Say where the photograph was taken.
Try this
You do not need a zoo to practice the fence trick. Find any chain-link or wire fence with something 10 meters or more beyond it: a garden, a sports field, a parked car. Set your longest focal length and aperture priority, then take four photographs of the same subject: with the lens a meter from the fence at f/8, a meter away at the widest aperture, touching the fence at f/8, and touching the fence at the widest aperture. Now repeat the last one with the fence at an angle to the lens instead of square on. Compare all five at full size: in fifteen minutes you will see exactly how distance, aperture and angle decide whether the fence shows. Then do the same at a shop window: a meter back in a light top, then lens against the glass.
Frequently asked questions
Can I photograph through a fence with a phone?
Yes, but it is harder. A phone’s main camera has a very short focal length and a tiny aperture, so it produces much less blur and the wire tends to stay visible. Put the lens right in the middle of a gap in the mesh, so no wire crosses in front of it, and use the phone’s telephoto lens if it has one. With the lens poking cleanly through a gap, the fence often disappears entirely.
What is the best lens for a zoo?
A telephoto zoom that reaches at least 200mm, and ideally 300 to 400mm, is the most useful single lens because it melts fences and fills the frame from the visitor path. Add a standard zoom with a wide aperture for aquariums, where subjects are close and the light is low.
Are zoo photographs allowed in wildlife competitions?
It depends on the competition. Some exclude captive animals, some have a separate category for them, and some allow them if declared. Read the rules before entering and always disclose a captive subject.
Why are my aquarium photos blurry even at 1/125s?
Check three things: whether autofocus locked onto the glass or a smudge, whether the fish was moving faster than 1/125s can freeze (try 1/250s or faster), and whether the glass itself is dirty or you shot at an angle through thick acrylic. Magnify the image on the screen to see which part is sharp.
Related guides
- Wildlife photography: take the fieldcraft you practice at the zoo into the wild.
- Bird photography: aviary skills transfer directly to birds in the open.
- Polarizing filter: when a polarizer removes reflections and when it cannot.
- White balance: how to correct the blue-green cast of aquarium water.
- Aperture: why a wide opening turns a fence into a blur.
- Telephoto photography: using long lenses to simplify backgrounds.
- Underwater photography: color, light and backscatter when you are in the water yourself.
- Photography ethics: honest captions and respectful behavior around animals.