Rain transforms the world into a photographer’s playground. Wet surfaces become mirrors, colors intensify, streets empty of crowds, and the atmosphere takes on a mood that fair-weather shooting rarely achieves. Yet many photographers pack up their gear at the first sign of rain, missing some of the best opportunities the weather can offer.
With some basic precautions to protect your equipment and a few key techniques, you can capture stunning rain photographs that stand apart from typical fair-weather images.
Protecting Your Camera Gear
Before heading out in the rain, take steps to protect your camera and lenses. Most modern cameras are weather-sealed to some degree, but no consumer camera is fully waterproof. A rain sleeve, which is an inexpensive plastic cover designed for cameras, provides basic protection and costs very little.
In a pinch, a large zip-lock bag with a hole cut for the lens works surprisingly well. Some photographers use a clear shower cap stretched over the camera body. Whatever solution you choose, the lens front element is the most important part to keep dry, since water droplets on the glass will blur your images. Carry a microfiber cloth and a lens hood, which shields the front element from direct rain.
After shooting in the rain, dry your gear thoroughly before storing it. Remove the lens, open all compartment doors, and let everything air-dry. A few silica gel packets in your camera bag help absorb residual moisture.
Freezing Raindrops with Fast Shutter Speeds
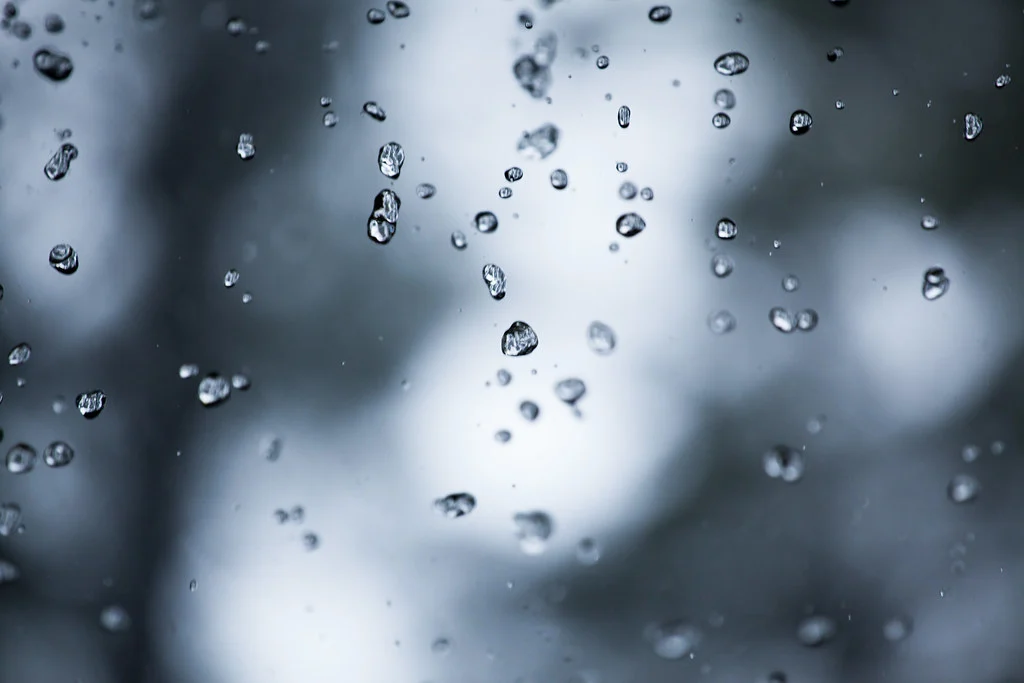
To capture individual raindrops frozen in mid-air, you need a fast shutter speed, typically 1/1000th of a second or faster. At these speeds, each raindrop appears as a sharp, suspended droplet or streak, depending on the rain’s intensity.
The key to making raindrops visible is backlighting. Raindrops are nearly invisible when lit from the front, but they light up brilliantly when a light source is behind them. Position yourself so a streetlight, the sun breaking through clouds, or any other bright light source is behind the falling rain. The backlit drops will glow against a darker background.
Use a wider aperture (f/2.8 to f/5.6) and increase your ISO as needed to achieve a fast enough shutter speed. Rainy conditions are often darker than normal, so you may need to push your ISO higher than usual. The slight increase in noise is a worthwhile trade-off for sharp, frozen raindrops.
Creating Rain Streaks with Slow Shutter Speeds
A slower shutter speed, around 1/30th to 1/60th of a second, turns raindrops into streaks that convey motion and the energy of a downpour. The streaks create a sense of movement that frozen drops cannot achieve, and they work particularly well in moody, atmospheric compositions.
For even longer streaks, use shutter speeds of 1/15th of a second or slower. At these speeds, you will need a tripod to keep the rest of the scene sharp while the rain streaks blur. The combination of a sharp environment with blurred rain creates a dynamic tension in the image.
Experiment with different shutter speeds during the same rain event. Light rain produces subtle, delicate streaks, while a heavy downpour creates dramatic, visible lines across the frame. There is no single correct shutter speed for rain, so try a range and compare the results.
Wet Surface Reflections and Mood
Rain turns ordinary surfaces into reflective ones. Streets, sidewalks, parking lots, and rooftops all become mirrors when wet. These reflections double the visual interest of any scene by adding color, light, and depth below the primary subject.
City streets at night during rain are especially photogenic. Neon signs, traffic lights, headlights, and shop windows all create colorful reflections on wet pavement. Shoot from a low angle to maximize the reflected area in your frame.
Rain also changes the mood of a scene. Misty rain softens backgrounds and creates atmospheric depth. Heavy rain adds drama and urgency. Even the gray overcast sky that accompanies most rain provides soft, even lighting that flatters many subjects, from portraits to close-ups.
Backlighting Rain for Maximum Visibility
As mentioned earlier, backlighting is the single most important technique for making rain visible in photographs. Front-lit rain is nearly transparent and barely shows up in images. Side-lit rain is slightly more visible. But backlit rain glows and stands out dramatically against darker backgrounds.
Streetlights are perfect backlight sources for rain. Position yourself so the light is behind the rain, pointing your camera toward (but not directly at) the light source. The rain between you and the light will appear as bright streaks or drops against the darker surroundings.
During daytime, look for breaks in the clouds where sunlight streams through. These “god rays” illuminating rain create some of the most dramatic and beautiful weather photography possible.
Macro Photography of Raindrops
Raindrops clinging to leaves, flowers, spider webs, and other surfaces are excellent subjects for macro photography. Each drop acts as a tiny lens, refracting and inverting the scene behind it. With careful focusing and a macro lens or close-up filters, you can capture entire landscapes or flowers inside a single raindrop.
After the rain stops, you have a window of time before the drops evaporate. Work quickly and use manual focus for precision. A tripod helps enormously at macro distances, where even slight movement throws the subject out of focus. Close down your aperture to f/8 or smaller for enough depth of field to keep the entire drop sharp.
Shooting Through Windows
If the rain is too heavy to shoot outdoors comfortably, photograph through a window. Raindrops running down glass create natural textures and patterns. Focusing on the drops themselves with a blurred scene behind them produces an abstract, impressionistic effect.
Alternatively, focus through the glass at the scene beyond, letting the rain-streaked window add texture and mood to the image. This works especially well for portraits and cityscapes, where the wet glass adds an emotional, contemplative quality.
Use a wider aperture to soften the raindrops when focusing on a distant subject, or stop down to keep both the drops and the background in focus for a layered effect.
Common Mistakes in Rain Photography
Forgetting to backlight the rain. Front-lit rain is nearly invisible. Always position a light source behind the falling rain to make it show up in your images.
Neglecting gear protection. A few minutes in heavy rain can damage unprotected electronics. Always have some form of rain cover ready, even if it is just a plastic bag.
Using too slow a shutter speed unintentionally. In the dim light of a rainstorm, your camera may select a slow shutter speed that blurs everything, not just the rain. Check your shutter speed and increase ISO if needed to maintain sharpness in the parts of the scene you want sharp.
Ignoring the moments before and after rain. The sky often shows the most dramatic colors and cloud formations just before a storm arrives or right after it passes. Do not pack up too early.
Frequently Asked Questions
Is it safe to use my camera in the rain?
Most modern cameras with weather sealing can handle light to moderate rain for reasonable periods. Use a rain cover for added protection, keep the lens hood on to shield the front element, and dry your gear thoroughly afterward. Avoid changing lenses in the rain to keep moisture out of the camera body.
What camera settings work best for rain photography?
It depends on the effect you want. For frozen raindrops, use 1/1000s or faster with a wide aperture and higher ISO. For rain streaks, try 1/30s to 1/60s. For very long streaks or smooth water effects, use a tripod with a shutter speed of 1 second or longer.
How do I make rain show up in my photos?
Backlighting is the key. Position the rain between your camera and a light source so the drops are illuminated from behind. A dark background also helps the bright, backlit drops stand out. Without backlighting, rain is nearly invisible in photographs regardless of your settings.
Related Guides
- How to Photograph Waterfalls — Working with water in challenging conditions
- How to Photograph Flowers — Rainy days add beautiful water droplets to floral shots
- Landscape Photography Guide — Rain transforms landscapes with mood and atmosphere
- Long Exposure Photography — Smooth rain streaks with slow shutter speeds
- White Balance — Overcast rain light shifts color temperature toward blue