Flower photography sits at the intersection of art and patience. Whether you are shooting cultivated roses in a garden or wildflowers on a mountainside, the principles are the same: get close, control your light, master your depth of field, and find compositions that reveal the beauty your eye was drawn to in the first place. This guide covers the techniques, gear considerations, and creative approaches that separate casual flower snapshots from images that genuinely impress.
Getting Close: Macro Lenses and Alternatives
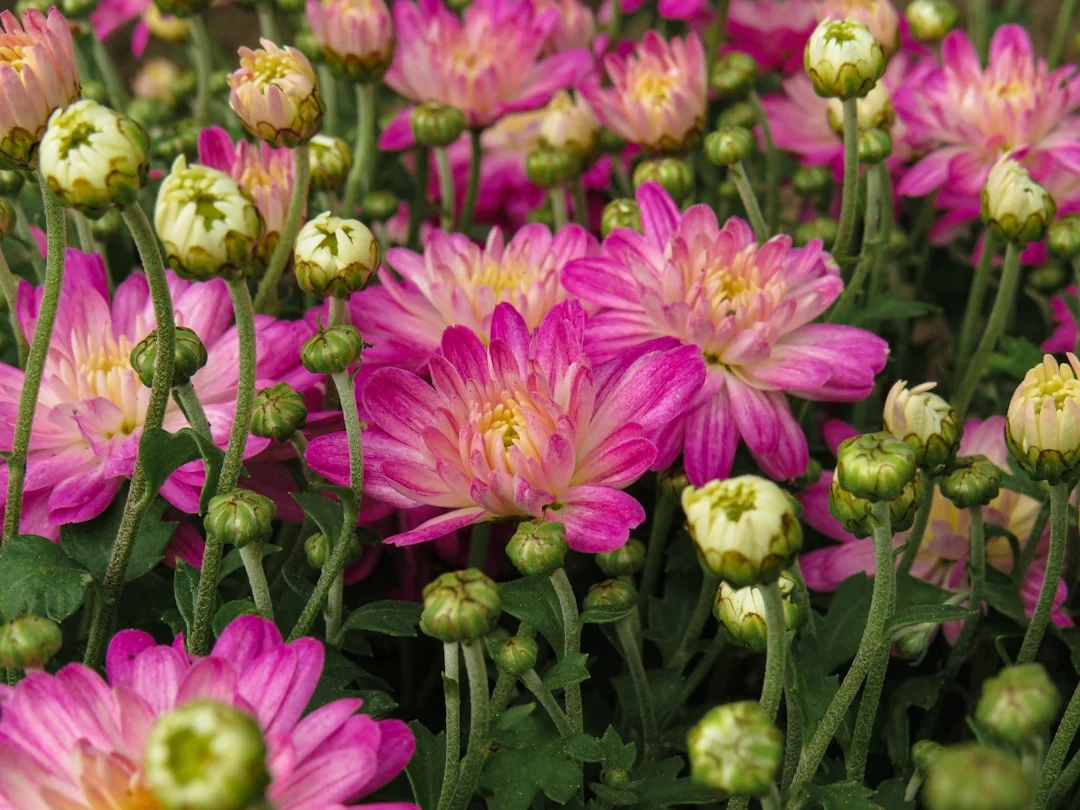
The defining characteristic of great flower photography is intimacy. You want to show details that the casual observer misses: the texture of petals, the pattern of pollen, the delicate veining of a leaf. Macro photography is the primary tool for achieving this level of detail.
A dedicated macro lens is the gold standard. True macro lenses offer 1:1 magnification, meaning the subject is projected onto the sensor at life size. This lets you fill the frame with a single bloom or capture incredible detail in a small section of a flower. Focal lengths between 90mm and 105mm are the most popular for flower work because they provide comfortable working distances, keeping you far enough from the subject that you do not block the light or disturb the flower with your breath.
If a macro lens is not in your budget, extension tubes offer an affordable alternative. These hollow tubes mount between your camera body and lens, reducing the minimum focus distance and increasing magnification. They work with lenses you already own and add no glass elements, so image quality remains high. The trade-off is that you lose the ability to focus at infinity and your depth of field becomes extremely shallow.
Close-up filters that screw onto the front of your lens are another budget option. They work like reading glasses for your camera, allowing closer focus. Quality varies widely. Multi-element close-up filters produce better results than single-element ones, which can introduce softness and color fringing around the edges of the frame.
Aperture and Depth of Field
Depth of field is the most critical creative variable in flower photography. At macro distances, depth of field becomes razor thin. Even at f/11, you may only have a few millimeters in sharp focus. This makes aperture choice and focus placement absolutely critical.
Wide apertures like f/2.8 or f/4 create a dreamy, painterly look where only a sliver of the flower is sharp and everything else melts into soft bokeh. This approach works beautifully for isolating a single petal edge, a stamen, or a dewdrop. The key is placing your focus precisely on the most important element. At these apertures, missing your focus point by even a millimeter can ruin the shot.
Smaller apertures like f/8 to f/16 bring more of the flower into focus. This is useful when you want to show the entire structure of a bloom or capture a group of flowers with reasonable sharpness throughout. Be aware that extremely small apertures (f/22 and beyond) can reduce overall sharpness due to diffraction, where light bends around the tiny aperture opening and softens the image.
Focus Stacking for Maximum Sharpness
When you need the entire flower tack-sharp from front to back but a single exposure cannot provide enough depth of field, focus stacking is the answer. This technique involves taking multiple frames of the same composition, each focused at a slightly different distance, then blending them in software to create a single image with extended depth of field.
Set your camera on a tripod and switch to manual focus. Take the first frame focused on the nearest part of the flower, then gradually shift the focus point deeper into the scene, taking a frame at each step. Ten to twenty frames is common for a full flower stack. Use a moderate aperture like f/5.6 or f/8 for each frame. This gives you sharp individual frames that blend together cleanly.
Post-processing software can automatically align and blend focus-stacked images. The result is an image with the beautiful background blur of a wide aperture and the front-to-back sharpness of a tiny one, something no single exposure can achieve.
Working with Natural Light
Natural light is the foundation of most flower photography. The quality, direction, and intensity of natural light dramatically affect the mood and impact of your images.
Overcast skies are a flower photographer’s best friend. Cloud cover acts as a giant softbox, eliminating harsh shadows and reducing contrast. Colors appear more saturated under diffused light, and the even illumination reveals subtle tonal variations in petals that would be lost in direct sun. If you are shooting on a sunny day, a simple collapsible diffuser held between the sun and your subject mimics the effect of cloud cover.
Backlighting creates a completely different look. Position yourself so the light comes through the petals from behind, and they will glow with translucent color. Thin petals like poppies and tulips are especially stunning when backlit. Expose for the petals themselves, and let the bright background blow out to white for a clean, high-key effect.
Side lighting emphasizes texture. When light rakes across the surface of a petal at a low angle, it reveals ridges, veins, and surface details that front lighting flattens. Early morning and late afternoon provide the lowest natural side light and the warmest color temperature.
Managing Wind
Wind is the flower photographer’s greatest frustration. Even a gentle breeze keeps flowers swaying, making precise focus nearly impossible, especially at macro magnifications where any movement is amplified.
Increase your shutter speed to freeze motion. Speeds of 1/500s or faster will stop most wind-induced movement. This may require raising your ISO or opening your aperture wider than you would prefer, so it becomes a trade-off between sharpness from stillness versus sharpness from depth of field.
Shoot between gusts. Wind is rarely constant. Watch the flower’s movement and time your shots for the brief moments of stillness. Using your camera’s burst mode during a calm moment increases your chances of capturing a perfectly still frame.
A physical wind block can help. A jacket, a piece of cardboard, or a photography reflector positioned upwind of your subject can shield the flower from the breeze. Just make sure your wind block does not appear in the frame or cast unwanted shadows on the subject.
Early mornings tend to be the calmest time of day. Arriving at first light not only gives you still air but also the chance to capture dew on petals, a classic and beautiful addition to flower photographs.
Composition Ideas
Strong composition elevates flower photography from documentation to art. Here are several approaches that consistently produce compelling images.
Fill the frame. Get close enough that the flower fills the entire image with color, texture, and pattern. This eliminates distracting backgrounds and forces the viewer to engage with the details. It works especially well with flowers that have interesting internal structures like sunflowers, dahlias, and orchids.
Isolate with bokeh. Use a wide aperture and a longer focal length to separate a single flower from a busy background. The background melts into soft, creamy color that complements the subject without competing for attention. Look for backgrounds with contrasting colors for the most striking separation.
Shoot from unexpected angles. Most people look at flowers from above. Crouch down or even lie on the ground to photograph flowers at their level or from below. Looking up through a flower toward the sky creates a completely different perspective that feels fresh and intimate.
Use the rule of thirds, but do not be afraid to break it. Centering a perfectly symmetrical flower can be just as effective as placing it off-center. Let the flower’s natural geometry guide your composition rather than rigidly applying rules.
Look for patterns and repetition. A field of lavender, rows of tulips, or a cluster of daisies can create compelling pattern-based compositions where the repetition itself becomes the subject.
Water Droplets
Water droplets on flowers add sparkle, dimension, and a sense of freshness that instantly makes an image more engaging. Natural morning dew provides the real thing, but you can create the same effect with a small spray bottle.
A fine mist creates realistic-looking droplets. Larger drops from a dropper can be placed strategically for more dramatic effect. At macro magnifications, water droplets act as tiny lenses, refracting the colors behind them and creating miniature worlds within each drop. This is one of the most rewarding details to capture in close-up flower photography.
Garden Flowers vs. Wildflowers
Gardens offer controlled conditions, easy access, and flowers that have been cultivated for visual perfection. You can visit the same garden repeatedly at different times of day and in different seasons, building a relationship with specific plants and learning when they are at their peak. Botanical gardens in particular offer exotic species and well-maintained settings that provide naturally beautiful backgrounds.
Wildflowers offer something gardens cannot: context. A wildflower growing from a crack in a rock, swaying in an alpine meadow, or blooming in a desert after rain tells a story about resilience and place. Include enough environment to show where the flower grows, and the image becomes about more than just the bloom itself.
When photographing wildflowers, practice leave-no-trace principles. Stay on established trails, do not trample surrounding vegetation to get a shot, and never pick or move flowers for a photograph. The best wildflower images show flowers thriving in their natural habitat.
Best Time of Day
Early morning is the ideal time for flower photography. The air is calm, dew clings to petals, and the low angle of the sun provides warm, directional light. Flowers that have been open all day often look tired by afternoon, with wilted edges and faded colors. Morning blooms are at their freshest.
Overcast midday, often considered the worst time for landscape photography, is perfectly fine for flowers. The diffused light is flattering, and you can shoot comfortably without racing against changing light angles.
Late afternoon and evening light work well for backlighting, when the sun is low enough to shine through petals. The warm tones of golden hour add richness to reds, oranges, and yellows while giving white flowers a warm glow.
Flower photography rewards slowing down and paying attention to the small things that most people walk past. The skills you develop, precise focus control, creative use of depth of field, patience with natural light, translate directly to every other genre of photography. Start with what is blooming in your own yard or neighborhood, and let the flowers teach you to see more carefully.
Related Guides
- How to Photograph Rain — Water droplets on petals add texture and sparkle to flower photos
- Golden Hour Photography — Warm backlighting makes flowers glow from within
- Depth of Field Calculator — Preview exactly how much of your flower will be in focus
- How to Photograph Products — Similar close-up lighting and composition techniques
- Flat Lay Photography — Arranging flowers and objects for overhead compositions