To match exposures in Lightroom Classic, select the photos, make the one with the exposure you like the most-selected (active) photo, and choose Settings > Match Total Exposures in the Develop module (or Photo > Develop Settings > Match Total Exposures in the Library module). The keyboard shortcut is Ctrl+Alt+Shift+M on Windows and Cmd+Option+Shift+M on Mac. Lightroom then changes the Exposure slider on every other selected photo so its total exposure matches the active one.
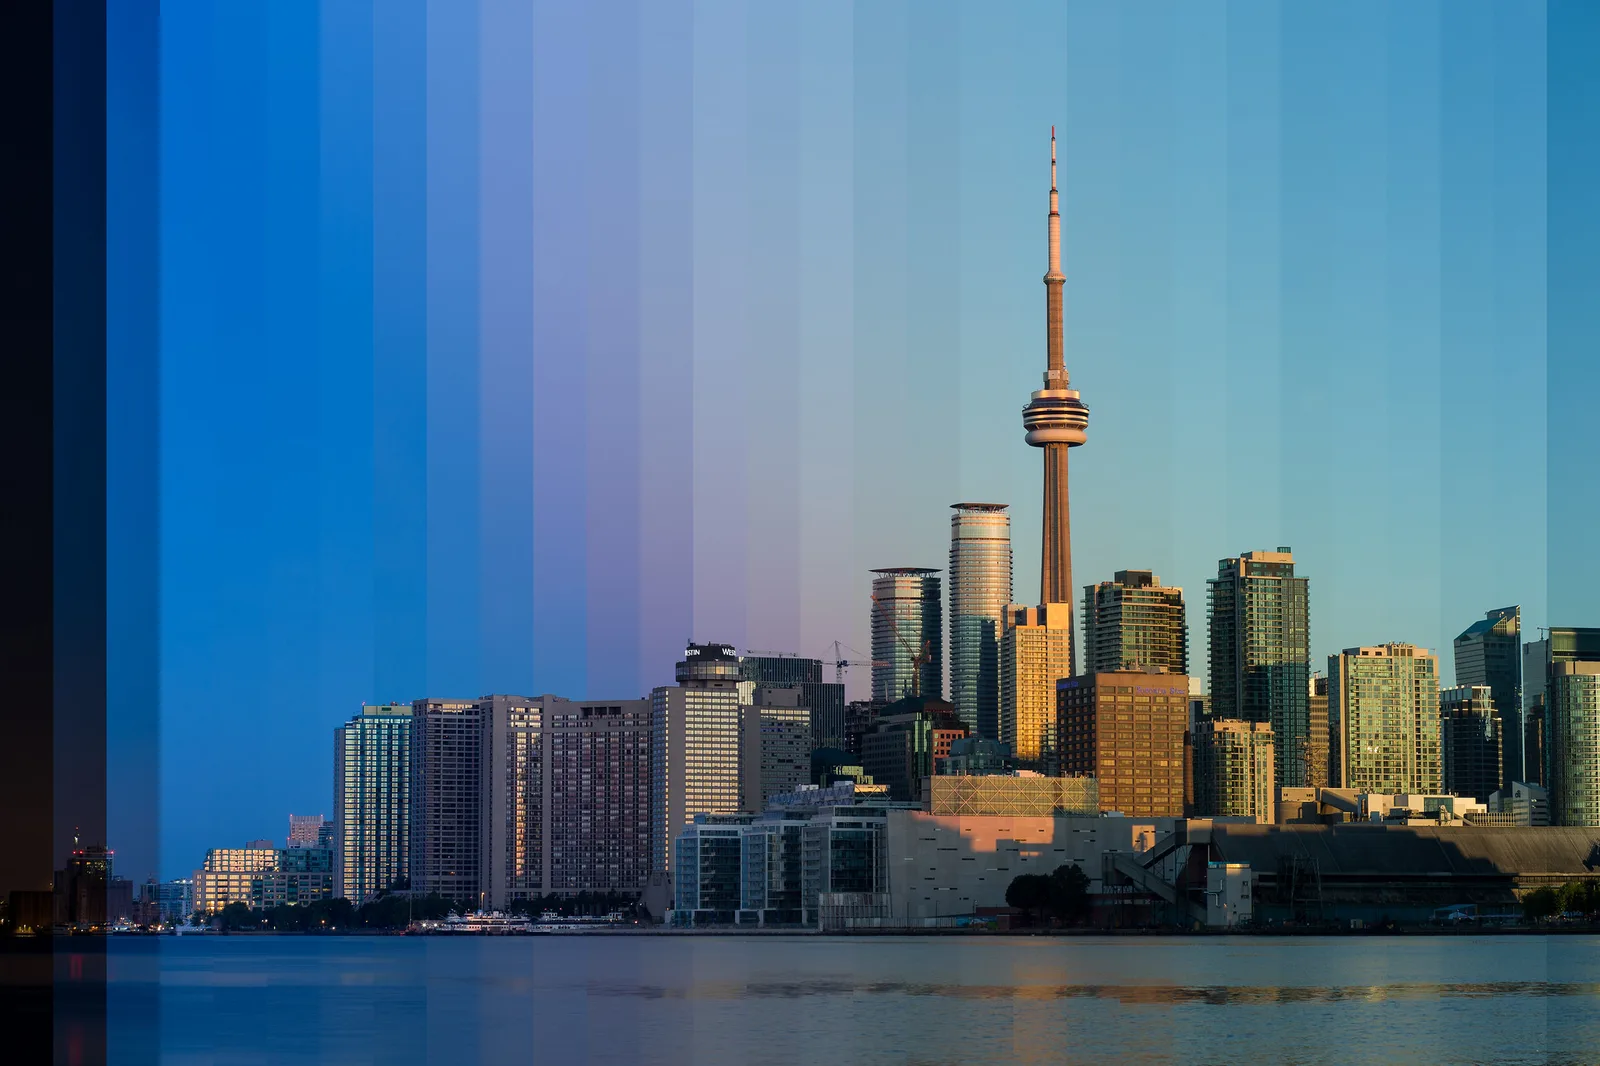
That command fixes one kind of mismatch: frames where the camera chose different settings. For everything else, from changing light to color shifts between frames, Lightroom has Sync Settings, Copy and Paste, Auto Sync, the Previous button, Quick Develop and presets. This guide explains what each one does, when it works and when it does not, and a workflow for matching a whole gallery.
Why Exposures Vary in a Set
Consistent exposure across a set matters whenever photos are seen together: a wedding gallery, a portrait session, a photo essay or a real estate listing. Frames that jump between brighter and darker pull the eye away from the pictures themselves. The mismatch usually comes from one of four places.
Changing light. Outdoor light changes constantly. A cloud passing over the sun, a shift in time of day, or moving between sun and shade all cause exposure differences between frames. Even in a ten-minute portrait session, the light can change enough to produce noticeably inconsistent results.
Auto exposure variation. If you shoot in any automatic or semi-automatic exposure mode (Aperture Priority, Shutter Priority, or Program), the camera meters each frame independently. Small changes in composition, like including more or less sky in the frame, cause the meter to choose different exposure values. This is normal metering behavior, but it produces inconsistent brightness across a set.
Off-camera flash inconsistency. Speedlights and studio strobes can vary slightly in output from frame to frame, especially at lower power settings or as batteries drain. These variations are usually small, perhaps a third of a stop, but they add up visually across a gallery.
Mixed lighting environments. Event photographers and wedding photographers move constantly between different lighting conditions: indoor and outdoor, ambient and flash, bright reception rooms and dim dance floors. Matching exposure across all of these is one of the biggest editing jobs in those genres.
Which Method to Use
- Shot in an auto mode, the camera picked different settings for similar scenes: Best tool: Match Total Exposures.
- One photo is finished and the rest should look the same: Best tool: Sync Settings, or Copy and Paste.
- A batch shot under identical light, edited together from scratch: Best tool: Auto Sync.
- Working through a sequence one frame at a time: Best tool: Previous button.
- Every photo is slightly too dark or too bright by the same amount, but they differ from each other: Best tool: Quick Develop (relative changes).
- The same studio or venue, shot again and again: Best tool: A Develop preset, applied on import.
- Light changed mid-shoot while camera settings stayed fixed: Best tool: Sync Settings, then adjust outliers by eye in Reference View.
Method 1: Match Total Exposures
Match Total Exposures is the built-in command made for this job. It works from each photo’s capture settings, not from what the picture looks like. Lightroom reads the shutter speed, aperture, ISO and any exposure compensation recorded in each file, works out how much brighter or darker each frame was captured than the active photo, and moves the Exposure slider to cancel the difference.
Step by step:
- In the Develop or Library module, select all the photos you want to match.
- Click the photo with the exposure you want, so it becomes the most-selected photo (its thumbnail has the brightest frame in the filmstrip). This is the target.
- Choose Settings > Match Total Exposures in Develop, or Photo > Develop Settings > Match Total Exposures in Library. You can also right-click a thumbnail and choose Develop Settings > Match Total Exposures, or press Ctrl+Alt+Shift+M (Cmd+Option+Shift+M on Mac).
Because it reads settings rather than pixels, it is excellent for a run of frames shot in Aperture Priority where the meter swung because of a bright sky or a dark coat in the frame. It does nothing useful when every frame was shot at the same manual settings: their total exposures are already equal, so there is nothing to correct, even if a cloud made some frames darker. It also cannot account for flash output that varied between frames. In those cases, use Sync Settings and then adjust the outliers by eye.
It is also less helpful when the photos show very different scenes, like a mix of close-ups and wide shots, because equal capture exposure does not guarantee the pictures will look equally bright.
Method 2: Sync Settings
The Sync Settings feature copies Develop settings from one photo to others. This is the workhorse method for matching a set when you want precise control over which adjustments are applied.
Start by editing one photo until it looks exactly right. Set the Exposure, Contrast, Highlights, Shadows, White Balance, and any other adjustments. This photo becomes your reference.
In the Develop module, make sure this reference photo is the most-selected image (it has a brighter highlight around its thumbnail in the filmstrip). Select the additional images you want to match by Ctrl-clicking (Cmd-clicking on Mac) or Shift-clicking their thumbnails.
Click the Sync button at the bottom of the right panel (or press Ctrl+Shift+S / Cmd+Shift+S). A dialog box appears listing every Develop setting category. Check only the settings you want to sync. For simple exposure matching, you might check only Exposure. For a more thorough match, include White Balance, Exposure, Contrast, Highlights, Shadows, Whites, and Blacks.
Click Synchronize, and Lightroom applies the checked settings from your reference image to all selected images. The key advantage of Sync Settings is granularity. You can sync exposure without touching white balance, or sync color grading without changing tonal adjustments. You can also run Sync from the Library module: select the photos and click Sync Settings at the bottom of the right panel.
Method 3: Copy and Paste Settings
For a quick, lightweight approach, you can copy settings from one image and paste them onto others.
Select the photo with the settings you want to copy. Press Ctrl+Shift+C (Cmd+Shift+C on Mac), go to Settings > Copy Settings, or right-click and choose Develop Settings > Copy Settings. The same checklist dialog appears, letting you choose which settings to copy. Check the relevant boxes and click Copy.
Now select the target images (one or many) and press Ctrl+Shift+V (Cmd+Shift+V on Mac) to paste. The copied settings are applied to all selected images.
Copy and Paste does the same thing as Sync Settings. The difference is workflow convenience. Sync is faster when you are working with a continuous selection of images. Copy and Paste is more flexible when you need to apply the same settings to images scattered throughout your catalog at different times.
Method 4: Auto Sync Mode
Auto Sync is a real-time version of Sync Settings. When Auto Sync is enabled, any adjustment you make to one image is applied at the same moment to all selected images. It is like editing multiple photos at once.
To enable it, select multiple images in the Develop module’s filmstrip. Click the small toggle switch next to the Sync button at the bottom of the right panel, and the button changes to “Auto Sync.” Now, as you move any slider, the same adjustment is applied to every selected image.
Auto Sync is powerful for batches of images shot under identical conditions. If you have twenty product shots taken with the same lighting setup, select them all, enable Auto Sync, and dial in your exposure. All twenty images update together.
The important caveat is that a slider moved in Auto Sync sets the same value on all selected images. If one image in the set is already a stop brighter than the others, the same Exposure value leaves it a stop brighter. Auto Sync works best when the starting exposures are already close to each other.
Method 5: The Previous Button
When you work through a sequence one frame at a time, the Previous button is the fastest match. Edit one photo, move to the next in the filmstrip, and click Previous at the bottom of the right panel in Develop (with only one photo selected, the button beside Reset reads Previous instead of Sync), or press Ctrl+Alt+V (Cmd+Option+V on Mac). Lightroom applies all the settings from the photo you were last on.
Previous copies everything, including crops and local adjustments, so it suits frames from a single burst or a fixed setup. For anything that needs a different crop or its own masks, use Sync Settings and leave those boxes unchecked.
Method 6: Quick Develop in the Library Module
The Quick Develop panel in the Library module works differently from the Develop module’s sliders in a way that is extremely useful for exposure matching. Develop sliders set values. Quick Develop buttons apply relative adjustments: the single arrow changes Exposure by 1/3 stop and the double arrow by 1 full stop.
Here is why that matters. Suppose four images sit at Exposure −0.30, 0.00, +0.30 and +0.70. If you sync Exposure 0.00 to all four, every one ends up at 0.00 and their individual corrections are lost. If you select the same four and click the Quick Develop single right arrow once, they move to +0.03, +0.33, +0.63 and +1.03. Each gets the same push, so the differences between them are kept.
This makes Quick Develop the right tool when the photos already have individual corrections that you like and the whole set needs to shift in the same direction. If a set of outdoor portraits is a third of a stop too dark overall, one click raises every image by the same amount without overriding the work already done on each.
Method 7: Create a Develop Preset
If you frequently shoot in similar conditions, saving your exposure and tonal settings as a Develop preset gives you a one-click starting point for future sessions.
Edit one image to your satisfaction, then go to the Develop module’s Presets panel on the left side. Click the “+” button and select “Create Preset.” In the dialog, check only the settings you want included (for exposure matching, this would be the Tone section: Exposure, Contrast, Highlights, Shadows, Whites, and Blacks). Give it a descriptive name and save.
Now you can apply this preset during import, so every image from a session starts with the same tonal baseline, or apply it to selected images through the Saved Preset menu in the Library module’s Quick Develop panel. Presets are especially valuable for anyone who shoots the same venue or studio setup repeatedly, and they are also the way to match a look across shoots, not just within one.
How to Match Color in Lightroom
Exposure is only half of visual consistency. White balance differences are just as distracting as brightness differences. A gallery where some images look warm and others look cool feels inconsistent even if the exposures are perfectly matched.
Lightroom Classic has no single “match color” command. You match color by syncing the panels that control it from a reference photo:
- White Balance (Temp and Tint) for the overall warm or cool cast. If you shot in RAW, white balance is fully adjustable in editing. Set it on the reference with the sliders or the eyedropper on a neutral gray surface, then sync it.
- Profile, which sets the starting color rendering. Photos with different profiles rarely match, whatever else you sync, so set the same profile first.
- HSL / Color, for specific hues such as skin, foliage or sky.
- Color Grading and Calibration, for the overall color look.
For mixed lighting where different images genuinely need different white balance settings (indoor and outdoor shots at a wedding, for example), match exposure and white balance separately within each lighting group rather than across the entire set.
What to Sync and What to Leave Out
You rarely want to sync everything. Useful partial syncs:
- White Balance only to match color temperature across images shot under the same light.
- Basic tone settings and Tone Curve to match overall brightness and contrast.
- Everything except local adjustments, crop and spot removal, so global edits match while each photo keeps its own masks and retouching.
- Lens Corrections only to apply the same lens profile to every image from one lens.
Matching Exposures for Panoramas and Composites
When stitching panoramas or blending multiple frames into a composite, matched exposures are not just an aesthetic preference. They are a technical requirement.
For panorama stitching, inconsistent exposures between frames cause visible seams where brighter and darker panels meet. The best approach is to shoot panoramas in full Manual mode with fixed shutter speed, aperture, and ISO so that every frame has identical camera exposure. If you shot the frames in an auto mode, run Match Total Exposures on them before merging, then sync the rest of your settings.
For HDR merges, the exposures should be intentionally different (that is the point of HDR), so do not match them. But for focus stacking and time-lapse sequences, consistent settings across frames are critical. Apply the same Develop settings to every frame using Sync Settings before exporting for stacking or assembly.
Exposure Matching for Time-Lapse Photography
Time-lapse sequences are harder because the light changes gradually across hundreds or thousands of frames. If you shot in an automatic mode, each frame may have a slightly different exposure, which shows as flicker in the final video.
Start by selecting all frames in the sequence and syncing the same Develop settings from a frame in the middle of the sequence. For frames shot in an auto mode, Match Total Exposures removes the steps between settings the camera chose. For sunrise or sunset sequences where the light changes by several stops, edit several key frames spread through the sequence (one every 50 to 100 frames), then use dedicated time-lapse deflicker software to blend the settings smoothly between those key frames.
The Practical Workflow for a Large Set
Here is a step-by-step workflow for matching exposures across a large set of images, such as a full wedding or event shoot.
Step 1: Group by lighting condition. Sort your images by capture time, then use color labels or flags to divide them into groups based on lighting: outdoor ceremony, indoor reception, flash-lit dance floor, window-lit getting-ready room, and so on. Each group will be matched independently.
Step 2: Even out the camera’s choices. Within each group shot in an auto mode, run Match Total Exposures against a well-exposed frame.
Step 3: Edit one reference image per group. For each lighting group, pick a representative image and edit it fully, including Exposure, White Balance, Contrast, Highlights, Shadows, Whites, and Blacks.
Step 4: Sync settings to the group. Select all images in the group with the reference most-selected. Use Sync Settings to apply the tone and white balance settings to the entire group. If you already ran Match Total Exposures, leave Exposure unchecked so the per-frame corrections are kept, and shift the group with Quick Develop if needed.
Step 5: Fine-tune outliers. Scroll through the group and look for images that are still noticeably different. A frame may have caught more backlight, or the subject may have stepped into a pocket of different light. Adjust these individually with small Exposure tweaks.
Step 6: Review side by side. Select a handful of images from the set and press N for Survey view or C for Compare view. Seeing photos next to each other makes inconsistencies obvious.
Using the Reference View for Side-by-Side Comparison
Lightroom Classic’s Reference View in the Develop module is an underused tool for exposure matching. Press Shift+R to enter Reference View, which splits the screen into two panels. The left panel shows a locked reference photo, and the right panel shows whichever image you are currently editing.
Set your reference photo to the image with the exposure you want to match. Then click through other images in the filmstrip and adjust their exposure while comparing them directly to the reference. This visual comparison is often more reliable than trying to match histogram shapes or slider values. Your eyes are excellent at detecting brightness differences when two images are shown side by side.
Reference View is particularly valuable when matching images that have different subject matter but need to feel consistent. A portrait and a detail shot from the same session may have very different histograms, but they should share a similar tonal feel when placed next to each other in a gallery.
Common Mistakes
Syncing everything when you only need exposure. When you Sync Settings, be deliberate about which boxes you check. If you sync all settings from a portrait to a landscape from the same session, you might accidentally apply crops, masks, or other image-specific edits that do not belong on the destination images. Check only what you need.
Expecting Match Total Exposures to fix changing light. The command compares capture settings. If every frame was shot at the same manual settings, it changes nothing, however different the frames look. Use Sync Settings and Reference View for those.
Using Match Total Exposures on wildly different images. A backlit silhouette, a bright sky shot, and a dim interior will not look alike just because their exposures were equalized. Group similar images first.
Forgetting Auto Sync is on. Auto Sync stays active until you turn it off. If you forget and start editing while multiple photos are still selected, you will apply those edits to images that should not receive them. Check the Sync button before making single-image adjustments.
Not shooting for consistency in the field. The best way to match exposures in Lightroom is to minimize the differences in the first place. Shooting in Manual mode locks your exposure settings and removes frame-to-frame variation from the camera’s metering. When that is not practical, using Exposure Lock (AE-L) keeps the exposure consistent even in automatic modes. The less correction you need in editing, the faster and more consistent your results will be.
Questions About Matching Photos in Lightroom
Where is Match Total Exposures in Lightroom Classic?
In the Develop module it is under the Settings menu. In the Library module it is under Photo > Develop Settings. It is also on the right-click menu of any thumbnail under Develop Settings, and the shortcut is Ctrl+Alt+Shift+M (Cmd+Option+Shift+M on Mac).
Why did Match Total Exposures do nothing?
Most likely the selected photos were all shot at the same shutter speed, aperture and ISO, so their total exposures were already equal. The command works from capture settings, not brightness, so it only helps frames where the camera chose different settings. Make sure more than one photo is selected, too.
How do I make all my photos look the same in Lightroom?
Edit one photo fully, select it with the others so it is most-selected, and click Sync. Check the tone, white balance, profile and color panels, and leave crop, masks and spot removal unchecked. Then adjust any outliers by eye.
Can Lightroom match the color of two photos?
There is no automatic color-match command in Lightroom Classic. Match color by syncing White Balance, Profile, HSL, Color Grading and Calibration from a reference photo, then compare the two in Reference View (Shift+R) and fine-tune.
How do I copy edits from one photo to another in Lightroom?
Press Ctrl+Shift+C (Cmd+Shift+C) on the edited photo, choose the settings, then select the other photos and press Ctrl+Shift+V (Cmd+Shift+V). To copy from the photo you just edited to the current one, press Ctrl+Alt+V (Cmd+Option+V) or click Previous.