Few trees say vacation like a palm. Tall trunks leaning over white sand, feathery fronds against a blue sky, dark silhouettes at sunset and long avenues of palms lining a city street all carry a sense of warmth, ease and escape. Palms are also wonderful teachers. Their bold shapes, repeating patterns and strong outlines make them perfect for practicing composition, backlight and silhouettes, whether you live in the tropics or meet them only on a trip.
This beginner guide covers why palms make great subjects, kinds of palms, looking up, fronds and patterns, silhouettes, sunbursts, palms on the beach, palm lined streets, light through the day, wind and movement, details, settings, phones, editing, common mistakes and a short exercise. It pairs well with the guide to tropical island photography.
Why palms make great subjects
Palms combine strong shapes with a powerful mood. That makes them easy to recognize and rewarding to frame.
- Bold outlines. A tall trunk topped with a burst of fronds is one of the most recognizable shapes in nature.
- Pattern. Each frond is a repeating row of leaflets, and a group of palms makes a rhythm of trunks.
- Color. Bright green leaves against blue sky and turquoise water feel fresh and cheerful.
- Mood. Palms instantly suggest heat, holidays, beaches and slow afternoons, the heart of summer photography.
- Silhouettes. Their shapes stay clear even as dark outlines at sunrise and sunset.
Because palms are so familiar, the challenge is to make pictures that feel fresh. Unusual angles, careful light and simple compositions help a palm picture stand apart from a postcard.
Composition ideas
Palms reward simple, bold framing. Place a single palm on a third line with plenty of empty sky beside it for a calm, minimal picture, an approach explored in the guide to minimalist photography. Use a leaning trunk as a strong diagonal across the frame. Frame a distant view of the sea between two trunks. Let a frond hang into the top of the frame as a natural border. Line up a row of palms so their trunks repeat across the picture like columns. With each idea, ask what you want the viewer to feel, whether calm, joy, heat or drama, and remove anything that does not help.
Kinds of palms
Not every palm looks the same, and learning a few shapes helps you choose a picture.
- Coconut palms. Curving trunks that lean toward the sea, with long feathery fronds and clusters of coconuts.
- Tall fan palms. Very tall, thin trunks topped with small round heads, often lining streets.
- Date palms. Thick, textured trunks and stiff, spiky crowns, often planted in rows.
- Small garden palms. Low palms in parks and hotel gardens with fan or feather shaped leaves.
- Palm groves. Plantations and natural groves where many trunks stand together.
Leaning coconut palms suit beach scenes and dramatic diagonals. Tall, straight palms suit graphic street views and silhouettes. Thick trunks and spiky crowns suit close studies of texture and pattern.
You do not need to know the exact species to make a good picture, but noticing the shape of the trunk and crown helps you decide where to stand. A palm that leans wants a diagonal composition, while a tall, straight palm wants a vertical frame with plenty of sky.
Looking up
Some of the most striking palm pictures are made by standing underneath and pointing the camera straight up.
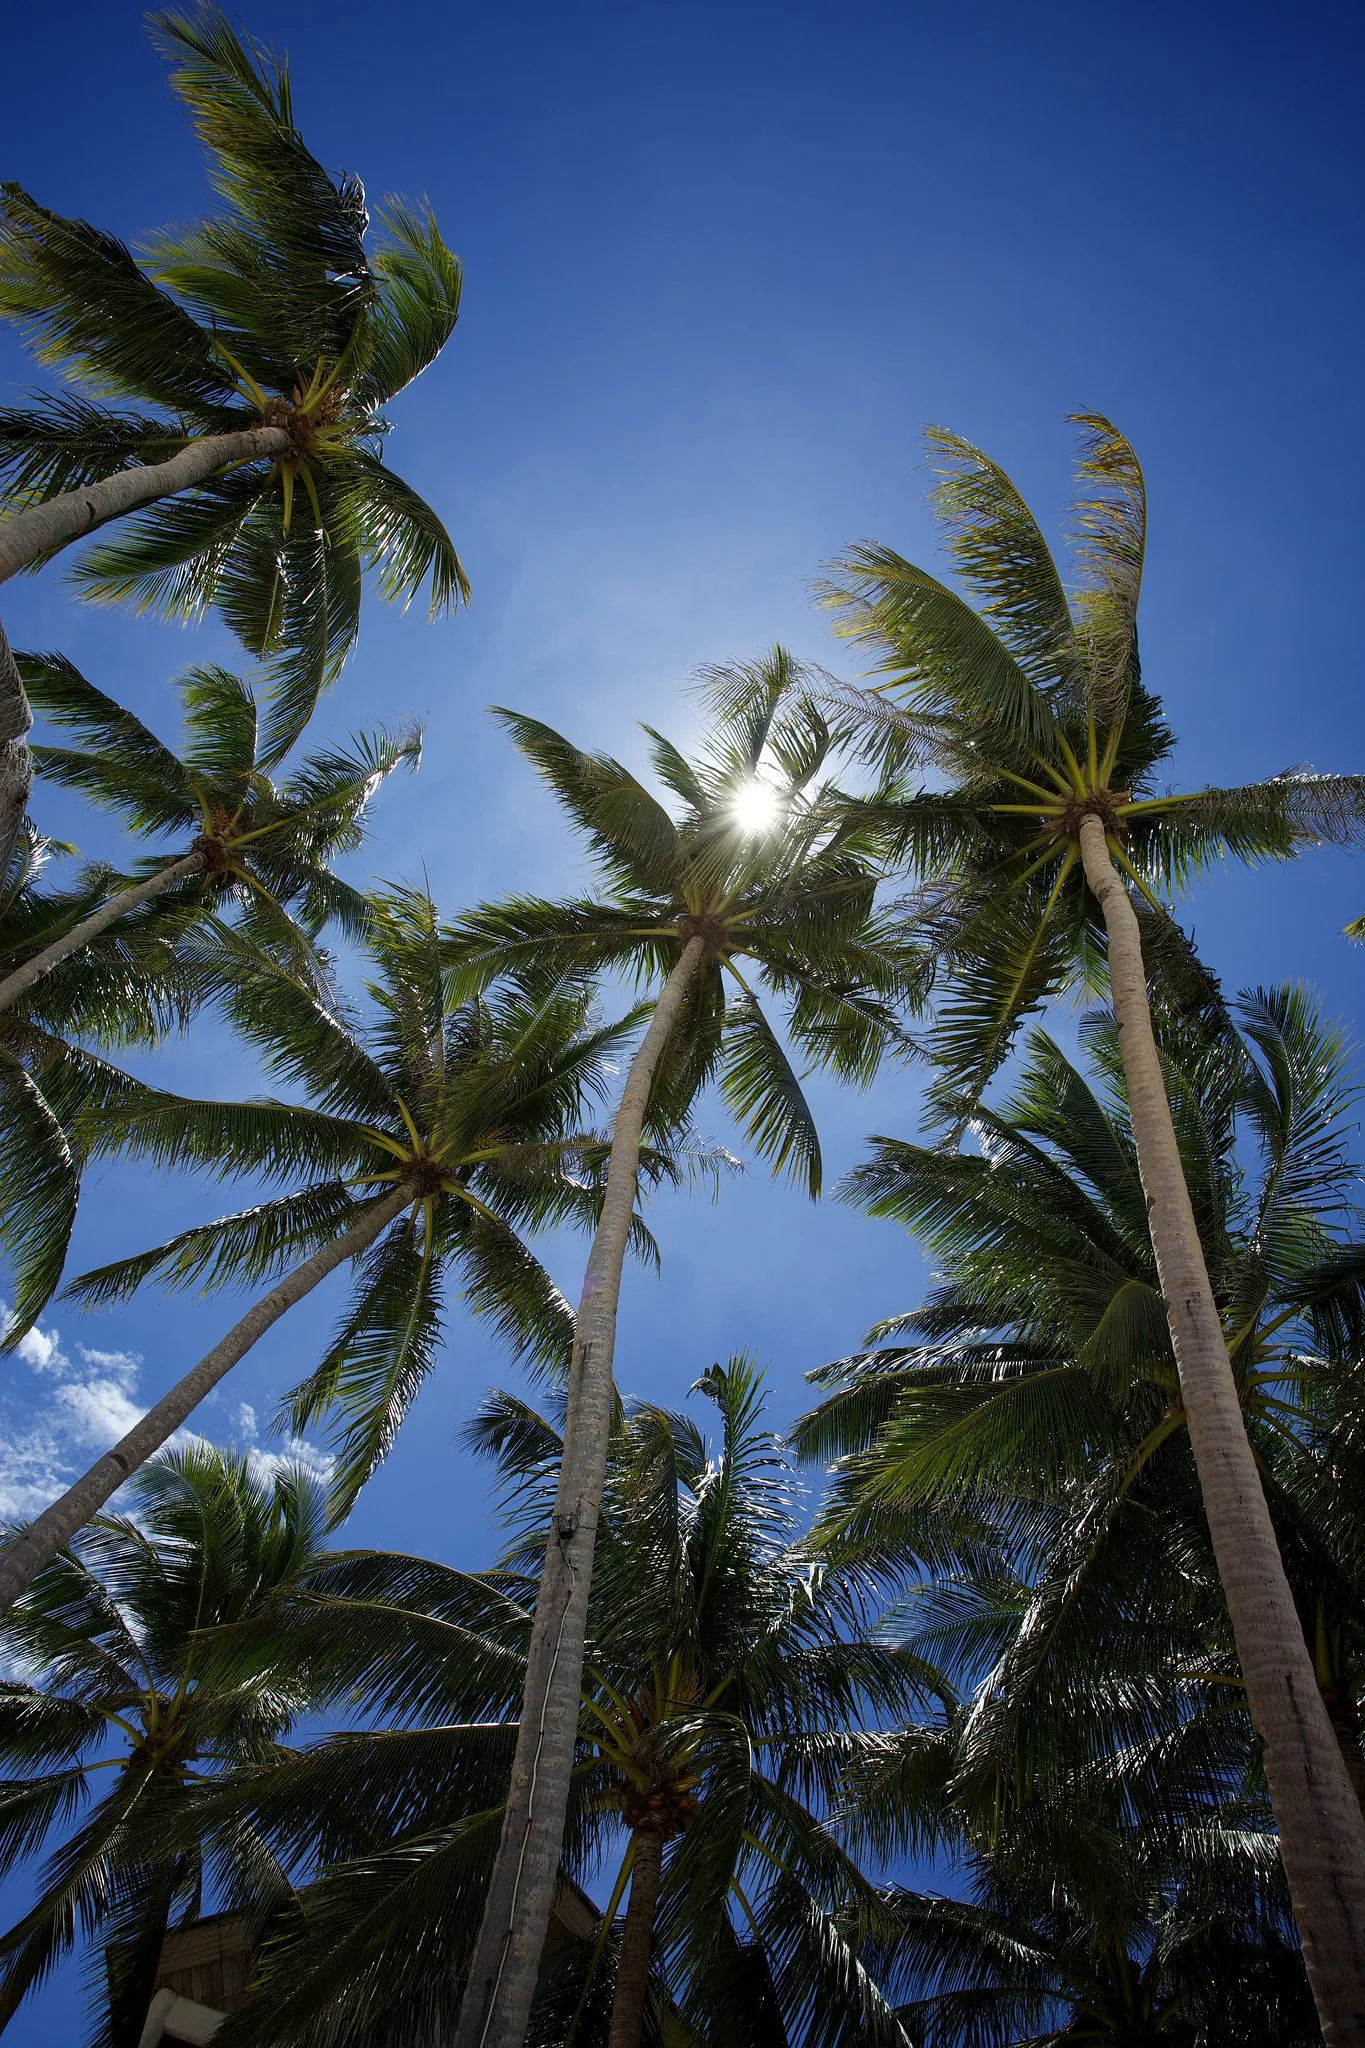
- Converging trunks. Several palms photographed from below seem to meet in the sky like spokes of a wheel.
- A single crown. One palm overhead becomes a star shaped burst of fronds against the blue.
- Wide lens. A wide angle exaggerates the height and makes the trunks soar.
- Clean sky. Choose a clear blue sky or a few white clouds so the shapes stand out.
- Safety. Never stand directly under coconuts, which can fall without warning.
Lie on the sand or grass for a perfectly vertical view, or tilt slightly so one tall trunk leads the eye toward the crown. A polarizing filter deepens the sky, though it can make wide skies uneven.
Fronds and patterns
Move closer and a palm becomes a world of lines and textures.
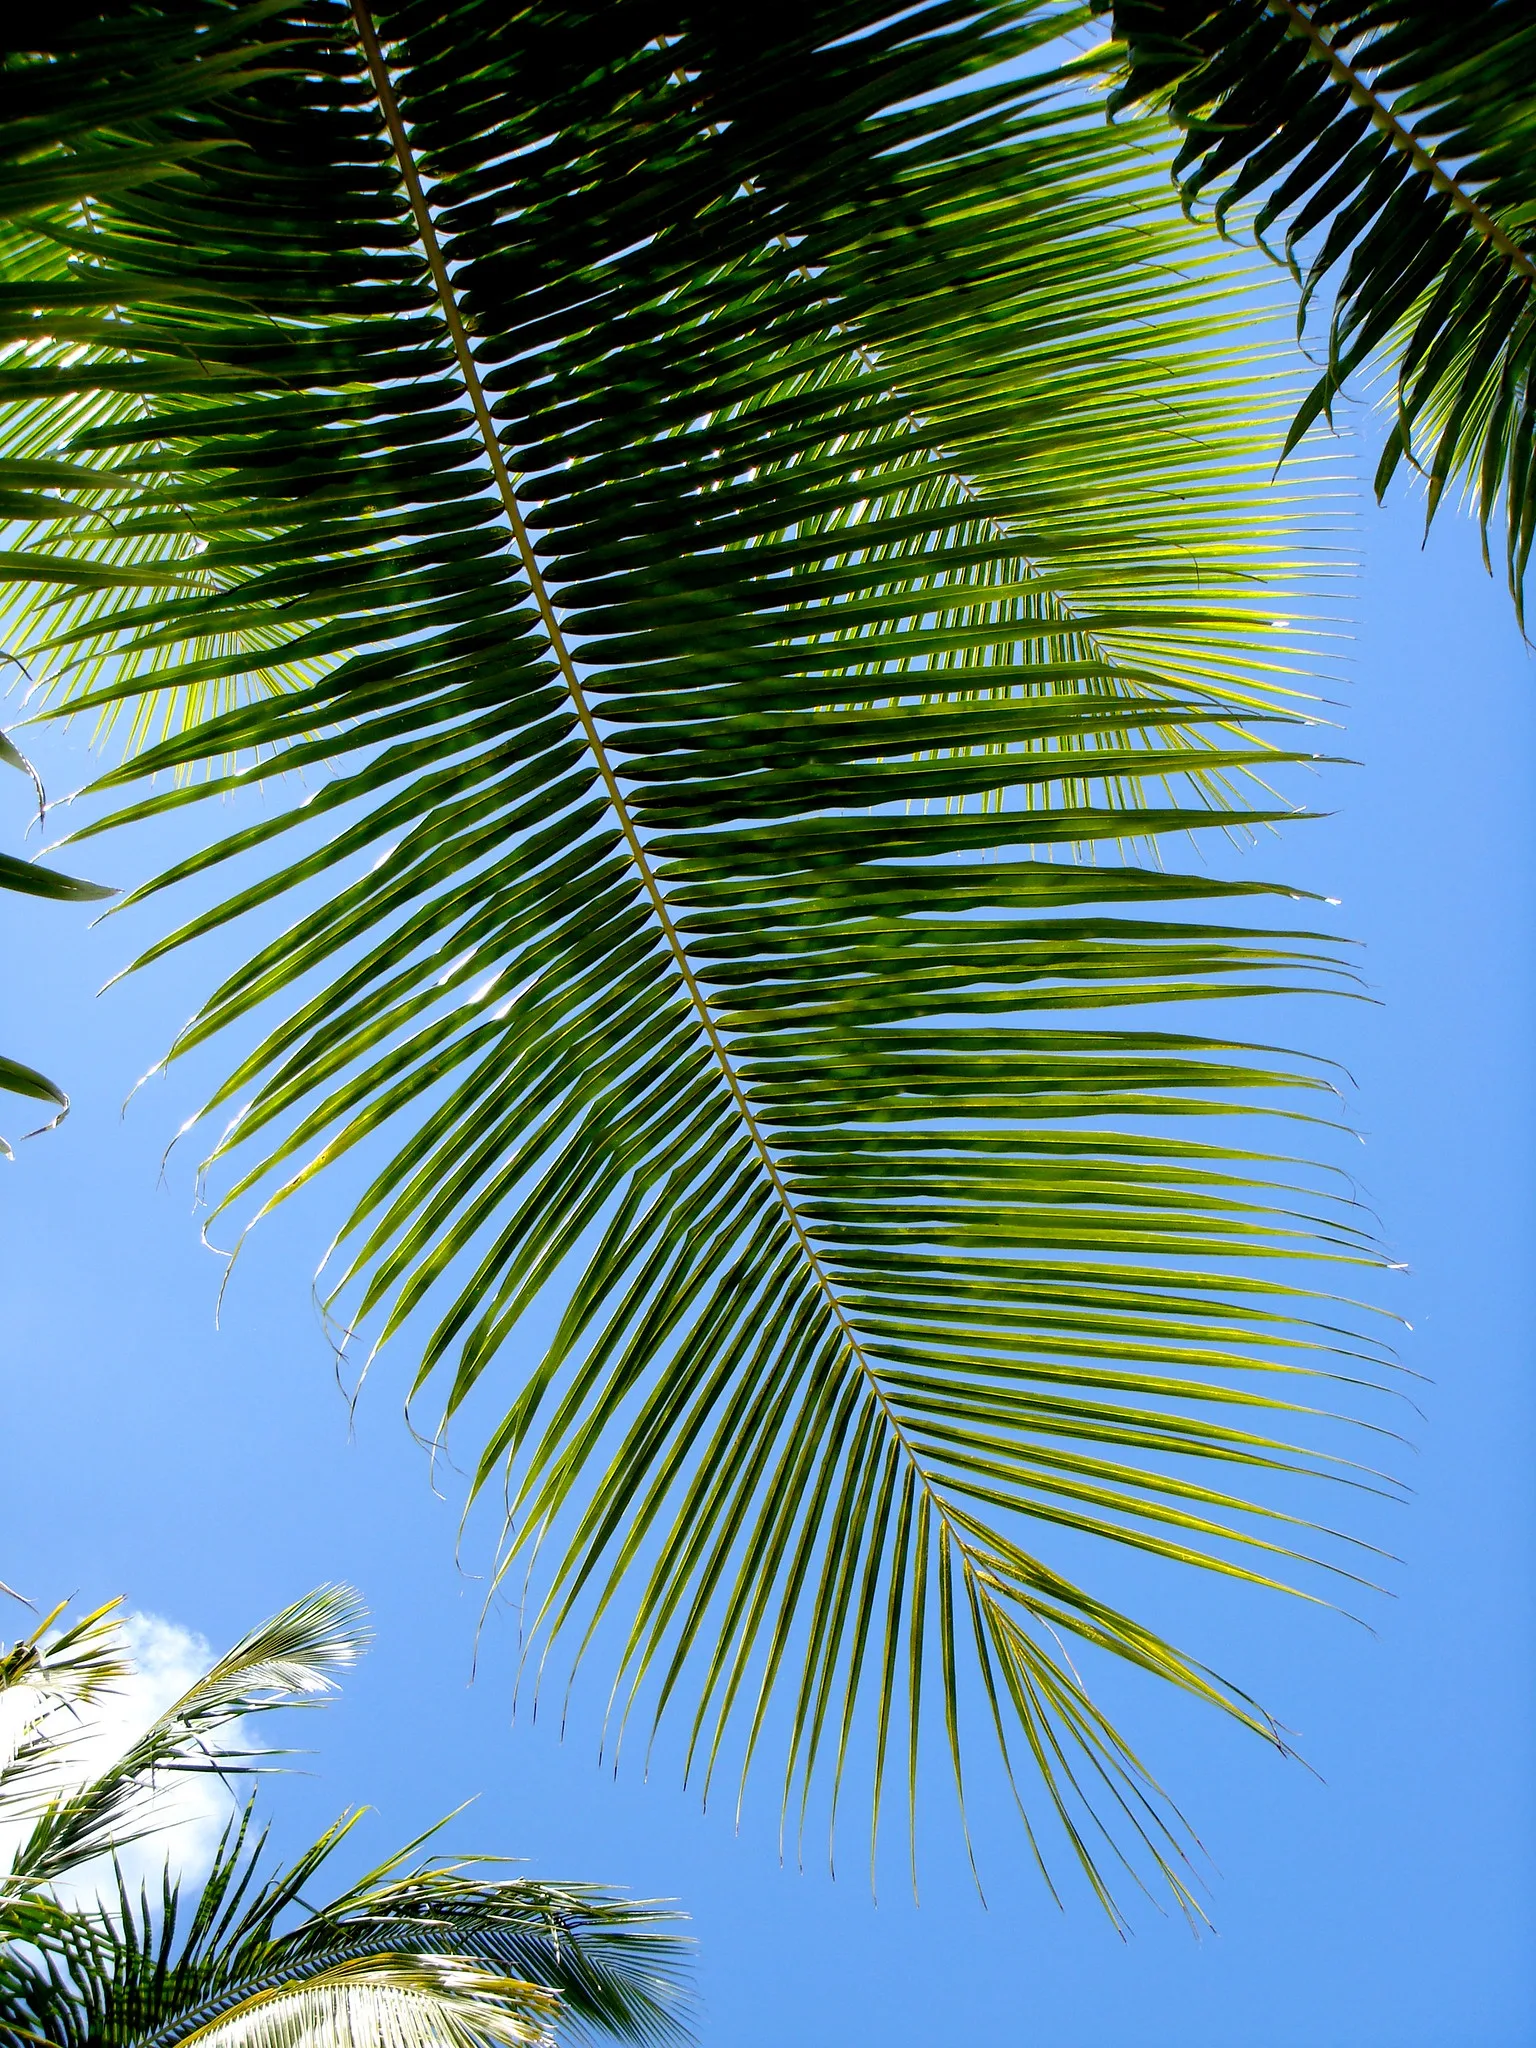
- Fill the frame. A single frond filling the picture makes a bold, graphic design.
- Backlit leaves. Sun shining through fronds makes them glow bright green and shows every vein.
- Shadows. Palm shadows on a white wall, sand or pavement make lovely patterns.
- Trunk texture. Rings, scales and crosshatched bark make strong abstract close ups.
- Coconuts and flowers. Clusters of fruit and blossom add detail and color.
Look for repetition and rhythm, then remove anything that breaks it. The guide to pattern and repetition explains how to see these designs.
Fallen fronds on the ground are worth a look too. Dried, curling leaves on sand or pavement make warm brown shapes and textures, and they show another side of the palm’s life. A single fresh frond on dark ground can make a lovely, simple still life.
Silhouettes at sunrise and sunset
Palms are made for silhouettes. Their shapes read instantly as dark outlines against a glowing sky.
- Shoot toward the light. Face the sunset or sunrise so the palms are backlit.
- Expose for the sky. Meter on the bright sky so the trees turn black and the colors stay rich.
- Separate the shapes. Make sure each palm stands clear of others and of the horizon.
- Use a low horizon. Give the sky most of the frame when the colors are strongest.
- Keep shooting. The best colors often arrive ten to twenty minutes after sunset.
Silhouettes work best when the palm’s outline is clear and simple. A single leaning palm against a pink sky can be more powerful than a whole grove. The guide to silhouette photography covers exposure and composition in detail.
Sunbursts through the fronds
When the sun peeks through a gap in the fronds, you can make a sparkling starburst.
- Small aperture. Use f/11 to f/16 to turn the sun into a star with clear rays.
- Partly hide the sun. Let a frond cover most of the sun so only a small point shines through.
- Move slowly. Tiny shifts of your position change how much sun shows. Look through the camera as you move.
- Protect your eyes. Never stare at the sun through the viewfinder. Use the rear screen when you can.
- Watch for flare. Clean your lens, and accept a little flare as part of the mood.
The guide to shooting a star shaped sunburst explains why aperture shape creates the rays.
Sunbursts work best when the sky around the sun is clear and the sun is small in the frame. Try several frames as you move a few inches left and right, then choose the one where the star is crisp and the fronds around it are well placed.
Palms on the beach
The classic palm scene is a curving trunk leaning over sand and water.
- Leaning palms. Use the diagonal of a leaning trunk to lead the eye toward the sea.
- Frame the view. Fronds at the top of the frame make a natural border for the beach below.
- Add the water. Turquoise shallows and white sand make cheerful color contrasts.
- Hammocks and boats. A hammock strung between trunks or a boat on the shore adds story.
- Footprints. A line of footprints toward a palm adds a human touch.
Beaches are bright, so expose carefully to keep white sand from turning gray or pure white. Early morning brings soft light and empty sand. The guide to beach photography covers bright sand, sea and sky.
Respect the places you visit. Many beaches and resorts are private, and some palms shade people relaxing beneath them. Ask before photographing others up close, and keep pictures of strangers small and general.
Palm lined streets
Rows of tall palms along a street or promenade make wonderful graphic pictures.
- Stand in the middle. Where safe, a centered view makes the palms converge toward a vanishing point.
- Use a long lens. A telephoto compresses a long avenue so palms stack together dramatically.
- Look for hills. A street dipping into a valley and rising again shows rows of palms beautifully.
- Golden hour. Warm light on trunks and long shadows across the road add mood.
- Vertical frames. Portrait orientation suits tall, thin palms reaching into the sky.
Always put safety first near traffic. Use sidewalks, crossings and medians rather than standing in the road. The guide to lens compression explains why distant palms seem to stack together.
Light through the day
- Morning. Soft, warm light and calm air keep fronds still and colors gentle.
- Midday. Bright overhead sun suits looking up at palms against deep blue skies and backlit leaves.
- Golden hour. Warm side light makes trunks glow and casts long palm shadows. See the guide to golden hour photography.
- Sunset. Silhouettes against colorful skies.
- Blue hour and night. Palms lit by street lamps or uplights against a deep blue sky.
Stormy skies behind sunlit palms can be especially dramatic. Do not put the camera away when clouds roll in.
Palms at night
After dark, many resorts, parks and promenades light their palms from below. Uplit trunks and glowing fronds against a deep blue or black sky make striking, theatrical pictures. Use a tripod, a low ISO and exposures of one to several seconds, and start during blue hour while the sky still holds color. Palms silhouetted against a moonlit sky or a starry night far from city lights are another lovely subject, especially on a quiet beach.
Wind and movement
Palms move, and wind can be part of the picture.
- Freeze it. A fast shutter speed of 1/500 or faster keeps fronds crisp in a breeze.
- Blur it. A slow shutter speed of around half a second on a tripod turns moving fronds soft and dreamy.
- Storms. Fronds whipping in strong wind show the power of tropical weather.
- Calm moments. Wait between gusts for a still frame when you want detail.
For slow shutter speeds in daylight, a neutral density filter cuts the light. Keep the trunk sharp so the blur reads as motion rather than a mistake.
Palms beyond the tropics
Palms appear in many places beyond tropical beaches: desert oases, city parks, hotel gardens, greenhouses and even decorative palms on rooftops and in shopping streets. A palm in an unexpected place can make a playful or surprising picture, such as a lone palm against snowy mountains or a row of plastic palms outside a roadside motel. Look for contrast between the palm and its setting, which turns a familiar tree into a little story.
Building a palm series
Palms make a fun theme for a set of pictures on any warm weather trip. Collect palms in different light, from sunrise silhouettes to midday crowns and evening shadows. Or gather a series of the same view, such as looking straight up, at many different places. A small collection like this tells the story of a trip as well as any landmark, and it trains your eye to see shape, light and pattern in a familiar subject.
Settings and lenses
- Wide lens. Looking up, beach scenes and dramatic skies.
- Standard lens. Natural views of single palms and beaches.
- Telephoto lens. Palm lined streets, distant silhouettes and frond details.
- Aperture. f/8 for most scenes, f/11 to f/16 for sunbursts.
- Shutter speed. 1/500 or faster in wind, slower on a tripod for motion blur.
- ISO. Low in bright sun, higher at dusk.
Using a phone
Phones are great for palms. Use the ultra wide lens to look up at tall trees, tap on the bright sky and slide exposure down for silhouettes and portrait orientation for tall trunks. Many phones make lovely sunbursts when the sun is partly hidden behind a frond.
Editing palm photos
Straighten horizons on beach scenes, but let leaning trunks lean. Lower highlights to save bright skies and sand, and lift shadows gently under the fronds. Keep greens and blues rich but believable, since strong saturation quickly looks unreal. For silhouettes, deepen blacks and protect the sunset colors.
Common mistakes
- Postcard sameness. Try unusual angles, details and light.
- Tangled silhouettes. Separate palms so each shape reads clearly.
- Tilted horizons. Keep the sea level even when palms lean.
- Blown skies. Expose for the brightest part of the scene.
- Oversaturated color. Keep tropical colors natural.
- Standing under coconuts. Stay safe.
Try this: a 10-minute palm study
Find one palm, or a small group, and make five pictures in ten minutes.
- Look straight up for a burst of fronds against the sky.
- Fill the frame with a single backlit frond.
- Step back for the whole tree in its setting.
- Find the palm’s shadow on a wall, sand or path.
- Return at sunset for a silhouette.
Compare the five, and notice how the same tree tells different stories.
Want to make the sun sparkle on purpose? The guide to star shaped sunbursts explains the settings.
Frequently asked questions
When is the best time to photograph palm trees?
Golden hour for warm light, midday for blue skies overhead and sunset for silhouettes.
How do I photograph a palm tree silhouette?
Face the sunset, expose for the bright sky and keep the palm’s outline clear of other shapes.
How do I get a sunburst through palm leaves?
Use f/11 to f/16 and partly hide the sun behind a frond.
What lens is best for palm trees?
A wide lens for looking up and beach scenes, and a telephoto for palm lined streets.
How do I keep palm fronds sharp in the wind?
Use a shutter speed of 1/500 or faster, and wait for a pause between gusts.
How can I make palm photos look less like postcards?
Try close details, shadows, unusual angles and dramatic weather instead of the classic beach view.
Love the whole tropical scene? The guide to tropical island photography covers beaches, lagoons and island light.
Curious about other trees with character? The guide to tree photography covers trunks, crowns and seasons.
For terms such as silhouette, sunburst and compression, see the photography glossary.