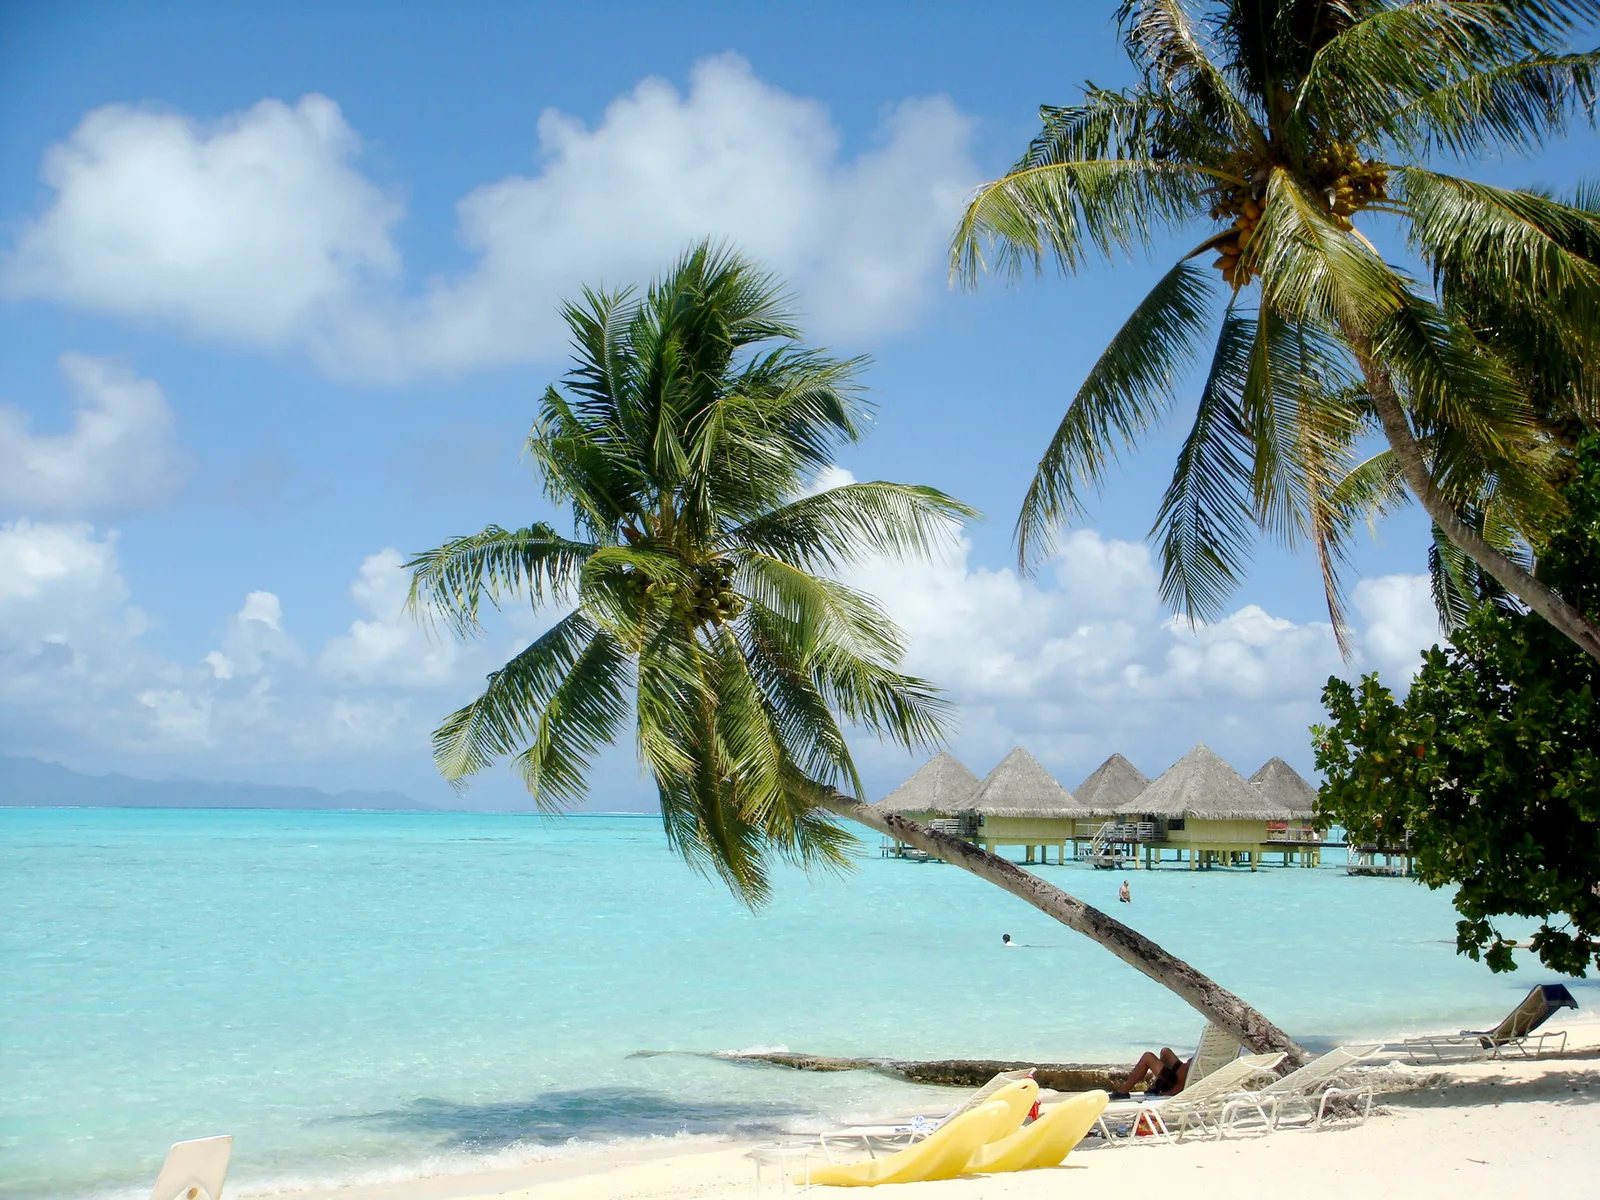
Tropical islands look like they were made for photographs. Turquoise lagoons, white sand, leaning palm trees, colorful boats and glowing sunsets fill every view. Yet many people come home from an island trip disappointed: the water looks washed out, the sky is a blank white, the palms are cut in half and every picture looks the same. With a few simple techniques, island pictures can capture the color, light and feeling that make these places so special.
This guide covers why tropical islands are both easy and tricky to photograph, getting turquoise water to look right, palm trees, white sand and bright light, sunrise and sunset, tropical weather, life on the island, underwater and shoreline scenes, aerial views, gear care, settings and editing. For beaches anywhere, see the guide to beach photography, and for photographing new places, see the guide to travel photography.
Why islands are easy and tricky
Islands are full of beautiful subjects, but the strong tropical light is challenging.
- The colors are intense. Turquoise water, green palms and white sand look stunning in person but can be hard to capture accurately.
- The light is harsh. The tropical sun is high and bright for much of the day, creating strong contrast and flat, washed out colors.
- Everything is bright. White sand and sparkling water reflect light, which can fool the camera meter.
- The weather changes fast. Sunny mornings can turn to sudden showers and back again within an hour.
- Every picture can look the same. Palm, beach, water and sky can become repetitive without variety.
The secret is to work with the light rather than against it: shoot water when the sun is high, people and palms when it is low and look for variety in viewpoints, details and stories.
Planning an island day
A simple daily rhythm works well on most islands. Start at sunrise on an east facing beach, when the sand is empty, the water is calm and the light is soft. Spend late morning and midday photographing water from high viewpoints, snorkeling or exploring shady village streets. Rest in the hottest hours, then head out again in the late afternoon for warm light on palms and people, and finish at a west facing beach or pier for sunset. Keep an eye on the clouds through the day, since a passing shower can bring the most dramatic light of all.
Getting turquoise water right
Tropical water owes its color to light reflecting off pale sand through shallow water. That color is strongest when the sun is high, since light passes straight down through the water and back up. Early and late in the day, when the sun is low, the water looks darker and bluer. This is one of the few times when midday is the best time to photograph.
- Use a polarizing filter. It cuts glare on the surface, deepens the color and lets you see the sand and coral below. Rotate it while watching the screen. The guide to the polarizing filter explains how it works.
- Get high. Looking down at the water from a dune, a jetty, a hill or a balcony reduces reflections and shows more color.
- Keep the sun behind you. Shooting toward the sun creates glare. With the sun at your back or side, the water glows.
- Look for gradients. Shallow water near shore is pale turquoise, turning deeper blue farther out. These bands of color make beautiful compositions.
The guide to color in photography explains how tropical blues and greens work together in a picture.
Palm trees
Palm trees are the symbol of the tropics, and they make wonderful subjects and frames.
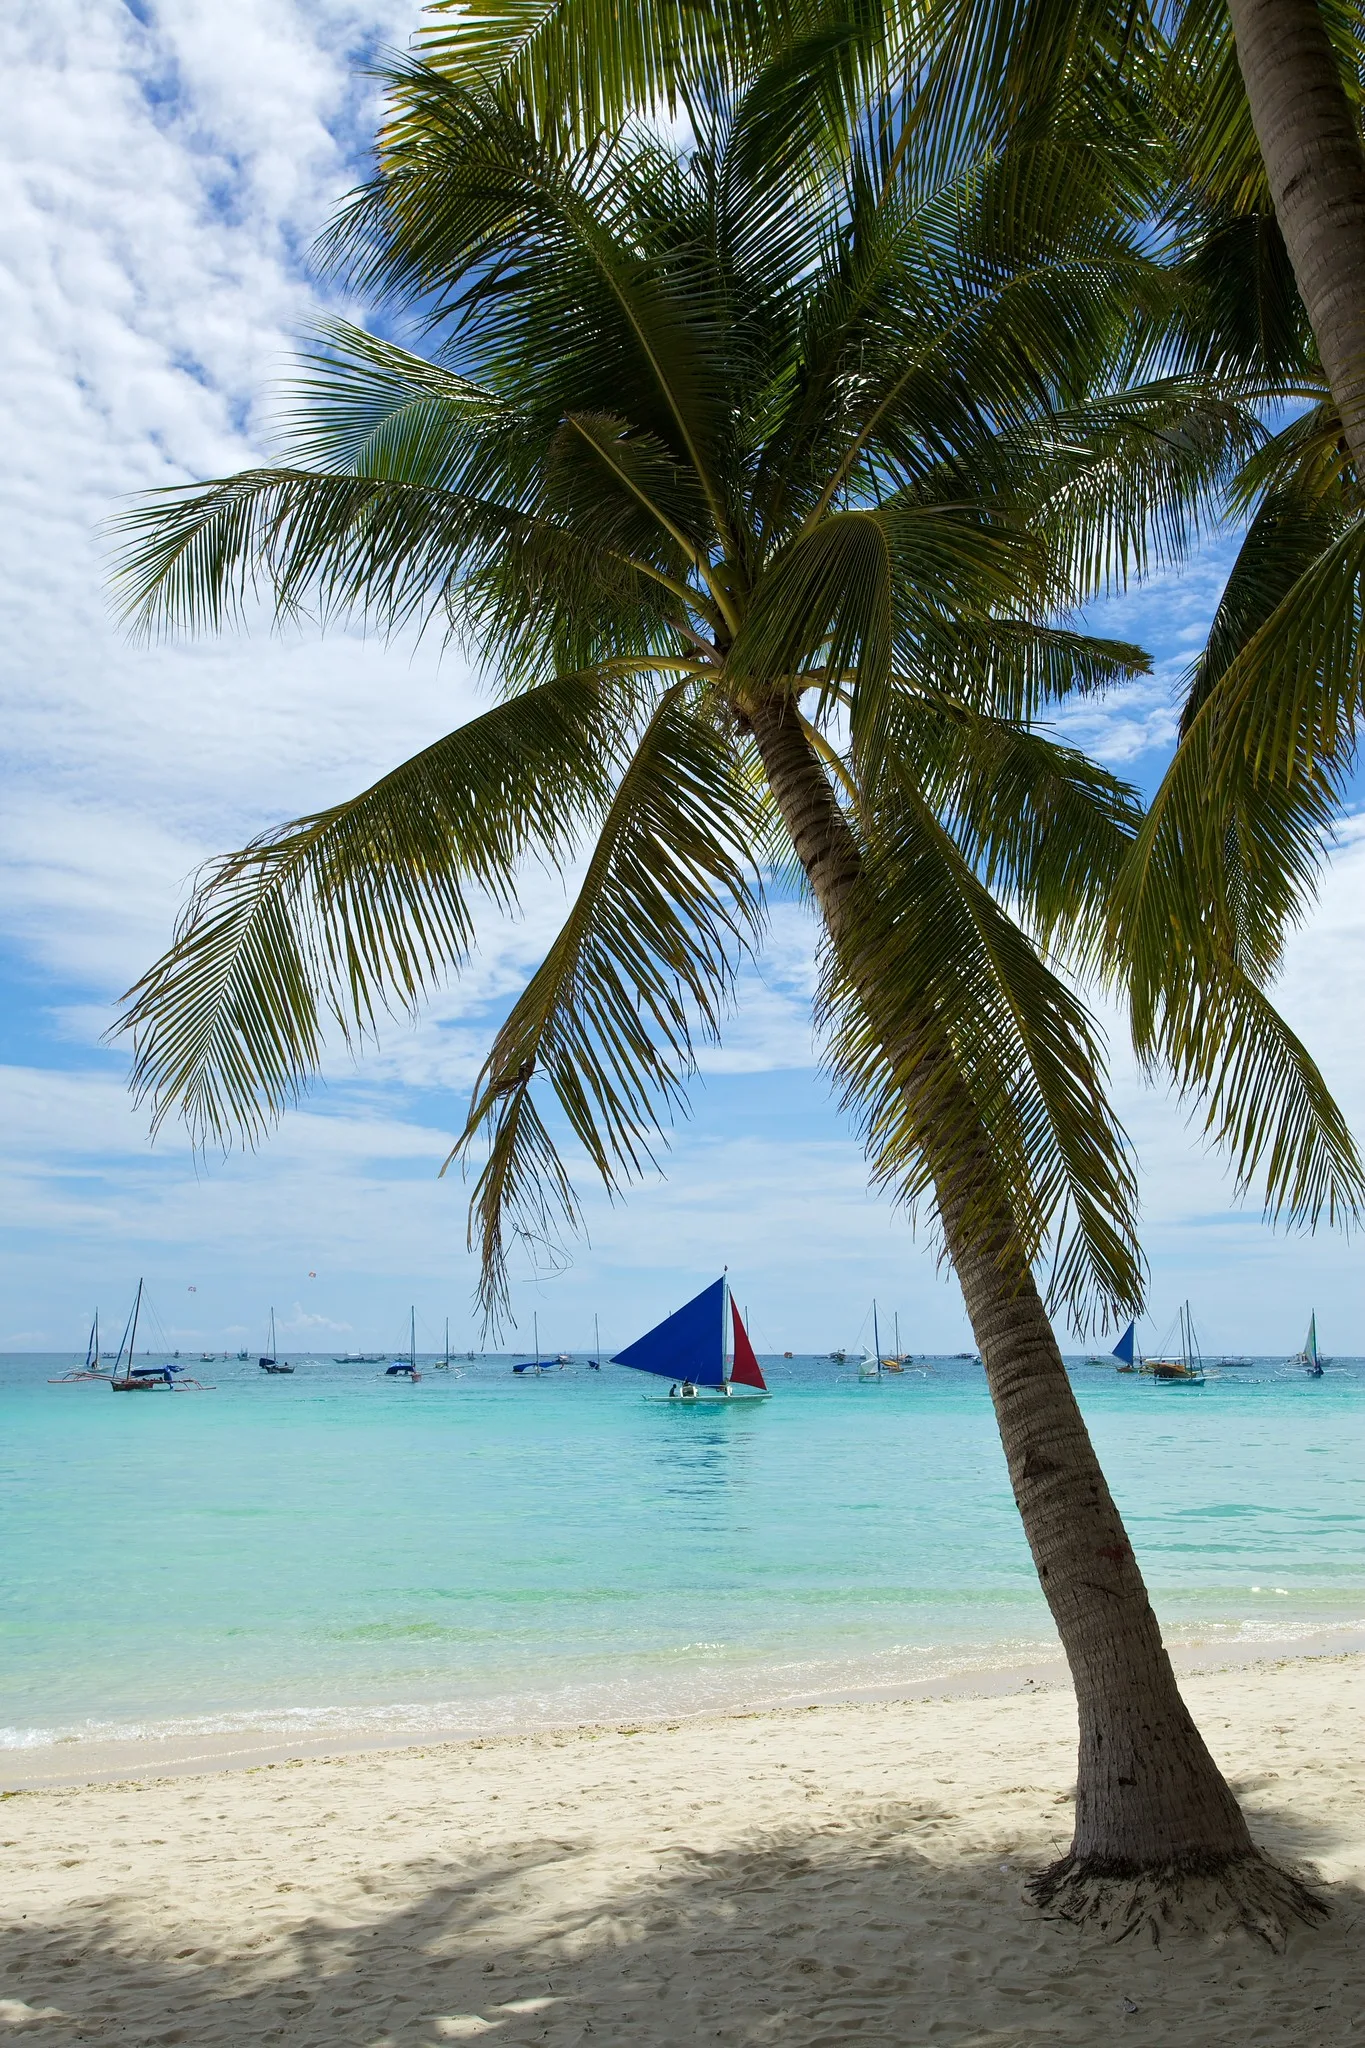
- Use them as frames. Leaning palms can frame a lagoon, beach or sunset. Include the trunk and fronds, and keep the horizon level.
- Do not cut them in half. Include the whole tree or crop deliberately to the trunk or fronds, rather than slicing through the middle.
- Look up. Lie on the sand and photograph fronds against blue sky for a graphic, star-like shape.
- Silhouettes. At sunrise and sunset, palms make perfect silhouettes against a colorful sky.
- Shadows. Palm shadows on white sand or a wall make simple, graphic pictures.
Watch for falling coconuts, too, and avoid setting up directly beneath heavy palms.
White sand and bright light
White sand reflects a lot of light, which can fool the camera into underexposing. Pictures may look gray and dull instead of bright and sunny. Check the histogram and add a little positive exposure compensation if the sand looks gray. Watch the highlights, too, since bright sand and white clouds can blow out easily.
Midday sun creates harsh shadows on faces and flat, contrasty scenes. For portraits, look for open shade under palms or a beach umbrella, or wait for softer light in the morning and evening. For landscapes, use midday for water color and save sunrise and sunset for warm, atmospheric pictures. The guide to exposure compensation explains how to correct the meter.
Shade and portraits
People on tropical beaches often squint in bright sun. Place them in the shade of a palm or building, with the bright beach behind, and expose for the face. Reflected light from the sand will fill in shadows naturally. For a relaxed feel, photograph friends walking along the water’s edge, swinging in a hammock or reading under a palm.
Sunrise and sunset
Tropical sunsets can be spectacular, with clouds lit in orange, pink and purple over the sea. Sunrise is often quieter and calmer, with empty beaches and still water. Check which side of the island faces east and west, since the best place for sunset may be on the other side from where you are staying.
Arrive early and stay late. The sky often shows its best color fifteen to thirty minutes after the sun has set. Use silhouettes of palms, boats, piers and people against the sky, and look for reflections on wet sand at the water’s edge, which double the color. Expose for the bright sky to keep its color, and let the foreground fall into shadow. The guide to golden hour photography explains timing and light.
Want to keep shooting after the sun goes down? The guide to blue hour photography explains the soft, cool light just after sunset.
Tropical weather
Tropical weather is changeable, and that is good news for photographers. A sudden rain shower can bring dramatic dark skies over bright turquoise water, followed by rainbows and fresh, clean light. Towering afternoon clouds add drama to wide scenes. Do not hide indoors when the weather turns. Wait under shelter and be ready when the sun returns.
Rainbows are common after tropical showers, especially in the morning and late afternoon when the sun is low behind you. Look for them opposite the sun, and use a polarizer carefully, since rotating it the wrong way can make a rainbow disappear. A rainbow arching over a lagoon or a line of palms is a picture worth waiting for.
Protect your gear from rain and humidity. Keep a plastic bag or rain cover handy, and wipe moisture off the lens. Moving from an air conditioned room into warm, humid air causes condensation on the camera and lens, so let the camera warm up in its bag for a while before taking it out. The guide to bad weather photography has more tips.
Island life and details
Islands are more than beaches. Villages, markets, fishing boats, churches, colorful houses, street food and local people tell the story of island life. Walk through towns early in the morning, visit a market and watch fishermen bring in their catch.
Always be respectful. Ask before photographing people, especially in small communities where cameras may feel intrusive. Learn a few words of the local language and smile. Many people are happy to be photographed once you have said hello. Details such as woven baskets, bright painted boats, flowers in someone’s hair or shells on a windowsill add color and texture to a set of travel pictures.
Boats, docks and piers
Boats are part of island life, from small outrigger canoes and fishing boats pulled up on the sand to sailboats anchored in the lagoon and ferries arriving at the dock. They add color, scale and a sense of place to beach scenes. A single bright boat floating on turquoise water, seen from above, makes a simple and striking picture. Wooden docks stretching out over clear water make natural leading lines, especially at sunset. Look for coiled ropes, painted names and fishermen mending nets, and ask before photographing people at work.
Drawn to the boats as much as the beaches? The guide to boat and harbor photography covers marinas, fishing boats and reflections.
Shoreline and underwater scenes
The shallow, clear water of many islands is perfect for photographing what lies beneath. Starfish on sand, small fish around coral and patterns of light rippling on the seabed can all be photographed from above with a polarizing filter or with a waterproof camera or housing while snorkeling.
Split shots, with the camera half above and half below the waterline, show both the underwater world and the island above. They work best in calm, clear water with a dome port or waterproof phone case. Always respect coral reefs: never touch, stand on or kick coral, and use reef-safe sunscreen. The guide to underwater photography covers equipment and technique.
Views from above
Islands look magical from above. Lagoons, reefs, sandbars and the shapes of beaches create patterns of color best seen from a height. Look for hilltop viewpoints, lighthouses and towers. Seaplane and helicopter flights offer spectacular views, and a window seat on a small plane can be just as good. The guide to aerial photography explains how to shoot through windows.
Drones are popular on islands, but many places have strict rules. Check local laws before flying, avoid flying over people and wildlife and respect resorts and communities that do not allow drones.
Caring for gear in the tropics
Sand, salt, humidity and heat are hard on cameras. Keep gear in a bag when not in use, and change lenses away from wind and sand. Wipe salt spray off the lens and body with a damp cloth at the end of each day, then dry everything. Store silica gel packs in your camera bag to absorb moisture, and never leave a camera in direct sun or a hot car. Waterproof bags and cases are useful on boats and beaches. A small dry bag holds a camera, a spare battery and a cloth, which is all you need for a day exploring the shore.
Look after yourself, too. Heat and sun can sneak up on you while you concentrate on pictures. Carry water, wear a hat and sunscreen and take breaks in the shade during the hottest part of the day.
Settings for tropical islands
- Beaches and water: f/8 to f/11, ISO 100, polarizer on, slight positive exposure compensation for white sand.
- Sunsets: expose for the sky, use a tripod for long exposures after sunset.
- Portraits in shade: wide aperture, expose for the face.
- Snorkeling: fast shutter speed, auto ISO, waterproof camera or housing.
- Lens: a wide angle for beaches and lagoons, a standard zoom for village life and a short telephoto for details.
Editing island photos
Tropical colors are vivid, so keep editing restrained. Adjust white balance so sand looks white rather than yellow or blue, recover highlights in clouds and sand and add a little contrast. Use targeted color adjustments for the water rather than boosting saturation everywhere, since turquoise water can quickly look unnatural.
Need a step by step routine for editing landscapes? The guide to editing landscape photos explains how to adjust water and sky separately.
Common mistakes
- Washed out water. Shoot water when the sun is high, use a polarizer and get higher.
- Gray sand. Add positive exposure compensation for bright beaches.
- Harsh portraits. Move people into shade or wait for softer light.
- Cut-off palms. Include the whole tree or crop deliberately.
- Tilted horizons. Level the sea every time.
- Every picture the same. Mix beaches with details, villages, people and views from above.
- Condensation on the lens. Let the camera warm up in its bag after air conditioning.
Try this: a 10-minute beach study
On your next island beach, give yourself ten minutes:
- Minutes one to three: make one wide picture of the water and sand with a polarizer, rotating it until the water color deepens.
- Minutes four to seven: use a palm tree as a frame for the lagoon or sea, keeping the horizon level.
- Minutes eight to ten: find one detail, such as a shell, a footprint, a boat rope or a palm shadow on the sand.
At home, put the three together. They tell more about the place than any single postcard view.
Frequently asked questions
When is the best time to photograph turquoise water?
Around midday, when the sun is high and light passes straight through the shallow water to the sand below.
Do I need a polarizing filter for tropical beaches?
It is the single most useful accessory, cutting glare, deepening water color and making clouds stand out.
Why does white sand look gray in my pictures?
Bright sand fools the meter into underexposing. Add positive exposure compensation and check the histogram.
How do I stop my lens from fogging up?
Let the camera warm up slowly in its bag after leaving air conditioning, and keep silica gel in your bag.
Can I fly a drone on tropical islands?
It depends on local rules, which can be strict. Check before flying and respect people, wildlife and resorts.
How do I photograph palm trees against a bright sky?
Expose for the sky to keep its color, and either let the palm become a silhouette or lift the shadows a little when editing. Side light in the morning or evening shows the fronds best.
For terms such as polarizing filter, exposure compensation, histogram and white balance, see the photography glossary.