Lens compression is the look of a long-lens photo in which far objects seem large and pressed up against near ones: ridges stack, streets shorten, the moon towers over a building. The lens does not cause it. Perspective is set only by where the camera stands. A telephoto simply magnifies a small part of the view from a distant position, and from far away, near and far objects really do appear closer in size.
This guide proves that claim with a test you can run yourself, gives the arithmetic that predicts how big a background will look, and shows how to apply it to ridges, streets, skylines, the sun and moon, and faces. It goes further than the short section in the telephoto photography guide and the overview of perspective distortion, which describe the effect without the numbers.
What lens compression looks like
Three things happen together in a “compressed” photograph, and all three are the same effect seen in different ways:
- Far objects look big relative to near ones. A mountain behind a barn, or a tower behind a statue, takes up far more of the frame than it does in a wide shot of the same pair.
- The gaps between things seem to shrink. Cars spaced well apart look nose to tail. Ridges kilometres apart look like sheets of card stood one behind another.
- Lines that run away from you converge less. A road, a pier or a row of lamp posts loses its strong taper, so the picture reads as flat layers instead of a deep tunnel.
The name is convenient, and misleading, because it credits the glass. Swapping lenses while standing still changes how much of the scene you record. It does not move one object in front of another or change their relative sizes by a single pixel.
Distance does it, not the lens: the crop test
The size of an object in the frame depends on two things: the focal length and how far away the object is. Double the focal length and everything in the picture doubles in size. Double the distance to one object and that object halves in size. The first change is a uniform enlargement of the whole view. Only the second can change how one object compares with another.
So the size ratio between two equal-sized objects is just the ratio of their distances. If one post is 10 metres away and an identical post is 20 metres away, the near one is drawn twice as tall, at 16mm, 50mm or 500mm. Walk back until the posts are 100 and 110 metres away and the near one is only 10 percent taller, again at any focal length. Nothing about the lens appears in that sum.
Try it here first. Keep the person the same size and the background grows as you step back with a longer lens. Stand still and a longer lens only crops.
Run the test
- Find a scene with a clear near object and a clear far one in line, such as a signpost with a building several hundred metres behind it. Put the camera on a tripod, or brace it on a wall, so it cannot move.
- Shoot the scene at your longest focal length, for example 200mm.
- Without moving the camera, shoot it again at your widest, for example 24mm.
- On the computer, crop the wide frame to the same framing as the long one and view them side by side.
The cropped wide frame shows the same overlaps, the same relative sizes and the same flattened look. It is also soft and noisy, because a crop from 24mm to the view of 200mm keeps roughly 1/70 of the pixels: a 24 megapixel file becomes about a third of a megapixel. The difference in depth of field is real too, so the cropped background will look sharper. But the geometry is identical. That is the whole proof.
Then run the opposite test
Now keep the near object the same size in the frame and change your position. Shoot the signpost at 24mm from close up, then walk back and shoot it at 200mm so it fills the same height. The post matches in both frames, and the building behind it is transformed: tiny in the first, huge in the second. You changed lenses in both tests. Only in the test where you moved did the perspective change.
Why backing away makes the background grow
In practice you usually want a subject at a certain size, and you choose between standing close with a short lens or far away with a long one. The subject ends up the same. The background does not, and the arithmetic is easy enough to do in your head.
Take a person 3 metres from the camera with a clock tower 300 metres behind them, photographed at 24mm. Now move back to 30 metres. To keep the person the same height in the frame you need ten times the focal length, 240mm. The tower was 303 metres from the camera and is now 330 metres away, about 9 percent farther, which on its own would shrink it slightly. But the lens is magnifying everything ten times. The net result is a tower about 9 times taller in the frame than before (10 divided by 1.09). The farther the background is beyond the subject, the closer this gain gets to the full change in focal length.
| Camera to person | Focal length for the same person size | Camera to tower | Tower size in frame, compared with the first row |
|---|---|---|---|
| 3 m | 24mm | 303 m | 1x |
| 6 m | 48mm | 306 m | about 2x |
| 12.5 m | 100mm | 312.5 m | about 4x |
| 30 m | 240mm | 330 m | about 9x |
| 75 m | 600mm | 375 m | about 20x |
Two practical points follow. First, a background that is close behind the subject barely responds. If the wall is 2 metres behind the person, moving from 3 to 30 metres changes its relative size from 60 percent of the subject’s scale to 94 percent: visible, but not dramatic. Compression needs depth to work on. Second, at the same f-number the long lens enlarges the blur of a far background by a similar factor, so at a wide aperture the background becomes big, soft shapes. If you want the large background to be recognisable, stop down or accept a softer rendering.
Stacking ridges, streets and skylines
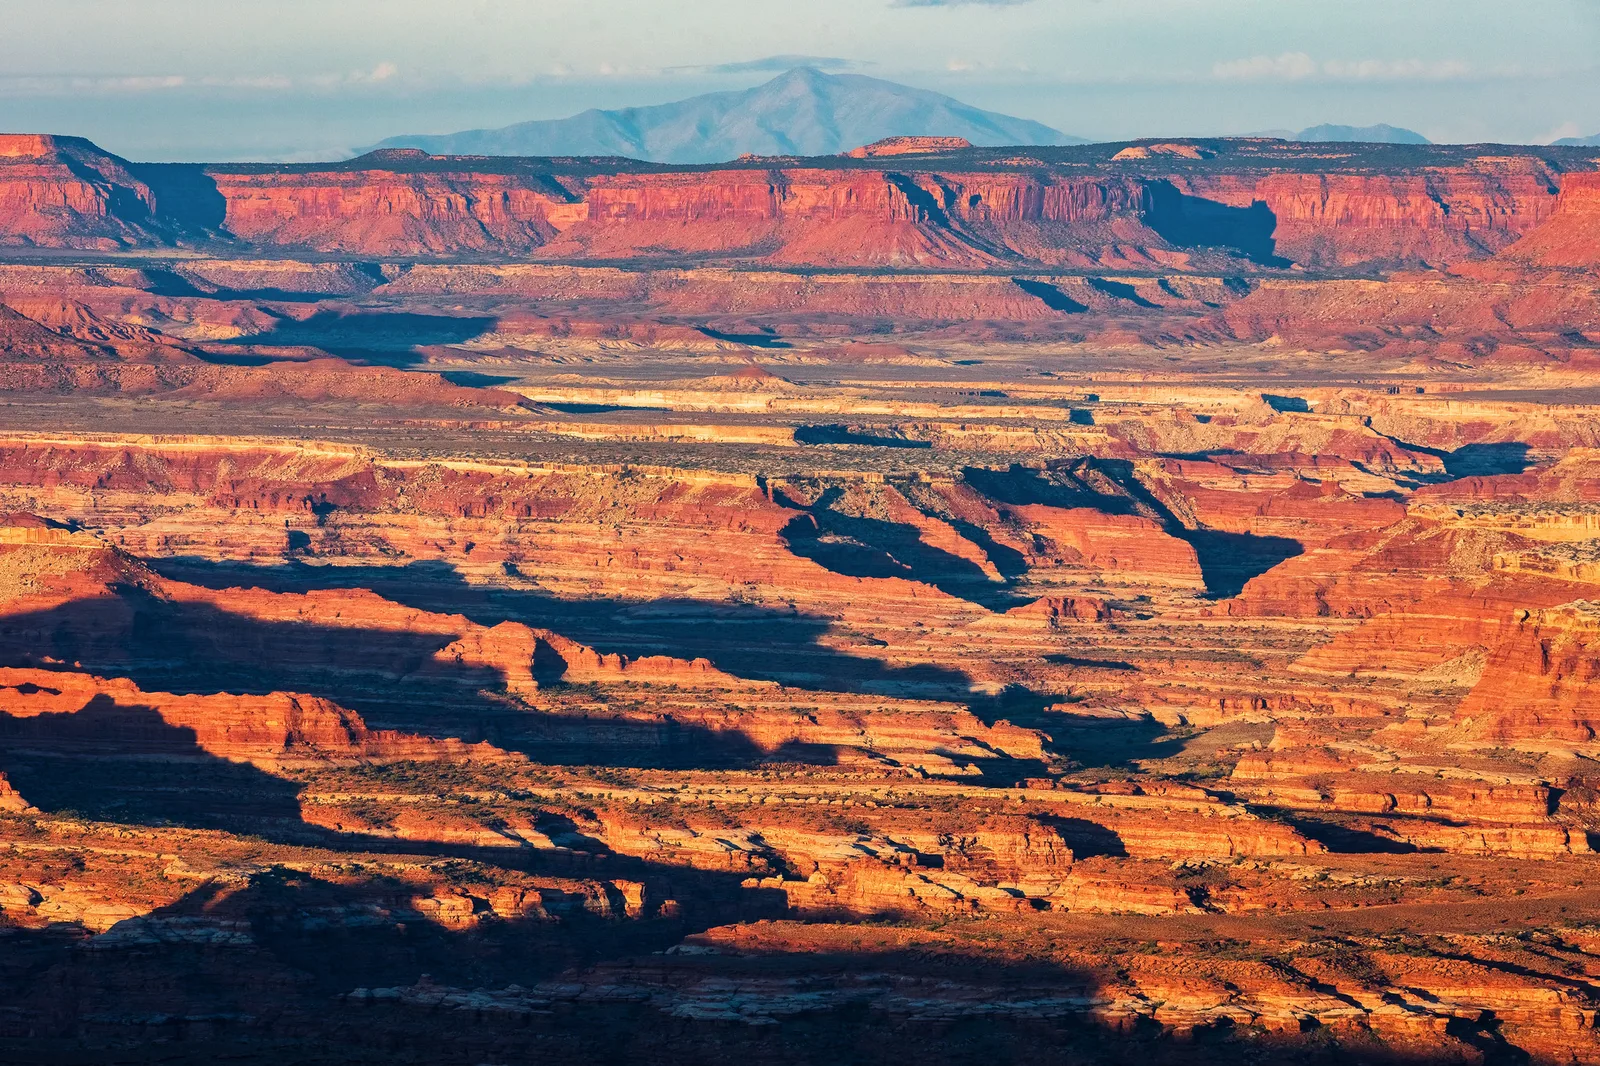
Compression is at its most useful when a scene has several similar things at different distances. From far away their sizes even out and they overlap, which turns depth into pattern.
Ridges and hills
Stand at the foot of the first ridge and the next one, 5 kilometres farther on, is hidden or tiny. Stand on high ground 10 kilometres back and the ridges at 10, 15 and 20 kilometres differ in scale by only a factor of two across the set. Frame a narrow strip of them at 150 to 400mm and you get bands. Haze helps here: each ridge is paler than the one in front, so the layers separate by tone. Early or late side light, or back light, gives the strongest steps. See how to photograph mountains for light and timing, and depth in photography for other depth cues.
Streets and crowds
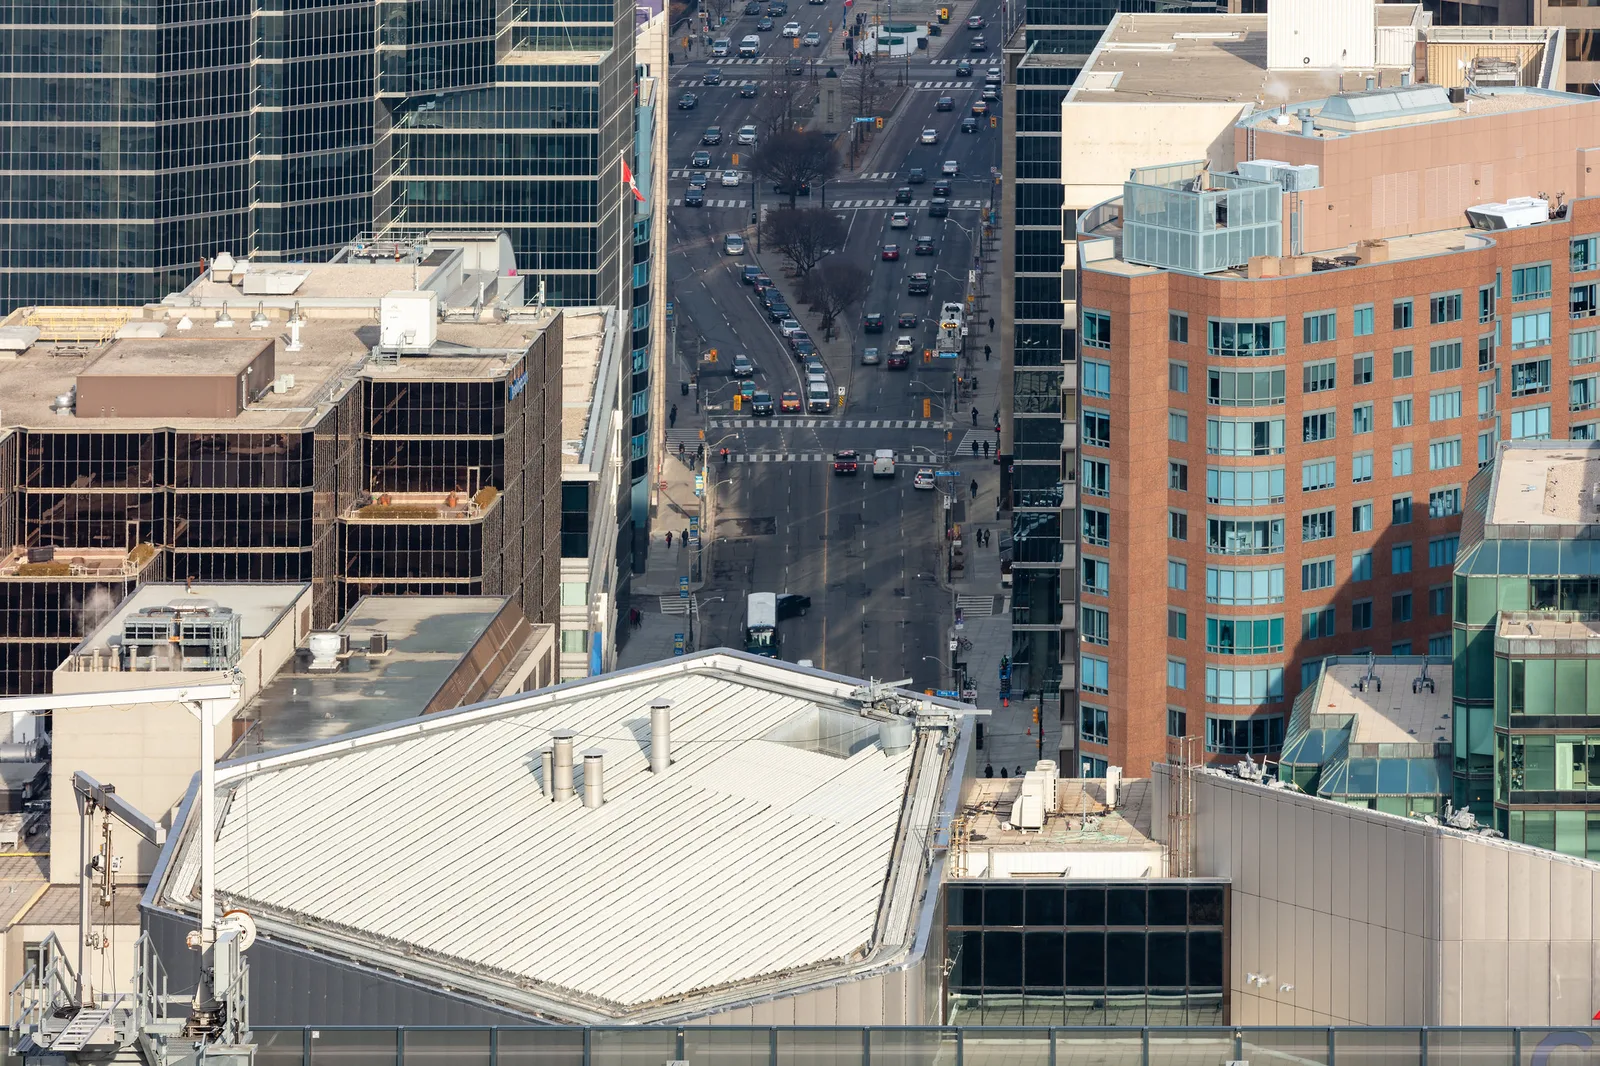
Look down a long straight street from a bridge, a hill or a high window several hundred metres from the nearest thing you want in the frame. People 2 metres apart at a distance of 100 metres differ in size by only 2 percent, so they read as shoulder to shoulder. A higher viewpoint stops the first row from hiding everything behind it. For a street scene, 135 to 300mm in full-frame terms is usually enough.
Skylines
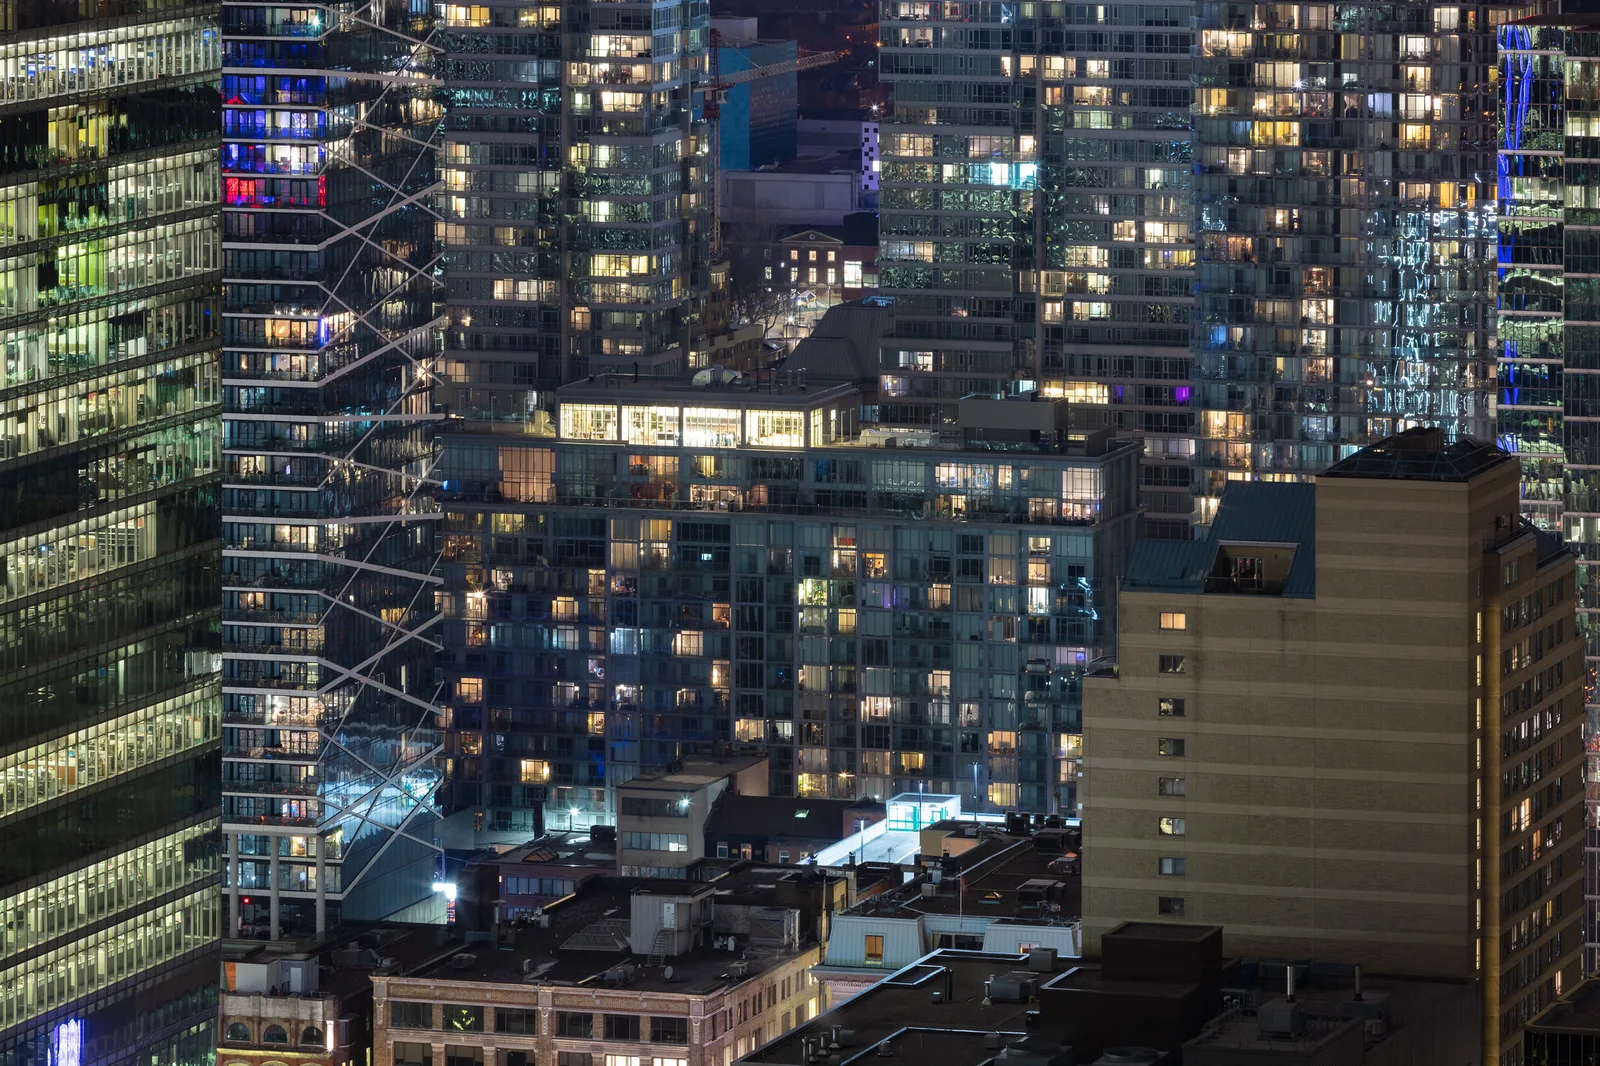
From inside a city, the nearest building dominates and the famous tower five blocks back is a sliver. From a hill, a bridge or the far shore of a harbour 3 to 10 kilometres away, the buildings regain their true relative heights and close up into a single mass. This is also how to put a mountain range directly behind a downtown: find a line of sight that is long compared with the gap between the two. The cityscape guide covers viewpoints and timing.
A huge sun or moon behind a subject
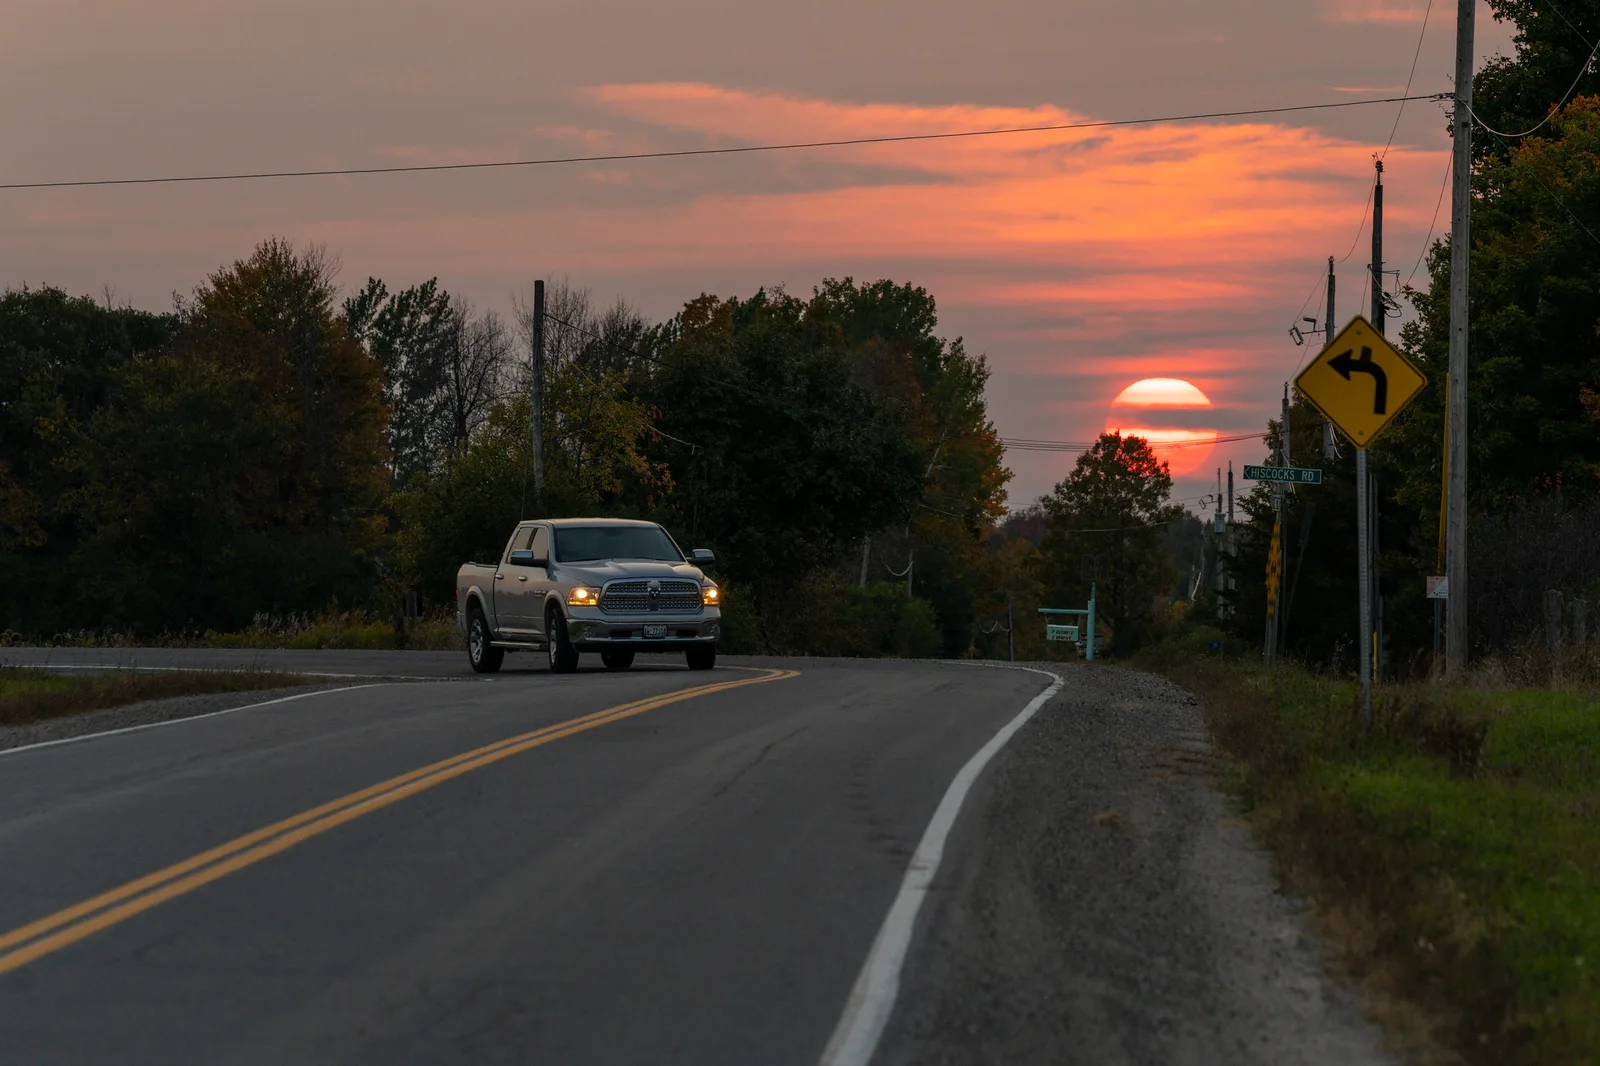
The sun and the moon are the extreme case: a background so distant that your position on Earth makes no difference to its size. Each spans about half a degree of sky, always. The moon is not larger near the horizon. It only seems so to the eye, and a photograph at a fixed focal length shows the same disc high or low.
That fixed half degree gives two rules of thumb:
- Disc size on the sensor is roughly the focal length divided by 110. At 24mm the disc is about 0.2mm across, under one percent of the height of a full-frame sensor. At 200mm it is 1.8mm, at 400mm 3.6mm and at 600mm about 5.5mm, close to a quarter of the frame height.
- An object looks as tall as the disc when you are about 110 times its height away. A person 1.8 metres tall matches the moon from about 200 metres. A 10 metre tree needs 1.1 kilometres, a 30 metre lighthouse 3.3 kilometres. At twice that distance the disc is twice as tall as the subject.
So the “giant moon” picture is a distance picture. The photographer is far from the building, far enough that it has shrunk to the moon’s angular size, and is using a lens long enough to make both fill the frame. No lens makes the moon bigger relative to a subject you are standing next to.
Planning the alignment
- Pick the subject and work out the distance you need from its height, using the 110 rule.
- Use a sun and moon planning app or a map to find a spot at that distance where the rise or set direction lines up behind the subject. The methods are in planning around the sun, moon and tides.
- Check the altitude. Seen from 110 times its height away, the top of a subject is only about half a degree above level. On flat ground the disc sits behind it for just the first or last few minutes above the horizon. A subject on a hill or ridge above you lines up later, with the disc higher and brighter.
- Arrive early and be ready to step sideways. The disc moves its own width roughly every two minutes, and at these distances walking a few metres left or right shifts it across the subject.
For moon exposure and focus, follow how to photograph the moon. For the sun, shoot only when it is very low and dimmed by thick haze, frame with the rear screen or an electronic viewfinder, keep the lens pointed at it only briefly, and never look at it through an optical viewfinder on a long lens.
Faces at 35mm, 85mm and 200mm
A face is a small scene with depth: the tip of the nose is roughly 10 centimetres closer to the camera than the ears. How much that matters depends on how far away the camera is, and the focal length only decides how far you must stand for a given framing. For a head-and-shoulders portrait on a full-frame camera held vertically:
| Focal length | Approximate distance for head and shoulders | Nose drawn larger than ears by | How it reads |
|---|---|---|---|
| 35mm | 0.6 m | about 17% | Nose and forehead prominent, ears small, face narrower |
| 50mm | 0.85 m | about 12% | Slightly close, noticeable in a tight headshot |
| 85mm | 1.4 m | about 7% | Close to how people see each other in conversation |
| 135mm | 2.25 m | about 4% | Slightly flatter, ears clearly visible |
| 200mm | 3.3 m | about 3% | Flatter and broader, features closer to their true proportions |
None of these is “distortion” in the optical sense. Each is the correct view from that distance. People are used to seeing faces from one to two metres, which is why short telephotos look natural for tight portraits. Shoot a full-length portrait at 35mm and you are standing about 2 metres back, where the face looks much as it does at 135mm in the table. The comparison in 35mm vs 50mm vs 85mm and the wider advice in portrait photography cover which to pick for which kind of picture.
The background rule from earlier applies to portraits too. At 200mm from 3.3 metres, a hedge 20 metres behind the sitter is drawn about five times larger than it is at 35mm from 0.6 metres, so a small patch of it fills the frame. You only need a small clean patch of background.
The opposite effect: wide-angle expansion
Run the arithmetic the other way and you get the look of a wide lens used close. Put the camera 50 centimetres from a rock with a hill 500 metres beyond it and the rock is at a thousand times the scale of the hill. Depth stretches, near objects dominate and lines rush towards a vanishing point. Again the lens is not bending anything. It lets you stand close and still include the scene. The guide to using a wide-angle lens covers how to put that to work.
Between the two extremes sits a choice you can make for every picture: decide how the near and far parts of the scene should relate, walk to the distance that gives that relationship, and only then pick the focal length that frames it. Zooming from one spot changes the crop. Walking changes the picture.
One wide-lens effect is not perspective at all: shapes near the corners of an ultra-wide frame are stretched outwards by the way a flat sensor records a very wide view. That is covered with barrel and pincushion curvature in lens distortion.
Haze, shimmer and the other costs of shooting from far away
Compression requires distance, and distance means air. Everything that degrades a long view degrades a compressed photograph.
- Haze. Dust and moisture lower contrast and shift distant layers towards blue-grey. Shoot after rain or a cold front for clear air, or use the haze deliberately to separate layers. A moderate amount of the Dehaze control restores contrast, and too much adds colour casts and noise.
- Heat shimmer. Air rising off warm ground, roofs, roads and water bends light unevenly and smears fine detail. No lens or shutter speed fixes it. Shoot in the cool of early morning, raise your line of sight above the ground, and avoid sight lines that skim across hot surfaces.
- Camera movement. A long lens magnifies shake by the same factor as it magnifies the subject. Use a fast shutter speed or solid support, as described in the guide to camera shake.
- Thin depth of field. Stacked layers are often at very different distances. At 200mm and beyond, f/8 to f/11 is a common starting point when all the layers are far away. If a near element must be sharp as well, it may not be possible in one frame.
If your lens is too short for the framing you want, the options are a teleconverter or a crop. The trade-offs are set out in optical zoom vs digital zoom.
Common mistakes
Zooming in from close range and expecting compression. Going to 200mm from where you already stand gives a tighter crop of the same perspective. Fix: move back first, then zoom to restore the framing.
A background too close behind the subject. With a wall 2 metres behind a person, there is almost no depth to compress. Fix: choose a subject with hundreds of metres or more between it and the background you want to enlarge.
Standing too near for a big moon. From 30 metres, a house is far larger than the moon at any focal length. Fix: use the 110 rule and go to a distance of about 110 times the height of the subject, or more.
Layers that merge into one tone. Stacked hills or buildings with the same brightness become a flat mass. Fix: shoot towards the light, or early and late, so haze and shadow give each layer a different tone.
Try this
Allow 15 minutes and take one zoom lens, or a wide lens and a long one.
- Find a near object about your own height (a post, a parked bicycle, a friend) with a building or tree line at least 200 metres behind it.
- At your widest focal length, walk in until the object fills half the frame height. Take a frame and note how much of the frame the background fills.
- Walk straight back. Every 10 paces, zoom in until the object again fills half the frame height and take a frame. Stop when you run out of zoom.
- From the last position, take one more frame at your widest setting without moving.
- At home, view the sequence in order: the object stays put and the background grows. Then crop the final wide frame to match the final long frame and confirm that their perspective is the same.
Frequently asked questions
Is lens compression real or a myth?
The look is real and easy to photograph. The explanation that the lens squeezes space is the myth. The effect comes from shooting at a long distance, and a telephoto is the tool that makes a distant view fill the frame.
Does focal length change perspective?
No. From a fixed position, changing focal length changes only how much of the scene is recorded. Perspective changes when the camera moves nearer to or farther from the subject.
Does a crop-sensor camera give more compression?
Not by itself. A smaller sensor gives a narrower view from the same lens, which may lead you to stand farther back for the same framing. If you do stand farther back, the perspective changes because you moved.
Why does the moon look so big in some photos?
The photographer was far from the foreground subject, often one to several kilometres, and used a very long lens. The moon stays half a degree wide while the building or person shrinks with distance, so the moon looks huge by comparison.
What focal length do I need for compression?
There is no threshold. The effect grows with distance, and you need whatever focal length frames your subject from that distance. For hills and skylines, 100 to 400mm in full-frame terms covers most situations. A sun or moon that dominates the frame needs 400mm or more.
Related guides
- Telephoto photography: handholding, support and focus technique for long lenses.
- Perspective distortion: correcting leaning buildings and stretched subjects in editing.
- How to use a wide-angle lens: the opposite approach, built on getting close.
- How to photograph the moon: exposure, focus and sharpness for the disc itself.
- Foreground, midground and background: arranging layers once you have chosen your distance.
- Angle of view: how focal length and sensor size set how much of the scene you record.
- Teleconverters: adding focal length to a lens you already own.