Good beach photos come from three decisions. Add exposure, because bright sand and water fool the meter into making the picture too dark: start at +1 stop and check the histogram. Go early or late, when low sun gives sand its texture and wet sand its reflections. And keep the horizon level with one clear subject in front of it. In full sun at ISO 100, expect about 1/400 at f/11.
This guide is about an ordinary day at the beach with a camera or phone: exposure on bright sand, people and families, midday, composition, the hour around sunset and keeping sand out of your gear. Long exposures, tides, filters and rocky shores belong to seascape photography, and action in the waves to the surf and ocean photography guide. This page covers the part neither of them does: the walk along the sand with everyone else.
Why beach photos come out dark, grey or washed out
A camera meter does not know what it is looking at. It assumes that every scene, averaged out, is a middle grey, and it sets an exposure that makes the scene that grey. A beach is not. Pale sand reflects roughly twice as much light as middle grey, and brilliant white sand, foam and sun glitter on water reflect more still. The meter turns all that brightness down. The result is the classic beach picture: sand the colour of wet cement, a dull sky and faces in deep shadow.
The washed-out version has a different cause. At midday the range between sunlit sand and the shadow under a hat is wider than the sensor can record in one frame. A phone or camera that exposes for the faces lets the sand and sky burn to plain white. The first fault needs more exposure. The second needs a change in where the light comes from or what you include. The page on how metering works explains the grey assumption in more detail.
Setting exposure for bright sand and water
In aperture priority or any automatic mode, the tool is exposure compensation. How much to add depends on how much of the frame is bright:
- Sand and sky fill the frame, small or no people: +1 stop. On very white sand in full sun, +1 1/3 to +1 2/3.
- Half sand, half darker subject (dune grass, rocks, a group of people): +1/3 to +2/3.
- Backlit person against bright sea: +1 to +2, or meter from the face (see the section on people below).
Then check the result on the histogram, not on the rear screen, which is almost unreadable in beach sun. Sand should form a hump in the right-hand third of the graph without piling up against the right edge. If your camera has a highlight warning, a few blinking spots on foam or sun glitter are fine. Large blinking areas of sand or sky mean you went too far: pull back a third of a stop.
A manual exposure that the sand cannot fool
Because the light on a sunny beach is constant, manual exposure works very well. The sunny 16 rule gives f/16 at a shutter speed of 1 over the ISO for an ordinary subject in full sun. On bright sand, where light also bounces up from the ground, the traditional adjustment is one stop less: f/22 at 1 over the ISO. At ISO 100 that is the same exposure as 1/400 at f/11, 1/800 at f/8 or 1/1600 at f/5.6. Set one of those, check the histogram on a test frame and leave it there. Every picture in the same light will now match, whether the frame holds a dark wetsuit or a white sail.
| Situation | Mode and starting settings (ISO 100) | Adjust |
|---|---|---|
| Wide scene, full sun | Aperture priority, f/8 to f/11, about 1/400 to 1/800 | +1 compensation |
| Children running or splashing | Shutter priority or manual, 1/1000 or faster, f/5.6, ISO 100 to 200 | +2/3 to +1, continuous autofocus |
| Posed group, sun behind them | f/5.6 to f/8, 1/250 or faster | +1 to +2, or fill flash |
| Sunset silhouettes | f/8, meter the sky beside the sun | 0 to -1 |
| After sunset, handheld | Widest aperture, 1/60 to 1/125, ISO 400 to 1600 | 0 to -2/3 to keep the dusk feeling |
Shoot raw if your camera or phone allows it. A raw file keeps more highlight detail in sand and foam than a JPEG, and lets you correct the colour later. RAW vs JPEG covers the trade-offs.
On a phone
Tap on the sand or on the face you care about, then drag the brightness control (usually a sun icon or a slider beside the focus box) upward until the sand looks pale, not grey. Many phones lock that exposure with a long press. Wipe the lens first: a film of sunscreen or salt is the usual reason phone pictures from the beach look hazy.
The best time of day on the sand
The first and last two hours of daylight are the best time for almost every kind of beach picture, for reasons specific to sand and water:
- Texture. Sand is covered in ripples, footprints and wind patterns only a few centimetres high. Overhead sun fills them with light and they vanish. Sun that is low and to one side gives every ripple a lit face and a shadow, and the beach suddenly has a surface.
- Reflections. A flat, wet beach acts as a mirror for a few seconds after each wave slides back. With a low sun and a coloured sky, that mirror doubles the best part of the scene.
- Softer contrast. Low sunlight is weaker and warmer, so faces, sand and sky fit into one exposure.
Which end of the day is better depends on which way the beach faces. On a beach that looks west, the sun sets over the water and the morning sun comes over your shoulder, lighting the waves from the front. On an east-facing beach it is the reverse, and the sunrise photography guide explains how to work that first hour. Golden hour photography covers the warm low light itself.
Tide matters as much as the clock. A falling tide leaves a wide, wet, reflective apron of sand with no footprints on it. If you can choose, be there in the two or three hours after high tide, with the sun low.
Midday: what still works when the sun is overhead
Most people are at the beach when the light is at its hardest. You cannot fix that light, but several subjects suit it.
Water colour
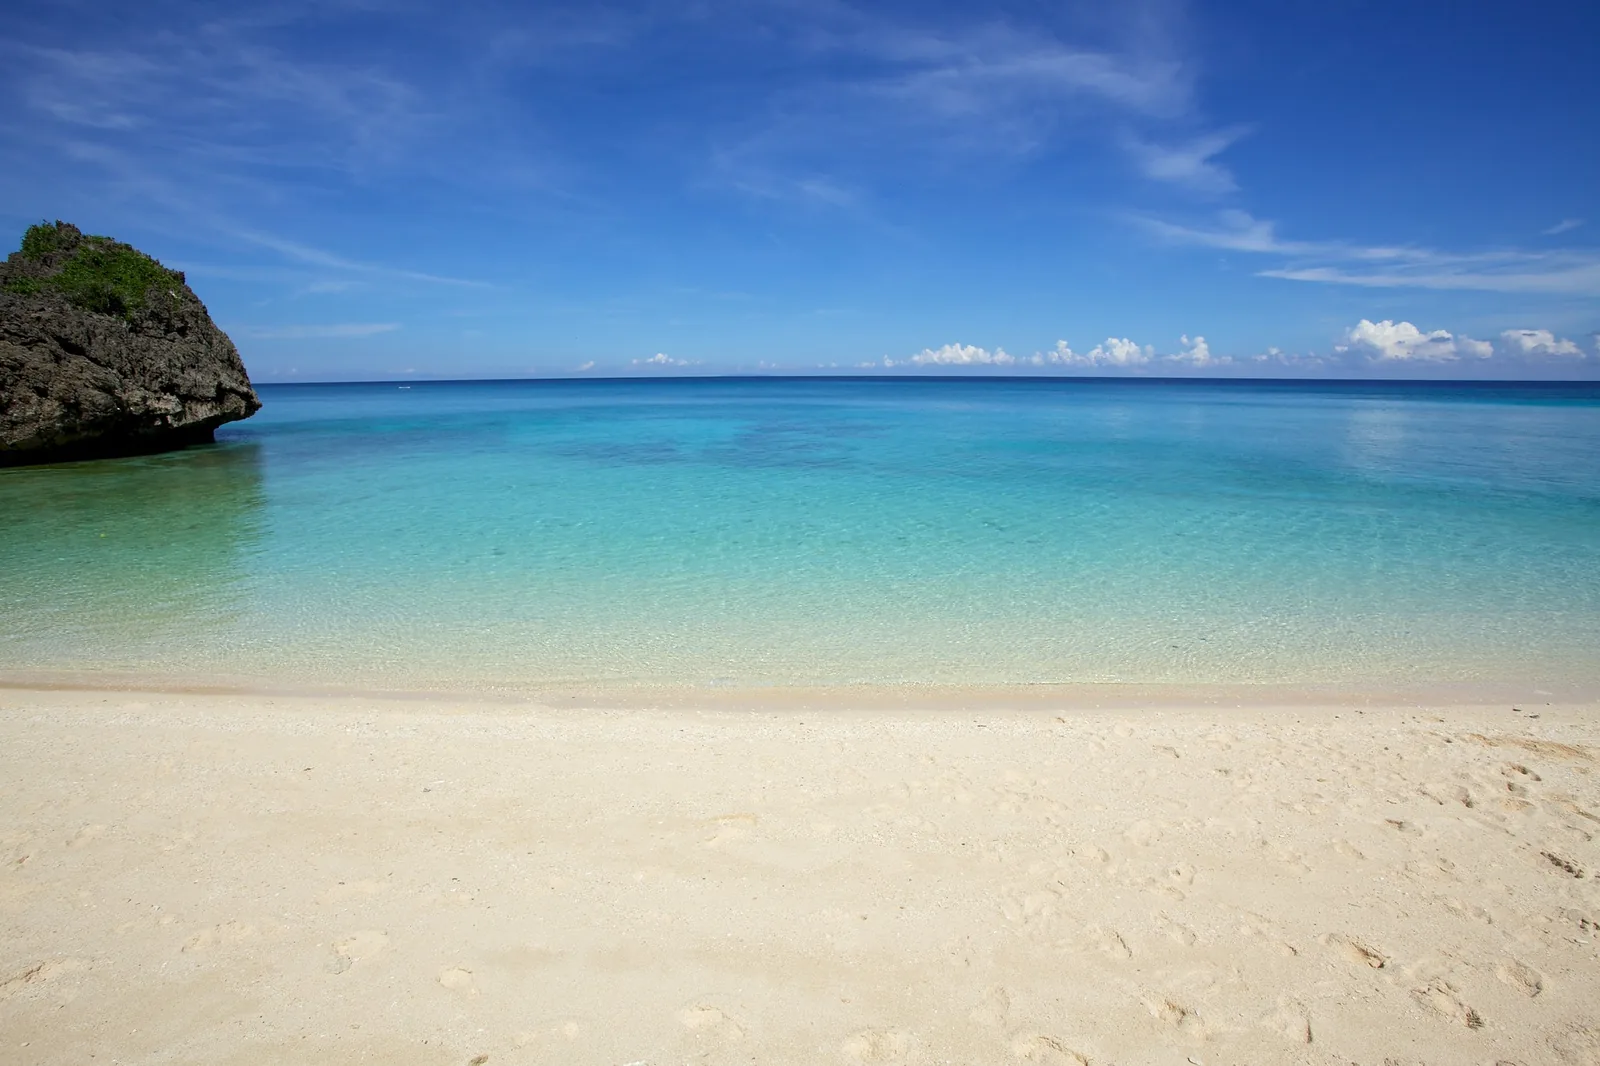
High sun is the one condition that shows off clear, shallow water. Light going straight down reaches the pale sandy bottom and comes back up through the water, which is why lagoons and sandbars look turquoise at noon and merely grey-blue at dusk. Stand as high as you can (a dune, a headland, a sea wall) and look down: the steeper your view, the less sky the surface reflects and the more colour you see.
A polarizer, and its limits
A polarizing filter removes much of the white glare from the water’s surface and from wet sand, so colour shows through. Rotate it while watching the water and stop where the glare is weakest. It works best on reflections when you look down at the water at a moderate angle, around 30 to 40 degrees below the horizontal, and does little when you look straight down. It also darkens blue sky, most strongly in the part of the sky at right angles to the sun. Two cautions: it costs between one and two stops of light, and on a very wide lens it can darken the sky unevenly, leaving a dark band in the frame. If you see that, turn the filter back until the sky looks even.
Shade, colour and small things
- Use shade as a studio. Under a beach umbrella, a pier or a lifeguard tower, people are lit by soft light bounced off the sand around them. Faces look good there even at noon (more on this in shooting in harsh daylight). Keep sunlit sand out of the background, or it will burn out behind them.
- Photograph colour, not light. Striped umbrellas, painted huts, towels, boats and kites are at their most saturated in hard sun. Fill the frame with them against plain blue sky or plain sand.
- Look down. Shells, seaweed, pebbles, crab tracks and the lace edge of foam are all flat subjects that do not need flattering light. Shoot straight down so the whole subject is in one plane of focus.
Photographing people and families at the beach
The instinct is to face people into the sun so that they are well lit. On a beach that gives you squinting eyes, hard shadows under brows and noses, and hat brims that black out half the face. Turn them around.
- Put the sun behind them or behind and to one side. Faces fall into even shade and eyes open. The sun makes a bright outline on hair and shoulders.
- Let the sand do the fill. Pale sand is a huge reflector lying on the ground. It bounces light back up into shaded faces, which is why backlit portraits work better on a beach than in a grassy park. Dark or wet sand gives less.
- Expose for the faces. Add +1 to +2 stops, or switch to spot metering and meter from a cheek. The sea and sky behind will go bright. That is acceptable: a well exposed face against a pale background looks like a sunny day.
- Or add flash to keep the sky. Fill flash lifts the faces so that you can expose for the background. A small built-in flash only reaches two or three metres in bright sun, so stay close. Most cameras cannot fire a normal flash above a top sync speed of around 1/200 to 1/250, which in bright sun means a small aperture such as f/11 to f/16, unless the flash has a high-speed sync mode.
Groups and posed family pictures
Choose a spot before you gather everyone: plain sea or dunes behind, no bins, signs or strangers. Stand back and use a moderately long focal length (around 50 to 85mm on a full frame camera, or the 2x or 3x lens on a phone), which shows less clutter on either side of the group. Use f/5.6 to f/8 so that two rows of people are both sharp, and keep the horizon out of people’s heads and necks by lowering or raising the camera. Take a burst each time: in any group, someone blinks.
Children and unposed moments
The best family beach pictures are usually not posed. Give children something to do (dig, chase the edge of the waves, carry a bucket) and photograph that. Get down to their eye level, which on a beach often means kneeling in the sand. Use 1/1000 or faster for running and splashing, continuous autofocus and burst mode. A longer lens lets you keep your distance, so they forget about you. The guide to photographing your kids has more on working with children in general.
A public beach is full of other people. Keep strangers small, distant or out of the frame, and check local rules before publishing pictures of recognisable people.
Composition: horizons, shorelines and footprints
A beach is three bands (sand, water, sky) and very little else. A strong beach picture adds one thing for the eye to land on and a route to get there.
- Level the horizon. The sea is the one line in nature that everyone knows is flat, so even a one-degree tilt looks wrong. Turn on the grid or electronic level in your viewfinder or phone.
- Take the horizon off the centre. Give two thirds of the frame to whichever is more interesting: sky when the clouds are good, sand when the foreground has pattern or reflection. Centre it only for a mirror-like reflection.
- Use the shoreline as a line. Standing square to the sea gives three flat stripes. Turn to look along the beach and the water’s edge becomes a curve or diagonal that runs from a bottom corner into the distance. The principle is the same as in leading lines.
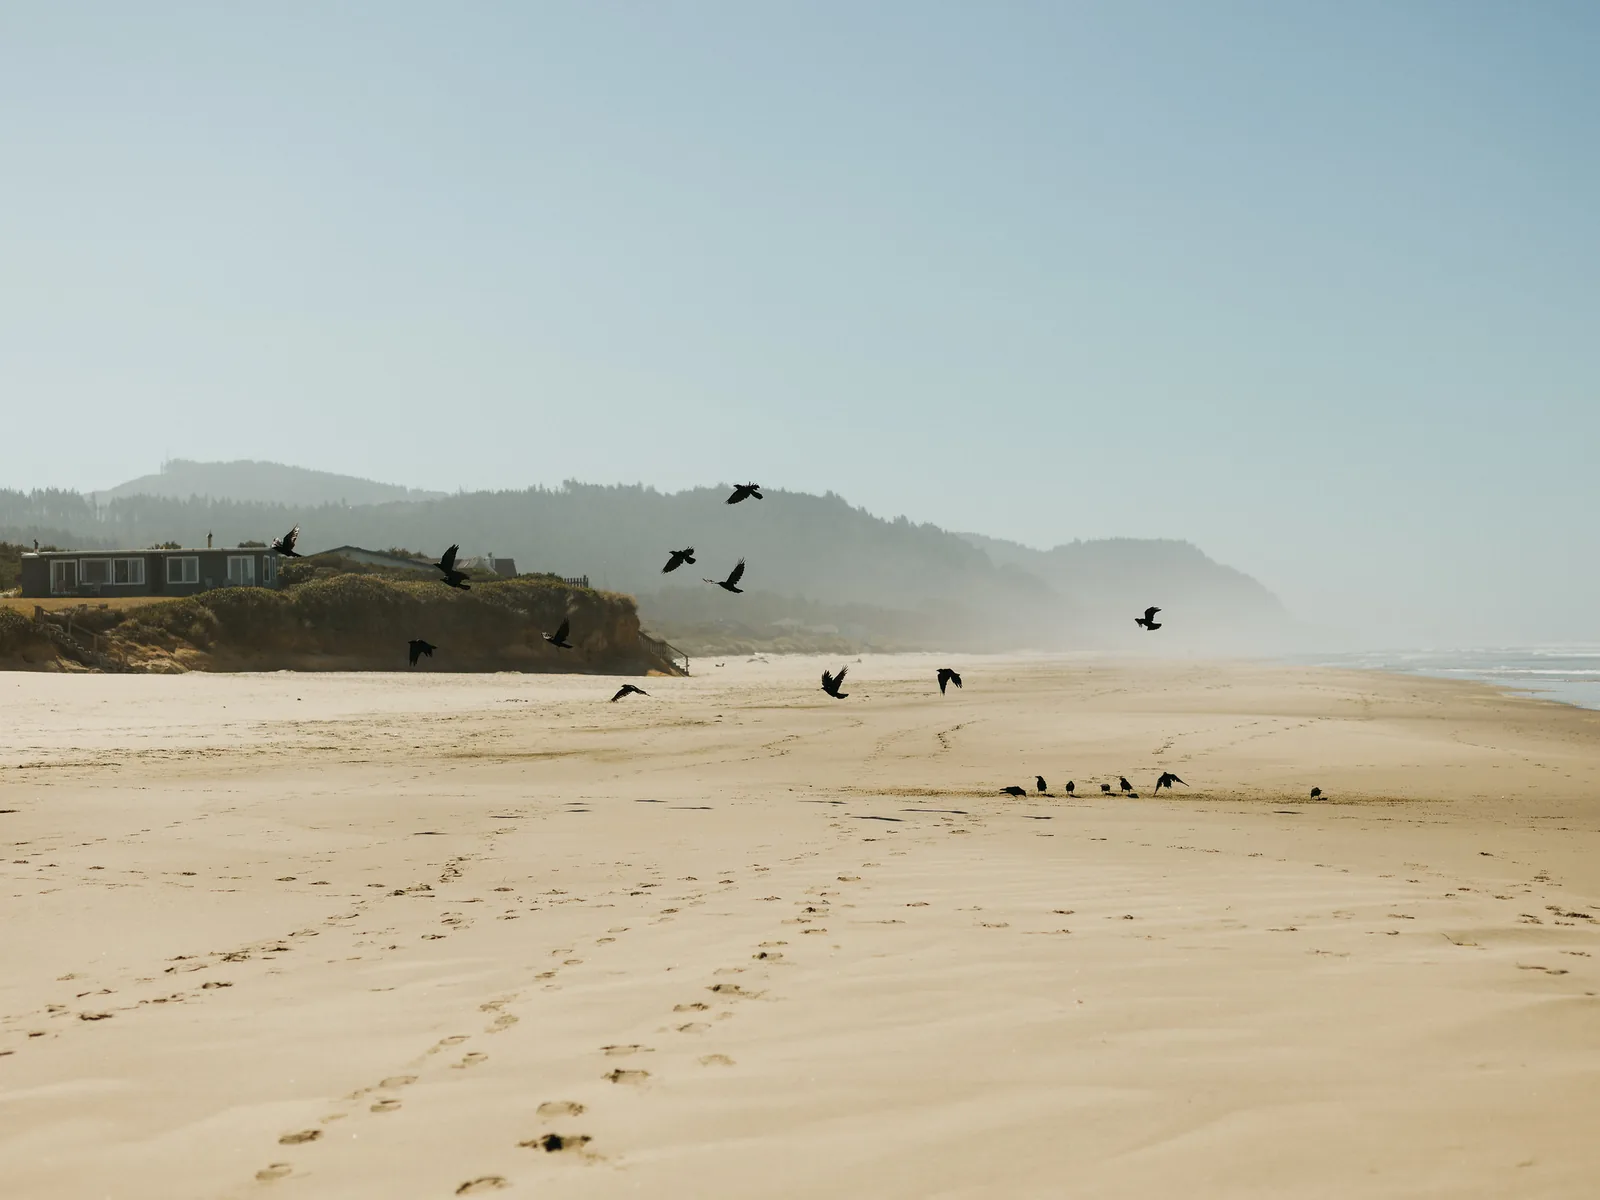
- Follow tracks. Footprints, tyre marks, a line of seaweed left by the tide and rows of ripples all point somewhere. Stand so that they start near the bottom edge and lead toward your subject.
- Add something for scale. A walker, a bird, a boat or a lifeguard chair shows how large the empty space is. See scale in photography.
- Change your height. From knee height, ripples and shells become a foreground and the wet-sand reflection stretches.
Sunset and dusk on the beach
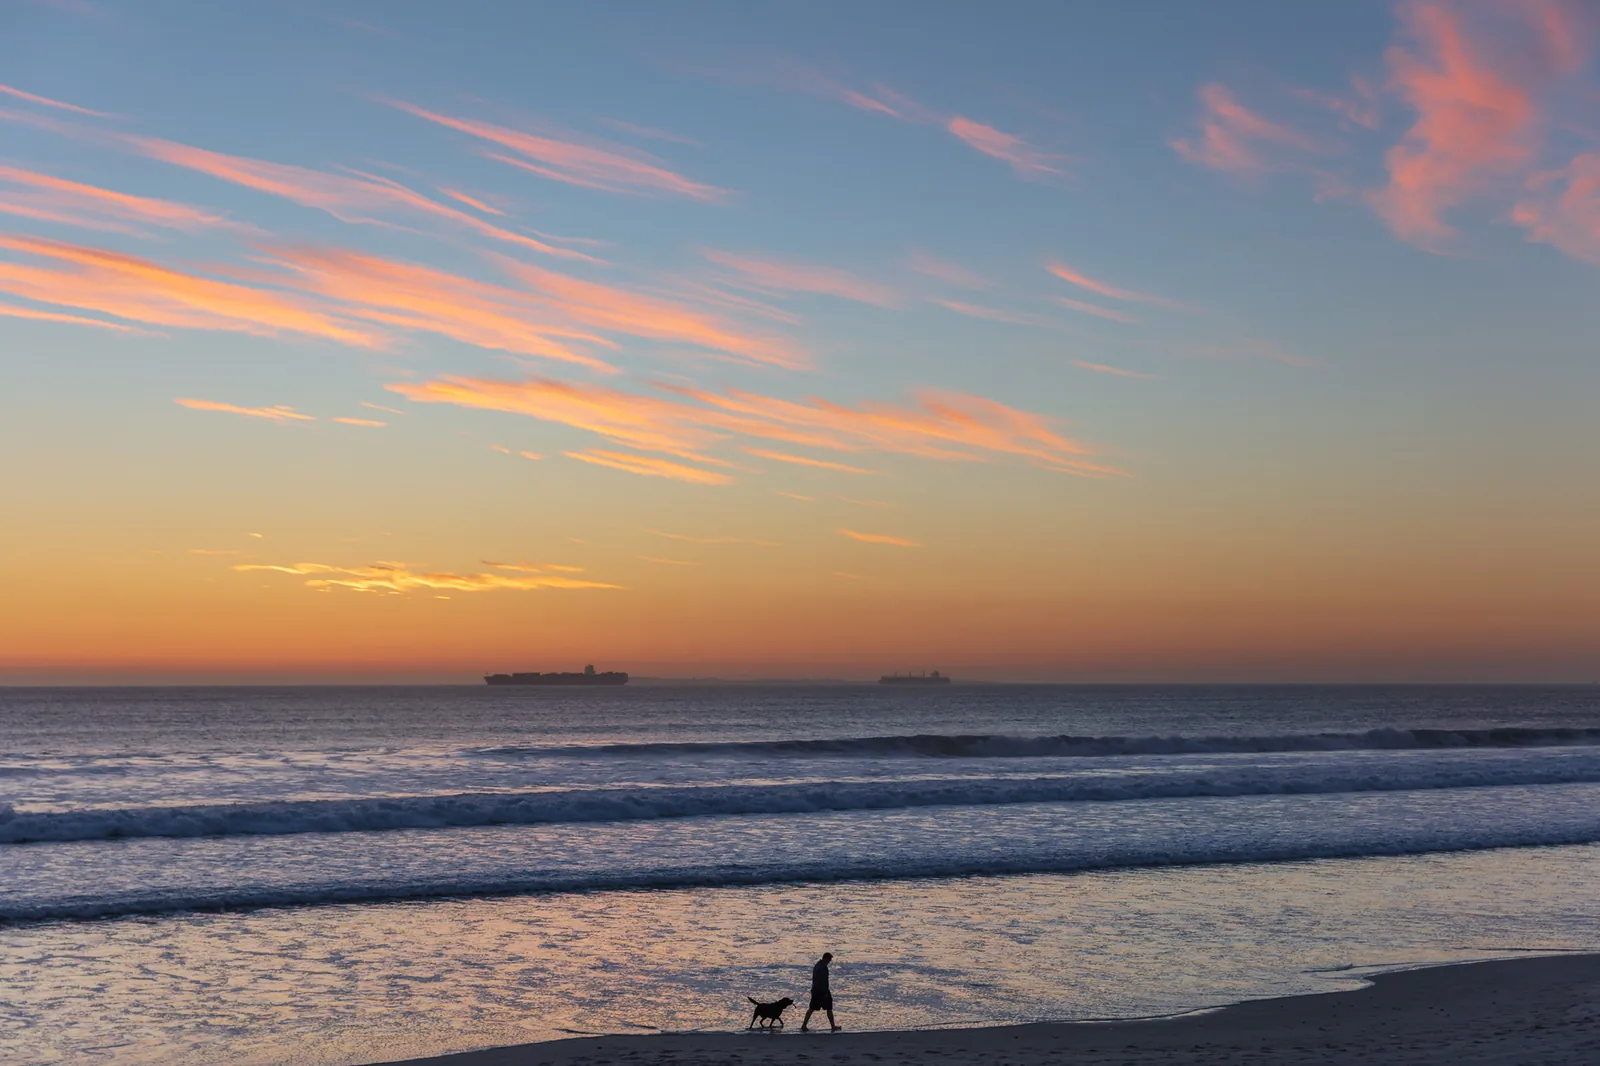
The general method for the sky itself is in how to photograph sunsets. What the beach adds is a clean horizon, a reflective floor and people to turn into shapes.
Silhouettes. Anyone standing between you and the bright sky can become a silhouette. Meter from the sky beside the sun (not the sun itself), and use 0 to -1 compensation so the sky keeps its colour and the figure goes fully dark. Shapes must be readable: wait until walkers are in mid-stride, until two people are separated, and until the whole figure stands against sky or bright water, not dark land. Silhouette photography goes further into the technique.
Wet sand. Walk down to where the last wave reached. Hold the camera low over the wet sand and wait for a wave to retreat: for a few seconds the film of water reflects the sky, and the bottom half of your frame takes on the colours of the top half. Keep an eye on the next wave while you do it.
Stay after the sun has gone. The strongest colour often comes 10 to 20 minutes after sunset, when high cloud is lit from below, and the deep blue of dusk follows. Handheld, open the aperture, raise the ISO to between 400 and 1600 and keep the shutter at 1/60 or faster for standing people, 1/250 for walkers. Blue hour photography covers the settings for that last half hour.
Sand, salt and sunscreen: a beach-day routine for your camera
The seascape guide deals with heavy spray on rocky shores, and camera care and cleaning covers cleaning in full. For an ordinary beach day, a short routine is enough.
- Choose one lens and leave it on. If you must change, do it in the car or with your back to the wind, camera pointing down.
- Never put the camera on a towel or the sand. Towels are full of sand. Keep the camera around your neck or in a closed bag, and keep the bag itself zipped and off the ground on a chair or a dry bag.
- Keep sunscreen off the glass. Sunscreen on fingers ends up on the lens, the viewfinder and the grip. It smears and holds sand. Apply it first, wipe your hands, then pick up the camera.
- Tripod legs: thin sections first. If you stand a tripod in wet sand or shallow water, extend the lowest leg sections so that the leg locks stay above the sand and water. Rinse the legs with fresh water afterwards and let them dry extended.
- Blow first, wipe second. Remove grains from the lens with a blower or a soft brush before any cloth touches it. Wiping sand across glass scratches it.
- Wipe down at the end of the day. Salt in the sea air leaves a film even if no water touched the camera. Go over the body and lens barrel with a cloth dampened with fresh water, then a dry one, before the gear goes back in its bag.
Common mistakes
Grey sand and dark faces. The meter turned the bright scene down. Fix: add +1 stop of exposure compensation and check that the sand sits in the right-hand third of the histogram.
A sloping sea. The horizon is tilted by a degree or two. Fix: switch on the grid or level, and straighten any that slip through when you edit, before anything else.
Squinting family portraits. Everyone was turned to face the sun. Fix: put the sun behind them, expose for the faces or use fill flash, and shade the lens.
Three empty stripes. Sand, sea and sky with nothing in them. Fix: find one subject (a figure, a bird, a hut, a set of tracks) and turn to look along the beach instead of straight out to sea.
Try this
A 15 minute exposure exercise on any sunny beach, with a camera or a phone.
- Frame a scene that is mostly sand and sky. Take one picture with no compensation.
- Take the same picture at +2/3, +1, +1 1/3 and +2.
- Now turn to look along the shoreline, find a person or object to act as a subject, and take the same five exposures.
- Find shade under a pier or umbrella, or wait for a passing cloud, and review the two sets. Note which setting made the sand look like the sand in front of you, and where the highlights first began to blink.
Frequently asked questions
What are the best camera settings for beach photos in bright sun?
ISO 100, f/8 to f/11 and around 1/400 to 1/800, with +1 stop of exposure compensation if you are in an automatic or semi-automatic mode. For moving children use 1/1000 or faster at f/5.6.
Why do my beach photos look dark when it was so bright?
Because it was so bright. The meter assumes an average scene and reduces the exposure when it sees a frame full of pale sand and glittering water. Add exposure compensation, or on a phone tap the subject and drag the brightness slider up.
What is the best time of day for beach photos?
The first two hours after sunrise and the last two before sunset, ideally on a falling tide. Midday is best only for the colour of clear, shallow water seen from above.
Do I need a polarizing filter at the beach?
You do not need one, but it is the most useful filter there. It cuts surface glare so that water colour shows, and it deepens a blue sky. It costs one to two stops of light and can darken the sky unevenly on very wide lenses.
How do I stop people squinting in beach portraits?
Turn them so the sun is behind them, then expose for their faces with +1 to +2 stops of compensation or add fill flash. Shade from an umbrella or a pier works too.
Related guides
- Seascape photography: shutter speeds for waves, ND filters, tides and safety on rocky shores.
- Surf and ocean photography: long lenses, water housings and timing for action in the waves.
- Summer photography: heat, long days and the rest of the season’s subjects.
- Planning around the sun, moon and tides: how to read a tide table and find where the sun will set.
- Outdoor portrait photography: posing, backgrounds and light for people outside.
- Reflection photography: making the most of wet sand and still pools.