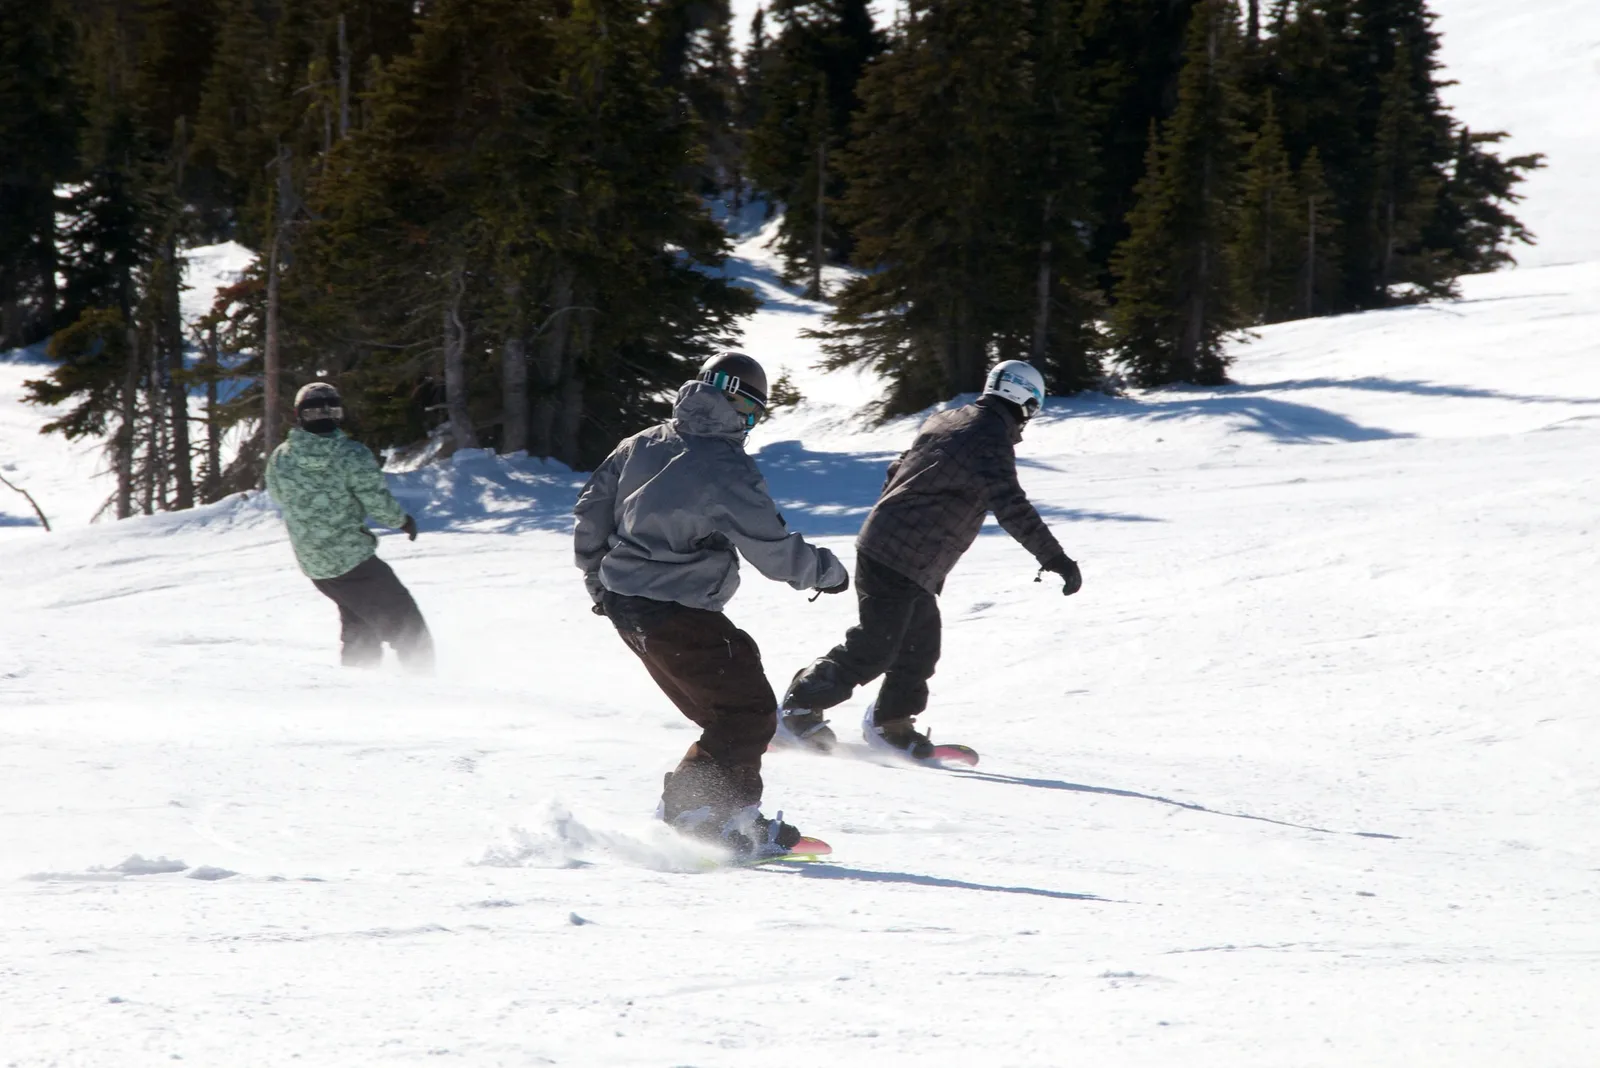
Bright snow, blue sky, dark evergreens and riders flying through clouds of powder make ski and snowboard photography one of the most exciting kinds of winter photography. Whether you are photographing friends on a family ski trip, a child on their first snowplow turns or experienced riders in the terrain park, the mountain offers drama, color and motion at every turn.
This beginner guide covers why winter sports are rewarding to photograph, where to stand, exposing for snow, freezing action, showing motion, timing and the peak of the action, light on the mountain, composition and scale, photographing while you ride, children and beginners, cold weather care, settings, phones, editing, common mistakes and a short practice exercise. It builds on the winter photography guide and the guide to camera settings for sports.
Why ski and snowboard photography is rewarding
- Energy. Spray, speed and leaning bodies make lively, dynamic pictures.
- Clean backgrounds. White snow and blue sky simplify every frame.
- Color. Bright jackets stand out boldly against snow and trees.
- Landscape. Peaks, valleys and snow covered forests add grandeur.
- Memories. Trips with friends and family are worth recording well.
Snow sports combine the skills of action photography with the beauty of mountain landscapes. Even simple pictures of friends gliding past can look wonderful with a little thought about light and position.
Thinking about the story
Before you start, think about what kind of day you want to remember. A big mountain trip might call for wide views of peaks and lifts, a terrain park session for dramatic jumps, and a family day for smiles, snacks and first turns. Mixing action pictures with quieter moments, such as boots by the fire, chairlift rides and snowy goggles, tells a complete story. A small series of varied pictures is usually more memorable than dozens of near identical action frames.
Mountain etiquette for photographers
Ski areas are busy, shared places, and good manners make the day better for everyone. Never stop in the middle of a run, below a ridge or at a narrow point where riders cannot see you. Keep your bag, poles and board off the run, and never leave gear where someone could hit it. Respect ropes, closed areas and terrain park rules, which exist for safety. Ask riders before photographing them closely, especially strangers, and offer to send a picture if they would like one. A friendly approach often leads to great collaborations, since many riders love good pictures of their skiing or riding.
Where to stand
Position makes or breaks winter sports photos, and safety comes first.
- Beside the run. Stand at the edge where riders can see you, never in the middle of a run or below a blind ridge.
- Below a turn. Riders carving toward you throw spray at the camera.
- Beside a jump. A position to the side shows height against the sky. Ask riders before setting up near features.
- From above. Looking down a slope shows lines of tracks and the valley below.
- From the lift. Chairlifts give elevated views of riders below, if you hold the camera securely.
Agree on a plan with the people you are photographing: where they will start, which line they will take and when they will go. A wave or a quick shout keeps everyone safe and helps you be ready at the right moment.
Exposing for snow
Bright snow fools camera meters, which try to make everything a middle gray.
- Add exposure. Dial in plus one to plus two stops of exposure compensation so snow looks white, not gray.
- Watch highlights. Check that bright snow and white jackets still keep detail.
- Use the histogram. Push the graph toward the right without touching the edge.
- Manual mode. On a steady sunny day, a fixed manual exposure stays consistent from rider to rider.
Snow in shade turns blue, while snow in sun is bright and warm. Including both in a frame creates contrast that can be very attractive.
Getting focus right
Fast riders moving toward the camera are among the hardest subjects to keep sharp. Choose a focus area mode that tracks moving subjects, such as a zone or tracking mode, and start following the rider early so the camera can lock on. Bright, low contrast snow can confuse autofocus, so aim at the rider’s jacket or helmet rather than plain snow. If tracking struggles, switch to manual focus and prefocus on a spot such as a mogul or the lip of a jump, then press the shutter as the rider reaches it. The guide to getting sharp photos covers more focusing tips.
Freezing action
- Fast shutter. 1/1000 second or faster freezes spray and riders. See the guide to freezing motion.
- Continuous autofocus. Tracking focus follows riders as they move toward you.
- Burst mode. Take a short burst through the turn or jump and choose the best frame.
- Prefocus. Focus on the spot where a rider will turn or land, then wait.
Bright snow usually gives plenty of light for fast shutter speeds at low ISO, which is one of the joys of winter sports photography. Shutter priority mode makes this easy to control.
Showing motion
A frozen moment is not the only way to show speed.
- Panning. Follow a rider with a slower shutter, around 1/30 to 1/60 second, to blur the background. See the guide to panning photography.
- Spray trails. Slightly slower speeds turn spray into soft streaks.
- Tracks. Fresh lines in powder show where a rider has been.
- Tilt and lean. Riders leaning hard into a turn look fast even when frozen.
Panning takes practice, so expect many misses. The few sharp frames with streaked trees behind can be the most exciting of the day. The guide to motion blur explains more.
Timing and the peak of the action
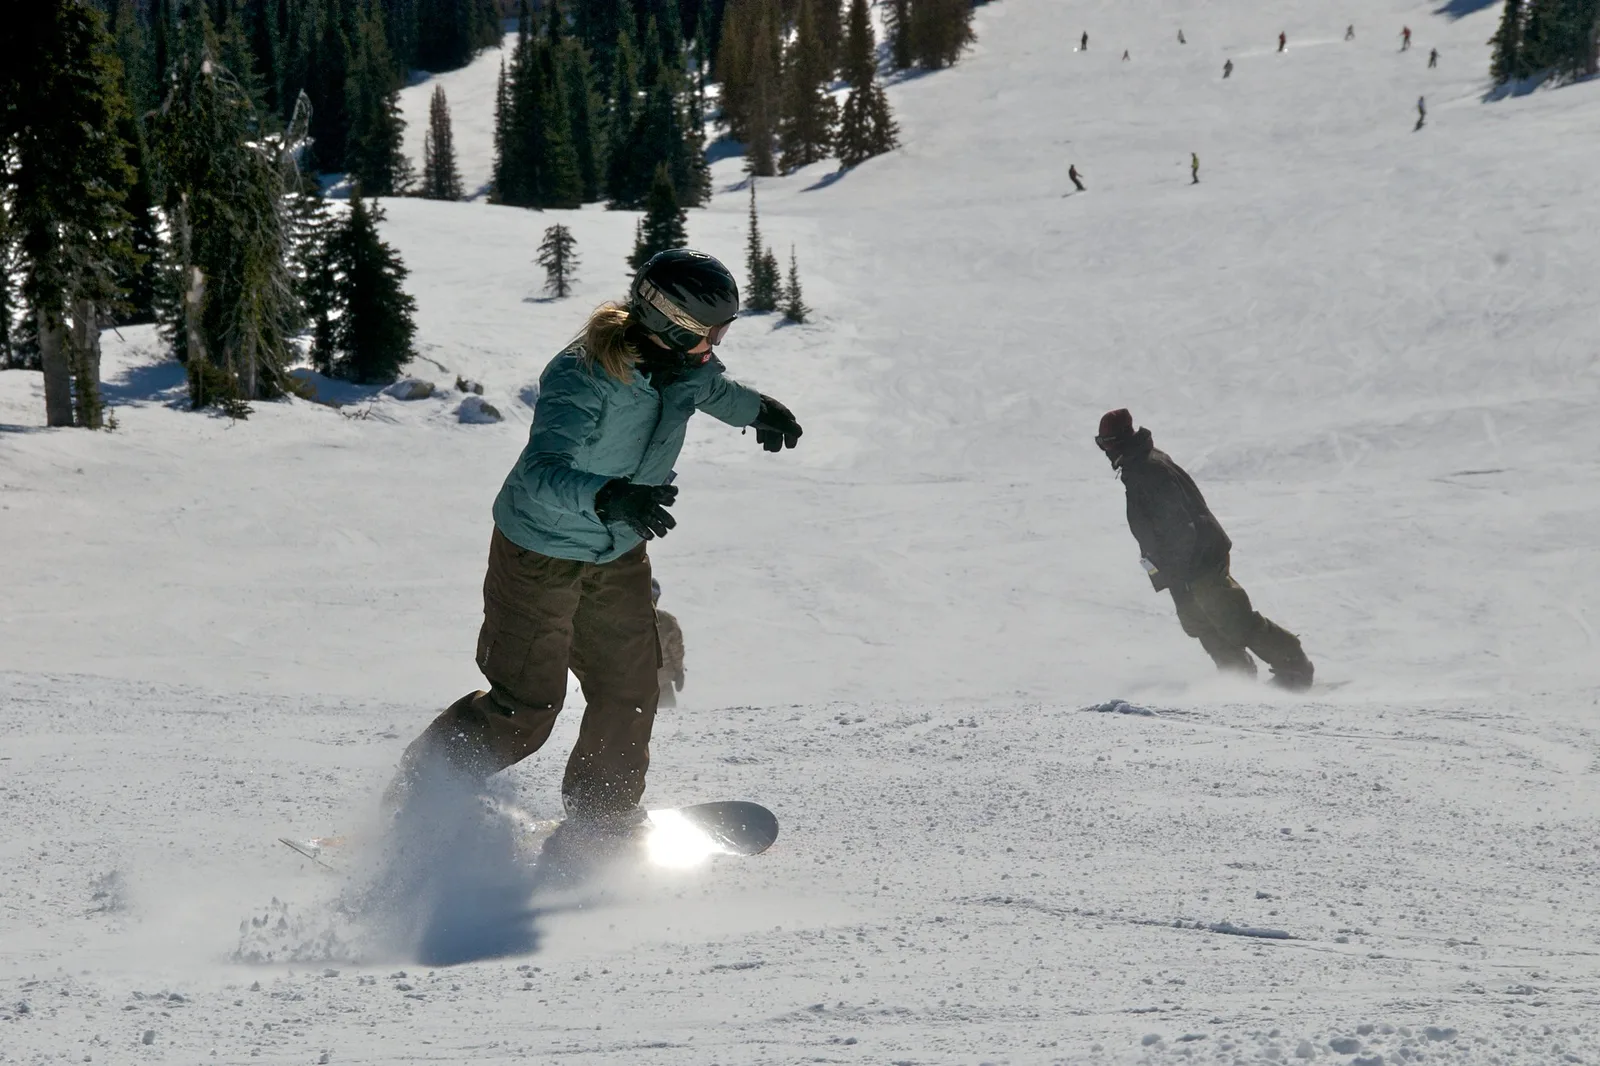
- Turns. The deepest point of a carve throws the most spray.
- Jumps. The top of the arc, when the rider pauses for a moment, looks most dramatic.
- Grabs and tricks. Learn the rhythm of a rider’s trick before shooting.
- Faces. Expressions of joy, focus and surprise often happen just after landing.
Watch a few runs before photographing to learn where the best moments happen. Riders often repeat the same line, giving you several chances.
Telling the whole trip
Some of the best winter pictures happen away from the runs. Look for steam rising from a mug in the lodge, boots lined up by the door, a row of skis in fresh snow, a chairlift disappearing into fog, frosty eyelashes and goggles reflecting the mountains. Morning grooming tracks, snow covered signs and the last light on a peak at day’s end round out the story. A trip album with a mix of big action, wide scenery and small details will mean much more in years to come than a long sequence of similar turns.
Light on the mountain
- Morning and afternoon. Low sun casts long shadows that show texture in snow.
- Backlight. Sun behind riders makes spray glow brightly. See the guide to backlighting.
- Midday. Bright, high light suits colorful jackets against blue sky.
- Flat light. Overcast days hide snow texture, so look for dark trees and bright clothing for contrast.
- Snowfall. Falling flakes add atmosphere to close portraits and forest runs.
A polarizing filter can deepen a blue sky on sunny days, though it may make the sky uneven with very wide lenses at high altitude.
Colors and clothing
Clothing color matters more on snow than almost anywhere else. Bright reds, oranges, yellows and blues pop against white snow and dark trees, while white or pale gray jackets can disappear into the background. If you are planning pictures with friends, gently suggest that someone wear a bold color. Matching or contrasting colors between two riders can look playful in a pair of pictures. Notice also how goggles reflect the sky and mountains, which can make a lovely detail in close portraits.
Composition and scale
- Fill the frame. Close views show effort, spray and expression.
- Go wide. A small rider in a vast snowy bowl shows the scale of the mountains.
- Space to move. Leave room ahead of a rider in the direction of travel.
- Leading lines. Tracks, ridges and tree lines lead toward the rider.
- Dark backgrounds. Evergreens and shadows make white spray stand out.
- Low angles. Shooting from low makes jumps look higher.
The guide to mountain photography helps with the landscape side of mountain days.
Powder, groomers and terrain parks
Different parts of the mountain suit different pictures. Powder days give spectacular clouds of snow, so position yourself low and to the side with dark trees behind the rider. Groomed runs show clean, carved lines and are great for panning, with corduroy textures in the foreground. Terrain parks offer jumps, rails and boxes, where low angles and wide lenses make features look bigger. Tree runs give natural frames and shade, though light can be tricky, so expose for the rider rather than the bright gaps between trees.
Photographing while you ride
- Action cameras. Helmet or chest mounts capture the rider’s view. See the guide to action photos with a small action camera.
- Follow cam. Following a friend down a run with a pole mounted camera shows them in motion.
- Stop safely. Pull to the side of the run, in view of riders above, before taking pictures.
- Light kit. A small camera or phone in an inside pocket is easier to carry than a heavy bag.
Children and beginners
First days on snow are full of lovely moments. Photograph small victories: standing up, a first lift ride, a proud wave at the bottom. Get down to a child’s height and keep sessions short so everyone stays warm and happy. Gentle slopes near the base area are safer and give you more time to compose. Ask permission before photographing other people’s children in ski school groups.
Cold weather care
- Batteries. Cold drains batteries fast, so keep spares warm in an inside pocket.
- Condensation. Put the camera in a sealed bag before going indoors and let it warm slowly.
- Snow on the lens. Use a lens hood and keep a soft cloth handy.
- Gloves. Thin liner gloves allow you to work buttons without freezing fingers.
- Strap. Keep the camera attached to you on lifts and slopes.
The winter photography guide covers cold weather gear in more detail.
Lifts, lodges and the end of the day
When the lifts slow down and the sun drops behind the peaks, the mountain changes mood. Pink alpenglow on snowy summits, long blue shadows across empty runs and warm windows in the lodge make quiet, beautiful pictures. A tripod or a steady railing helps in fading light. These calm scenes give balance to a set of action pictures and often become favorites.
Settings, phones and editing
- Action. 1/1000 to 1/2000 second, continuous focus, burst mode.
- Panning. 1/30 to 1/60 second, smooth follow through.
- Exposure. Plus one to plus two stops of compensation on sunny snow.
- Lenses. A telephoto for riders from the side of the run, a wide lens for scenery and close jumps.
Using a phone
Phones handle snowy scenes well. Tap on the snow and nudge exposure up so it looks white, use burst mode for action and keep the phone warm in an inside pocket. Slow motion video is a fun way to capture jumps and turns, and you can save single frames later.
Editing ski and snowboard photos
Brighten snow until it looks clean and white, then pull back highlights to keep texture. Adjust white balance if shaded snow looks too blue, unless you like the cool mood. Add gentle contrast and clarity for spray and texture, and crop to give riders space to move into.
Practicing before the trip
Ski trips are often short, so practice action skills at home first. Photograph cyclists, runners or dogs in a park to learn tracking focus, burst timing and panning. Practice exposing for bright scenes on a sunny beach or a pale wall. By the time you reach the mountain, the controls will feel familiar, and you can spend your time on the slopes looking for great moments rather than searching through menus with cold fingers.
Common mistakes
- Gray snow. Add exposure compensation on bright days.
- Standing in danger. Stay at the edge of the run where riders can see you.
- Too slow a shutter. Use 1/1000 second or faster to freeze action.
- Missing the peak. Use burst mode and learn the rhythm of each line.
- Dead batteries. Keep spares warm close to your body.
- Only action. Include lifts, scenery and quiet moments too.
Try this: a 10-minute slope session
Find a safe spot beside a gentle run and photograph a friend for ten minutes.
- Set exposure compensation to plus one and check the snow looks white.
- Freeze a turn at 1/1000 second with burst mode.
- Try three pans at 1/60 second as your friend passes.
- Step back for a wide view showing the rider small against the mountain.
- Finish with a portrait at the bottom of the run, goggles up and smiling.
Frequently asked questions
Why does snow look gray in my photos?
The camera meter darkens bright scenes. Add one to two stops of exposure compensation.
What shutter speed freezes skiers and snowboarders?
Around 1/1000 second or faster freezes riders and spray.
Where should I stand to photograph skiers safely?
At the edge of the run, visible from above, never below a blind ridge or jump landing.
How do I protect my camera in the cold?
Keep batteries warm, use a lens hood and seal the camera in a bag before going indoors.
Ready for more fast action? The guide to motorsport photography covers speed, panning and timing at the track.
Want to photograph the peaks themselves? The guide to mountain photography covers light, weather and scale.
For terms such as exposure compensation, panning and burst mode, see the photography glossary.