To photograph mountains well, shoot when the sun is low and to one side, so shadows carve out every ridge, and use a longer focal length than feels natural, because wide lenses shrink distant peaks. Start at f/8 to f/11 and base ISO, add something of known size for scale, and be in position 30 to 45 minutes before sunrise or stay the same time after sunset for the warm light on the summits.
This guide covers the problems that are specific to mountains: why they shrink in the frame, where the light falls and when, how to use haze and cloud, how to show size, and how to keep working in cold, thin air. The general method (tripod, depth of field, filters, composition) is in landscape photography and the exposure detail is in camera settings for landscapes; this page goes further on the subject itself.
Why mountains look smaller in photos than in person
Standing in front of a mountain, your attention narrows to the peak. The camera records the whole field of view of the lens, and the peak gets only the share of the frame that its angular size earns.
That share is easy to estimate. The height of a distant object on the sensor is roughly the focal length multiplied by the object’s height divided by its distance. A summit that rises 1,000 metres above you and stands 10 kilometres away gives a ratio of 0.1. On a full-frame camera held horizontally, the sensor is 24mm tall, so:
| Focal length (full frame) | Height of the peak on the sensor | Share of frame height |
|---|---|---|
| 16mm | 1.6mm | About 7% |
| 24mm | 2.4mm | 10% |
| 50mm | 5mm | About 21% |
| 100mm | 10mm | About 42% |
| 200mm | 20mm | About 83% |
A phone’s main camera behaves like a 24 to 28mm lens, which is why the giant you remember becomes a low bump on the horizon under a huge sky. Three things fix it:
- Zoom in. Somewhere between 70 and 200mm is where most peaks start to look the way they felt. On a phone, use the telephoto camera rather than the main one.
- Get closer or higher. Halving the distance doubles the size in the frame. A viewpoint partway up the opposite side of a valley also lifts you clear of foreground trees and shows more of the face.
- Cut the sky. If the sky is plain, give it a thin strip. Try a vertical frame, which suits a single peak, or crop to a wide letterbox for a range.
Light on peaks: alpenglow, side light and the hours that matter
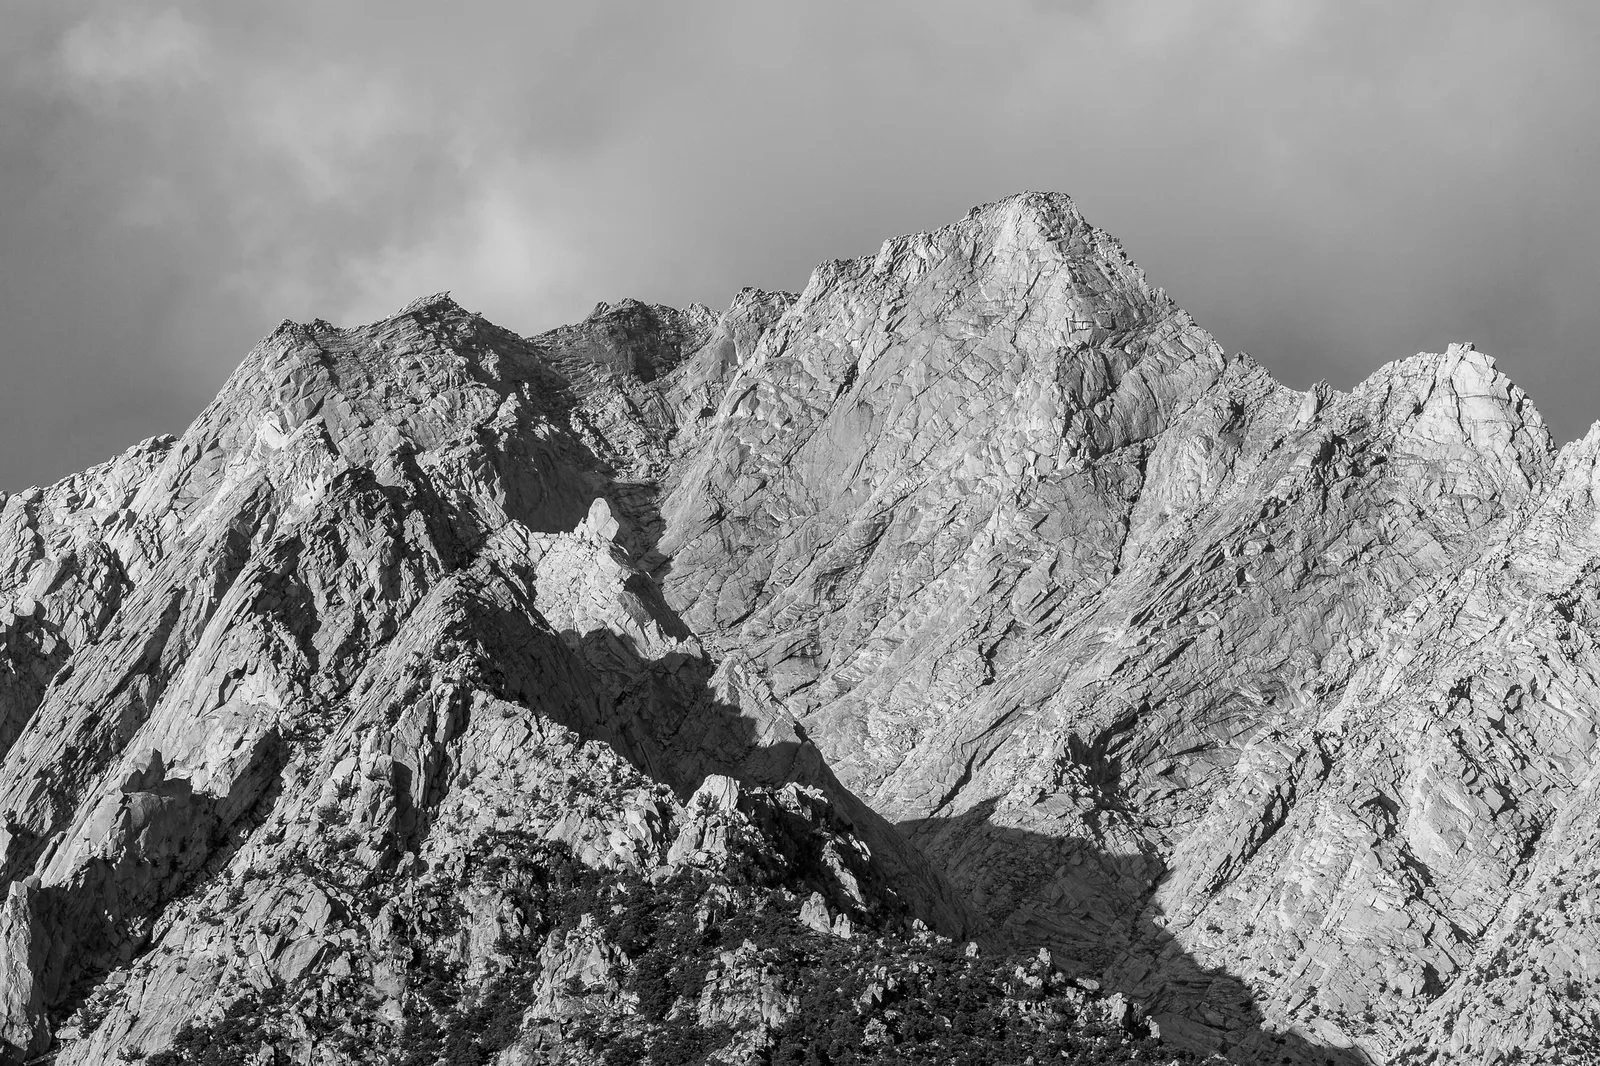
Mountains are three-dimensional objects several kilometres across, and the only thing that shows their shape in a flat picture is shadow. The direction of light matters more here than in almost any other subject.
Side light shows the structure
When the sun is low and roughly 90 degrees to one side of your view, every buttress throws a shadow into the gully beside it. Ridges separate, faces gain texture and the mountain reads as solid. With the sun behind you the same face is evenly lit and looks like a cut-out. Before a trip, look at a map: an east-facing wall is side-lit or front-lit in the morning and in full shade by late afternoon; a west face is the reverse.
First and last light on the summits
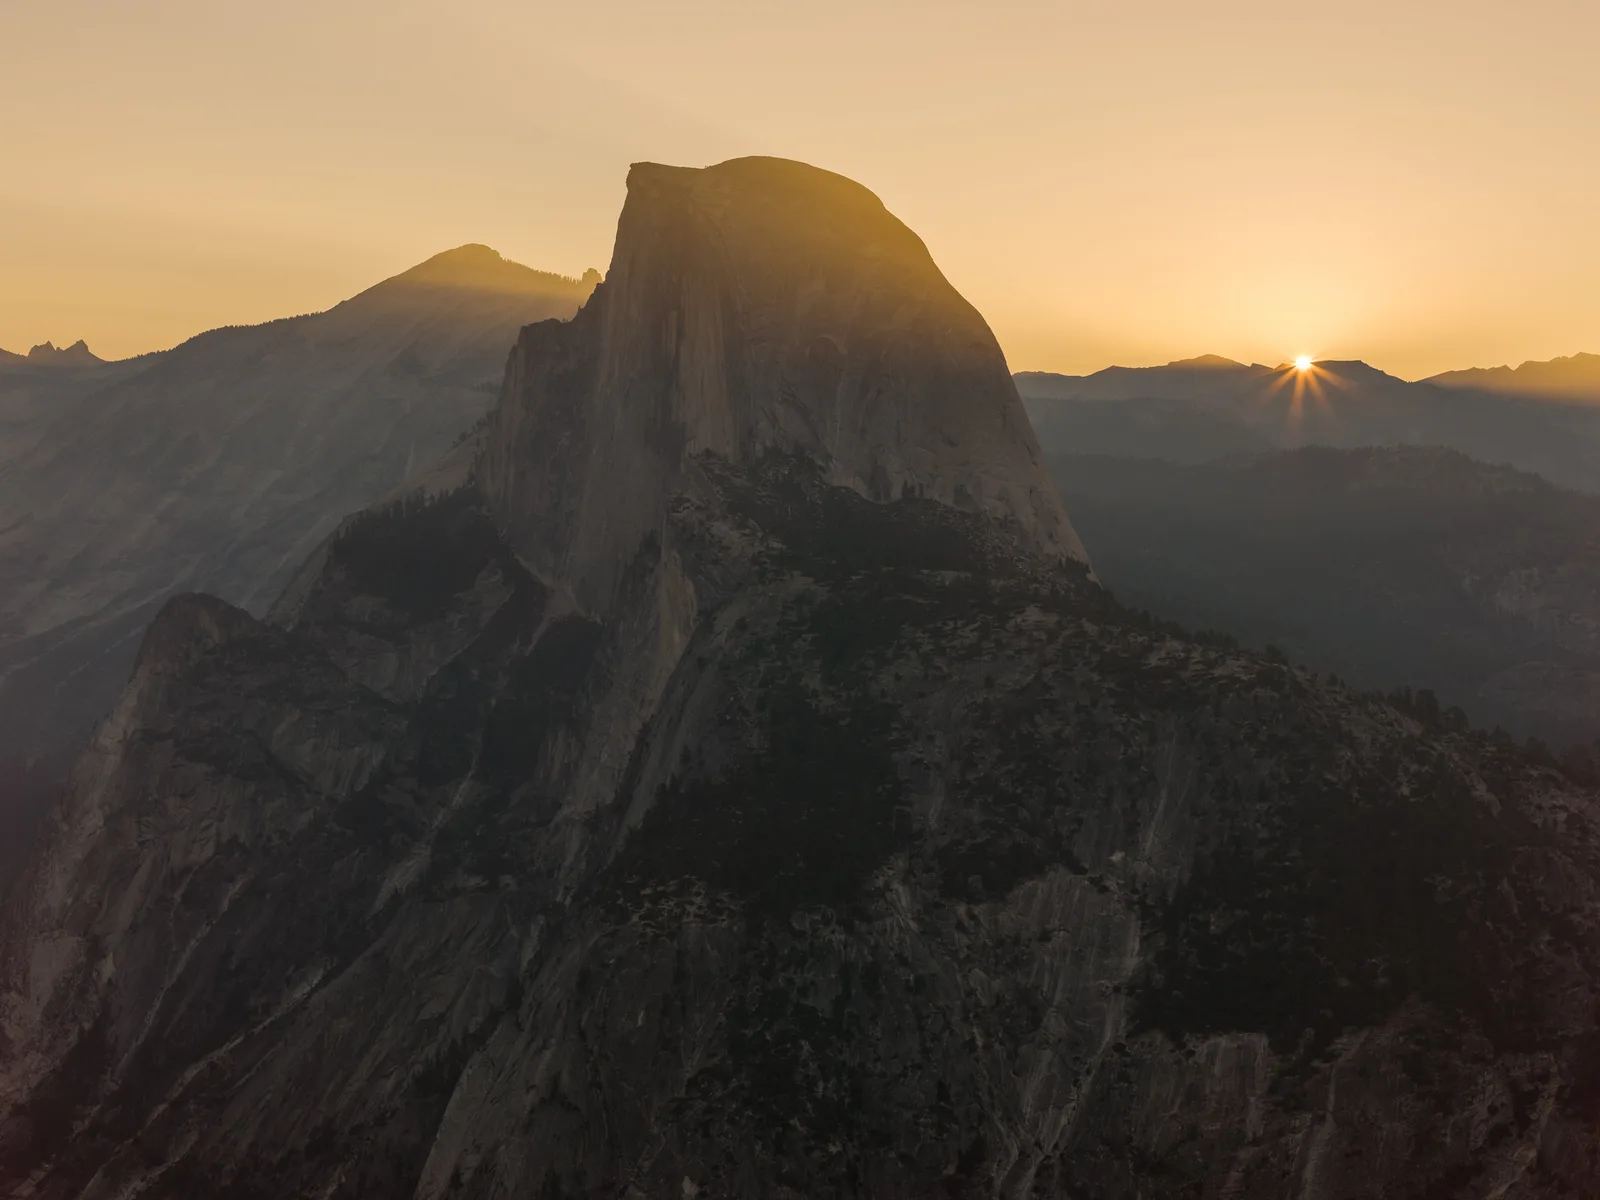
High ground catches the sun before the valleys do and keeps it after they have lost it. For a short time the summits are lit by warm, low sunlight while everything below sits in cool blue shade, which gives you colour contrast and separation in one stroke. Strictly, alpenglow is the soft reddish glow on peaks facing away from a sun that is just below the horizon, when the light reaching them is indirect. Many photographers use the word for the direct red light as well. Both are worth being there for, and both are short: the strongest colour often lasts five to ten minutes.
Published sunrise and sunset times assume a flat horizon. In a deep valley the sun may not reach you until well after the listed time, while the summit above you lights up before it. Work out which you are photographing, the peak or the valley floor, and plan the timing with the method in planning around the sun, moon and weather.
Midday and shade
High sun flattens the relief and fills the air with glare. Use it for walking, scouting and details in open shade. The exception is broken cloud. Cloud shadows moving over a range do the job that low sun does, darkening one ridge and lighting the next. Wait for a patch of light to land on the part you care about.
Wide versus telephoto: foregrounds, layers and single peaks
Both ends of the zoom range work in the mountains, but they make different pictures and fail in different ways.
Wide angle needs a close foreground
From 14 to 24mm the peak will be small, so the picture has to be about something near you, with the mountain as the destination. Get within a metre or less of a strong foreground: a stream, a patch of flowers, cracked ice, a boulder with the same shape as the summit. Keep the camera low enough that the foreground is big but not so low that the middle distance disappears. The page on foreground interest covers how to choose and place it.
Telephoto stacks ridges
From a distance, a long lens shows a narrow slice of the scene in which ridges at very different distances appear close together. Each ridge sits at its own tone, so the result is a stack of flat shapes, dark at the front and pale at the back. This works best looking toward the light early or late, when haze is lit from behind. The telephoto photography guide explains why distance, not the lens, creates this compression.
A long lens also pulls out pieces of a mountain: a lit summit against dark cloud, a hanging glacier, a waterfall on a wall. When the wide view is not working, scan the range at 100 to 200mm for smaller pictures.
Stitching for width without shrinking
To show a whole range without making it tiny, shoot a row of overlapping vertical frames at 50 to 100mm and join them. Overlap each frame by about a third, lock exposure, focus and white balance so the frames match, and level the tripod first. The steps are in panorama photography.
Showing scale with people, huts and trees
A rock wall has no built-in size. Without something familiar in the frame, a 1,500 metre face and a 15 metre crag can look the same. Scale comes from including an object whose size everyone knows.
- A person. The strongest reference. Place the figure where the tone behind them is different (a dark jacket on snow, a bright one against shaded rock) and on a skyline, ridge or trail bend where the shape reads clearly. Red, orange and yellow clothing stay visible at sizes where other colours vanish.
- Buildings and vehicles. A hut, a chapel, a cable car, a tent or a parked car at the foot of a wall works the same way.
- Trees. Full-grown conifers are a familiar size. A band of forest under a face tells the viewer how much higher the rock goes.
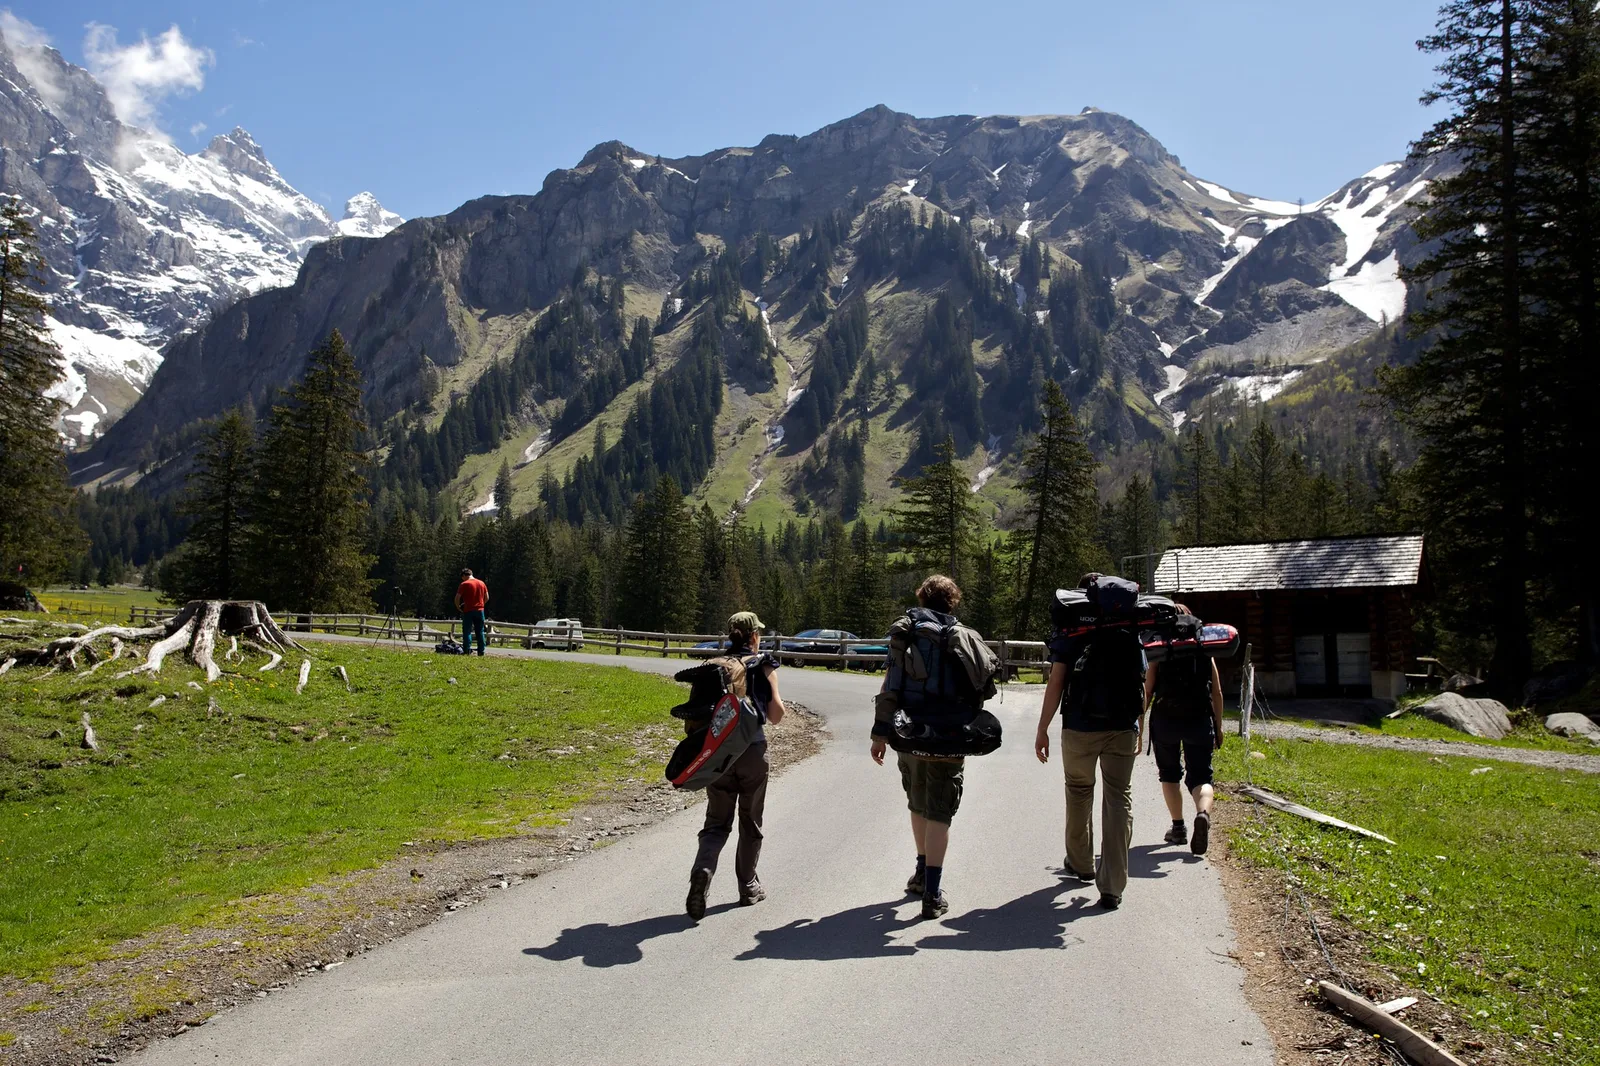
How big the reference appears matters. A hiker who fills a third of the frame makes a portrait with a mountain behind it. For scale, the figure should be small, often 2 to 5 percent of the frame height, but still recognisable. Step well back from your companion and use a longer focal length, so the person shrinks while the peak behind them stays large. Standing close with a wide lens does the opposite: big person, small mountain.
Haze, cloud inversions and fast-changing weather
Haze: use it or cut it
Air between you and a far ridge scatters light, so distant slopes look paler, bluer and lower in contrast. Looking toward the sun, that haze glows and separates the layers, which helps a telephoto stack. Looking away from the sun at midday, it simply dulls the view. To reduce it:
- Shoot early. Air is usually clearest in the hours after dawn, and clearest of all just after rain or a cold front has passed.
- Use a polarizing filter. It has the most effect when you point about 90 degrees from the sun and little when the sun is directly behind or in front of you. On very wide lenses it darkens the sky unevenly, so use it lightly or not at all below about 24mm.
- Restore contrast in editing with a light touch. See the Dehaze control, and stop before distant ridges turn as dark as near ones, because that removes the sense of distance.
Cloud inversions
On calm, clear nights, cold air drains downhill and pools in valleys under a warmer layer. If the air is moist enough, fog forms in the cold pool and you can stand above a white sea with summits rising through it. The signs are settled high pressure, little wind, a clear night and a damp valley, most often in autumn and winter. Go high before sunrise: the fog often thins or lifts within a few hours of the sun reaching it. Exposure and focus in the fog itself are covered in fog and mist photography.
Reading the sky
Mountains make their own weather. Air forced up a slope cools and forms cloud, so a summit can be hidden while the valley is in sun. In warm months, heat builds cloud through the day and thunderstorms are most likely in the afternoon, which is one more reason to be high early and heading down by midday. Clearing storms give the best light of all: breaks in the cloud, lit peaks against dark sky, fresh snow up high. If lightning is possible, get off ridges and summits; no picture is worth being the highest object on a mountain. The safety rules in storm photography apply with extra force above the tree line.
Camera settings and focus for big distances
| Situation | Aperture | Shutter and ISO | Notes |
|---|---|---|---|
| Distant range, nothing near, on a tripod | f/8 | Base ISO, whatever shutter results | Depth of field is not a concern; pick the lens’s sharpest aperture |
| Wide view with a foreground under 1 metre away | f/11 to f/16 | Base ISO, tripod | Focus a little beyond the foreground, or focus stack |
| Telephoto handheld, 200mm | f/8 | 1/400 or faster, raise ISO as needed | Wind and cold hands add shake; use stabilisation |
| Snow fills most of the frame in sun | f/8 to f/11 | +1 to +2 stops compensation | Check the highlight warning on the snow |
| First light on summits, valley in shade | f/8 to f/11 | Expose for the lit peaks | Bracket if you need shadow detail |
Exposure. The classic mountain scene has sunlit snow or rock at the top and deep shade at the bottom, which can exceed what one frame holds. Protect the highlights first, because blown snow cannot be recovered, and check the histogram rather than the screen, which is hard to judge in bright light. If the shadows then sit too dark, shoot a three-frame bracket two stops apart and blend it later. When snow dominates the frame, the meter will render it grey, so add exposure compensation.
Focus. For a distant peak with no foreground, focus on the peak itself with a single point placed on a high-contrast edge such as a skyline, then check at full magnification. Do not just turn the ring to its end stop; many lenses focus past infinity. With a close foreground, the hyperfocal distance gives a starting point, and two frames (one focused near, one far) give a safer result when the foreground is very close.
Sharpness at long focal lengths. The old guide of a shutter speed at least as fast as one over the focal length is a minimum for handheld work, and wind makes it optimistic. On a tripod in wind, keep the legs low, hang nothing that swings, and shield the camera with your body. Over warm ground, rising air makes distant detail shimmer through a long lens, and no setting fixes that; shoot early, before the ground heats up.
White balance. Shade under a clear sky is strongly blue, and snow shows it. Auto white balance often neutralises the warm light on the peaks at the same moment. Shoot raw and set it afterwards, or use the daylight preset so warm stays warm and blue stays blue.
Lakes and reflections below the peaks
A mountain doubled in still water is the most photographed arrangement in the genre, and it depends on three things you can control.
- Timing. Wind is usually lightest around dawn, before the sun heats the slopes and starts air moving. A lake that is a mirror at sunrise can be rippled an hour later.
- Camera height. The spot on the water that reflects the summit lies at a distance equal to your camera’s height above the water divided by the tangent of the summit’s angle above the horizon. For a peak 10 degrees up, a camera 1.5 metres above the surface needs calm water about 8.5 metres out; at 30cm it needs water only 1.7 metres out. So for a small pool or puddle, get low and close to its near edge.
- Shelter. If the main lake is ruffled, look for a bay behind rocks or reeds, or a separate pool beside the shore. Small water stays calm in a breeze that spoils large water.
The reflection is darker than the scene it mirrors, often by a stop or so, so expose for the real peak and let the reflection fall where it does. A polarizer can strengthen or remove a reflection depending on how it is turned; rotate it while watching the water and stop where the reflection is strongest. More ideas are in reflection photography.
Altitude, cold and carrying a camera uphill
Air temperature falls with height, on average about 6.5°C for every 1,000 metres climbed, and wind makes it feel colder still. A mild valley morning can mean freezing conditions at a viewpoint 1,500 metres higher.
- Batteries. Cold batteries deliver less. Carry at least one spare in an inside pocket and swap them; a “dead” battery often revives once warm.
- Condensation. Moving cold gear into a warm hut or car fogs it inside and out. Seal the camera in its bag before going in and let it warm slowly.
- Weight. Every item is carried up and down. One body, a standard zoom and a light telephoto zoom cover nearly everything on this page. A light tripod is worth carrying for dawn, dusk and bracketing.
- Access. A camera inside a rucksack does not get used. Carry it on a chest harness or a clip on the shoulder strap, with a rain cover within reach.
- Sun and glare. Light is intense at altitude and snow reflects it back up. A lens hood cuts flare from the side, and sunglasses let you actually see the screen.
Your own safety comes first. Tell someone your route, carry a map, light and warm layers, turn around at a fixed time whatever the light is doing, and do not step backward while looking through a viewfinder near an edge. Altitude affects people differently; if you are heading high, read proper guidance on acclimatisation from a mountain or medical authority first. Cold-weather handling is covered further in the winter photography guide.
Common mistakes
- The peak is a small bump under a big sky. Fix: zoom to 70mm or longer, move closer, or crop the sky to a thin strip.
- Flat, shapeless slopes. The sun was high or directly behind the camera. Fix: come back when the light is low and from the side, or wait for cloud shadows.
- Grey snow. The meter averaged it down. Fix: add +1 to +2 stops and watch the highlight warning.
- No sense of size. Fix: include a small figure, hut or band of trees on a clean background.
- Empty foreground in a wide shot. Fix: get within a metre of something worth looking at, or switch to a longer lens and drop the foreground.
- Arriving at the listed sunrise time. The summit light started earlier. Fix: be set up 30 to 45 minutes before.
- Soft telephoto frames. Wind, slow shutter or heat shimmer. Fix: faster shutter, lower tripod, earlier in the day.
Try this
You do not need a famous range; any hill, ridge or even a distant tall building works. Stand where you can see it clearly and take 15 minutes. First, without moving, photograph it at your widest focal length, then at about 50mm, then at the longest you have. Second, at the longest setting, scan slowly along the skyline and make three frames of smaller pieces: a single summit, a group of trees on the crest, a patch of light. Third, wait for or place something of known size (a walker, a car, a house) and make one frame where it is small but clear. At home, note which focal length made the hill look the way it felt.
Frequently asked questions
What is the best lens for mountain photography?
No single one. A standard zoom covering roughly 24 to 70mm handles foreground-and-peak scenes, and a telephoto zoom reaching 200mm handles layers, single summits and scale shots.
What settings should I use for mountains?
Start at f/8, base ISO and aperture priority on a tripod, or 1/250 and faster handheld. Stop down to f/11 or f/16 only when a close foreground needs the extra depth of field, and add positive compensation when snow fills the frame.
What time of day is best for mountain photos?
The half hour either side of sunrise and sunset, when summits catch warm light and shadows show the relief. Dawn usually has calmer water and clearer air; evening light lasts longer on west-facing walls.
How do I photograph mountains with a phone?
Use the telephoto camera for the peak, tap the brightest snow or rock to set exposure and drag the brightness down slightly, and keep the wide camera for scenes with a close foreground. Clean the lens; glare from snow shows every smear.
Related guides
- Landscape photography: the general method for tripod work, depth of field and composition.
- Best camera settings for landscape photography: aperture, ISO and metering choices in detail.
- Telephoto photography: handling and stabilising long lenses.
- Planning around the sun, moon and weather: working out where the light will fall and when.
- Fog and mist photography: exposure and focus inside and above valley fog.
- Winter photography: snow exposure and cold-weather camera care.
- Astro-landscape photography: peaks under the night sky.
- Panorama photography: stitching a whole range from several frames.