To take close-up photos with a phone, move in until the picture blurs, back off slightly until it snaps sharp, tap the subject to focus, and hold still. Every phone lens has a minimum focus distance, often 10 to 20 cm for the main camera and 2 to 4 cm for the ultra-wide camera that macro mode uses. For anything closer, a clip-on close-up lens adds focusing power, and good light matters more than any setting.
The general guides to smartphone photography and macro photography cover phones in a paragraph and close-ups with camera lenses. This page explains the part in between: why a phone refuses to focus close, what macro mode really does, how clip-on lenses work in dioptres, how thin the zone of sharpness becomes, and how to handle light, movement and editing when the lens is a finger-width from the subject.
Why a phone stops focusing when you get close
A phone camera focuses the same way any camera does: the lens moves away from the sensor as the subject gets nearer. In a phone that movement comes from a tiny motor with a travel of a fraction of a millimetre. When the lens reaches the end of its travel, it cannot focus any closer. That limit is the minimum focus distance, and inside it the picture stays blurred however many times you tap.
How much travel is needed depends strongly on focal length. Simple lens arithmetic shows the pattern:
| Real focal length of the lens | Subject distance | Lens travel needed beyond the infinity position |
|---|---|---|
| 6 mm | 10 cm | about 0.38 mm |
| 6 mm | 2.5 cm | about 1.9 mm |
| 2 mm | 10 cm | about 0.04 mm |
| 2 mm | 2.5 cm | about 0.17 mm |
The focal lengths are illustrative, but the lesson holds for every phone. A lens with a longer real focal length needs far more travel to focus close, so main cameras, which have grown larger sensors and longer lenses over time, tend to stop at around 10 to 20 cm. Telephoto cameras are worse, often needing half a metre or more. The ultra-wide camera has the shortest focal length, so a small movement takes it down to a few centimetres. That is the whole reason macro modes use the ultra-wide camera.
Find your own limits with a ruler
Published figures vary, so measure. Lay a ruler on a table in good light. For each camera on your phone, move in until the markings just stay sharp and note two numbers: the distance from lens to ruler, and how many millimetres of ruler span the long side of the frame. The second number is the useful one. It tells you the smallest subject that will fill the picture, which is a more practical measure on a phone than the magnification ratio used for camera lenses.
What macro mode does when it takes over
On phones that have it, macro mode is triggered by distance. When the phone detects a subject closer than the main camera can focus, it switches to the ultra-wide camera, provided that camera has autofocus, and crops the centre of its picture so that the framing looks roughly the same as before. You usually see a small jump in the viewfinder and an icon, often a flower.
This is convenient, and it has three costs.
- Lower image quality. The ultra-wide camera normally has a smaller sensor and a slower lens than the main camera, and you are using only the middle of its frame. The result has less real detail and more noise, especially indoors.
- Almost no working distance. At 2 to 3 cm the phone blocks the light, casts its own shadow and scares anything alive.
- Wide-angle perspective. Near parts of the subject look much larger than far parts, and a wide sweep of background is included, which is hard to keep tidy.
Look in the camera settings for a macro control option. With it enabled, the icon becomes a button, and you decide when the switch happens instead of having the phone jump between cameras while you are composing.
Three ways to get closer, compared
| Method | How it works | Strengths | Weaknesses |
|---|---|---|---|
| Macro mode | Ultra-wide camera at 2 to 4 cm, cropped | Smallest subjects without accessories, deep zone of sharpness | Noisier, blocks light, busy backgrounds |
| Main camera at its closest, then crop | Stay at the minimum focus distance of the best camera and crop afterwards | Best sensor and lens, natural perspective, room for light | Cropping throws away pixels |
| Step back and zoom | Use a telephoto camera from farther away | Most working distance, flattering perspective, softer backgrounds | Long minimum focus distance, and the phone may secretly crop the main camera instead |
The third row needs a warning. If you select 3x or 5x and move closer than the telephoto camera can focus, most phones quietly switch to the main camera and enlarge it digitally. The framing looks the same, but the quality drops. To check which camera is live, cover each lens in turn with a fingertip and watch the screen. Optical versus digital zoom explains what is lost.
For subjects the size of a rose or a large butterfly, the main camera at its closest distance usually beats macro mode. For subjects the size of a coin or smaller, macro mode or a clip-on lens is the only way to fill the frame.
How clip-on macro lenses work
A clip-on macro lens is a magnifying glass held in front of the phone’s own lens. It does not replace anything. It bends the light from a near subject so that the phone sees it as if it were far away, which lets a camera that normally stops at 15 cm focus at 5 cm or less.
The strength of such a lens is measured in dioptres: 1 divided by its focal length in metres. With the phone focused at infinity, the subject is sharp at exactly that focal length in front of the clip-on lens.
| Strength | Focal length | Sharp at (phone focused far away) |
|---|---|---|
| +10 dioptres | 100 mm | 10 cm |
| +20 dioptres | 50 mm | 5 cm |
| +40 dioptres | 25 mm | 2.5 cm |
The phone’s own focusing adds to this. A camera focused at 10 cm is contributing the equivalent of 10 dioptres, so with a +10 lens fitted the closest focus is roughly 1 divided by 20, or 5 cm. That means a +10 lens gives you a focus range of only about 5 to 10 cm, and stronger lenses give a range of a centimetre or less. You no longer focus by tapping. You focus by moving the phone until the subject is sharp.
Getting a clean result from a clip-on lens
- Centre it over the main camera. Take the case off if it stops the clip sitting flat. A lens that is off-centre gives a dark corner or a smeared edge.
- Stop the phone switching cameras. If macro mode hands over to the ultra-wide camera, the picture goes black or blurred because the clip is covering a different lens. Turn the automatic switch off.
- Prefer two-element lenses. A single piece of glass or plastic is sharp only in the centre and adds colour fringes toward the edges. A cemented pair (an achromat) corrects most of that.
- Keep both surfaces clean. You are adding two more surfaces for fingerprints, and haze from a smear looks exactly like a focus problem.
The same optical idea, applied to cameras with interchangeable lenses, is covered in macro without a macro lens.
Depth of field when the subject is centimetres away
Phones have a reputation for keeping everything sharp, and at normal distances that is deserved: a very short focal length gives a deep depth of field. Close up, the advantage shrinks fast. Depth of field falls roughly with the square of magnification, so each time you halve the width of the area that fills the frame, the sharp zone drops to about a quarter.
For a typical main camera at about f/1.8, the standard formula gives roughly 5 mm of sharp depth when the frame covers 10 cm of subject, and around 1 mm when it covers 3 cm. The exact figures depend on your sensor and how critically you look, but the scale is right.
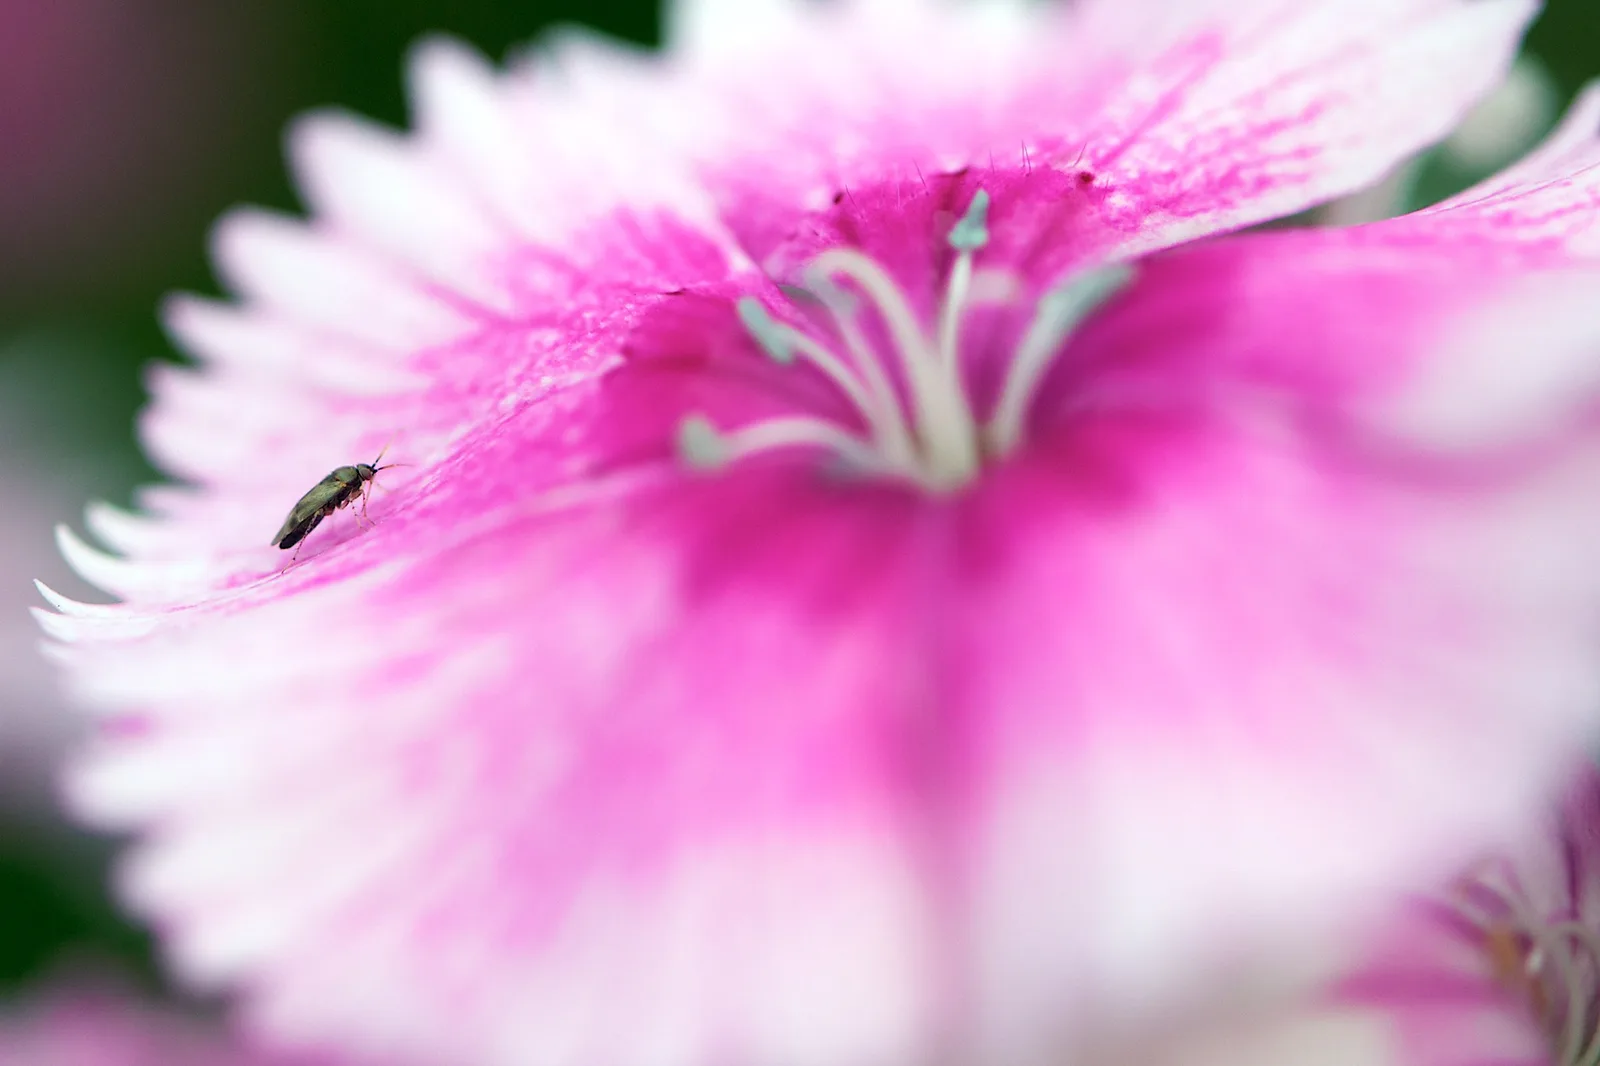
The photograph above was made with a 105mm macro lens on a camera, not a phone, but it shows the behaviour every close-up shares. One plane is sharp and everything in front of it and behind it dissolves.
On a camera you would close the aperture to gain depth. Almost every phone lens has a fixed aperture, so you need other methods.
- Line up the phone with the subject. The plane of sharp focus is parallel to the back of the phone. Hold the phone parallel to a butterfly’s wings or a leaf’s surface and the whole thing fits inside the thin slice. Tilt it and only a stripe is sharp.
- Choose what must be sharp. For an insect, the eye. For a flower, the nearest stamens or the front edge of the nearest petal. Tap exactly there.
- Back off and crop. Doubling the distance roughly quadruples the depth. You lose pixels, so this works best with a high-resolution main camera.
- Stack. With the phone on a support, use the manual focus slider in pro mode (or an app that offers it) to take several frames, moving focus from front to back in small steps, then merge them. The method is explained in focus stacking.
Portrait mode is tempting for a soft background, but its blur is computed from a depth estimate, and it struggles with the fine edges that close-ups are full of: antennae, hairs, stamens, grass. Check the edges at full size before trusting it. Portrait mode explained covers why.
Holding still, locking focus and freezing movement
Magnification enlarges every wobble. A 2 mm sway that would be invisible in a landscape moves a small flower halfway across the frame and straight out of the zone of focus.
- Brace. Tuck your elbows in, rest the edge of the phone or your little finger on something solid, or use a small tripod with a phone clamp. Camera shake covers handheld technique in general.
- Lock focus and exposure. Press and hold on the subject until the lock indicator appears. The phone stops refocusing every time something moves.
- Fine-tune by moving. With focus locked, rock a few millimetres toward and away from the subject and watch the sharp plane travel across it.
- Shoot a burst as you pass through focus. Out of ten frames, one or two will have the plane exactly where you wanted it.
- Do not jab the screen. Use a volume button, a two-second timer or a remote shutter.
Subject movement is the other half. In dim light a phone picks a slow shutter speed or blends several frames, and a flower nodding in a breeze turns to smear. In pro mode, set 1/250 second or faster for anything that moves and let the ISO rise. Outdoors, shield the plant with your body or a piece of card, and go out early, when the air is often calmest. The wider controls are described in phone camera settings.
Light when the lens is two centimetres from the subject
At macro distances the phone is the biggest object near the subject, and it is usually between the subject and the light. The first skill is positioning: keep the light coming from the side or from behind the subject, and approach from the direction that leaves your shadow off it.
- Bright shade or thin cloud is the easiest light. Colours are rich, shiny surfaces do not burn out, and there is no hard phone shadow. See diffused light.
- Direct sun is harsh on petals and wings. Hold a sheet of white paper, tracing paper or a translucent lid between the sun and the subject to soften it.
- A white card or a piece of foil on the shadow side works as a small reflector and lifts dark areas.
- Side light skimming across a surface reveals texture and gives water drops a highlight and a shadow.
- Backlight makes thin petals, leaves and drops glow. Get low and shoot toward the light, keeping the sun itself just out of frame.
- The built-in flash is too close and too hard at this range. A second phone’s torch, held to one side and softened with a layer of tissue, is a better small light.
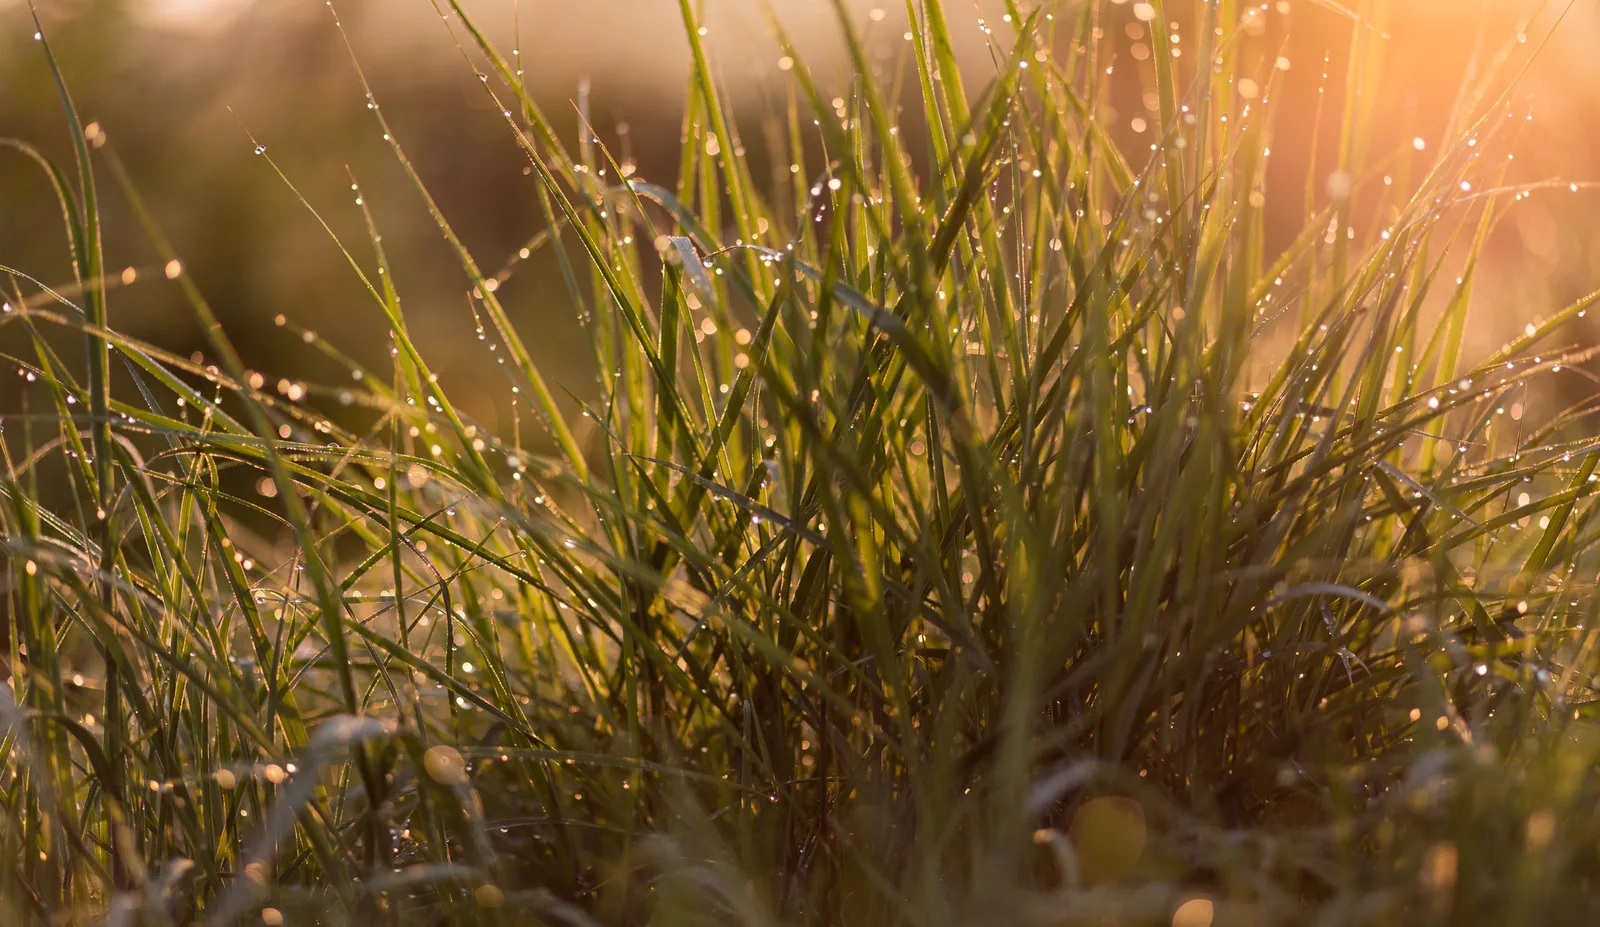
Bright subjects fool the meter. A white or yellow flower filling the frame often loses its petal detail to overexposure. After tapping to focus, drag the exposure slider down until the texture in the brightest petal returns. This is exposure compensation by another name.
Flowers, insects, textures and water drops
| Subject | Best approach | Watch for |
|---|---|---|
| Flowers | Main camera at closest focus, phone parallel to the face of the flower or side-on to one petal edge | Wind, blown highlights on pale petals, messy backgrounds |
| Insects | Telephoto camera or a moderate clip-on lens for distance, burst mode, focus on the eye | Your shadow, sudden movement, slow shutter speeds |
| Textures (bark, rust, fabric, frost) | Macro mode works well because the subject is flat, with light skimming from the side | Phone not parallel to the surface, so one side goes soft |
| Water drops | Side light or backlight, a dark or plain background, focus on the drop’s edge | Reflections of the phone in the drop, focus landing on the leaf instead |
Insects are easiest early on a cool morning, when they are sluggish and often covered in dew. Move slowly, stay low and avoid letting your shadow cross them. The dedicated guide to insect photography goes further into approach and behaviour.
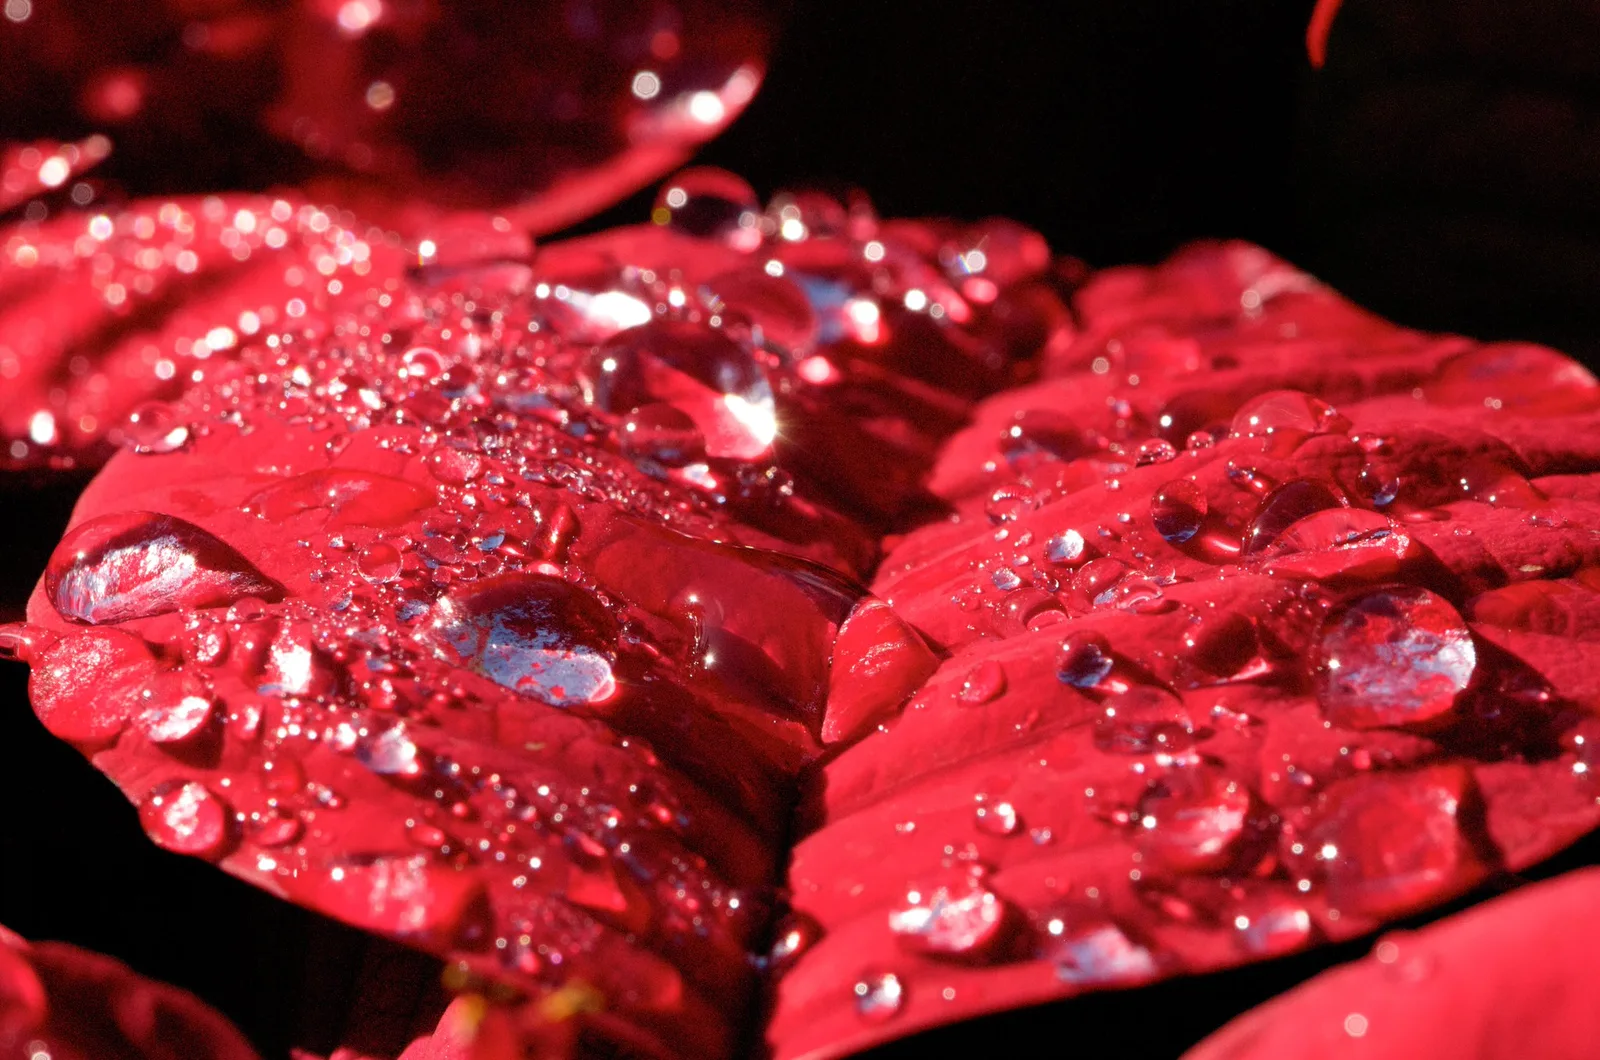
Water drops are the most controllable subject. A small spray bottle makes them on demand on a leaf, petal or spider web. Each drop works as a tiny lens and shows an upside-down image of whatever is behind it, so placing a bright flower a few centimetres behind a drop puts a miniature flower inside it. Focus on that image, not on the leaf.
Backgrounds deserve a second look at this scale. Because the frame covers so little, shifting the phone a centimetre swaps a tangle of stems for a patch of plain shade. A sheet of dark or coloured card held 20 to 30 cm behind the subject gives a clean backdrop anywhere.
Editing close-ups on the phone
- Crop with restraint. A macro mode picture has already been cropped by the phone, so a heavy second crop quickly shows mushy detail. If your phone has a high-resolution or raw mode for the main camera, use it when you plan to crop.
- Lower highlights before raising anything. Petal texture lives in the brightest tones.
- Sharpen lightly. Phones sharpen heavily already. Extra sharpening adds halos to fine hairs and edges. See sharpening for what to look for.
- Remove dust and pollen specks with a healing tool, since every speck is magnified.
- Darken the background with a selective or brush adjustment to separate the subject, instead of adding artificial blur.
Suitable editors are compared in mobile photo editing apps.
Common mistakes
- Going closer than the lens can focus. The picture stays soft however often you tap. Fix: back off until it sharpens, then crop, or switch to macro mode or a clip-on lens.
- Letting the phone choose the camera. It jumps to the ultra-wide or to digital zoom without telling you. Fix: turn on the macro control, and check which lens is live by covering each one.
- Shading the subject with the phone. Colours go flat and the shutter slows. Fix: come in from the side opposite the light, or use a method with more working distance.
- Phone tilted to the subject. Only a stripe is sharp. Fix: hold the back of the phone parallel to the surface that matters.
- Focus on the wrong millimetre. The petal behind the stamens is sharp and the stamens are not. Fix: lock focus, rock gently and shoot a burst.
- Smeared lens. A hazy glow over everything. Fix: wipe the phone lens and any clip-on lens with a clean soft cloth before each session.
Try this
Spend fifteen minutes with a coin and a ruler on a table near a window. First, run the ruler test described above for each camera on your phone. Second, photograph the coin three ways from directly above so that it fills as much of the frame as each method allows: macro mode, the main camera at its closest distance, and the telephoto camera if you have one. Third, crop all three so that the coin is the same size and compare the fine lettering at full magnification. You will know which method your phone does best, and how small a subject you can fill the frame with.
Frequently asked questions
Why won’t my phone focus on close objects?
You are inside the lens’s minimum focus distance, which is often 10 to 20 cm for the main camera and much more for a telephoto. Move back until the subject sharpens and crop later, or use macro mode or a clip-on close-up lens. A dirty lens can also make the picture look out of focus.
Do clip-on macro lenses really work?
Yes. They are close-up lenses that let the main camera focus much nearer than it can alone. A well-made two-element lens gives sharp results across most of the frame. Cheap single-element lenses are sharp in the centre only, and all of them leave a very narrow range of distances where the subject is in focus.
How do I blur the background in a phone close-up?
Get as close as the lens allows and put as much distance as you can between the subject and whatever is behind it. Using the main or telephoto camera instead of the ultra-wide also helps, because a longer lens takes in a narrower slice of background.
Is phone macro as good as a macro lens on a camera?
For sharing on screens and small prints, a phone in good light can be excellent. A camera with a macro lens gives more working distance, control of the aperture, cleaner detail in dim light and files that stand more cropping and enlargement.
Related guides
- Macro photography: the full subject with dedicated lenses, lighting and composition.
- Macro without a macro lens: close-up lenses, tubes and reversed lenses on cameras.
- Smartphone photography: composition, light and editing for phone pictures in general.
- Phone camera settings: pro mode, focus lock and exposure controls in detail.
- Focus stacking: merging several frames for more depth than one frame can hold.
- Insect photography: finding and approaching small living subjects.