You can shoot macro without a macro lens in three main ways. Extension tubes move the lens away from the sensor and add magnification of roughly the tube length divided by the focal length (25 mm of tube on a 50 mm lens adds 0.5x). Close-up filters screw onto the front and work best on longer lenses. Reversing a wide prime gives 2x or more. Each trades away light, working distance or convenience.
This guide is about the optics of getting close with the lenses you already own: how much magnification each method gives, what it costs, and which to pick for which subject. For fieldcraft, composition and lighting set-ups, read the main macro photography guide; for the short definitions, see extension tube and magnification ratio. This page goes further on the numbers, so you can work out the result before you buy or build anything.
What “macro” means: magnification and minimum focus distance
Magnification is the size of the image on the sensor divided by the size of the real subject. At 1:1 (also written 1x, or life size) a 10 mm beetle is drawn 10 mm long on the sensor. At 1:2 (0.5x) it is drawn 5 mm long. The traditional definition of macro starts at 1:1; anything from about 1:10 to 1:1 is usually called close-up.
To picture a magnification, divide the sensor’s dimensions by it. The result is the subject area that fills the frame:
| Magnification | Subject area filling a full-frame sensor (36 x 24 mm) | Subject area filling an APS-C sensor (about 24 x 16 mm) | Typical subject |
|---|---|---|---|
| 0.25x (1:4) | 144 x 96 mm | 96 x 64 mm | A rose, a wristwatch with its strap |
| 0.5x (1:2) | 72 x 48 mm | 48 x 32 mm | A butterfly, a small flower |
| 1x (1:1) | 36 x 24 mm | 24 x 16 mm | A bee, a coin, a ring |
| 2x (2:1) | 18 x 12 mm | 12 x 8 mm | A fly’s head, a snowflake cluster, a watch movement detail |
Every lens has a minimum focus distance, measured from the sensor (not the front of the lens) to the subject, and a maximum magnification that goes with it. You will find both in the lens specifications, often printed on the barrel. A typical 50 mm prime lens stops at about 0.15x. A standard kit lens usually reaches somewhere between 0.2x and 0.3x at its long end. All the methods below are ways of pushing past that built-in limit.
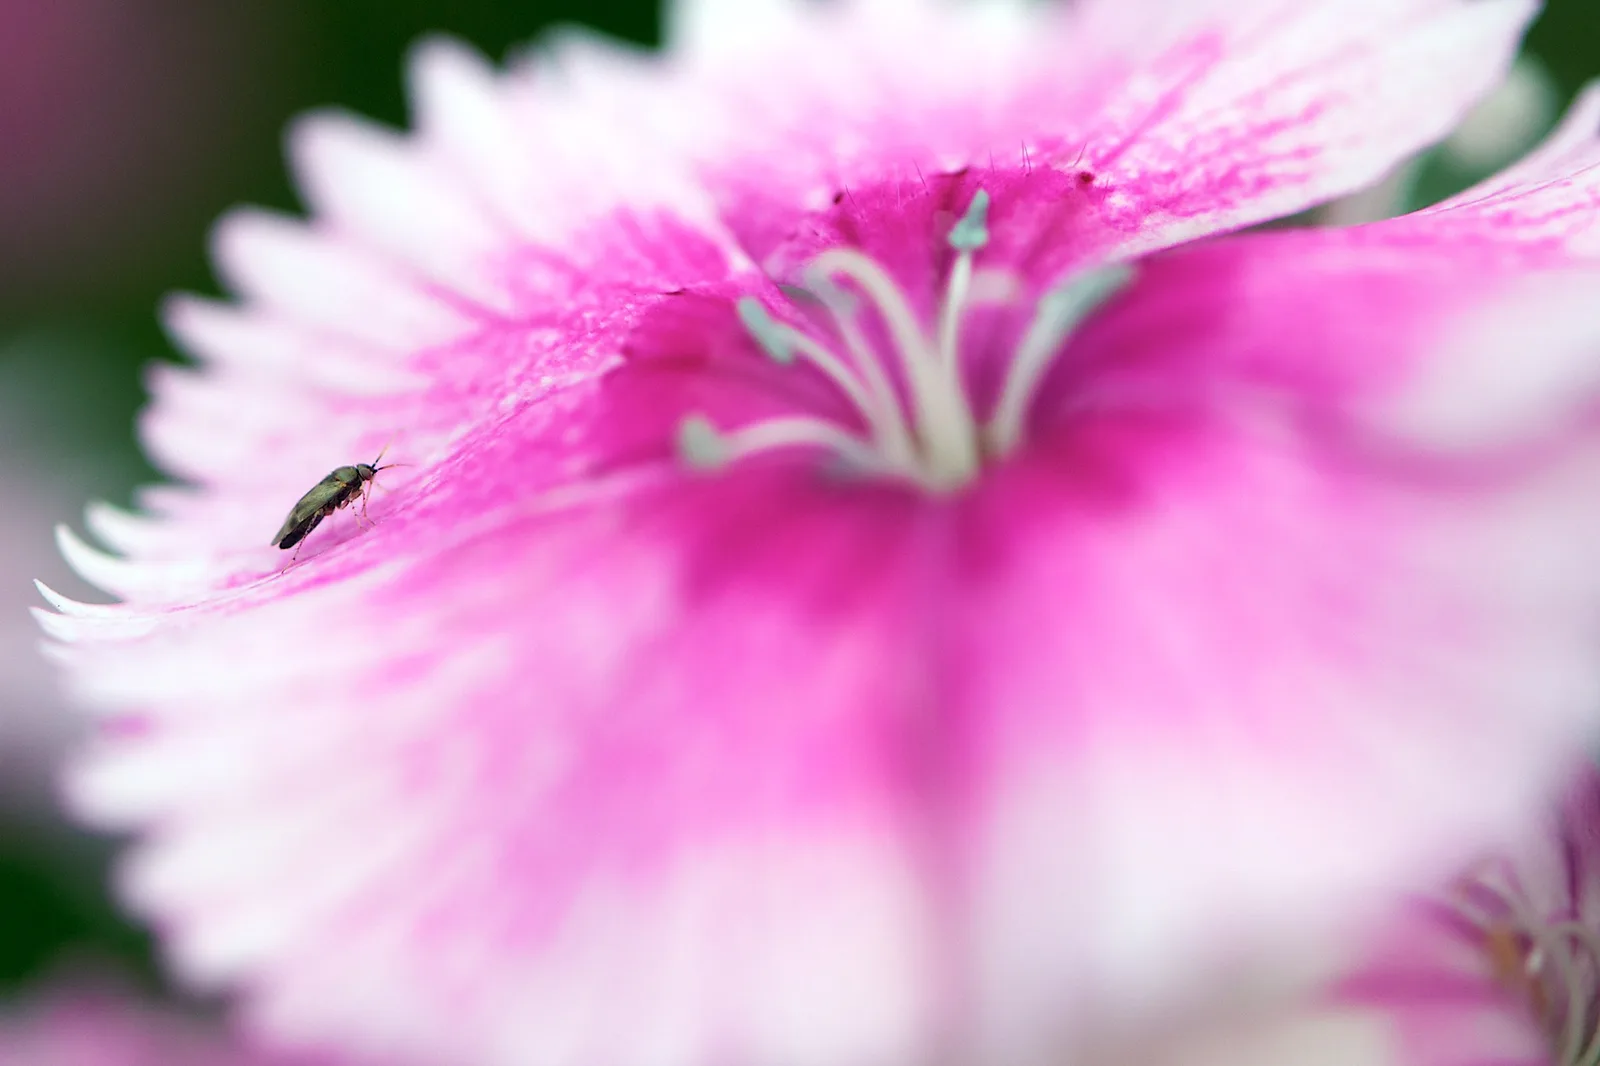
Extension tubes: how they work and what they cost in light
A lens focuses closer by moving its glass farther from the sensor. Its focusing mechanism only travels so far, and that is what sets the minimum focus distance. An extension tube is an empty spacer between camera and lens that adds more travel. There is no glass in it, so it cannot add aberrations of its own, although it does make the lens work at distances it was not optimised for.
The magnification formula
With the lens set to infinity, added magnification is approximately the extension divided by the focal length. Turn the focus ring to its closest setting and the lens’s own maximum magnification is added on top:
- 25 mm tube on a 50 mm lens: 25 / 50 = 0.5x at the infinity setting, and roughly 0.65x at closest focus if the lens reaches 0.15x unaided.
- The same 25 mm tube on a 100 mm lens: 25 / 100 = 0.25x. Doubling the focal length halves the gain.
- The same tube on a 200 mm lens: 25 / 200 = about 0.13x. Useful for making a telephoto focus a little closer on a butterfly, not for true macro.
- A full stack of 12 + 20 + 36 mm (68 mm) on a 50 mm lens: 68 / 50 = 1.36x, past life size.
The formula is exact only for simple lenses that focus by moving all their glass together. Many modern lenses shorten their focal length as they focus close, so treat the result as a good estimate.
Tubes suit short and normal focal lengths. On a 24 mm or 28 mm lens even a 12 mm tube adds around 0.5x, but the point of focus moves so close that it can land a few millimetres from the front element, or inside the lens, where no subject can go. Start with the shortest tube on anything wider than about 35 mm.
What you give up
- Infinity focus. With a tube fitted the lens can focus only within a narrow band close to the camera. A 50 mm lens on a 25 mm tube focuses from about 15 cm down to about 13 cm in front of the lens: a band roughly 2 cm deep. To photograph anything outside that band you change tubes.
- Light. The same cone of light is spread over a larger image circle, so less of it lands on the sensor. The effective f-number is the marked f-number multiplied by (1 + magnification). At 0.5x, f/8 behaves like f/12, a loss of about 1.2 stops. At 1x it behaves like f/16, a loss of 2 stops. At 2x it behaves like f/24, just over 3 stops. The camera’s meter reads through the lens and compensates automatically; you only notice it as a slower shutter speed or a higher ISO.
- Aperture control, on the cheapest tubes. Most current lenses set their aperture electronically. A tube with no electrical contacts cuts that connection, leaving the lens stuck at one aperture with no autofocus. Tubes with contacts pass the signals through. A plain tube is fine for an old manual lens with its own aperture ring.
Close-up filters: the screw-on option
A close-up filter (also called a close-up lens or dioptre) is a weak magnifying glass that screws into the filter thread. It works like reading glasses for your lens: it lets the lens focus on near objects while still set to its normal range.
Strength is given in dioptres, and the rule is simple. With the camera lens set to infinity, the subject is in focus at 1,000 mm divided by the dioptre number, measured from the filter:
- +1: focus at 1,000 mm
- +2: focus at 500 mm
- +4: focus at 250 mm
- +10: focus at 100 mm
That distance does not depend on which lens the filter is on. The magnification does. At the infinity setting it equals the focal length of the camera lens divided by the focal length of the close-up filter (which is that same 1,000 / dioptre figure). A +4 filter has a focal length of 250 mm, so on a 50 mm lens it gives 50 / 250 = 0.2x, and on a 200 mm lens it gives 200 / 250 = 0.8x. Turning the focus ring closer raises the figure further.
This is the opposite of how tubes behave. Tubes give the most on short lenses; close-up filters give the most on long ones. A +2 or +4 filter on a telephoto zoom gives 0.4x to 0.8x from half a metre to a quarter of a metre away, with autofocus and aperture control intact and no meaningful loss of light.
Single-element and achromatic filters
The cheap kind is a single piece of glass, often sold in sets of +1, +2 and +4. A single element cannot bring all colours to the same focus, so it adds colour fringing (see chromatic aberration) and softens the edges. At f/8 to f/11 with the subject near the centre, the results are better than their reputation.
The better kind is an achromat: two elements cemented together to cancel most of the colour error. An achromatic close-up filter on a good telephoto can produce results that are hard to tell from a macro lens in the centre of the frame.
Dioptres add when stacked: a +2 and a +4 behave like a +6. Put the stronger filter nearest the lens, and expect quality to drop with each layer. Buy the filter for your largest filter thread and use step-up rings for smaller lenses.
Reversing a lens: extreme magnification from a normal prime
A reversing ring has a filter thread on one side and a camera mount on the other. Screw it into the front of a lens and the lens mounts on the camera backwards, rear element facing the subject.
It works because a normal lens is designed to have a large object far in front and a small image close behind. Above 1x those proportions swap: the subject is now small and close, and the image is larger and farther away. Turning the lens around puts it back into the geometry it was corrected for, which is why a reversed lens is often sharper at high magnification than the same lens pushed out on a long stack of tubes.
The shorter the focal length, the higher the magnification. The exact figure depends on the lens design and the depth of your camera mount, so treat these as rough guides:
- A reversed 50 mm gives somewhat under life size, roughly 0.7x to 1x.
- A reversed 28 mm gives about 2x.
- A reversed 18 mm to 20 mm gives 3x or more.
Adding extension tubes behind the reversed lens raises the magnification further. The focus ring does almost nothing in this set-up; you focus by moving the camera.
Working distance is short but more constant than you would expect. The subject sits roughly where the sensor used to be, so for lenses built for SLR cameras it is about 4 to 5 cm from the mount end of the lens whichever focal length you reverse. Lenses made for mirrorless mounts were designed to sit much closer to the sensor, and reversed they leave very little room.
The camera can no longer talk to the lens, so there is no autofocus and no electronic aperture. That makes an old manual prime with a mechanical aperture ring the ideal lens to reverse: focus wide open, then turn the ring to f/8 for the exposure. The rear element is now exposed and facing the subject, so keep it away from pollen, water and thorns.
Coupling two lenses
A coupling ring with a filter thread on both sides mounts a reversed lens on the front of a longer lens that stays on the camera normally. The reversed lens acts as a very strong, well corrected close-up filter: a 50 mm lens is the equivalent of +20 dioptres. Magnification is the focal length of the lens on the camera divided by that of the reversed one: a 50 mm reversed on a 100 mm gives 2x, and on a 200 mm gives 4x. Leave the reversed lens wide open and check the corners for darkening.
Cropping and teleconverters as close-up tools
Cropping costs nothing and is often enough. Cropping to half the width and half the height doubles the apparent magnification and keeps one quarter of the pixels: a 24 megapixel frame becomes 6 megapixels, which still fills a screen and makes a small print. A smaller sensor does the same thing in camera. An APS-C sensor at 1:2 frames a subject 48 mm wide, where full frame at the same magnification frames 72 mm. True magnification has not changed, but the framing is tighter.
A teleconverter multiplies the focal length while leaving the minimum focus distance where it was, so it multiplies the maximum magnification by the same factor. A lens that reaches 0.25x becomes 0.35x with a 1.4x converter and 0.5x with a 2x converter, from the same distance. The cost is one stop of light for the 1.4x and two stops for the 2x, plus some loss of sharpness. Many lenses cannot take one: see the teleconverters guide.
Comparing the methods: magnification, quality, working distance
| Method | Realistic magnification | Light lost | Works best on | Main weakness |
|---|---|---|---|---|
| Extension tubes | 0.3x to about 1.4x | About 1 to 2.5 stops | 35 mm to 100 mm primes | No infinity focus, very narrow focus range |
| Close-up filter, single element | 0.2x to 0.5x | None | Lenses of 50 mm and longer, stopped down | Soft, fringed edges |
| Close-up filter, achromatic | 0.3x to about 1x | None | Telephoto zooms and primes | Tied to one thread size, focus limited to near range |
| Reversed lens | About 0.7x to 3x and beyond | About 1.5 stops or more | Manual 20 mm to 50 mm primes with an aperture ring | No automation, short working distance |
Choose by subject. For flowers and whole butterflies (0.25x to 0.5x), use a close-up filter on a telephoto or one short tube on a normal lens. For bees, coins and jewellery (0.5x to 1x), use a stack of tubes on a 50 mm or an achromat on a 200 mm. For anything smaller, reverse a wide prime. Live insects favour whichever route leaves the most room in front of the lens.
Focusing and depth of field at high magnification
At close range, depth of field depends on only two things: magnification and f-number. Focal length drops out. A 50 mm on tubes and a 200 mm with a close-up filter give the same depth at the same magnification and aperture; only the working distance and the background differ. Approximate total depth at f/8 marked, on full frame:
| Magnification | Depth of field at f/8 | Effective f-number at f/8 marked |
|---|---|---|
| 0.25x | About 10 mm | f/10 |
| 0.5x | About 3 mm | f/12 |
| 1x | About 1 mm | f/16 |
| 2x | About 0.4 mm | f/24 |
The right-hand column is the reason you cannot simply stop down to f/22 for more depth. Diffraction follows the effective f-number, not the marked one, so f/16 marked at 1x is already an effective f/32 and visibly soft. As a working limit, stay at f/8 to f/11 marked up to 1x, and f/5.6 to f/8 at 2x.

With so little depth, where you put the plane of focus matters more than how much of it you have:
- Square up to the subject. Turn the camera until the sensor is parallel to the part that matters: the wing, the face of the coin, the row of stamens. A flat subject held parallel is sharp from edge to edge even with 1 mm of depth.
- Set the magnification first, then move the camera. Turning the focus ring changes the framing as much as the focus. Fix the ring, then rock the whole camera forward and back by millimetres until the key detail snaps sharp.
- Magnify the view. Use live view or the electronic viewfinder at 5x to 10x, with manual focus. Autofocus hunts across the tiny focus band that tubes and reversed lenses leave.
- Stack when one frame cannot hold it. For static subjects, shoot a series with the focus stepped through the subject and merge it. The method is in the focus stacking guide.
Lighting when the lens is almost touching the subject
Three things work against you at once: the extension has cost one to three stops, the aperture is stopped down for depth, and the lens itself is close enough to block the light. Movement is magnified along with the subject, so a slow shutter speed is not a safe way out. At 1x, a subject that sways half a millimetre has moved half a millimetre across the sensor, which is around a hundred pixels on most cameras.
- In daylight, work in bright open shade or light overcast, raise the ISO to 400 or 800 without guilt, and keep the shutter at 1/250 or faster handheld. A sheet of white card or foil held on the shadow side returns a useful amount of light at these distances because it can sit only centimetres from the subject.
- With flash, the brief burst freezes both your movement and the subject’s. Bare flash from the hot shoe often misses a subject 5 cm from the lens, because the barrel shades it. Fire it through a diffuser that reaches forward over the lens: a sheet of white foam or translucent plastic angled down toward the subject. From the subject’s position it is huge, so the light is soft.
Common mistakes
Putting tubes on a wide lens and finding nothing will focus. The focus point has moved to the front element or inside the lens. Fix: use the shortest tube, or move to a 50 mm or longer lens.
Using plain tubes with an electronically controlled lens. The aperture cannot be set and the lens stays at one opening. Fix: use tubes with electrical contacts, or pair plain tubes with a manual lens that has an aperture ring.
Stopping down to f/22 for depth and getting a soft picture. The effective aperture at 1x is twice the marked number, and diffraction blurs everything. Fix: stay at f/8 to f/11 marked and get depth by squaring up to the subject or by stacking.
Try this
Measure your own magnification. It takes about 15 minutes and needs only a ruler with millimetre markings and one lens.
- Lay the ruler flat on a table near a window. Set the lens to manual focus at its closest distance and f/8.
- Hold the camera square to the ruler and move in until the markings are sharp. Take a frame with the ruler running across the full width of the picture.
- Count how many millimetres of ruler span the frame. Divide your sensor’s width (36 mm for full frame, about 24 mm for APS-C) by that count. A full-frame camera showing 180 mm of ruler is at 36 / 180 = 0.2x.
- Now repeat with whatever you have: a tube, a close-up filter, or simply the longest lens you own at its closest focus. Work out the new figure and compare it with the formulas above.
- Finally, tilt the camera about 45 degrees to the ruler and shoot at f/8. Count how many millimetre marks are sharp. That is your real depth of field at that magnification.
Frequently asked questions
Are extension tubes or close-up filters better?
It depends on the lens. Tubes give more magnification on short and normal lenses (up to about 100 mm) and add no glass, but cost light and infinity focus. Close-up filters give more on telephoto lenses, cost no light and keep autofocus, but a single-element filter softens the edges. For a 50 mm prime choose tubes; for a 70 to 300 mm zoom choose an achromatic close-up filter.
How much magnification does a reversed 50 mm lens give?
Roughly 0.7x to 1x mounted directly on the camera, depending on the lens and the mount. Add extension tubes behind it for more, or reverse it onto the front of a 100 mm lens for about 2x. For higher magnification from a single reversed lens, use a shorter focal length such as 28 mm or 24 mm.
Can you use a close-up filter with a zoom lens?
Yes, and it is one of the best uses for one. The focus distance stays fixed by the filter’s strength, so zooming changes the magnification without moving the camera: a +2 filter gives 0.2x at 100 mm and 0.6x at 300 mm from the same half-metre distance.
Related guides
- Macro photography: field technique, backgrounds and lighting once you can focus close enough.
- Focus stacking: how to get depth that no single aperture can give at 1x.
- Closeups in photography: the beginner’s introduction to working near your subject.
- How to photograph flowers: subjects that suit the 0.25x to 0.5x range.
- Insect photography: approach, timing and settings for live subjects.