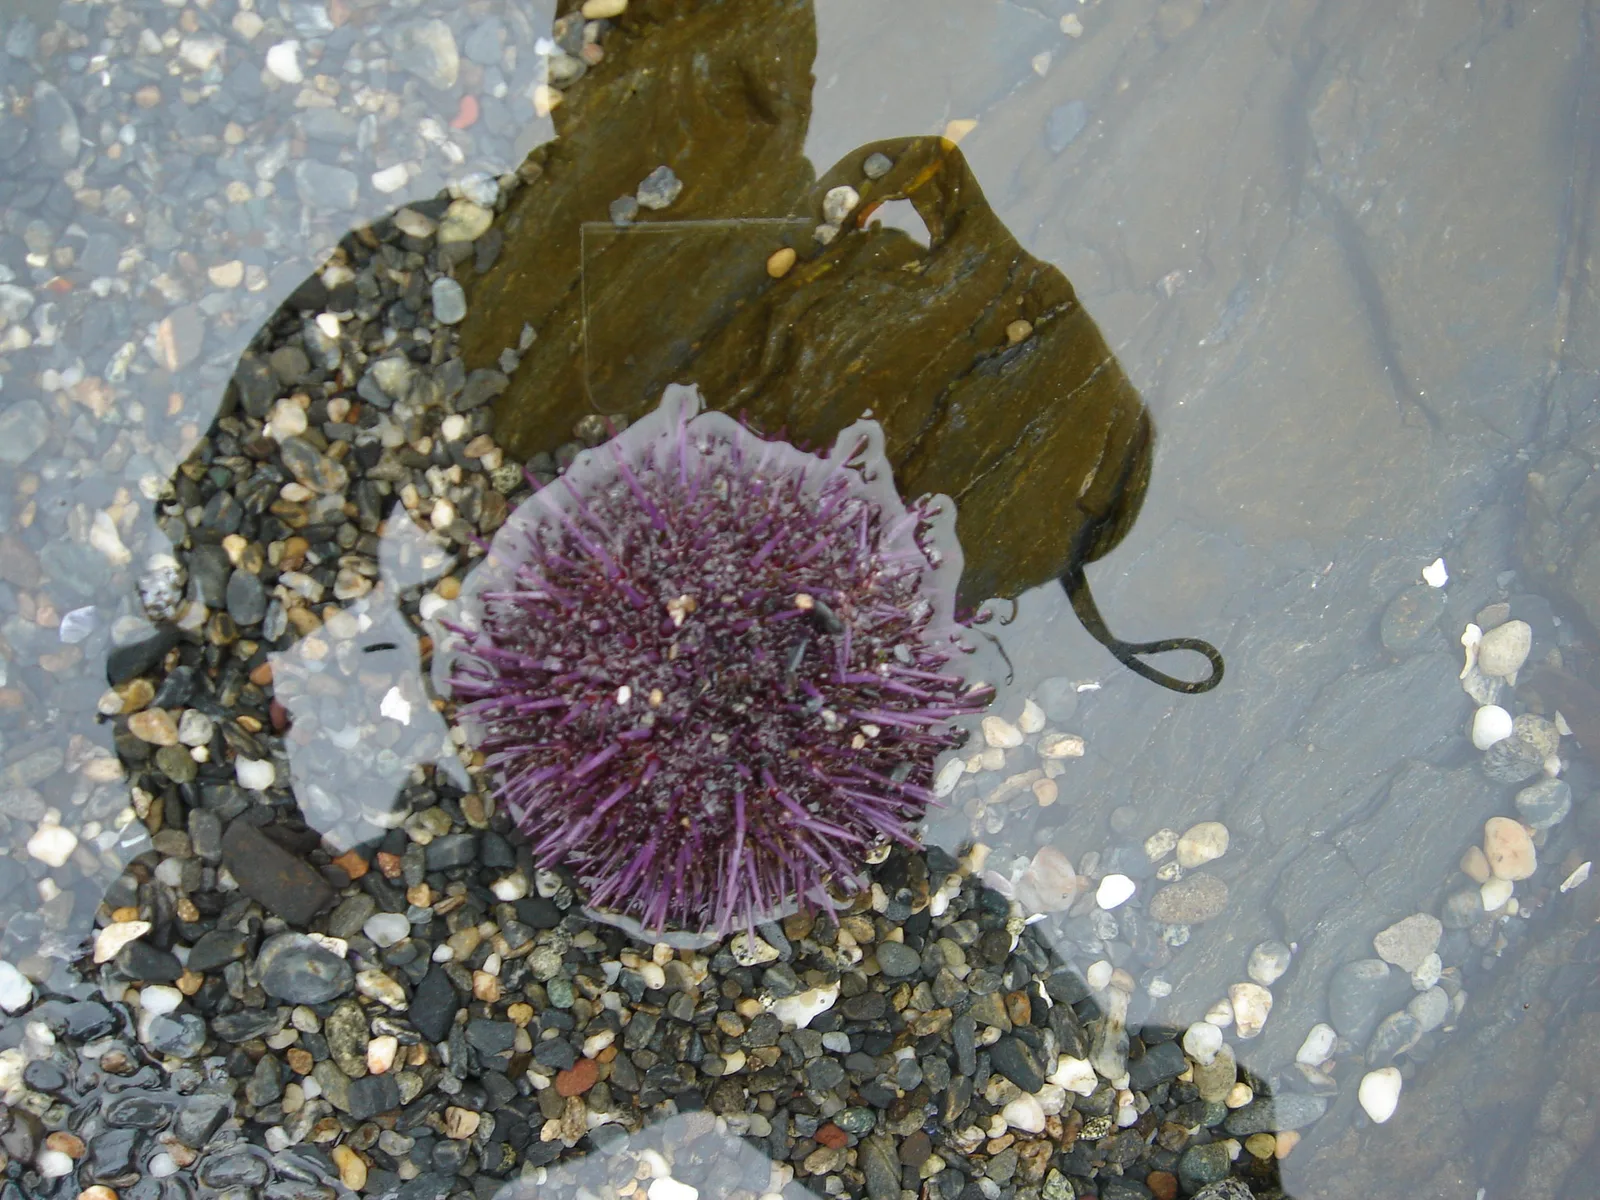
Tide pools are tiny worlds left behind by the sea. When the water drops at low tide, pools among the rocks reveal anemones opening like flowers, sea stars clinging to stone, purple urchins, darting fish, hermit crabs and seaweed in every color. For a photographer, a single pool can hold an afternoon of close-up subjects, all within reach of a careful step.
This guide covers timing low tide, staying safe on wet rocks, cutting glare on the water, finding subjects, close-up technique, light, composition, settings, gear care and how to leave pools just as you found them. For the wider coastal scene, see the guides to seascape photography and beach photography.
Why tide pools make great subjects
Tide pools are one of the best places for beginners to explore close-up and nature photography together.
- They are full of color. Green and pink anemones, orange and purple sea stars, bright seaweed and patterned shells make vivid pictures.
- The subjects stay still. Many tide pool animals move slowly or not at all, giving time to compose carefully.
- They are accessible. Rocky shores with pools are found along many coastlines, often a short walk from a parking area, and they are free to visit.
- They change with every tide. Each visit reveals something different, from a new crab to a sea star in a different spot.
- They teach close-up skills. Focusing, depth of field and lighting at short distances all come into play.
Tide pools also encourage you to slow down. Kneeling at the edge of one pool for twenty minutes often reveals far more than walking quickly along the shore. A crab emerges, an anemone opens, a small fish appears from under a ledge, and the pool comes alive in front of you.
Timing low tide
Tide pools are only accessible around low tide, so planning is essential. Check a tide table for the shore you plan to visit and arrive an hour or two before low tide. That gives time to explore as the water drops and to leave safely as it starts to rise. The guide to planning around the sun, moon and tides explains how to read tide tables and match them with good light.
Some low tides are much lower than others. The lowest tides of the month, often around the full and new moon, expose pools and creatures that stay hidden the rest of the time. Seasonal patterns also matter: in some places the lowest daytime tides come in early morning in one season and late afternoon in another. Combining a very low tide with soft light is the ideal.
Calm days are best
Wind and big waves stir up pools, ripple the surface and make rocks dangerous. Calm days with small swells give still, clear water and safer footing. Check the marine forecast as well as the tide table before you go.
Safety on the rocks
Rocky shores are beautiful but can be dangerous. Wet rocks covered in seaweed are slippery, and waves can surge unexpectedly onto rocks that looked dry a moment ago.
- Never turn your back on the sea. Watch the waves and keep an eye on the incoming tide.
- Wear shoes with good grip. Sturdy water shoes or boots with rubber soles help on slick rock.
- Step on bare rock where possible. Seaweed is slippery and often hides animals.
- Keep your hands free. Use a camera strap or small backpack so you can steady yourself.
- Know your exit. Make sure the rising tide will not cut off your path back to shore.
- Go with someone. A companion can help if you slip and keeps an eye on the sea while you focus.
No picture is worth risking a fall or being caught by a wave. When in doubt, stay higher and photograph pools closer to shore.
Cutting glare on the water
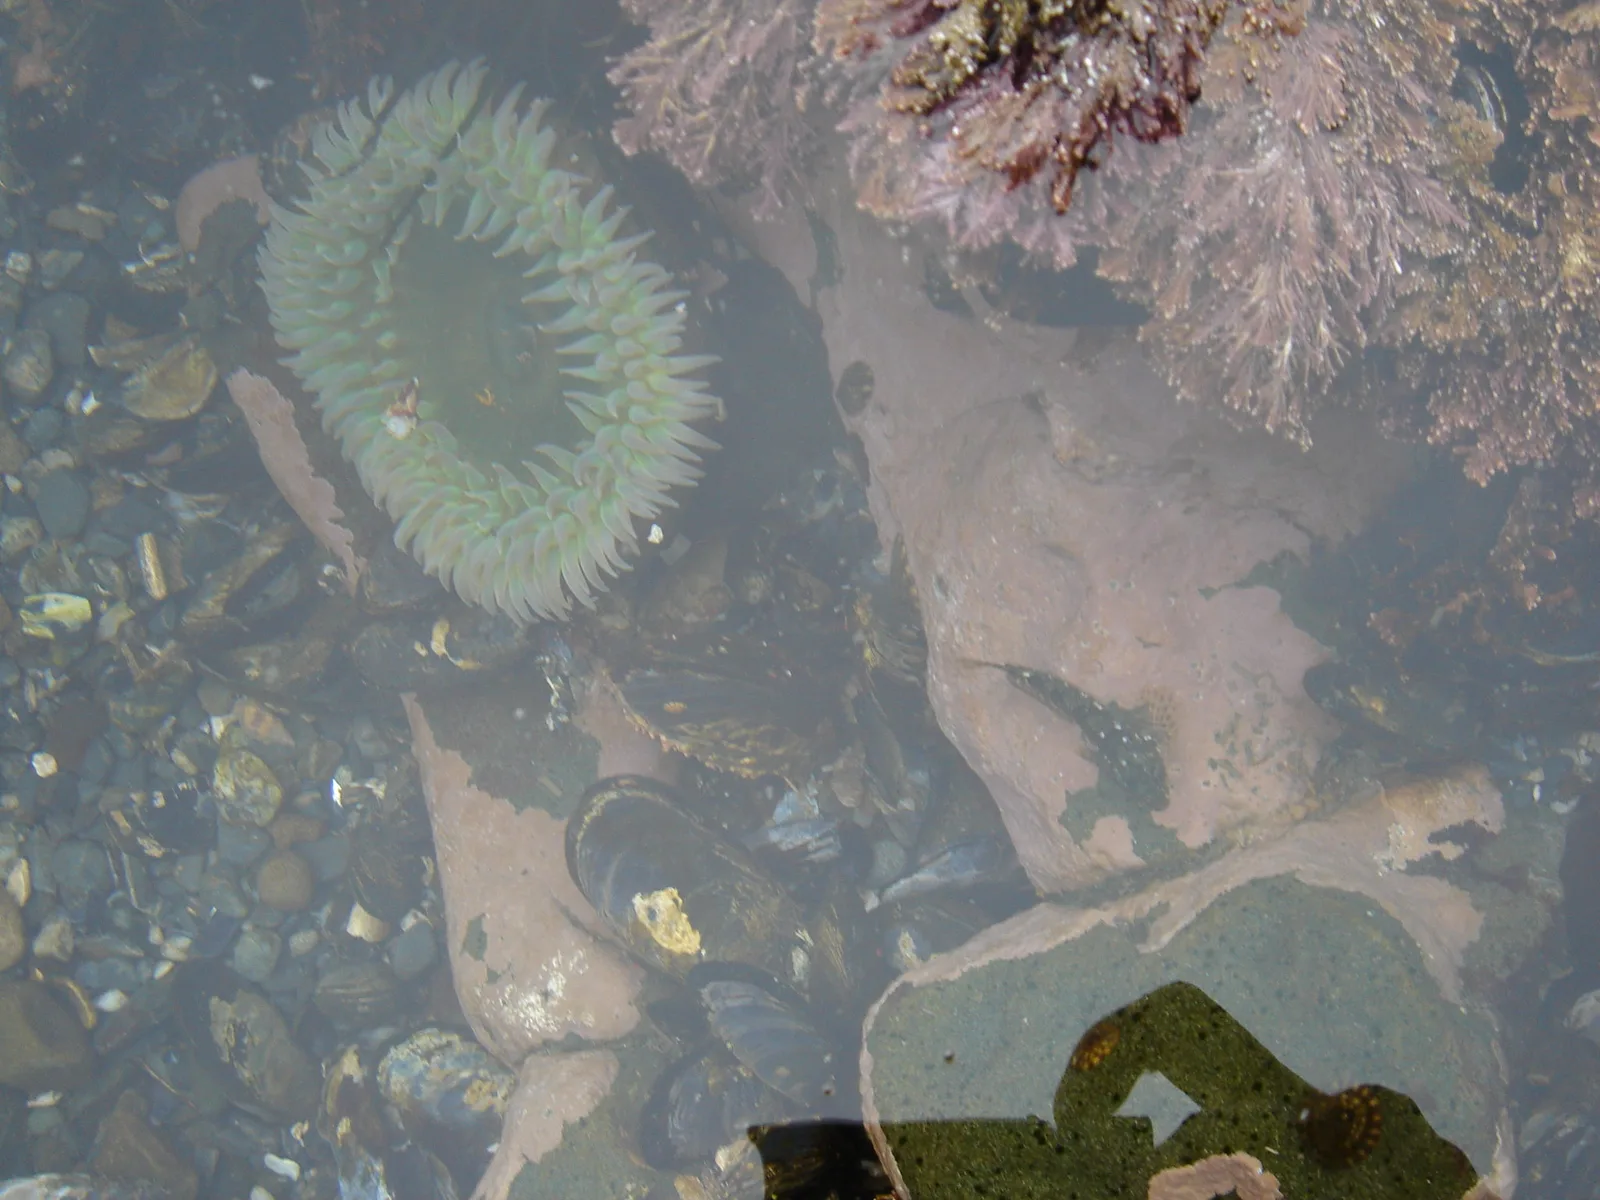
The biggest technical challenge with tide pools is the water’s surface. Reflections of sky and glare hide what lies below, turning a colorful pool into a mirror of clouds. Three simple techniques help:
- Use a polarizing filter. A circular polarizer cuts reflections on the water so you can see through to the bottom. Rotate it while watching the screen until the surface clears. The guide to the polarizing filter explains how it works.
- Shoot straight down. Looking directly into the pool reduces reflections compared with shooting at a low angle.
- Shade the surface. Your body, a hat or a small umbrella can block reflections of bright sky. Even standing between the sun and the pool helps.
Sometimes reflections help instead. A pool reflecting a colorful sunrise sky, with rocks around it, makes a striking foreground for a wider scene, as the guide to foreground interest describes.
What to look for
Each coast has its own tide pool creatures, but many shores share similar groups:
- Sea anemones. Soft, flower-like animals that open their tentacles underwater. They close up when exposed or touched.
- Sea stars. Often orange, purple or brown, clinging to rocks or tucked into crevices.
- Sea urchins. Spiny spheres in purple, red or green, often nestled in rock hollows.
- Crabs. Shore crabs and hermit crabs scuttle among pebbles and shells.
- Small fish. Sculpins, gobies and blennies dart between rocks.
- Snails, limpets and barnacles. Patterns of shells cover rocks and make interesting textures.
- Seaweed. Kelp, coralline algae and sea lettuce add color, shape and texture.
Look slowly. Many animals are camouflaged or hidden under ledges. Sit at the edge of a pool and watch for a few minutes, and creatures you did not notice at first will start to move.
Close-up technique
Most tide pool subjects are small, so close-up skills matter. You do not need a special macro lens to start, though one helps.
Getting close
Many standard zoom lenses focus fairly close, and many phones have a close focus or macro mode. A dedicated macro lens lets you fill the frame with a single anemone or the tiny details of an urchin’s spines. The guide to macro photography covers lenses and technique in more depth.
Depth of field
Close-up depth of field is shallow, so only a thin slice of the subject is sharp. Use an aperture around f/8 to f/11 for more depth, and focus carefully on the most important part, such as the center of an anemone or the eye of a crab. For subjects with lots of depth, such as a sea star wrapped over a rock, try shooting from directly above so more of it lies in the same plane of focus. The guide to depth of field explains the basics, and focus stacking can combine several frames for a sharper result.
Keeping the camera steady
Rest your elbows on a rock, use a small beanbag or brace the camera on your knee. A fast enough shutter speed, around 1/250 second or faster, helps when hand holding close up. Wait for ripples to settle before you press the shutter.
Light in tide pools
Soft, even light is often best. Overcast days remove harsh reflections and bright spots on the water, letting colors glow. Early morning and late afternoon give warm light but can bring more reflections from the low sun, so a polarizer is especially useful then.
Bright midday sun shining straight into a pool can make colors pop and create beautiful patterns of light called caustics on the bottom, but it also creates harsh contrast and glare. Use your body to shade part of the pool, or look for pools that are partly in shade. If the sun is low, try backlighting translucent seaweed or anemone tentacles so they glow.
Curious about photographing below the surface in deeper water? The guide to underwater photography covers snorkeling, housings and light underwater.
Composing tide pool pictures
Tide pools are busy places full of shapes and colors, so simplifying is key.
- Pick one subject. Fill the frame with a single anemone, sea star or urchin rather than trying to show everything.
- Look for contrast. A purple urchin on gray pebbles or an orange sea star on dark rock stands out clearly.
- Use patterns. Clusters of anemones, rows of barnacles and swirls of seaweed make abstract compositions.
- Include the pool edge. Sometimes showing the rim of the pool and surrounding rock gives context.
- Try a wider view. A wide angle lens low over a pool, with the sea and sky beyond, shows the setting.
Shoot both close details and wider scenes on each visit. Together they tell the story of the shore.
Rock pools as landscapes
Tide pools are not only for close-ups. Some of the most beautiful coastal pictures use a pool as the foreground of a wide scene: a still pool reflecting a pink dawn sky, a line of pools leading toward a sea stack or a pool glowing gold as the sun sets over the ocean. These pictures combine the small world at your feet with the big world beyond.
Use a wide angle lens, get low over the pool and include both the pool and the horizon. Focus about a third of the way into the scene and use f/11 to f/16 for depth, or focus stack for very close foregrounds. A tripod helps in low light and lets you try slower shutter speeds that smooth the waves beyond while the pool stays calm. Pay attention to the edge of the pool, too, since a clean, curved rim makes a natural frame. Check the timing of the sun as well as the tide, since a low tide at sunrise or sunset is a rare and valuable combination.
Want to make the most of warm early and late light at the shore? The guide to golden hour photography explains how to plan around the best light.
Settings for tide pools
- Close-ups: aperture f/8 to f/11, shutter speed 1/250 second or faster for hand holding.
- Wide scenes: f/8 to f/16 for depth, using a tripod for low light or long exposures.
- ISO: auto ISO with a sensible upper limit, or ISO 400 to 800 on overcast days.
- Focus: single point autofocus on the key detail, or manual focus for very close subjects.
- White balance: auto usually works, but check for a blue cast in shaded pools.
- Filter: a circular polarizer to cut glare.
Editing tide pool photos
Keep edits gentle. Correct any blue or green cast, add a little contrast and clarity to bring out texture and recover bright reflections where possible. Crop to strengthen the composition, and remove small distractions such as a bright speck of foam only if it can be done cleanly. Avoid pushing saturation too far, since tide pool colors are already vivid.
Need a simple editing routine? The guide to photo editing for beginners walks through the basic steps in order.
Respecting tide pool life
Tide pools are fragile, and every visitor has an effect. Photograph creatures where they are. Do not pull anemones, sea stars or urchins off rocks, since this can injure or kill them. If you turn over a rock to look underneath, put it back gently exactly as it was. Avoid stepping on animals and seaweed, and never take living creatures home. Many shores are protected areas with rules about collecting and handling, so check before you visit. Look, photograph and leave the pool just as you found it.
Be mindful of animals out of the water, too. At low tide, mussels, barnacles and sea stars on exposed rocks are waiting for the sea to return, and a careless footstep can crush them. Walk on bare rock or sand where you can, move slowly and enjoy the quiet discoveries that come from careful exploring.
Common mistakes
- Arriving at the wrong time. Check the tide table and arrive before low tide.
- Glare hiding the subject. Use a polarizer, shoot straight down or shade the water.
- Shallow focus in the wrong place. Use f/8 to f/11 and focus on the key detail.
- Ripples blurring the scene. Wait for the water to settle before shooting.
- Cluttered frames. Simplify with one strong subject and a clean background.
- Turning your back on the sea. Watch the waves and the incoming tide.
- Disturbing animals. Photograph creatures where they are and return any rocks you move.
Try this: a 10-minute tide pool study
At your next low tide, choose one pool and give yourself ten minutes:
- Minutes one to three: sit at the edge and watch. Notice which creatures are visible and how the light falls on the water.
- Minutes four to seven: make close-ups of one subject, using a polarizer or your shadow to cut glare.
- Minutes eight to ten: step back and make one wider picture showing the pool with the rocks and sea around it.
At home, compare the details and the wide view. Together they make a small story of the shore.
Frequently asked questions
When is the best time to photograph tide pools?
About an hour or two before low tide on a calm day, ideally when a very low tide falls in soft morning or evening light.
Do I need a macro lens for tide pools?
No, though it helps. Many zoom lenses and phones focus close enough to start, and a macro lens allows tighter details later.
How do I photograph through the water without reflections?
Use a circular polarizing filter, shoot straight down and shade the surface with your body or a hat.
Is it okay to touch tide pool animals?
It is best not to. Handling can injure them, and many shores are protected. Photograph creatures where they are.
How do I keep my camera safe on wet rocks?
Use a strap, keep a cloth handy to wipe spray and step carefully. Never put the camera down near the water’s edge.
Can I photograph tide pools with a phone?
Yes. Hold the phone close to the water, use a close focus or macro mode and shade the surface with your hand. Keep it on a strap or in a waterproof case.
For terms such as polarizing filter, depth of field, macro and focus stacking, see the photography glossary.