Driftwood is one of nature’s quiet sculptures. Tossed by waves, tumbled by rivers and bleached by sun and salt, old branches and whole trees become smooth, silver, twisted shapes scattered along beaches, lakeshores and riverbanks. Every piece is unique, and photographers love driftwood for its texture, its graceful lines and the stories it hints at about storms, floods and long journeys across water.
This beginner guide covers why driftwood makes a rewarding subject, where to find it, seeing shapes, texture and side light, driftwood as foreground, long exposures with water, beach logs and scale, color and tone, close details, driftwood at sunrise and sunset, settings, phones, editing, safety and care, common mistakes and a short practice exercise. It pairs well with the guides to beach photography and texture.
Why driftwood makes a rewarding subject
- Texture. Weathered grain, cracks and worn knots reward close looking.
- Shape. Twisted roots, curved branches and smooth logs make sculptural forms.
- Tone. Silver gray wood contrasts with dark water, golden sand and blue sky.
- Story. Each piece has traveled, suggesting storms and time.
- Stillness. Driftwood waits patiently while you compose, unlike waves or wildlife.
Driftwood suits beginners because it is easy to find, never moves and changes dramatically with light. A single log can provide an hour of practice in composition and lighting.
Seeing driftwood as sculpture
Approach driftwood as a sculptor might. Walk around a piece and notice how its shape changes from each side. A root ball might look like a creature from one angle and a tangle of lines from another. Look for gestures: a branch reaching toward the sea, two logs leaning together, a stump standing alone like a figure. Many photographers find faces, animals and abstract forms in driftwood, and these discoveries make memorable pictures. The guide to abstract photography explores this way of seeing.
How driftwood forms
Understanding where driftwood comes from helps you find it and photograph it with more feeling. Trees fall into rivers through floods, erosion and storms, then travel downstream to lakes and oceans. On the way, rocks and sand strip the bark and round the edges. In salt water, waves tumble the wood for months or years, while sun and salt bleach it silver. Eventually storms and high tides throw it high onto beaches, where it may lie for decades. Some logs travel thousands of miles across oceans. Knowing this history can inspire captions and series that tell the journey of wood from forest to shore.
Where to find driftwood
- Ocean beaches. Storms wash huge logs and roots ashore, especially on wild coasts.
- Lakeshores. Large lakes collect smooth, pale wood along their beaches. See the guide to lake photography.
- Riverbanks and streams. Branches caught on rocks and gravel bars after floods.
- Estuaries. Where rivers meet the sea, wood piles up in tangled heaps.
- Reservoirs. Low water reveals old stumps and logs.
The best driftwood often appears after winter storms or spring floods. Visit after rough weather to find fresh arrivals.
Kinds of driftwood scenes
- Single sculptures. One striking root or branch, photographed like a sculpture.
- Log jams. Piles of logs at river mouths and storm beaches, full of pattern.
- Driftwood in water. Stumps standing in lakes or wood caught in streams, with reflections and flow.
- Driftwood art and shelters. Forts, sculptures and benches built by beachgoers.
- Ghost forests. Dead trees standing in water where coastlines or lakes have changed.
Each scene asks for a different approach, from close studies of a single piece to wide landscapes showing the whole beach.
Texture and side light
Light reveals texture, and texture is the heart of driftwood photography.
- Low sun. Early and late light skims across wood, deepening every crack and ridge.
- Side light. Light from one side shows grain and form most clearly. See the guide to direction of light.
- Overcast. Soft light suits pale, bleached wood and shows subtle tones.
- Wet wood. After rain or a wave, wood darkens and grain becomes richer.
- Midday. Hard overhead light flattens texture, so look for shade or close details.
Move around the piece as the sun changes. The same log can look flat at noon and dramatic an hour before sunset.
Driftwood as foreground
Driftwood makes one of the best foreground elements in coastal and lake landscapes.
- Leading lines. Logs pointing toward the water or horizon lead the eye. See the guide to leading lines.
- Get low and close. A wide lens close to the wood makes it large and textured, with the scene beyond.
- Anchor the frame. A stump or root in a lower corner gives balance.
- Depth. Near wood, middle water and distant sky create layers.
- Sharp throughout. Use f/11 and focus a third into the scene, or focus stack.
The guide to foreground interest explains how near objects add depth to landscapes.
Composing with shapes
Driftwood shapes give endless compositional possibilities. A long, straight log makes a strong diagonal, a curved branch makes an S curve, and a root ball makes a radiating starburst. Place a shape so it leads toward the main point of interest, such as the setting sun, a sea stack or a distant headland. Watch where the wood meets the edges of the frame, since awkward cuts through branches can feel uncomfortable. Leave space around the wood so it can breathe, or crop in tightly so its lines run boldly off the edges. The guide to shape explains how outlines guide the eye.
Long exposures with water
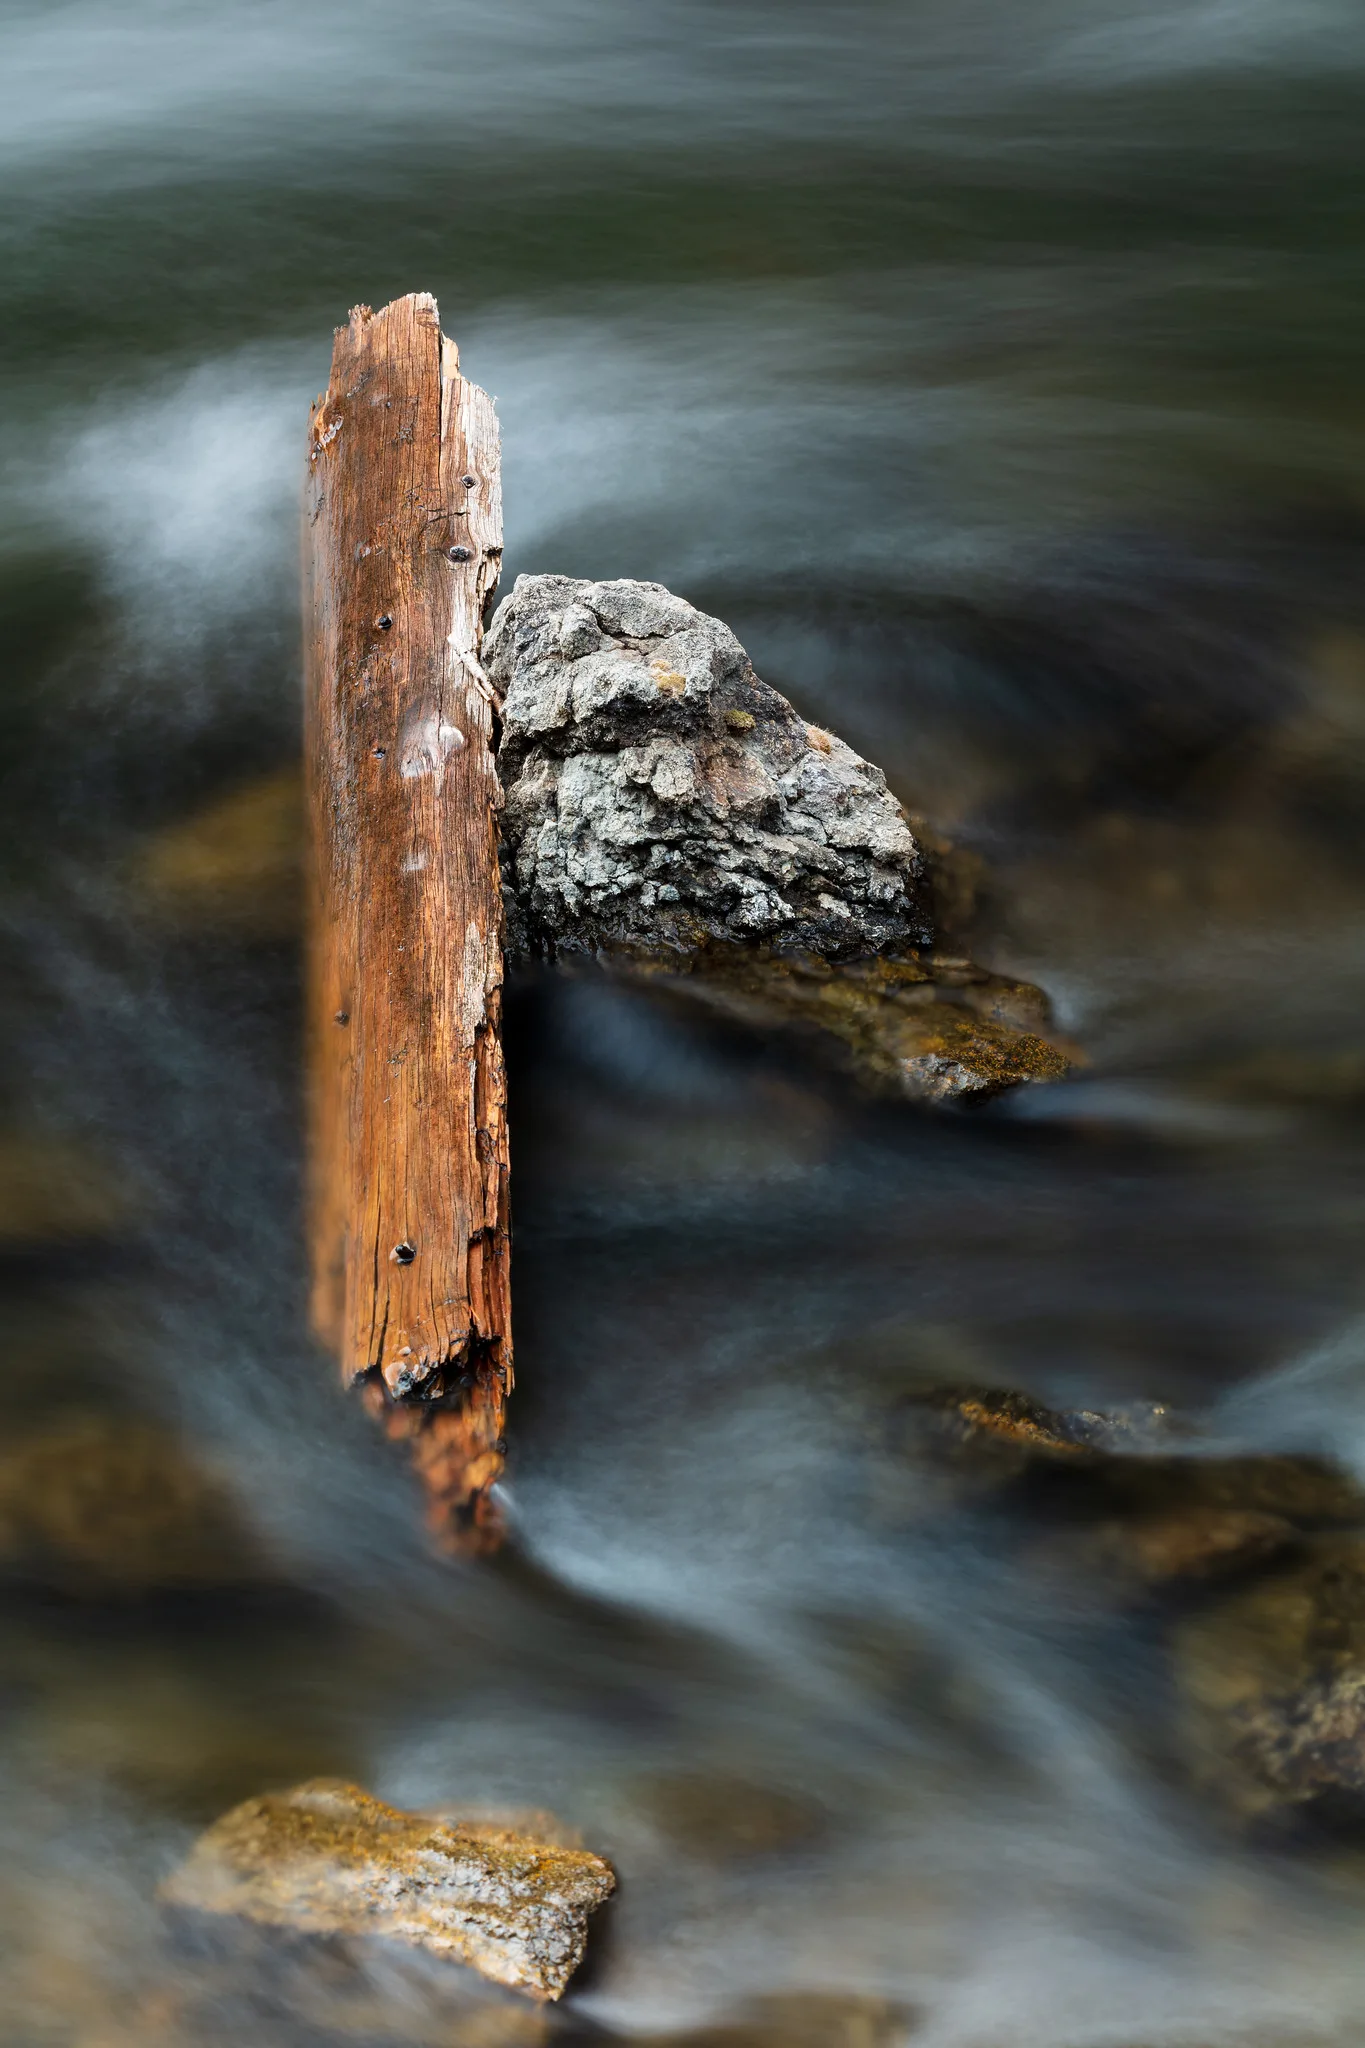
- Silky water. A shutter speed of half a second to several seconds smooths waves and streams around sharp wood.
- Wave trails. Around 1/4 second, retreating waves leave streaks around logs.
- Tripod. Essential for sharp wood during long exposures.
- Filters. A neutral density filter allows longer exposures in daylight.
- Timing. Watch the rhythm of waves and start exposures as water rushes in or out.
The contrast between soft water and rough, sharp wood is one of the most pleasing effects in nature photography. The guide to long exposure photography covers the technique in depth.
Reflections and wet sand
On beaches with wide, flat sand, a thin layer of water after each wave turns the shore into a mirror. Driftwood reflected in this wet sand looks beautiful, especially at sunrise and sunset when the sky glows. Get low so the reflection grows larger, and time your shot as the water spreads smoothly around the wood. Along lakeshores and calm rivers, stumps and branches standing in still water create perfect reflections on windless mornings. The guide to reflection photography has more tips.
Beach logs and scale
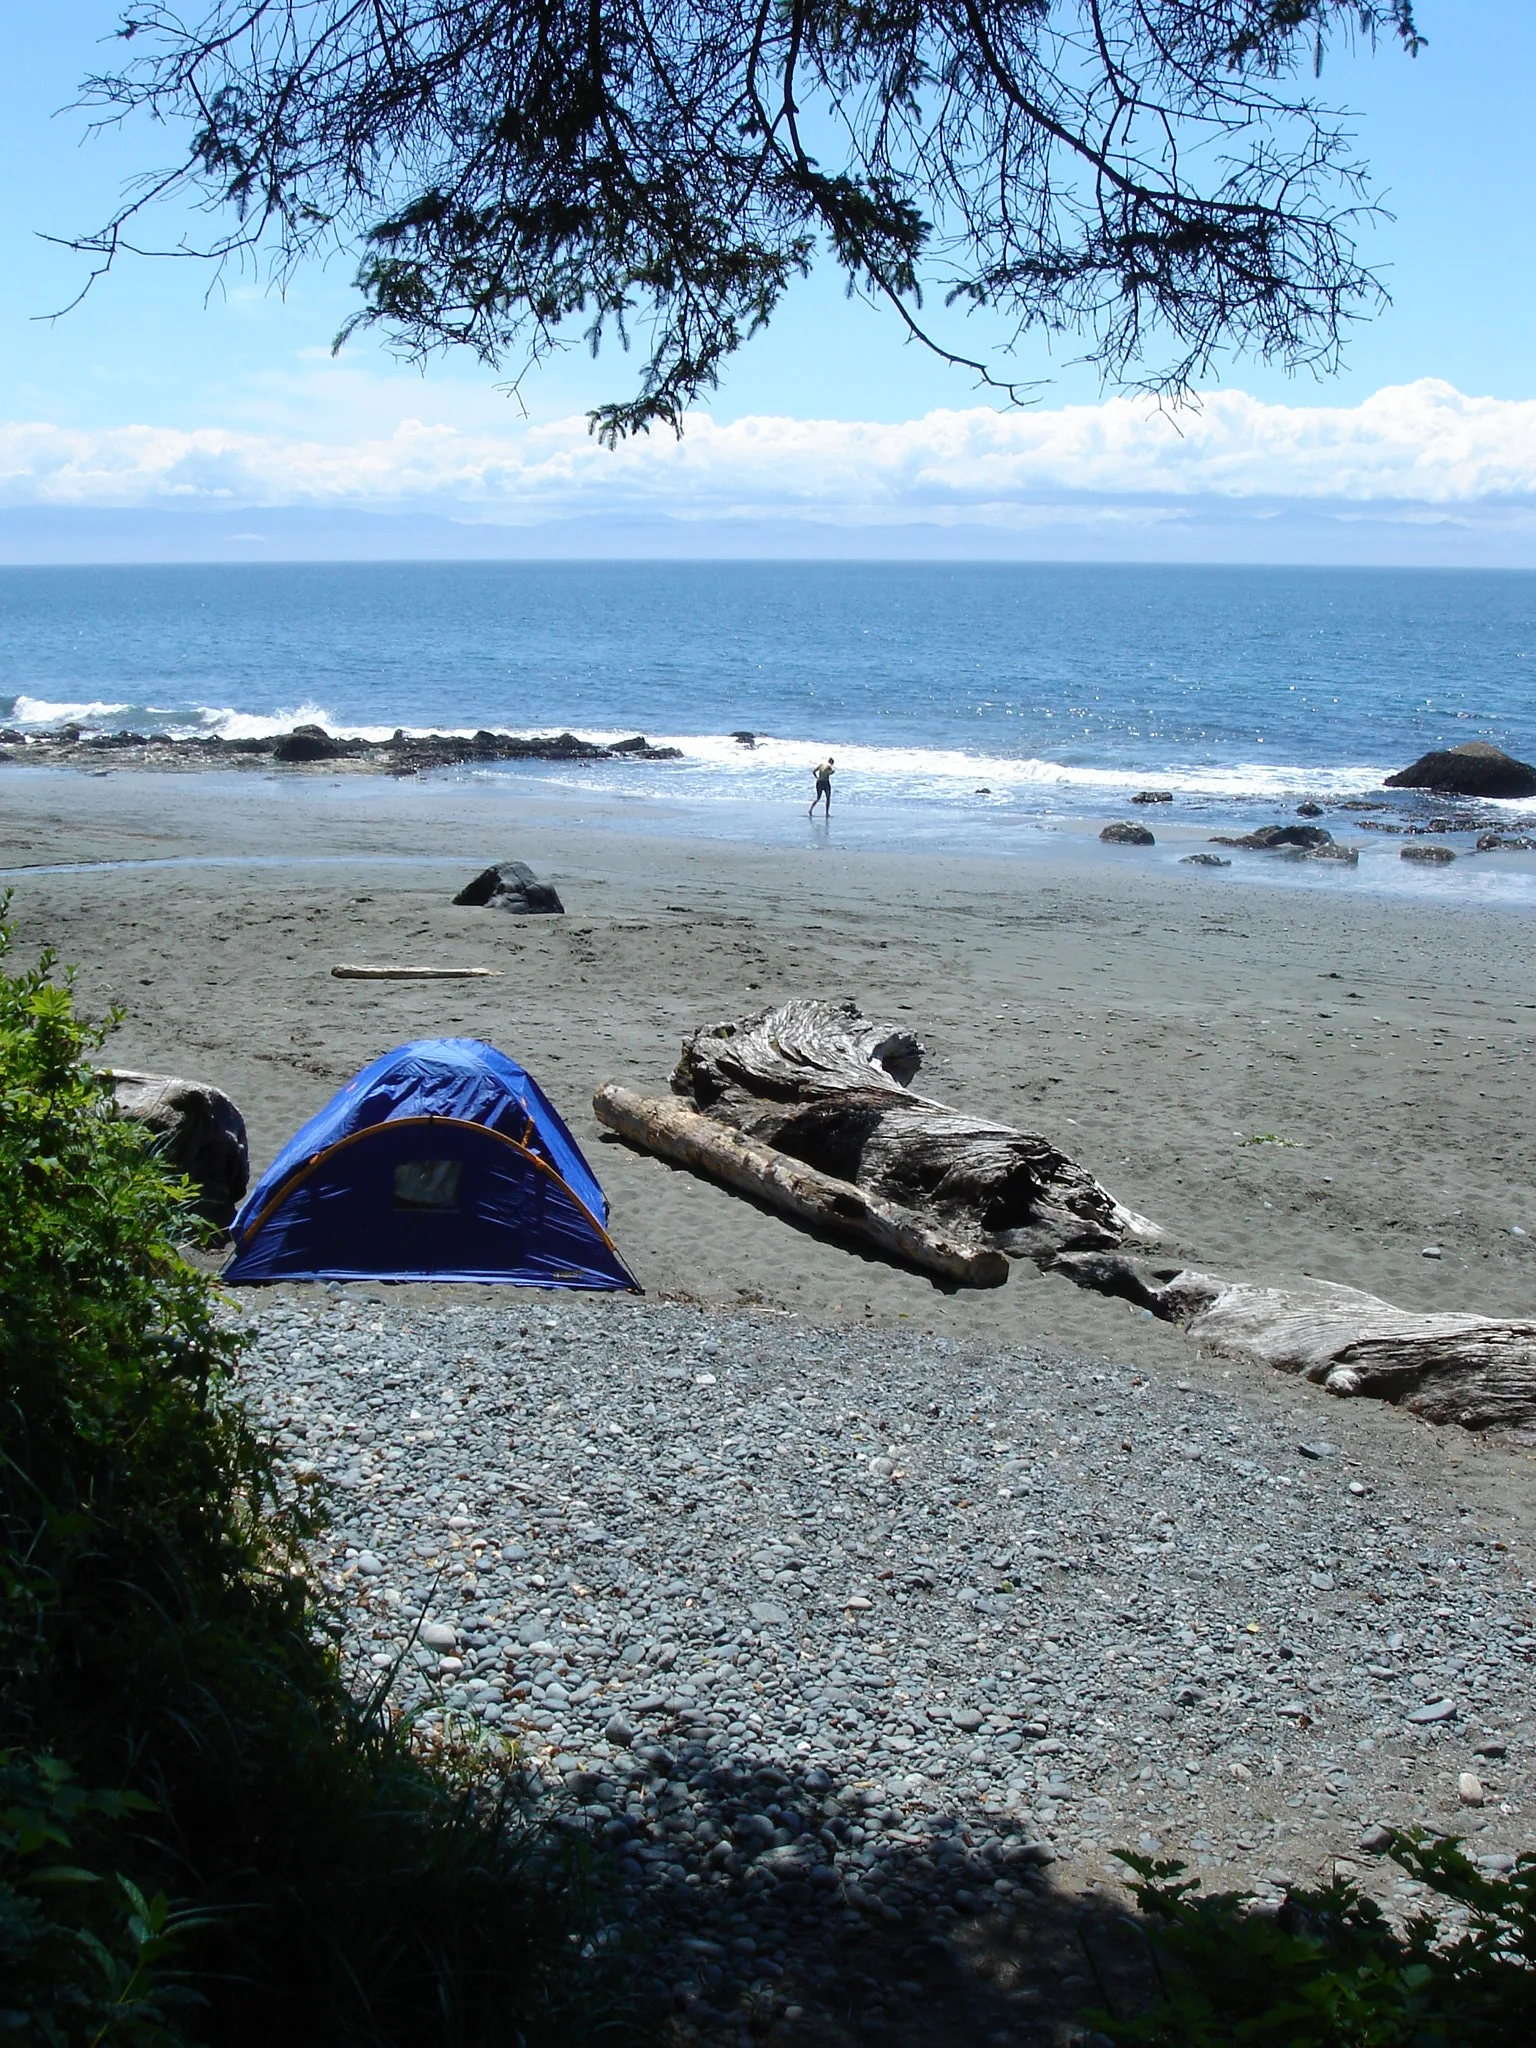
- Giant logs. On wild coasts, whole trees lie stacked high on the beach.
- People for scale. A friend sitting on a log shows its size.
- Camps and shelters. Beachgoers often build forts from driftwood, which make charming subjects.
- Patterns. Piles of logs create rhythm and texture from a distance.
- From above. High bluffs show patterns of logs across sand.
The guide to scale explains how to show size in a picture.
Weather and mood
Weather changes the mood of driftwood scenes dramatically. Fog wraps beaches in soft gray, turning logs into dark shapes that fade into the distance. Storm skies over a log strewn shore feel wild and powerful. Bright sun after rain makes wet wood shine. Snow on driftwood along a winter lake creates quiet, graphic pictures of white on gray. Rather than waiting for perfect sunny days, go out in changeable weather and see how the wood responds.
Color and tone
- Silver and blue. Bleached wood against blue sea and sky makes a cool palette.
- Warm light. Sunrise and sunset turn gray wood gold and pink.
- Dark water. Pale wood stands out against dark water and wet rock.
- Black and white. Driftwood is ideal for monochrome, which emphasizes shape and texture.
See the guide to black and white photography for converting textured subjects.
Lens choices
A wide lens is the classic choice for driftwood foregrounds, placing a log large in the frame with sea and sky beyond. Get within a few feet of the wood and tilt down slightly so the wood fills the lower part of the frame. A standard lens gives natural views of single pieces without exaggeration. A telephoto lens compresses piles of logs into dense patterns and isolates a single stump against distant water. A macro lens reveals tiny worlds in grain, cracks and lichen. Bringing two lenses on a beach walk covers most possibilities.
Close details
- Grain. Fill the frame with swirling wood grain.
- Knots and holes. Make natural frames and focal points.
- Roots. Tangled roots create intricate patterns.
- Lichen and barnacles. Add color and life.
- Sand and salt. Crystals and grains on wood show close texture.
A macro lens or close focusing setting reveals detail invisible from standing height. The guide to macro photography has more ideas.
Making a driftwood series
Driftwood lends itself to series. Photograph a collection of individual pieces in the same way, such as close, centered views in soft light on a plain sand background, and display them together like specimens in a museum. Or return to one beach through the seasons to show how storms rearrange the wood. Another lovely idea is a series of driftwood faces and creatures, found shapes that look like animals or people. Series give purpose to beach walks and turn single pictures into a body of work.
Sunrise, sunset and night
- Silhouettes. Twisted roots against a bright sky make striking shapes.
- Golden glow. Warm light makes wood glow against cool water.
- Blue hour. Soft twilight suits calm, moody beaches.
- Stars. A large driftwood piece under the night sky makes a strong foreground for astrophotography.
Love the textures of the shore? The guide to tide pool photography covers rocks, pools and small sea life.
Driftwood in rivers and streams
Rivers and streams offer a different kind of driftwood scene. Branches wedge between rocks, logs bridge small channels and roots trail in the flow. These scenes suit long exposures, which turn rushing water into soft white ribbons around dark, sharp wood. Autumn adds colored leaves caught against branches. Shoot on overcast days or in shade to avoid harsh highlights on the water, and use a polarizing filter to cut glare and reveal rocks below the surface. The guide to river photography covers flowing water in more detail.
Settings, phones and editing
- Aperture. f/8 to f/11 for landscapes, wider for close details.
- ISO. Low on a tripod for clean detail.
- Shutter. Long for water, fast for hand held details.
- Lenses. A wide lens for foreground scenes, a macro or standard lens for details.
Using a phone
Get low and close with the main or ultra wide lens for driftwood foregrounds. Use portrait mode for detail shots with soft backgrounds. Some phones offer long exposure modes that smooth water around wood.
Editing driftwood photos
Add clarity and texture to bring out grain. Lower highlights on bleached wood. Warm white balance suits sunset scenes, while cool tones suit misty mornings. Try black and white for shape and texture.
Driftwood with people and stories
People often gather around driftwood. Families build forts, couples sit on logs to watch the sunset, children balance along trunks and artists stack wood into sculptures. Photographed from a respectful distance, these scenes add warmth and human scale to beach pictures. Ask before photographing people closely. A small figure on a giant log, seen from behind, is often enough to tell the story while keeping privacy.
Beach fires, shelters and seasonal driftwood art festivals in some coastal towns also make lively subjects. Even the empty remains of a fort, abandoned after a summer day, can suggest the stories of the people who built it.
Safety and care
- Waves. Large logs can roll in surf and are very dangerous. Never stand on logs in the water.
- Tides. Check tide times so you are not cut off.
- Slippery wood. Wet driftwood is slick, so step carefully.
- Leave it. Driftwood shelters wildlife and protects beaches, so do not take it from protected areas.
- Salt and sand. Wipe gear after beach shoots.
Leave no trace
Driftwood is part of the shore ecosystem. It shelters birds, insects and small animals, traps sand to build dunes and slowly returns nutrients to the beach. Avoid moving large pieces to improve a composition, especially in nesting areas, and never burn or remove wood where rules forbid it. Taking pictures and leaving the wood in place keeps beaches wild and beautiful for the next photographer.
Common mistakes
- Flat midday light. Shoot early or late for texture.
- Too far away. Get close so driftwood fills the foreground.
- Cluttered piles. Pick one clear shape.
- Crooked horizons. Level the camera.
- Ignoring safety. Watch waves and tides.
- Soft foregrounds. Use a small aperture or focus stacking.
Try this: a 10-minute driftwood study
Find one piece of driftwood and make five pictures in ten minutes.
- A wide view with the wood as foreground and water beyond.
- A close study of grain or texture.
- A silhouette against the sky.
- A long exposure with water moving around it.
- A black and white version of your favorite.
Frequently asked questions
When is the best time to photograph driftwood?
Early morning and late afternoon, when low side light reveals texture.
How do I make water silky around driftwood?
Use a tripod and a shutter speed of half a second or longer.
Can I take driftwood home?
Check local rules. Many parks and protected beaches do not allow it.
Is driftwood good for black and white?
Yes. Its texture and shape look wonderful in monochrome.
What lens is best for driftwood?
A wide lens for foregrounds, plus a macro or standard lens for details.
Why does my driftwood look flat?
The light is probably too high or too soft. Return when low sun rakes across the grain, or move so the light comes from the side.
Want more coastal ideas? The guide to coastal cliff photography covers headlands, waves and sea stacks.
For terms such as long exposure, side light and focus stacking, see the photography glossary.