You can predict almost everything about the light at a location before you go. The sun and moon follow exact paths that a sun and moon planning app can show for any date: where each one rises (its azimuth, or compass direction), how high it is (its elevation) and when. Tides are published in tide tables, and modern forecasts give cloud cover at low, middle and high levels. Put those four together and you can choose the day, the hour and the exact spot to stand, instead of hoping.
Why the sun rises in a different place every month
The sun rises due east and sets due west only around the two equinoxes. For the rest of the year the sunrise point slides along the horizon, far enough to ruin a plan.
- Equinoxes (around March 20 and September 22): the sun rises due east and sets due west everywhere on Earth.
- June solstice (around June 21): the sun rises and sets at its farthest north. In the Northern Hemisphere this is the longest day, with sunrise well north of east and sunset well north of west.
- December solstice (around December 21): the sun rises and sets at its farthest south. In the Northern Hemisphere this is the shortest day.
The Southern Hemisphere gets the same geometry with the seasons swapped: the June solstice is its shortest day, but the sun still rises north of east in June, because that direction is set by the tilt of the Earth, not by the local season.
Latitude changes how far the sunrise point swings
The farther you are from the equator, the wider the swing. At the equator the sunrise point moves about 23 degrees either side of east through the year. At higher latitudes the sun meets the horizon at a shallower angle, so the same seasonal change spreads across a much wider arc.
| Latitude (north or south) | Sunrise swing either side of due east | Sunrise direction range (approx.) |
|---|---|---|
| 0° (equator) | about 23° | 67° to 113° |
| 30° | about 27° | 63° to 117° |
| 40° | about 31° | 59° to 121° |
| 50° | about 38° | 52° to 128° |
| 60° | about 53° | 37° to 143° |
These are geometric values for a flat horizon; atmospheric refraction shifts them by about a degree. Sunset is the mirror image around due west. The practical lesson: at 50° latitude, a view that catches the sunset straight down a valley in June may have the sun setting behind a mountain 76 degrees farther south in December. Inside the Arctic Circle the sun does not set at all near the June solstice and does not rise near the December solstice; inside the Antarctic Circle it is the reverse.
Near the solstices the sunrise point barely moves for a couple of weeks (the word solstice comes from the Latin for “sun standing still”), so you have a wide window to catch an alignment. Near the equinoxes it moves fastest, so an alignment may work for only a few days. And because the sun crosses the horizon at a shallow angle at high latitudes, golden hour and twilight last longer there than in the tropics, where the sun drops almost vertically and the light changes quickly.
Azimuth and elevation: the two numbers that describe any light
Every position of the sun or moon in your sky can be described by two angles.
- Azimuth is the compass direction, measured clockwise from true north: 0° is north, 90° east, 180° south, 270° west. Note that planning apps usually use true north, while a magnetic compass points to magnetic north, which can differ by many degrees depending on where you are.
- Elevation (also called altitude) is the height above the horizon: 0° at the horizon, 90° straight overhead. Negative values mean the sun is below the horizon.
Elevation is what defines the named kinds of light. The ranges are approximate, and definitions vary a little:
| Sun elevation | What the light does |
|---|---|
| Above about 6° | Light gets progressively harder and more neutral as the sun climbs. |
| About 6° to 0° | Golden hour: low, warm, raking light and long shadows. |
| 0° to -6° | Civil twilight: glowing sky, soft shadowless light on the land. |
| About -4° to -8° | Blue hour: deep blue sky that balances with artificial lights. |
| -12° to -18° | Astronomical twilight: the last glow fades; below -18° the sky is fully dark. |
Planning with elevation matters most where there is terrain. A sunrise app may say sunrise is at 6:40, but if a ridge to the east rises 4 degrees above your horizon, the sun will not reach you until it clears that ridge, often many minutes later. Some planning apps model terrain; if yours does not, estimate the ridge height from a map, or simply check on a scouting visit. See scouting for the on-the-ground side of planning.
Lining up a rising moon with a landmark
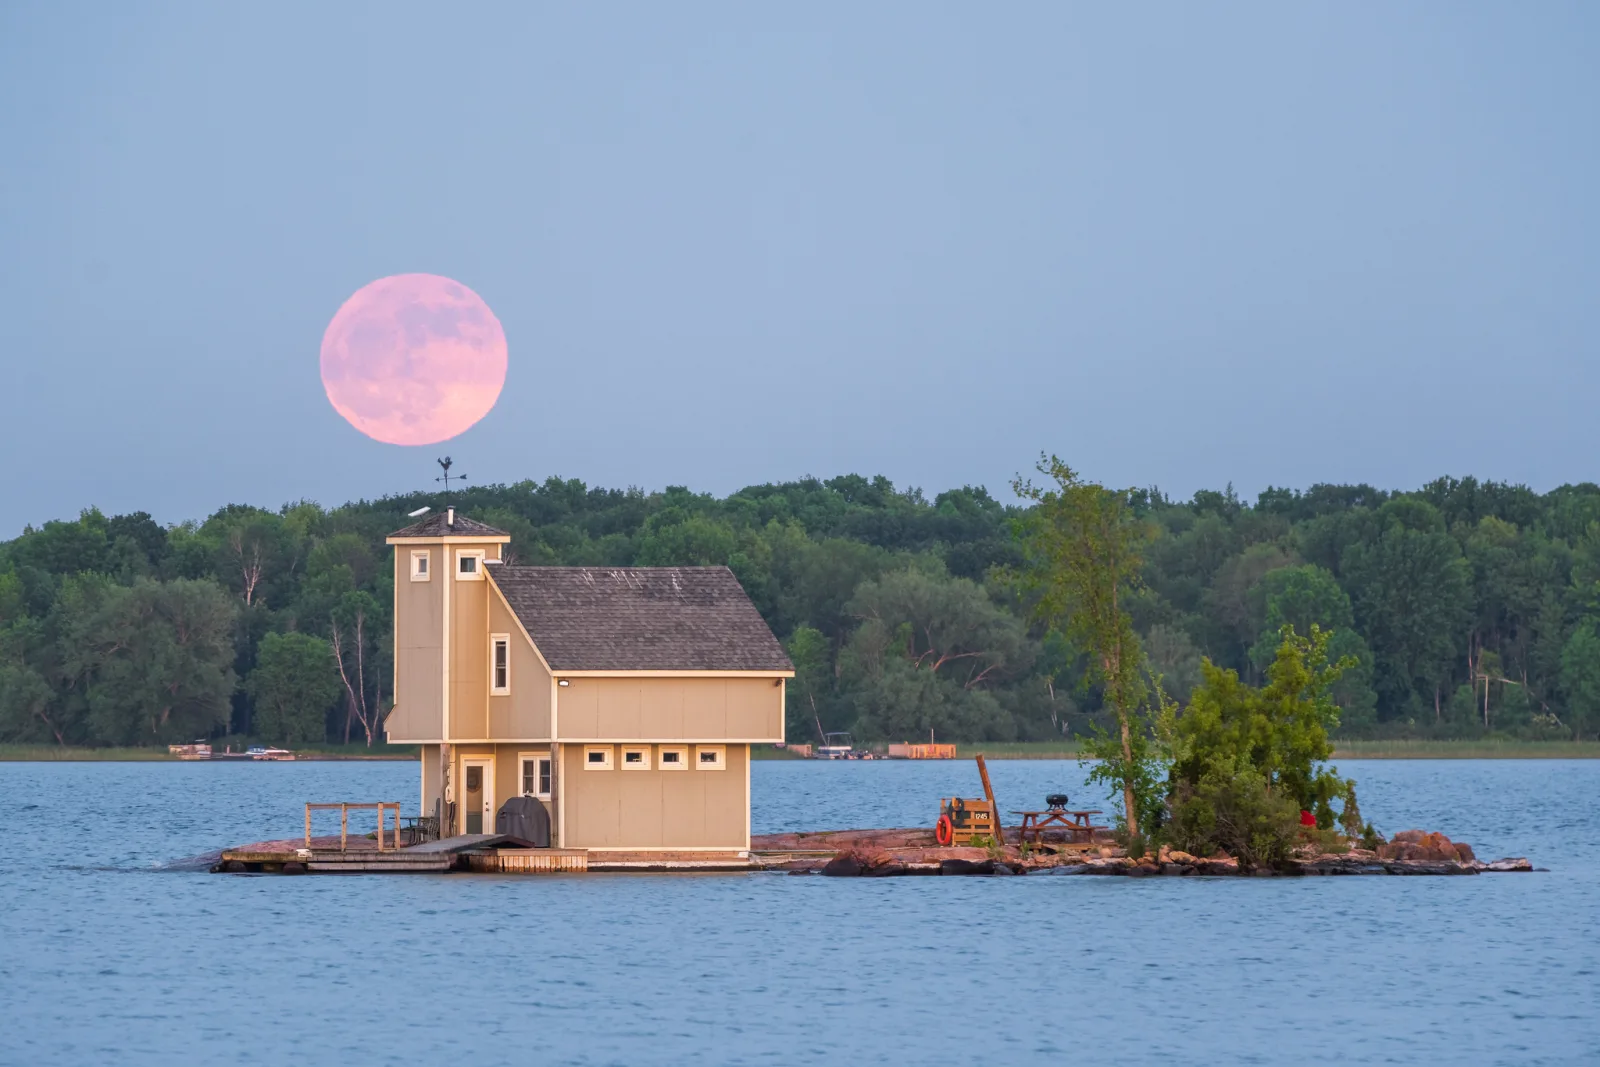
A full moon beside a lighthouse, a spire or a lone tree is almost never luck. It is planning, and the method is simple once you see that you are lining up three things: you, the landmark and the moon.
Why the evening before the full moon is often best
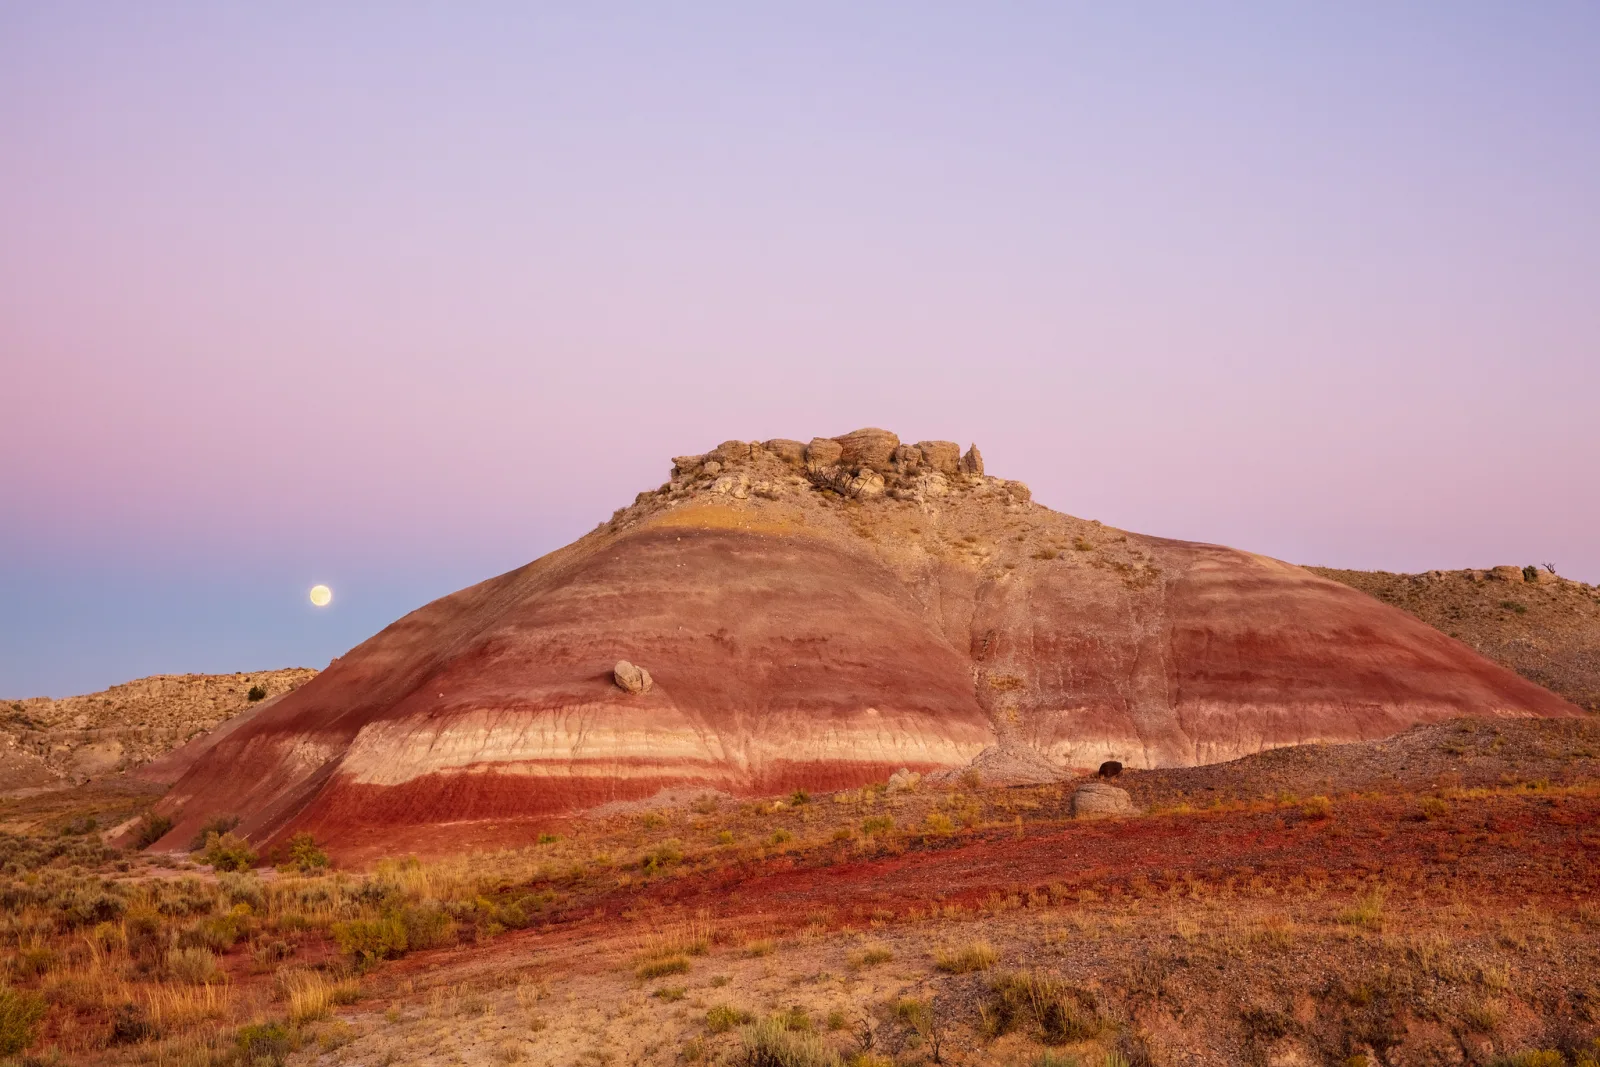
The full moon sits opposite the sun, so it rises at about the time the sun sets. The trouble is exposure: by the time the full moon clears the horizon and any haze, the landscape is often already dark, and a moon bright enough to expose correctly leaves the land as a silhouette. The moon also rises later each day, by roughly 50 minutes on average (the actual daily delay varies a lot through the month and the year).
That daily delay is the trick. On the evening before the full moon, the moon usually rises before sunset. It is already more than 95 percent lit, so it looks full, and it is a few degrees up while the sky and landscape are in soft twilight, close to the moon’s brightness. One exposure can then hold detail in both. Check the exact moonrise and sunset times for your location, because the gap varies from month to month.
Distance and focal length set the moon’s size
The moon always covers about half a degree of sky, whether it is rising or overhead. (The huge moon you see near the horizon is an illusion of your brain; a camera records it at the same size.) What changes is the size of your landmark. The farther you stand from the landmark, the smaller it looks, while the moon stays the same. So:
- Distance sets the ratio. To make the moon about as wide as a 30 meter wide lighthouse, stand about 3.3 km away. For a 10 meter tree, about 1.1 km. The rule: distance equals the object’s width multiplied by about 110.
- Focal length sets how big both appear in the frame. On a full-frame camera the moon’s image on the sensor is roughly the focal length divided by 110: about 0.5 mm at 50mm (a speck), 3.6 mm at 400mm (around 15 percent of the frame height). A longer lens magnifies moon and landmark equally; it does not change their ratio. See focal length and crop factor for how sensor size changes framing.
Step by step: planning the alignment
- Decide the size. Choose how big the moon should be next to the landmark and calculate your distance from the rule above.
- Find the elevation you need. The moon has to clear the top of the landmark (or sit on it). The angle to the top is roughly its height above your eye level divided by your distance, times 57 to convert to degrees. A tower rising 60 m above you from 2 km away tops out at about 1.7°.
- Find the time and direction. In a sun and moon planning app, drop a pin on your landmark and look for the time when the moon reaches that elevation. Read the moon’s azimuth at that moment.
- Find where to stand. Draw a line from the landmark back along the opposite direction (azimuth plus 180°). Anywhere on that line at your chosen distance puts the moon behind the landmark. Check the spot is accessible and has a clear view.
- Arrive early and be ready to move. The moon crosses its own width in about two minutes, so the alignment is brief. Sideways position is very sensitive: at 3 km, stepping 30 meters left or right shifts the moon by about its own width.
For exposure and focus once the moon is up, see how to photograph the moon. The same method works for the sun, setting behind a peak or through an arch, but never look at the sun through a long lens, and never leave it pointed at the sun where it can focus heat on the camera.
Moon phase and night-sky brightness
For night photography the moon is either your light source or your enemy. A bright moon washes out faint stars and the Milky Way, but it also lights the landscape beautifully.
- New moon: the moon is near the sun and invisible, so the whole night is dark. This is the window for the Milky Way and faint stars.
- First quarter: the half moon is high in the evening and sets around midnight, so the hours after it sets are dark.
- Full moon: up all night. Stars are faint, but moonlit landscapes can look like soft daylight in a long exposure, with stars in the sky.
- Last quarter: rises around midnight, so the evening is dark and the moon lights the pre-dawn hours.
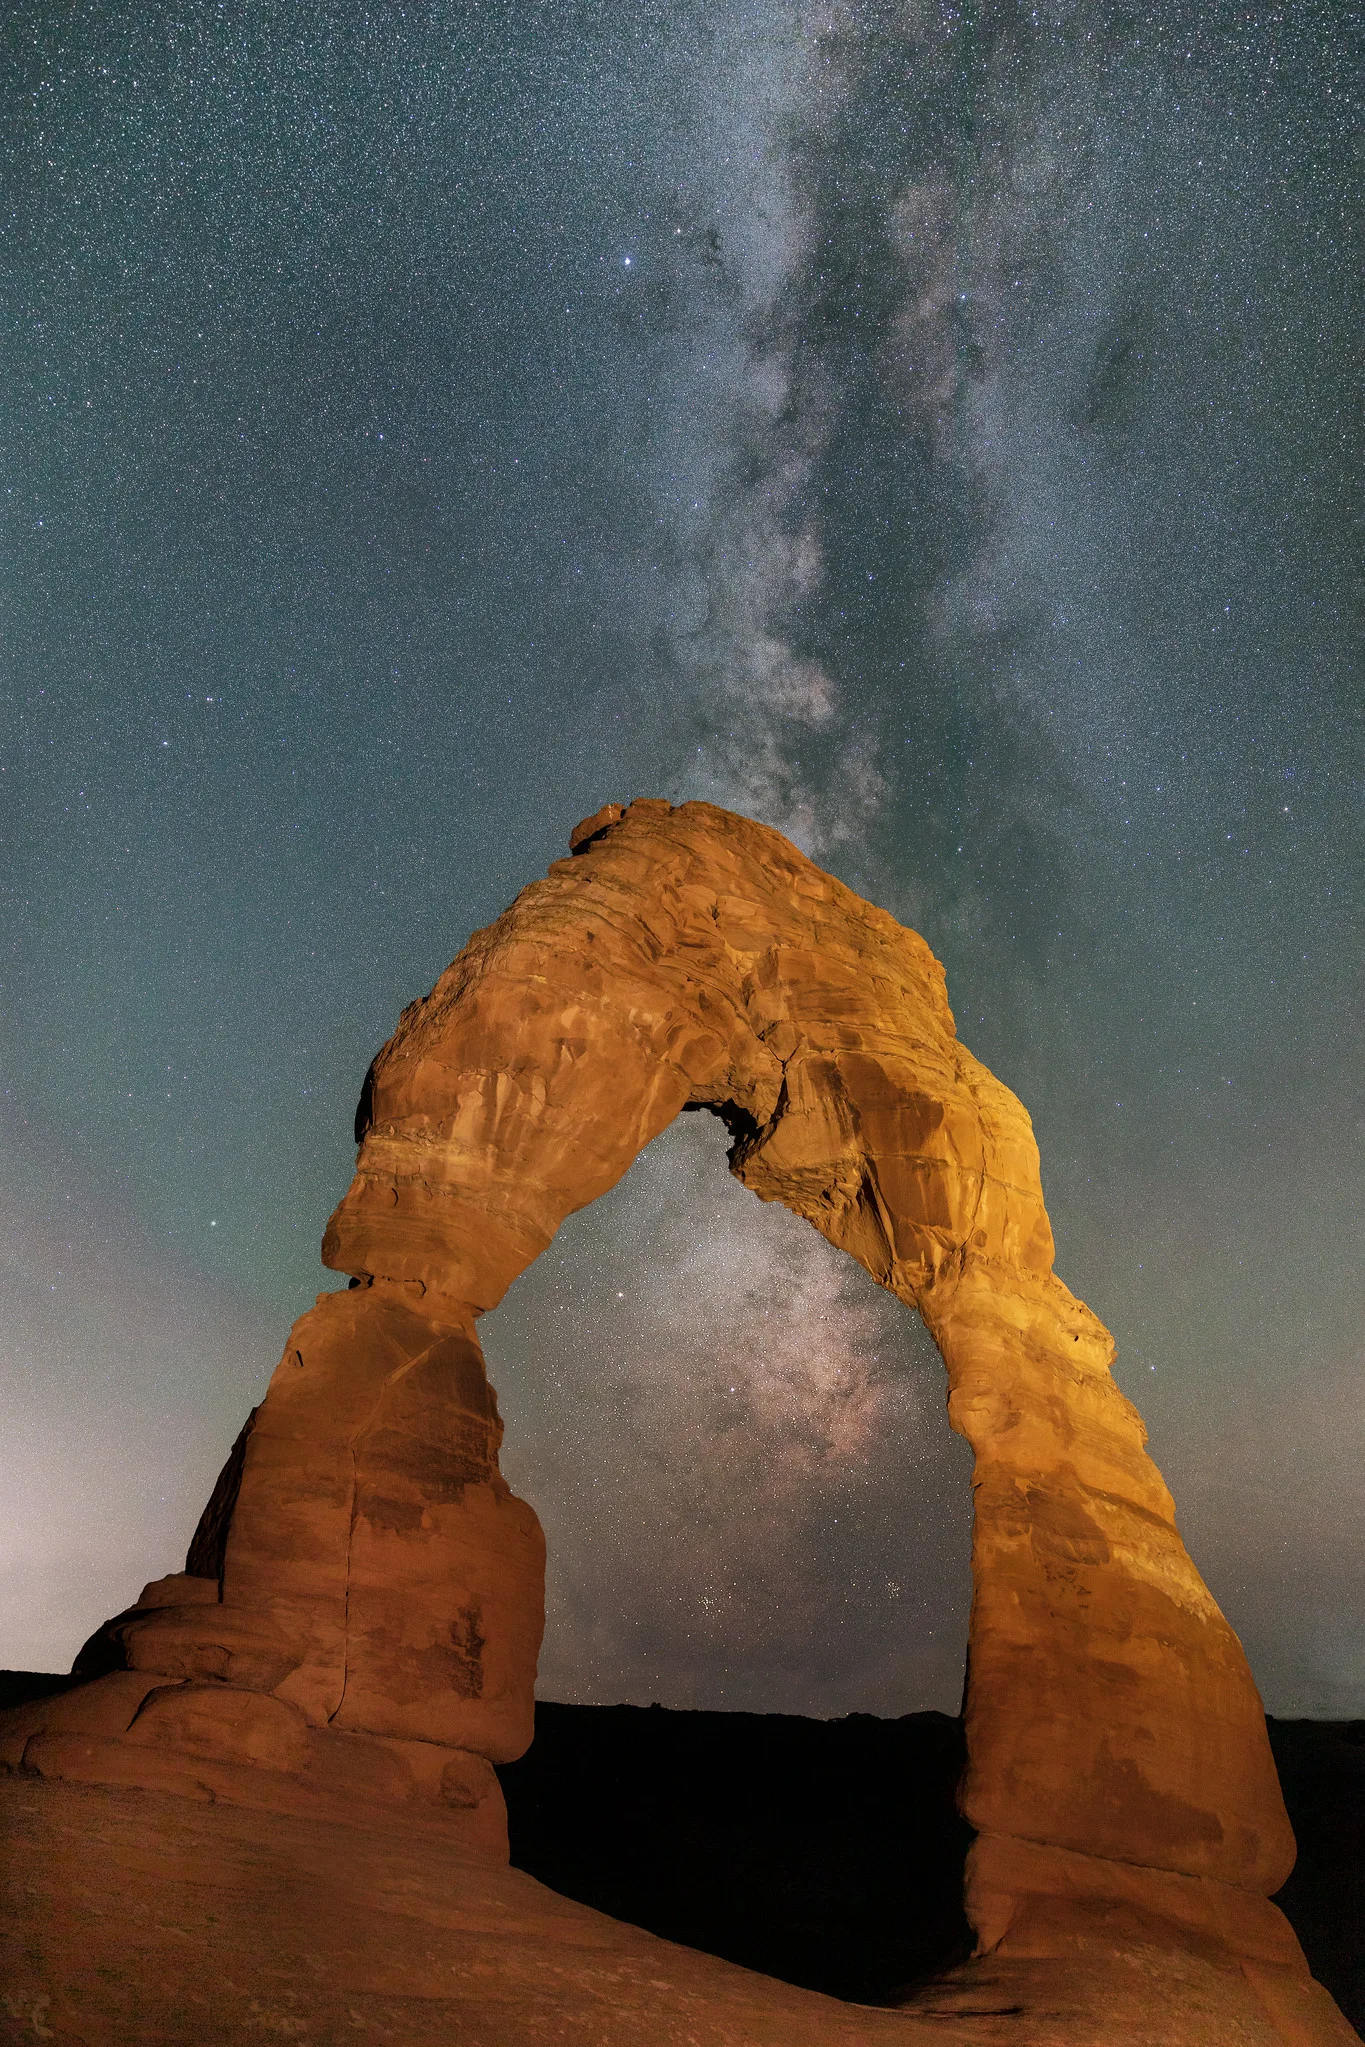
A thin crescent a few days either side of new moon sets or rises close to the sun, so it barely affects the dark hours. What matters is not just the phase but whether the moon is above the horizon during your shooting window. Planning apps show both. For the Milky Way, also check where its brightest region sits by azimuth and time, which changes through the year in the same predictable way as the sun. Astrophotography covers the camera side.
Reading tides for coastal photography
On the coast, the tide can change a scene more than the light does. Low tide exposes rock shelves, tide pools, ribbed sand and reflective wet flats. High tide brings water up to the rocks, so waves break against your foreground and flow around it in a long exposure. Neither is better; each composition needs a particular tide, and a seascape that works at mid tide may be underwater or stranded on dry sand two hours later.
How tides work, in brief
- Many coasts have two high and two low tides a day, roughly 12 hours 25 minutes apart, so tide times shift later by about 50 minutes each day. Some coasts have one high and one low per day, or a mixed pattern.
- Spring tides (nothing to do with the season) come around new and full moon. They have the biggest range: the highest highs and lowest lows. Neap tides, around the quarter moons, have the smallest range.
- The water does not move at a steady pace. A useful approximation, the rule of twelfths, says that over the six hours from low to high the tide rises about 1/12 of its range in the first hour, 2/12 in the second, 3/12 in each of the third and fourth, 2/12 in the fifth and 1/12 in the sixth. The middle hours are when water floods in fastest.
Use tide tables for the nearest official station, published by national marine or hydrographic agencies and included in most tide apps. Times can differ by tens of minutes between nearby bays, so pick the closest station and note the tide heights, not just the times.
Tide safety
- Know when the tide turns and where you will exit before you walk out. Rising water can cut off a beach below cliffs or a headland long before it reaches your feet.
- Plan to be off low-tide rock shelves well before the turn, and remember the middle hours of the rising tide are the fastest.
- Never turn your back on the sea. Occasional larger waves arrive among smaller ones and can sweep across rocks that were dry minutes before.
- Wet rock, weed and algae are extremely slippery, especially in the dark before sunrise. Carry a headlamp and keep your hands free when moving.
Reading cloud and fog forecasts
Clear skies are not the goal. A cloudless sky gives clean light but a blank background, and a solid overcast often gives no sunset at all. What you want depends on where the clouds are, both in height and direction. Good forecasts split cloud cover into three layers:
| Layer | Rough height | Effect at sunrise and sunset |
|---|---|---|
| Low (stratus, stratocumulus, fog) | Below about 2 km | Thick low cloud toward the sun blocks the light entirely. Broken low cloud can light up but only briefly. |
| Middle (altocumulus, altostratus) | About 2 to 7 km | Patchy mid cloud catches strong color. A solid sheet usually stays gray. |
| High (cirrus, cirrocumulus) | Above about 5 to 6 km | Stays lit after the sun has set at ground level, often giving the richest and longest color. |
The classic setup for a colorful sky is scattered mid or high cloud overhead with a clear gap along the horizon in the direction of the sun. The low sun shines through that gap and lights the clouds from underneath. If the horizon toward the sun is packed with low cloud, the light never reaches the clouds above you, however promising they look. For sunset technique, see how to photograph sunsets.
Predicting fog
The most common fog for photographers forms on clear, calm nights when the ground cools and the air near it chills to its dew point, the temperature at which moisture condenses. Look for a forecast with little wind, clear skies overnight, and an overnight low close to the dew point. Valleys and ground near rivers and lakes fog first. Coastal fog forms differently, when moist air moves over colder water, and can roll in at any time of day. Fog in hollows often means a clear view from high ground above it, which is where the classic “sea of fog” images come from. Fog covers exposure in the murk, and forest photography covers using it in the woods.
A planning checklist
- Subject and direction. Which way does the view face, and what light suits it: front, side or backlight?
- Date window. In which weeks does the sun or moon rise or set in the right direction? Check with a sun and moon planning app.
- Time and elevation. When does the light reach the elevation you need, allowing for ridges, buildings and trees?
- Moon. Phase, rise and set times: is it a subject, a light source or a problem?
- Tide. For coastal shots, the height at your shooting time, which way it is moving, and your exit route.
- Clouds. Low, mid and high cover, and whether the horizon toward the sun is clear.
- Fog and wind. Dew point spread and wind for fog; wind for reflections and long exposures.
- Logistics. Access, parking, walking time in the dark, and a backup composition facing the other way in case the sky does something unexpected.
Common mistakes
- Assuming the sun sets due west. Only true near the equinoxes. Fix: check the exact azimuth for your date before choosing a viewpoint.
- Trusting the listed sunrise time in mountains. The official time is for a flat horizon. Fix: allow for the height of ridges between you and the sun.
- Shooting the full moon on the night it is full. The land is often too dark by the time the moon clears the horizon. Fix: try the evening before, when it rises in brighter twilight.
- Using a long lens too close to the landmark. Focal length alone cannot make the moon large beside a building. Fix: move farther away; distance sets the size ratio.
- Checking only the tide time. The same time can mean a very different height at spring and neap tides. Fix: read the height too, and whether the tide is rising or falling.
- Staying home because clouds are forecast. Mid and high cloud can make the best sunsets. Fix: look at the cloud layers and the horizon toward the sun, not the total cover.
Try this
Pick a landmark you can see from a public place near home: a tower, church, tree on a hill or bridge. In a sun and moon planning app, find the next date when the sun or moon sets or rises directly behind it, as seen from somewhere you can stand. Work out the distance and the elevation of the landmark’s top, note the time and azimuth, and mark your standing spot on a map. It takes about 20 minutes. Then set a reminder and go. Even if clouds spoil it, the second plan takes five minutes.
Frequently asked questions
Does the moon rise in the same place as the sun?
No. The full moon rises roughly opposite the sun, so in winter a full moon rises far north of east (in the Northern Hemisphere) and rides high, while in summer it rises south of east and stays low. Over an 18.6 year cycle, the moon’s rising range also grows and shrinks, and in some years it is noticeably wider than the sun’s.
How accurate are sun and moon planning apps?
The astronomical positions are extremely accurate. The uncertainty comes from terrain, obstructions and atmospheric haze near the horizon, which can hide the moon for its first degree or two. Plan for the moon to appear a few minutes after the listed moonrise.
What tide is best for seascapes?
It depends on the composition. Low or mid tide exposes rocks, pools and sand patterns for foreground; a rising mid tide often gives the best wave action around rocks. Scout at low tide to see what is there, then decide which height suits your frame.
How far ahead should I plan?
Sun, moon and tide positions can be planned months or years ahead. Cloud and fog forecasts are only useful a few days out, and most reliable within 24 to 48 hours. Plan the geometry early, then decide whether to go from the forecast.
Related guides
- Scouting: finding the viewpoint and checking access before the light arrives.
- Golden hour photography: making the most of low, warm sun.
- Blue hour photography: the twilight window after sunset and before sunrise.
- How to photograph the moon: exposure, focus and lenses for a sharp moon.
- Seascape photography: composing with waves, rocks and tides.
- Photographing the Milky Way: dark-sky settings once your moon-free night is planned.
- Weather photography: storms, rain and dramatic skies.