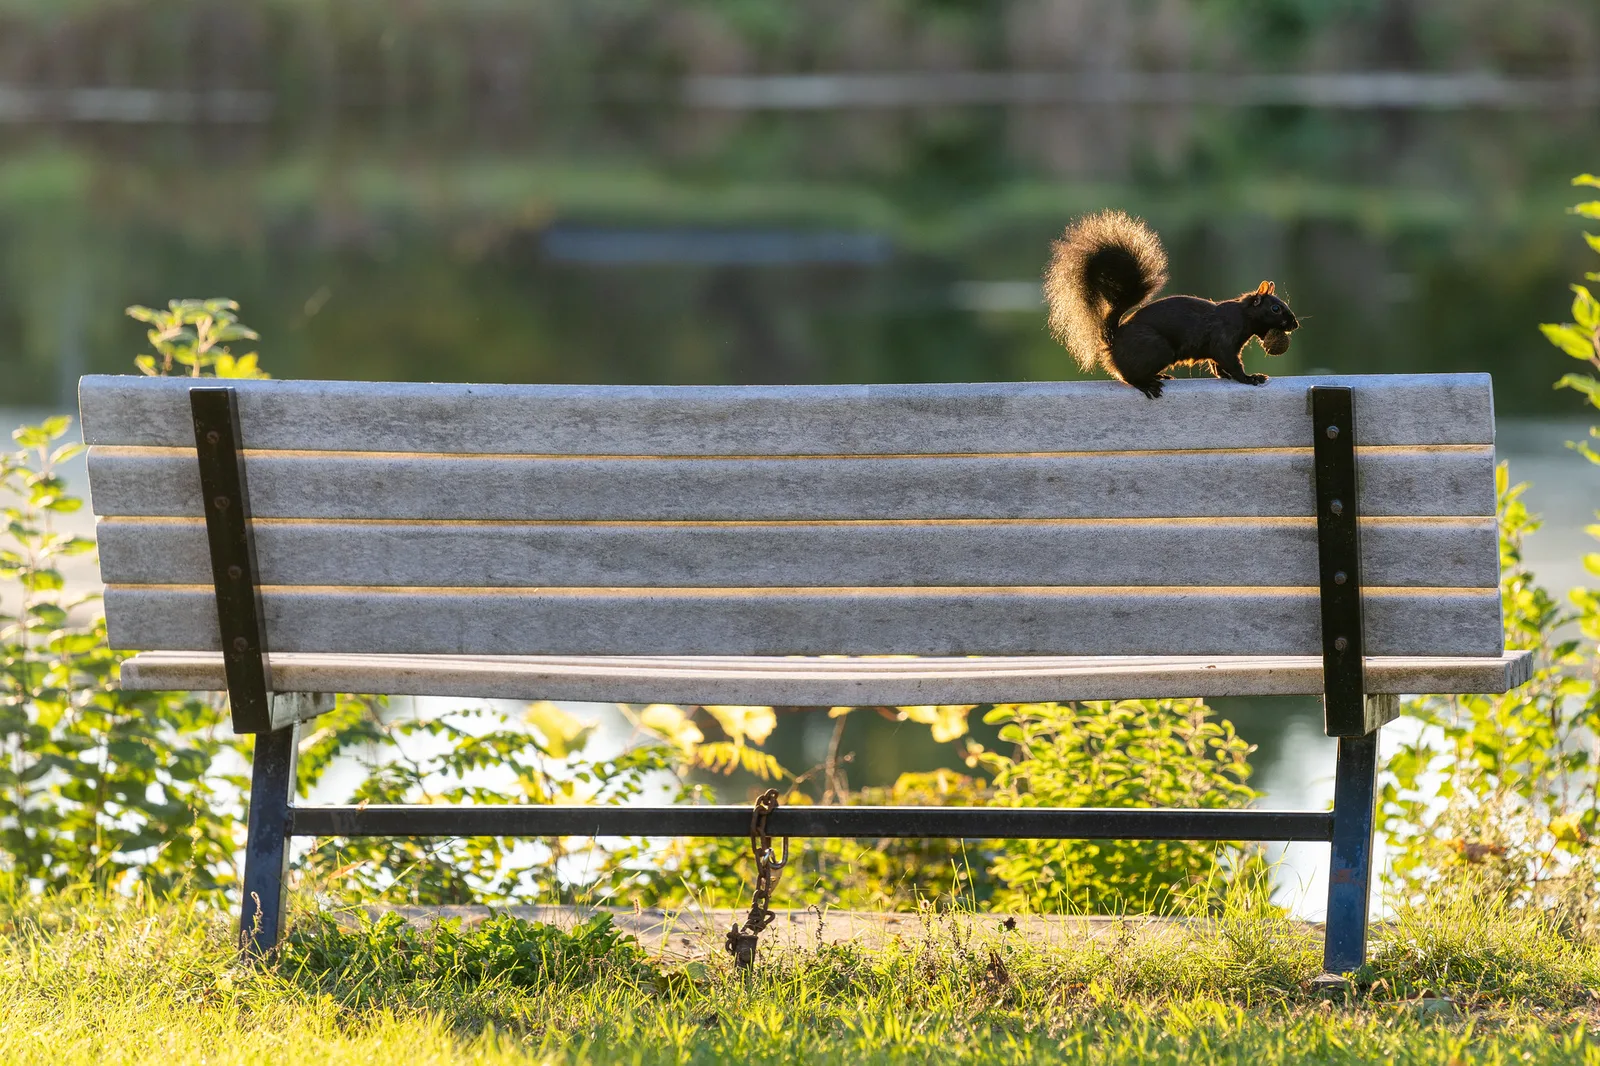
You do not need to travel to the wilderness to photograph wildlife. Squirrels in the park, pigeons in a square, ducks on a city pond, foxes at dusk, songbirds in a garden and gulls on a waterfront are all wild animals living alongside people. They are easy to reach, often used to human company and wonderful subjects for learning the skills of wildlife photography.
This guide covers where to find wildlife in towns and cities, simple fieldcraft, getting to eye level, choosing clean backgrounds, using light, showing animals in their urban setting, the settings that work and how to photograph animals responsibly. When you are ready for wilder places, the guide to wildlife photography covers the next steps.
Why photograph wildlife close to home
Urban wildlife photography has advantages that even experienced photographers value.
- Easy access. You can practice in a local park on a lunch break or in your own garden before work. Frequent short sessions build skills quickly.
- Approachable animals. Many city animals are used to people and tolerate a closer approach than their wild relatives, which means you can make good pictures with modest lenses.
- Learning behavior. Watching the same animals week after week teaches you how they move, feed and react, which is the heart of good wildlife photography.
- Unique stories. Animals adapting to cities make pictures with a twist: a bird nesting on a sign, a fox crossing a street, a heron fishing beside a bridge.
- Low cost. No travel, no permits and no special trips. The subjects are already there.
Above all, urban wildlife teaches patience and observation. Those skills transfer directly to every other kind of nature photography.
Where to find urban wildlife
Wildlife gathers where it finds food, water and shelter. Learning to spot those places helps you find subjects.
- Parks. Squirrels, songbirds, crows, rabbits and ducks are common. Quiet corners with trees and shrubs often hold more life than busy lawns.
- Ponds, lakes and rivers. Ducks, geese, herons, gulls and sometimes turtles gather at urban water. Early mornings are often busiest.
- Gardens. A garden with feeders, water and native plants attracts birds, insects and small mammals. Your own window can become a hide.
- Waterfronts and beaches. Gulls, cormorants and shorebirds gather where people fish and eat.
- Cemeteries and green corridors. Quiet, tree-filled spaces often hold surprising wildlife, from woodpeckers to deer. Be respectful of the setting.
- Buildings and bridges. Pigeons, swifts, falcons and sparrows nest on ledges and under bridges.
Visit the same place often. Within a few weeks you will know which tree the squirrels use, where the heron fishes and when the birds come to feed.
Your garden or balcony as a studio
A garden, yard or even a balcony can become a small wildlife studio. A bird feeder, a shallow dish of water and a few native plants will attract visitors within days. Place a natural-looking branch near the feeder as a perch, so birds land there first and you can photograph them on wood rather than plastic. Sit quietly inside by an open window, or behind a simple screen, and the birds will soon ignore you. Keep the feeder clean, keep it away from windows to prevent collisions and keep it going through winter, when birds need it most.
Want to know more about photographing garden birds? The guide on how to photograph birds covers lenses, settings and behavior.
Simple fieldcraft
Fieldcraft means behaving in a way that lets animals stay relaxed while you photograph them. It matters even in a city park.
- Move slowly. Sudden movements frighten animals. Walk gently, pause often and approach at an angle rather than straight on.
- Stay low. Crouching or sitting makes you look smaller and less threatening, and it improves your pictures.
- Be patient. Sit still near a feeding area or a favorite perch and let animals come to you. Many will return within a few minutes.
- Watch body language. If an animal stops feeding, stares at you or moves away, you are too close. Step back and wait.
- Use cover. A tree, a bench or a hedge between you and the animal helps it feel safe.
- Be quiet. Turn off camera beeps and use a silent shutter if you have one.
The best urban wildlife pictures usually come from photographers who sit still for a long time, not those who chase animals around. Bring a small folding seat or a waterproof mat, choose a spot with good light and a clean background, and let the animals decide how close to come. Ten quiet minutes in one place usually produce more than an hour of walking.
Curious about stalking and fieldcraft in wilder places? The guide to wildlife photography covers hides, approach and animal behavior in depth.
It also helps to learn a little about each animal. Knowing that squirrels are busiest in the morning, that gulls gather when people eat or that herons fish at the same spot each day lets you be in the right place at the right time.
Get to eye level
The single biggest improvement most people can make to animal pictures is to lower the camera to the animal’s eye level.
- Kneel or lie down for animals on the ground, such as squirrels, ducks and pigeons. A picture from above looks like a snapshot; a picture at eye level looks like a portrait.
- Find a perch at the right height. Birds on low branches, fences or benches, like the squirrel at the top of this page, are easier to photograph at eye level.
- Use a tilting screen if your camera has one, so you do not have to lie flat on wet ground.
- Use water level. At a pond, getting close to the water line gives intimate pictures of ducks and their reflections.
Eye level makes the viewer feel part of the animal’s world. Combined with a sharp eye, it is the foundation of a strong animal portrait.
Focus on the eye
In almost every animal picture, the eye must be sharp. If the eye is soft, the picture rarely works.
- Use a single focus point or animal eye detection if your camera has it, and place it on the nearest eye.
- Use continuous autofocus for moving animals so the camera keeps adjusting. The page on AF-C explains how it works.
- Look for a catchlight, a small reflection of light in the eye, which brings an animal to life.
- Take several frames. Animals blink and turn their heads constantly.
The guide on how to choose focus points explains focus areas in more detail.
Clean backgrounds
City backgrounds can be messy: litter bins, cars, buildings and people. A few simple steps hide the clutter.
- Move your position. A small step sideways or a lower angle can swap a busy background for distant grass, sky or water.
- Use a wide aperture. f/4 to f/5.6 blurs the background into soft color and makes the animal stand out. See the guide to depth of field.
- Increase distance behind the animal. The farther the background is from the subject, the softer it becomes.
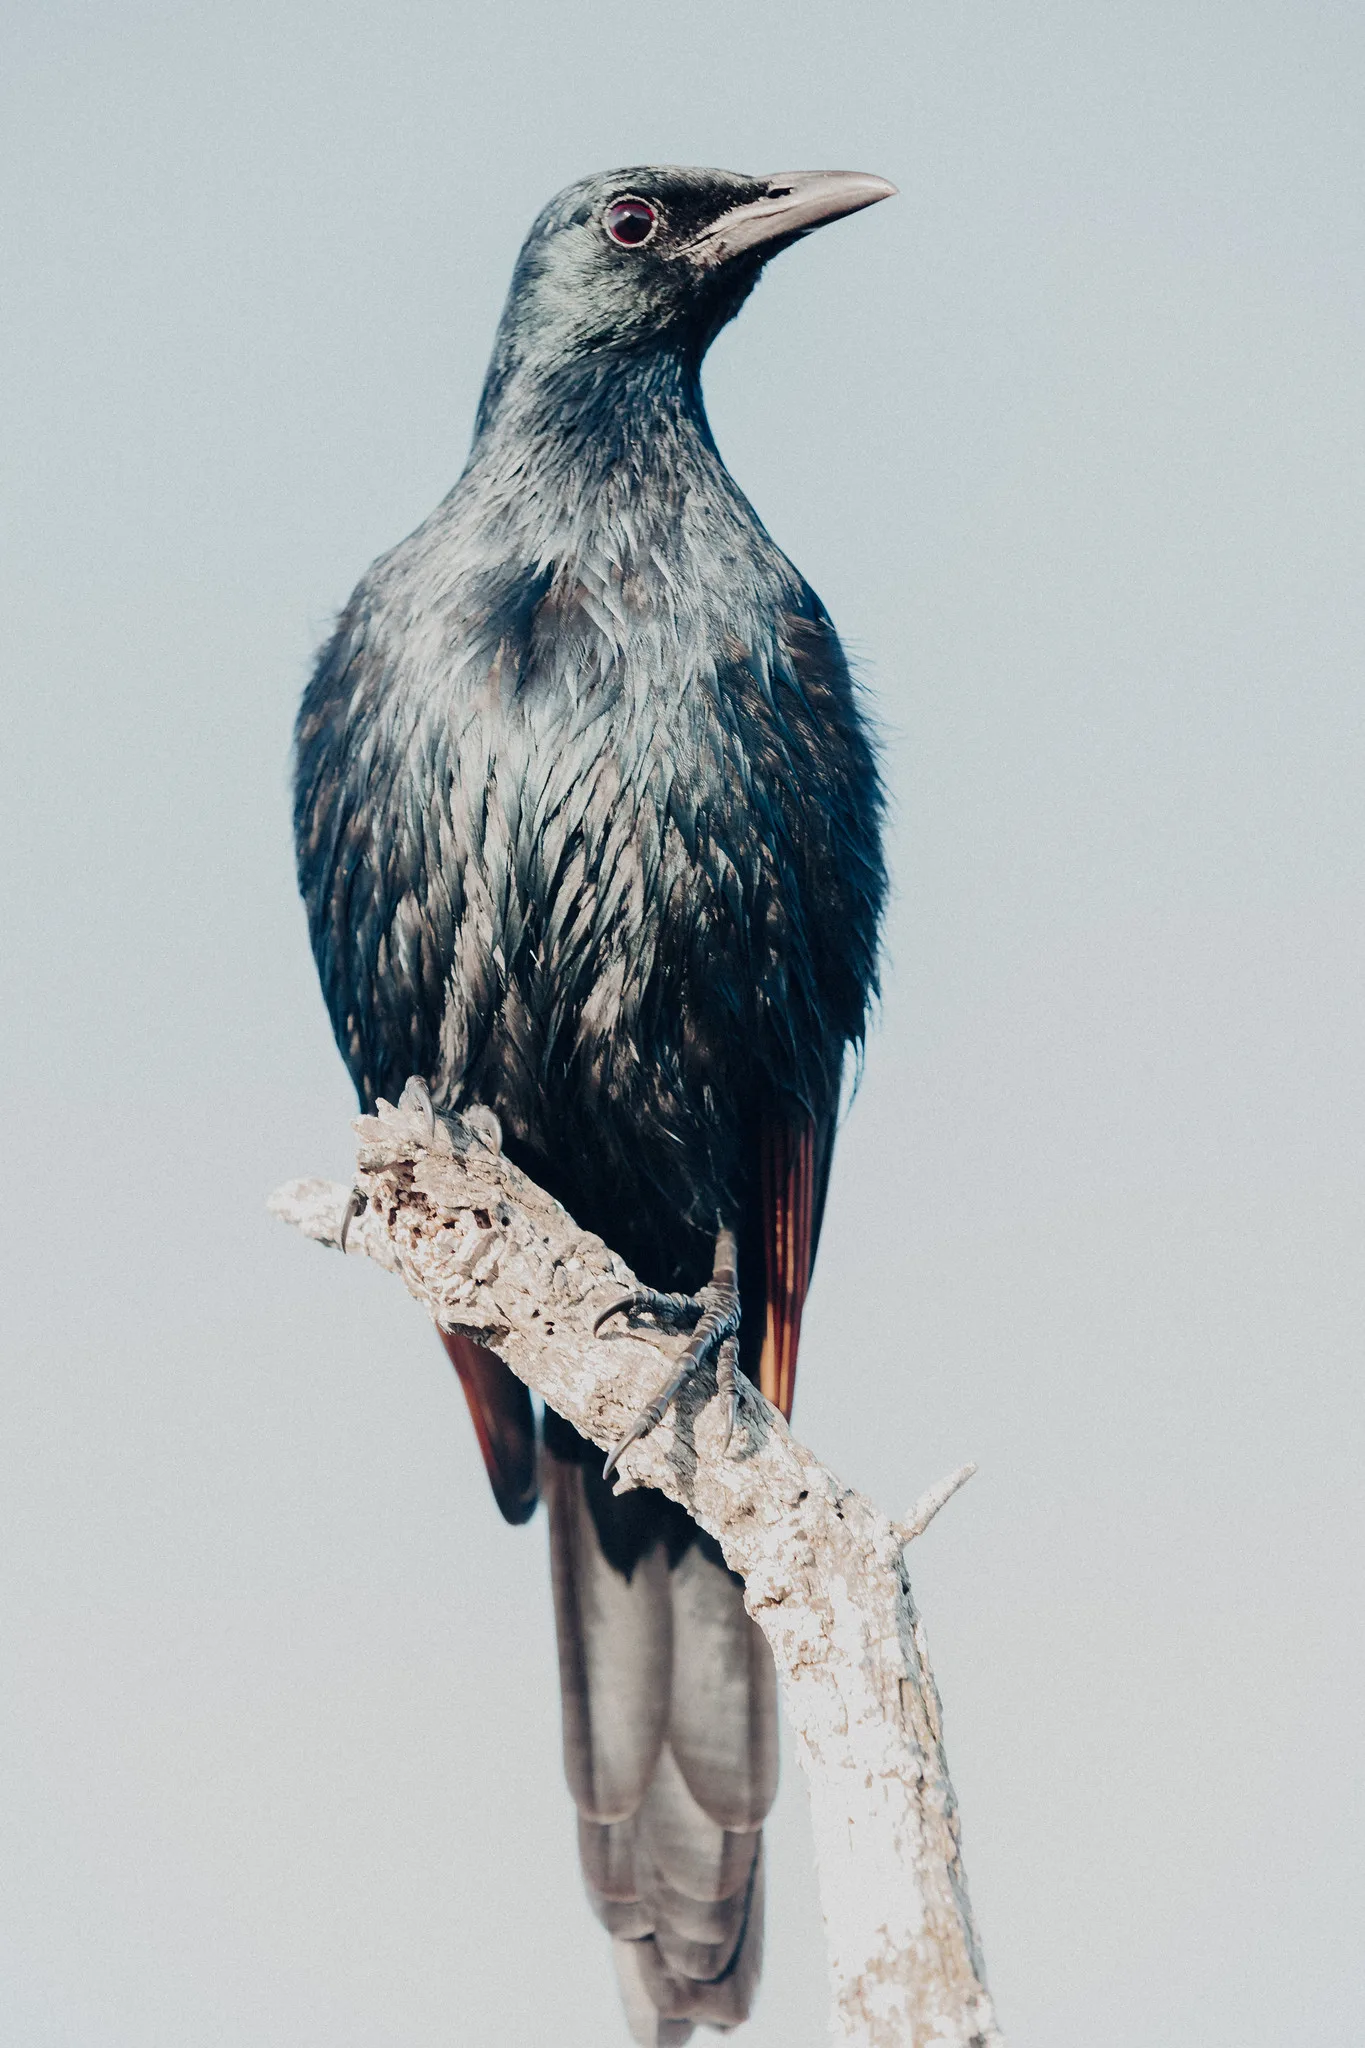
- Use the sky. A bird on a branch against a plain sky, like the starling on this page, is simple and graphic. Overcast skies work well.
- Or include the city on purpose. Sometimes the urban background is the story. Decide whether to hide it or show it.
Showing animals in the city
Some of the most memorable urban wildlife pictures show animals in human surroundings.
- Use a wider lens to include buildings, bridges or street signs with the animal.
- Look for contrast. A heron on a lamppost, a fox on a doorstep or a gull on a statue tells a story about wildlife adapting to cities.
- Look for humor. Pigeons walking in step with people, squirrels raiding bins and ducks crossing roads can be funny. The guide to humor in photography has more ideas.
- Show scale. A small bird against a huge building shows how animals find space in a city.
These pictures are often more original than close portraits, because they could only have been made in a city. They also make a fascinating long-term project, recording how wild animals share streets, parks and buildings with the people around them.
Telling a small story
Once you can make a sharp, clean portrait, look for behavior. A squirrel burying a nut, a pigeon puffing up to court a mate, a duck leading a line of ducklings or a gull stealing a chip tells a story that a still portrait cannot. Watch an animal for a while before you shoot, learn its routine and wait for the moment when it does something characteristic. Those moments are what make viewers stop and look twice.
Light for urban wildlife
- Early morning is often best. Animals are active, parks are quiet and light is soft and warm.
- Overcast days give even light that shows feather and fur detail without harsh shadows.
- Golden hour backlight makes fur and feathers glow with a rim of light. Expose for the animal, not the bright background.
- Midday sun creates harsh shadows. Look for animals in open shade.
- Dusk brings out nocturnal animals such as foxes and bats, but light is very low, so raise the ISO.
The guide to direction of light explains how front, side and backlight change a subject.
Seasons in the city
Urban wildlife changes through the year just as wild nature does. Spring brings nesting birds, ducklings on ponds and young squirrels exploring. Summer brings insects, long evenings and fledglings learning to fly. Autumn brings squirrels burying nuts, migrating birds passing through and colorful leaves for backgrounds. Winter brings birds to feeders, waterfowl gathering on open water and animals standing out clearly against snow. Keeping a simple note of what you see and when helps you plan for the same moments the following year.
Settings for animals close to home
| Situation | Shutter speed | Aperture | Focus |
|---|---|---|---|
| Still animal on a perch | 1/250 or faster | f/5.6 | Single point on the eye |
| Squirrels and active birds | 1/1000 | f/5.6 | Continuous, small area |
| Birds in flight | 1/2000 | f/6.3 | Continuous, wider area |
| Animal in its setting | 1/500 | f/8 | Single point on the animal |
Use auto ISO so the camera keeps the shutter speed high as light changes, and use burst mode for action.
Lenses and gear
- A telephoto zoom is the most useful lens, letting you fill the frame without getting too close. See the guide to the telephoto lens.
- A standard zoom works for tame animals and wider pictures in the city.
- A phone can work for very tame animals and wide scenes. Get low, tap to focus on the eye and avoid digital zoom.
- A small mat or bag to kneel or lie on keeps you dry.
Whatever you carry, keep it ready. Animals rarely wait while you change lenses or turn on a camera, so walk with the camera on, the lens fitted and settings chosen in advance.
Photographing animals responsibly
Urban animals live alongside people, and good photographers make sure that stays easy for them.
- Do not feed wildlife to get a picture. Human food can harm animals and makes them dependent or aggressive.
- Keep your distance from nests and young. Parents may abandon nests if disturbed.
- Do not chase or corner animals. Let them leave whenever they choose.
- Respect people too. Do not block paths or point long lenses toward homes and gardens.
- Be honest if a picture was made in a zoo, wildlife center or with bait.
Want to start with the animals in your own home? The guide to photographing small animals covers pets and small creatures up close.
Common mistakes
- Shooting from standing height. Fix: get down to the animal’s eye level.
- A soft eye. Fix: put a single focus point on the nearest eye.
- Cluttered backgrounds. Fix: move your position and use a wide aperture.
- Chasing animals. Fix: sit still and let them come to you.
- Motion blur. Fix: use 1/1000 or faster for active animals.
- Feeding for pictures. Fix: photograph natural behavior instead.
Try this: a 10-minute park safari
- Minutes 1 to 2: Find a quiet spot in a park and sit still.
- Minutes 3 to 5: Photograph the first animal you see at its eye level.
- Minutes 6 to 7: Move a little to find a cleaner background and repeat.
- Minutes 8 to 9: Make one wider picture that shows the animal in the city.
- Minute 10: Check that the eye is sharp in your best frame.
Frequently asked questions
What animals can I photograph in a city?
Squirrels, pigeons, crows, ducks, geese, gulls, songbirds, herons, rabbits, foxes and many insects, depending on where you live.
What lens do I need for urban wildlife?
A telephoto zoom is ideal, but tame park animals can be photographed with a standard zoom or even a phone.
How do I get closer to birds in a park?
Sit still near a place they visit, stay low and be patient. Many birds will come closer once they are used to you.
Is it okay to feed animals for photographs?
It is better not to. Feeding can harm animals and change their behavior. Photograph them doing what they naturally do.
What is the best time for urban wildlife?
Early morning, when animals are active and parks are quiet, and late afternoon into dusk for some mammals.
How do I photograph birds through a window?
Clean the glass, turn off the room lights and press the lens close to the window to cut reflections. Shoot straight through the glass rather than at an angle for the sharpest results.
Can I photograph urban wildlife at night?
Yes, but it is challenging. Use a high ISO, a wide aperture and streetlight or other existing light. Avoid flash, which can disturb animals.
How do I make city animal photos look natural?
Get to eye level, choose a clean background of grass, water or sky and use a wide aperture. Or embrace the city and show the animal in its urban setting.
For terms such as depth of field, AF-C, burst mode and telephoto lens, see the photography glossary.