The single biggest lighting decision you make on most shoots is not which flash or reflector to use. It is where you stand relative to the light source. The same subject, same scene, same camera settings, photographed from four different angles around a single light source produces four different photographs, because direction of light controls what the eye reads as shape, texture, depth and mood before it registers anything else. This guide breaks direction of light into its five working categories, front, side, back, top and under, and gives you a method for reading light on any scene before you press the shutter.
Why direction matters more than intensity
Beginners tend to think about light in terms of brightness: is there enough of it. Working photographers think about light in terms of direction first, because direction determines whether a three-dimensional subject reads as three-dimensional in a two-dimensional photograph. A camera records a flat image. The only cues your viewer has for depth, volume and surface texture are shading and shadow, and shading and shadow are entirely a function of where the light is coming from relative to the subject and the camera.
This is why the same mountain, statue or face can look completely different at different times of day even though the amount of light has barely changed. The sun has moved. The direction has changed. The shadows have swapped sides and lengths. Learning to read direction is learning to predict, before you release the shutter, whether a scene will look flat, sculpted, dramatic or featureless.
Front light
Front light comes from behind the camera and falls directly onto the front of the subject, the classic “sun over your shoulder” position taught in beginner photography courses. It is the easiest light to expose for and the most forgiving of camera settings, because the entire visible surface of the subject is evenly lit with no deep shadow to blow out or hold detail in.
The tradeoff is that front light minimizes shadow, and shadow is what tells the eye about form. A face lit head on from the camera position looks smoother and flatter, with less visible skin texture and less sense of the underlying bone structure. A canyon wall or brick facade lit dead on loses the raking shadows that would otherwise reveal every crack and ridge. Front light is useful when you want even, low drama coverage, documentation, product shots, group photos where you need everyone’s face readable, but it is rarely the light that makes a photograph feel dimensional.
Side light
Side light, sometimes called raking light when it comes in at a low, near grazing angle, strikes the subject from the left or right rather than from the camera position. This is the light direction most responsible for the feeling of texture and volume in a photograph. Every bump, groove and ridge on a lit surface casts its own small shadow, and the accumulation of thousands of tiny shadows is what your eye reads as “texture.”
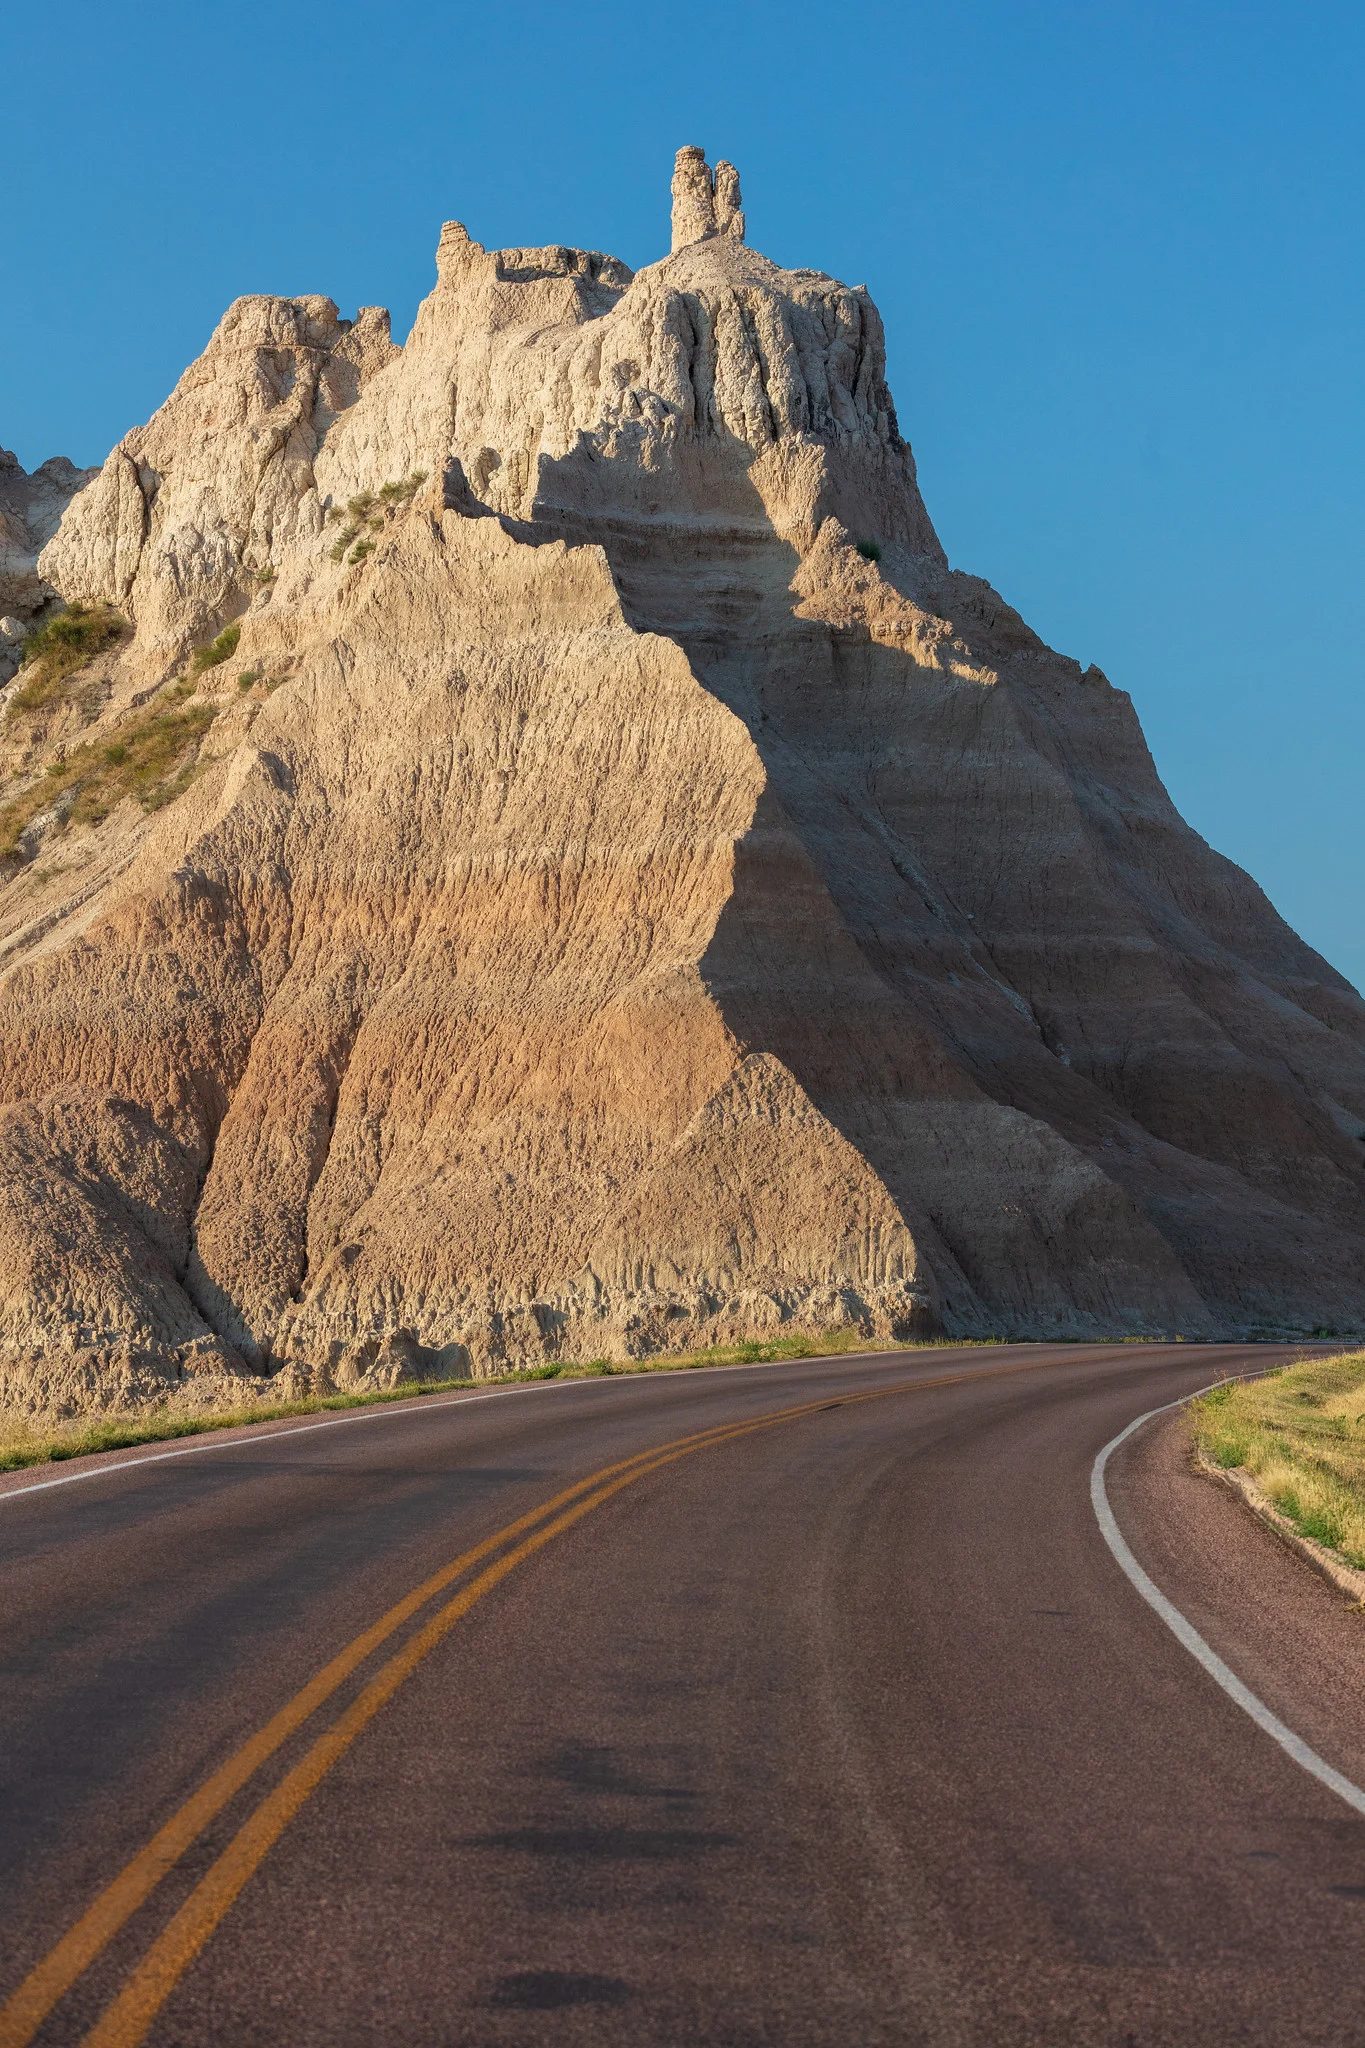
This is why landscape photographers chase early morning and late afternoon light so aggressively. When the sun sits low on the horizon, its light travels almost parallel to the ground, striking vertical and textured surfaces at a steep raking angle instead of falling straight down on top of them. A canyon wall, a mountain range or a stucco wall that looks flat and featureless at noon can look carved and sculptural an hour after sunrise, purely because the direction of the light changed, not its color or intensity.
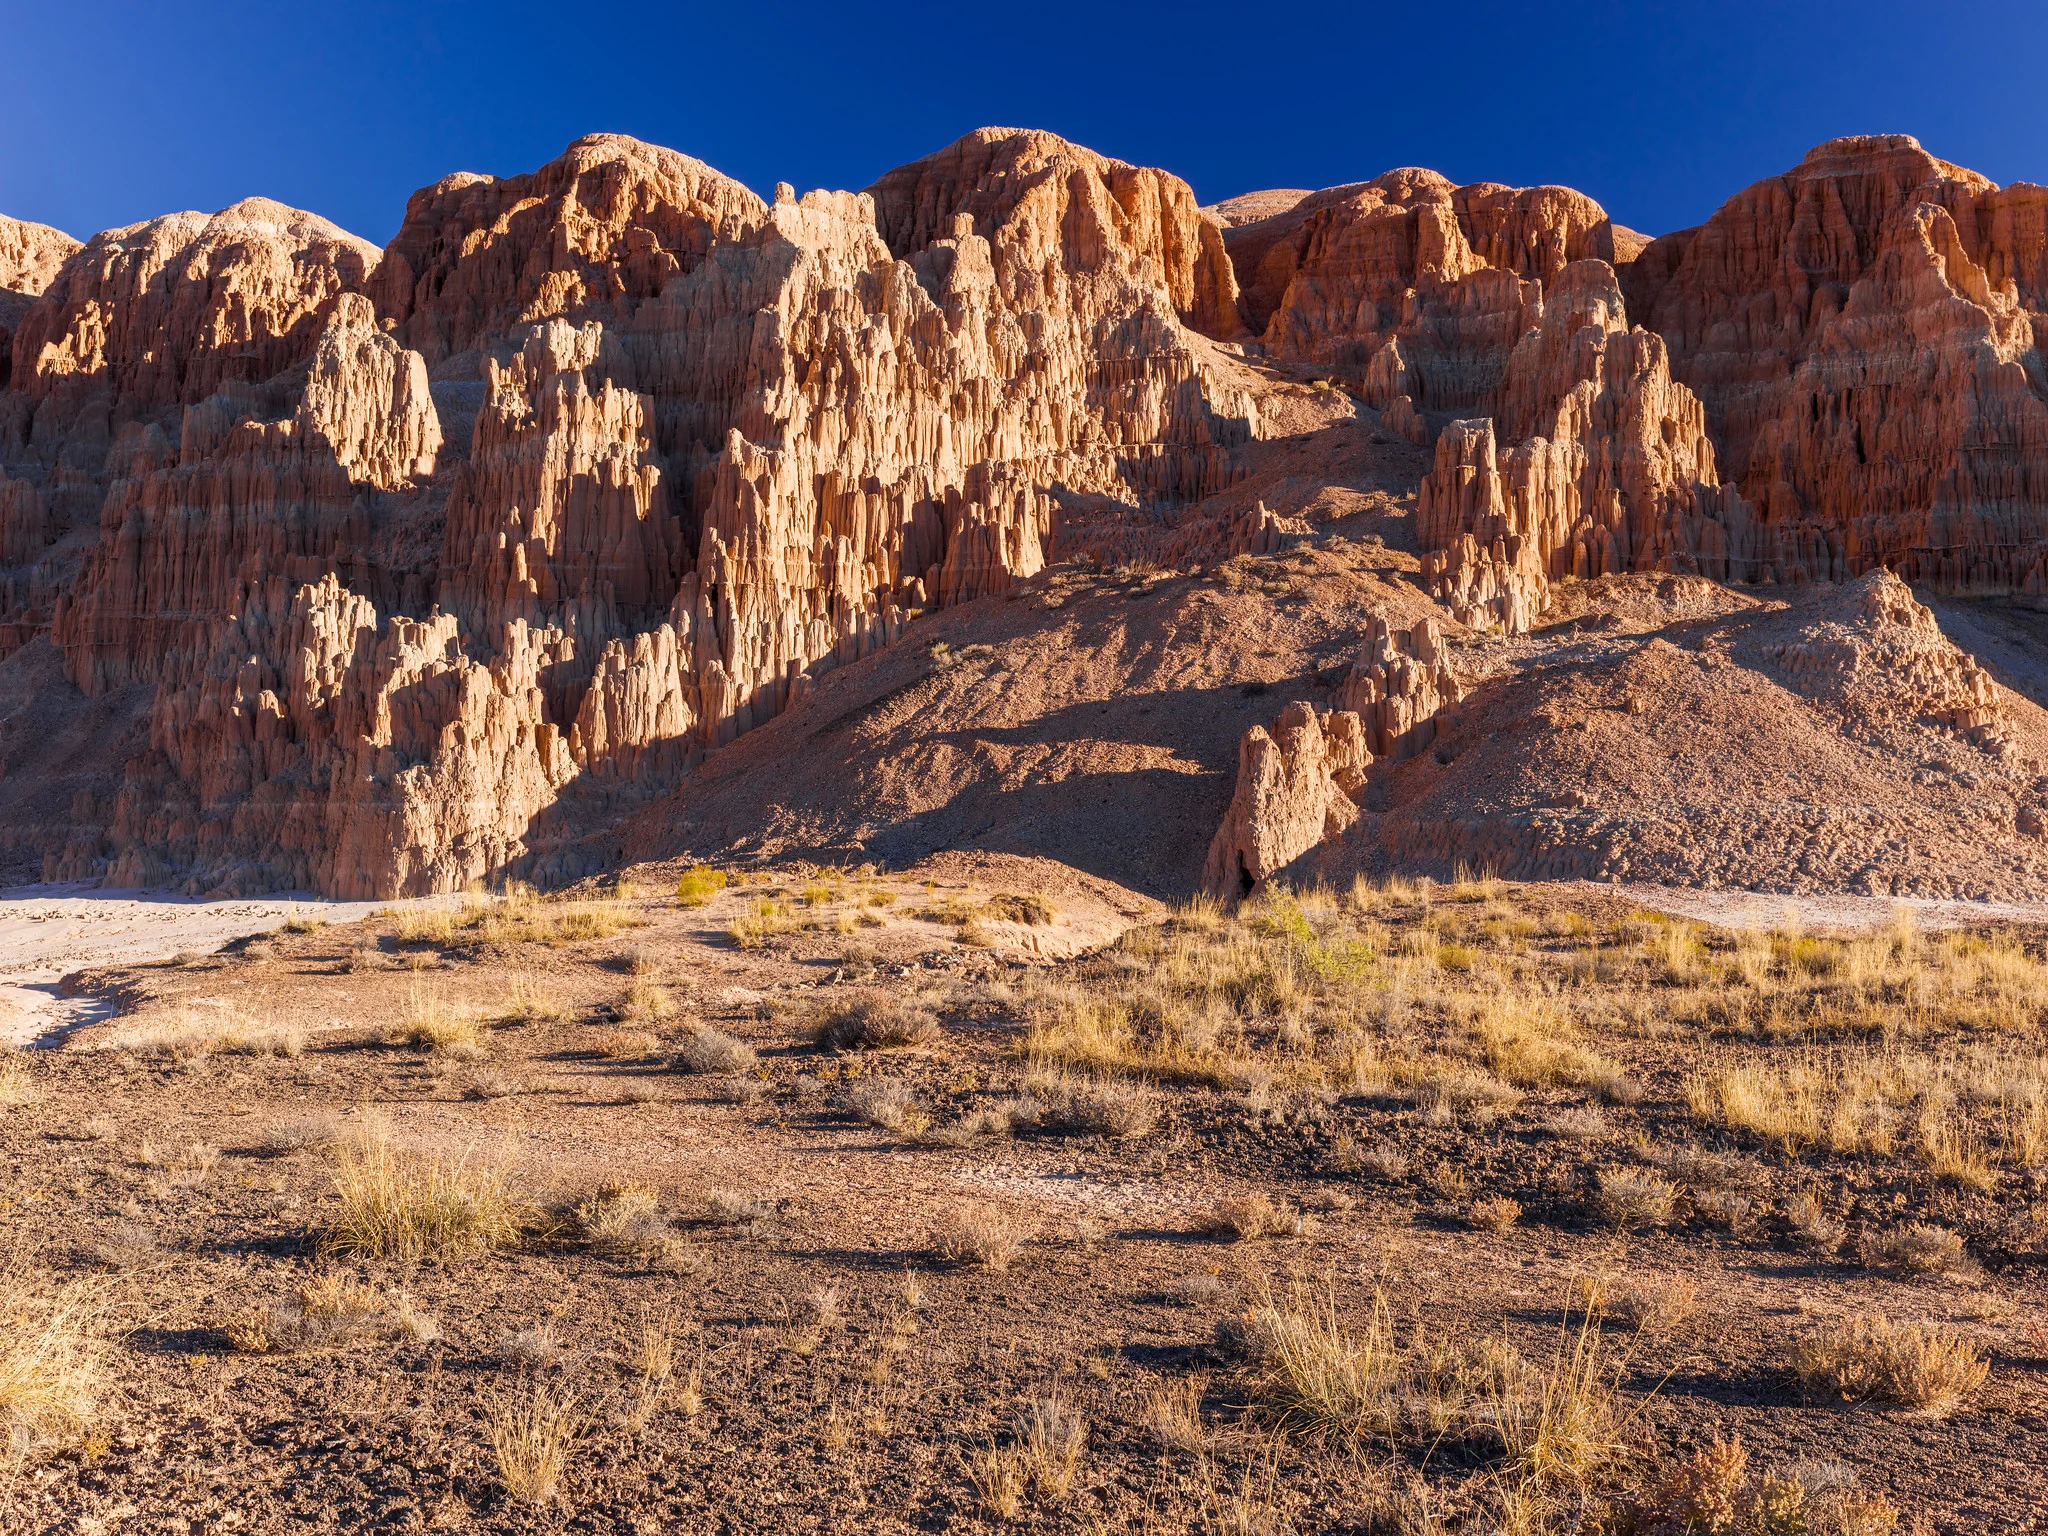
On a portrait, moderate side light (sometimes described by the angle of the shadow it casts, as in Rembrandt or split lighting) sculpts the face, showing the structure of the cheekbones, nose and jaw. Push side light too far, so that half the face is fully shadowed with no fill, and you get high contrast, dramatic, sometimes unflattering results. Side light rewards judgment about how much shadow you want and where you want it to fall.
Backlight
Backlight comes from behind the subject, pointed toward the camera. It is the direction most responsible for silhouettes, rim light and a sense of separation between subject and background.
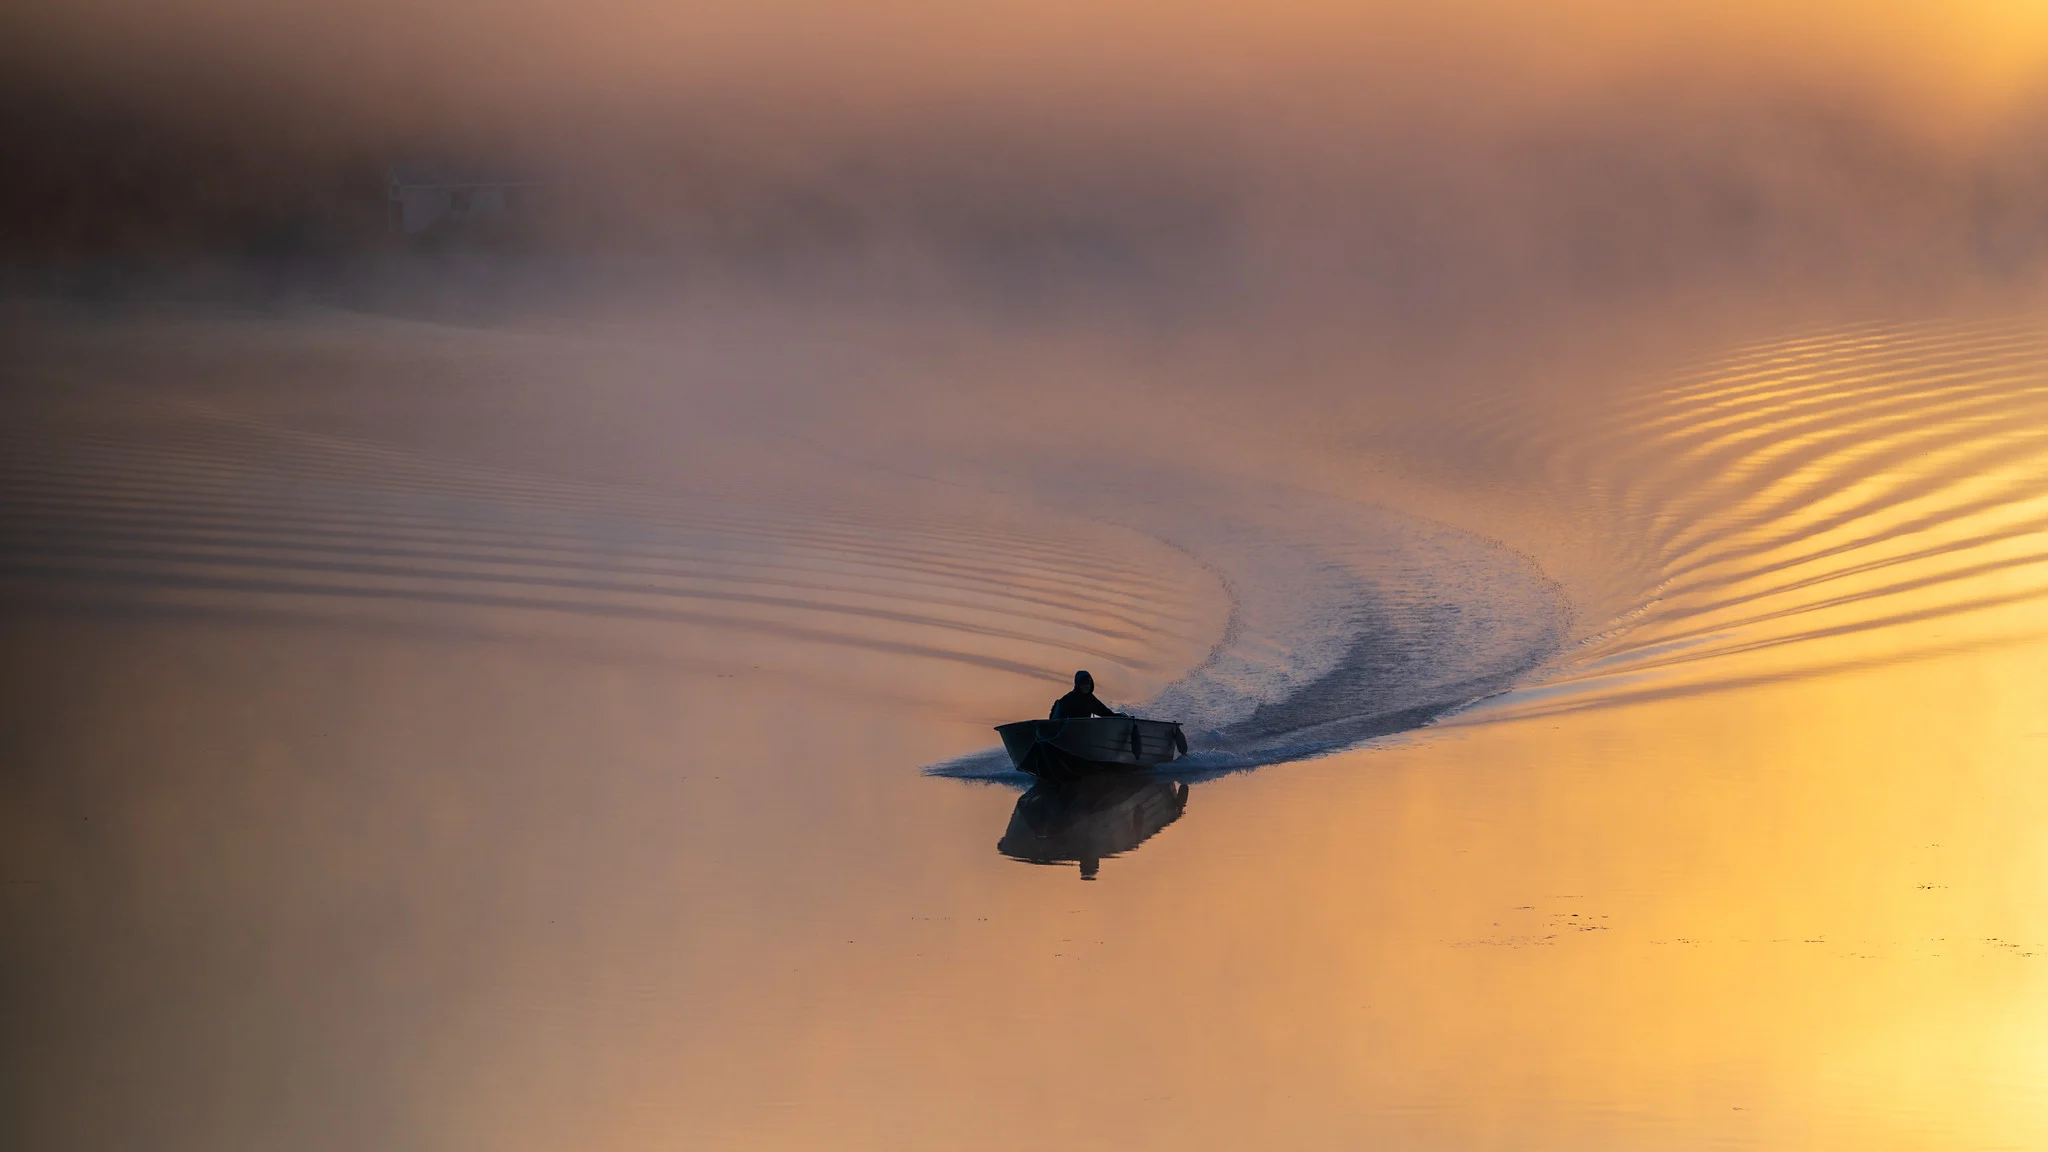
When the light source is strong enough and positioned directly behind the subject, the side of the subject facing the camera receives little to no direct light, so it renders as a dark shape, a silhouette, against a brighter background. This trades away surface detail entirely in exchange for a clean, graphic outline, which is why silhouettes work best with subjects that have a strong, readable outline: a single tree, a person’s profile, a boat on open water. A cluttered or overlapping silhouette usually just reads as a dark blob.
Backlight that grazes past the edge of a subject rather than pointing straight at the lens produces rim light, a bright edge outlining hair, fur, fog or dust that separates the subject from a similarly toned background. This is the same physical situation as side light, just rotated further around the subject, until the light source is nearly in line with the camera’s sightline past the subject rather than off to one side of it. Backlight is also the direction most prone to lens flare and reduced contrast, since stray light can enter the lens directly; a lens hood and careful framing around the light source both help.
Top light
Top light comes from directly overhead, the position of the sun near the middle of the day, or an unmodified light or window positioned straight above a subject. It is usually the least flattering direction for faces, because it casts shadows straight down: under the brow into the eye sockets, under the nose, under the chin. On a face this produces the “raccoon eyes” look experienced photographers try to avoid by moving indoors, into open shade, or waiting for the sun to drop.
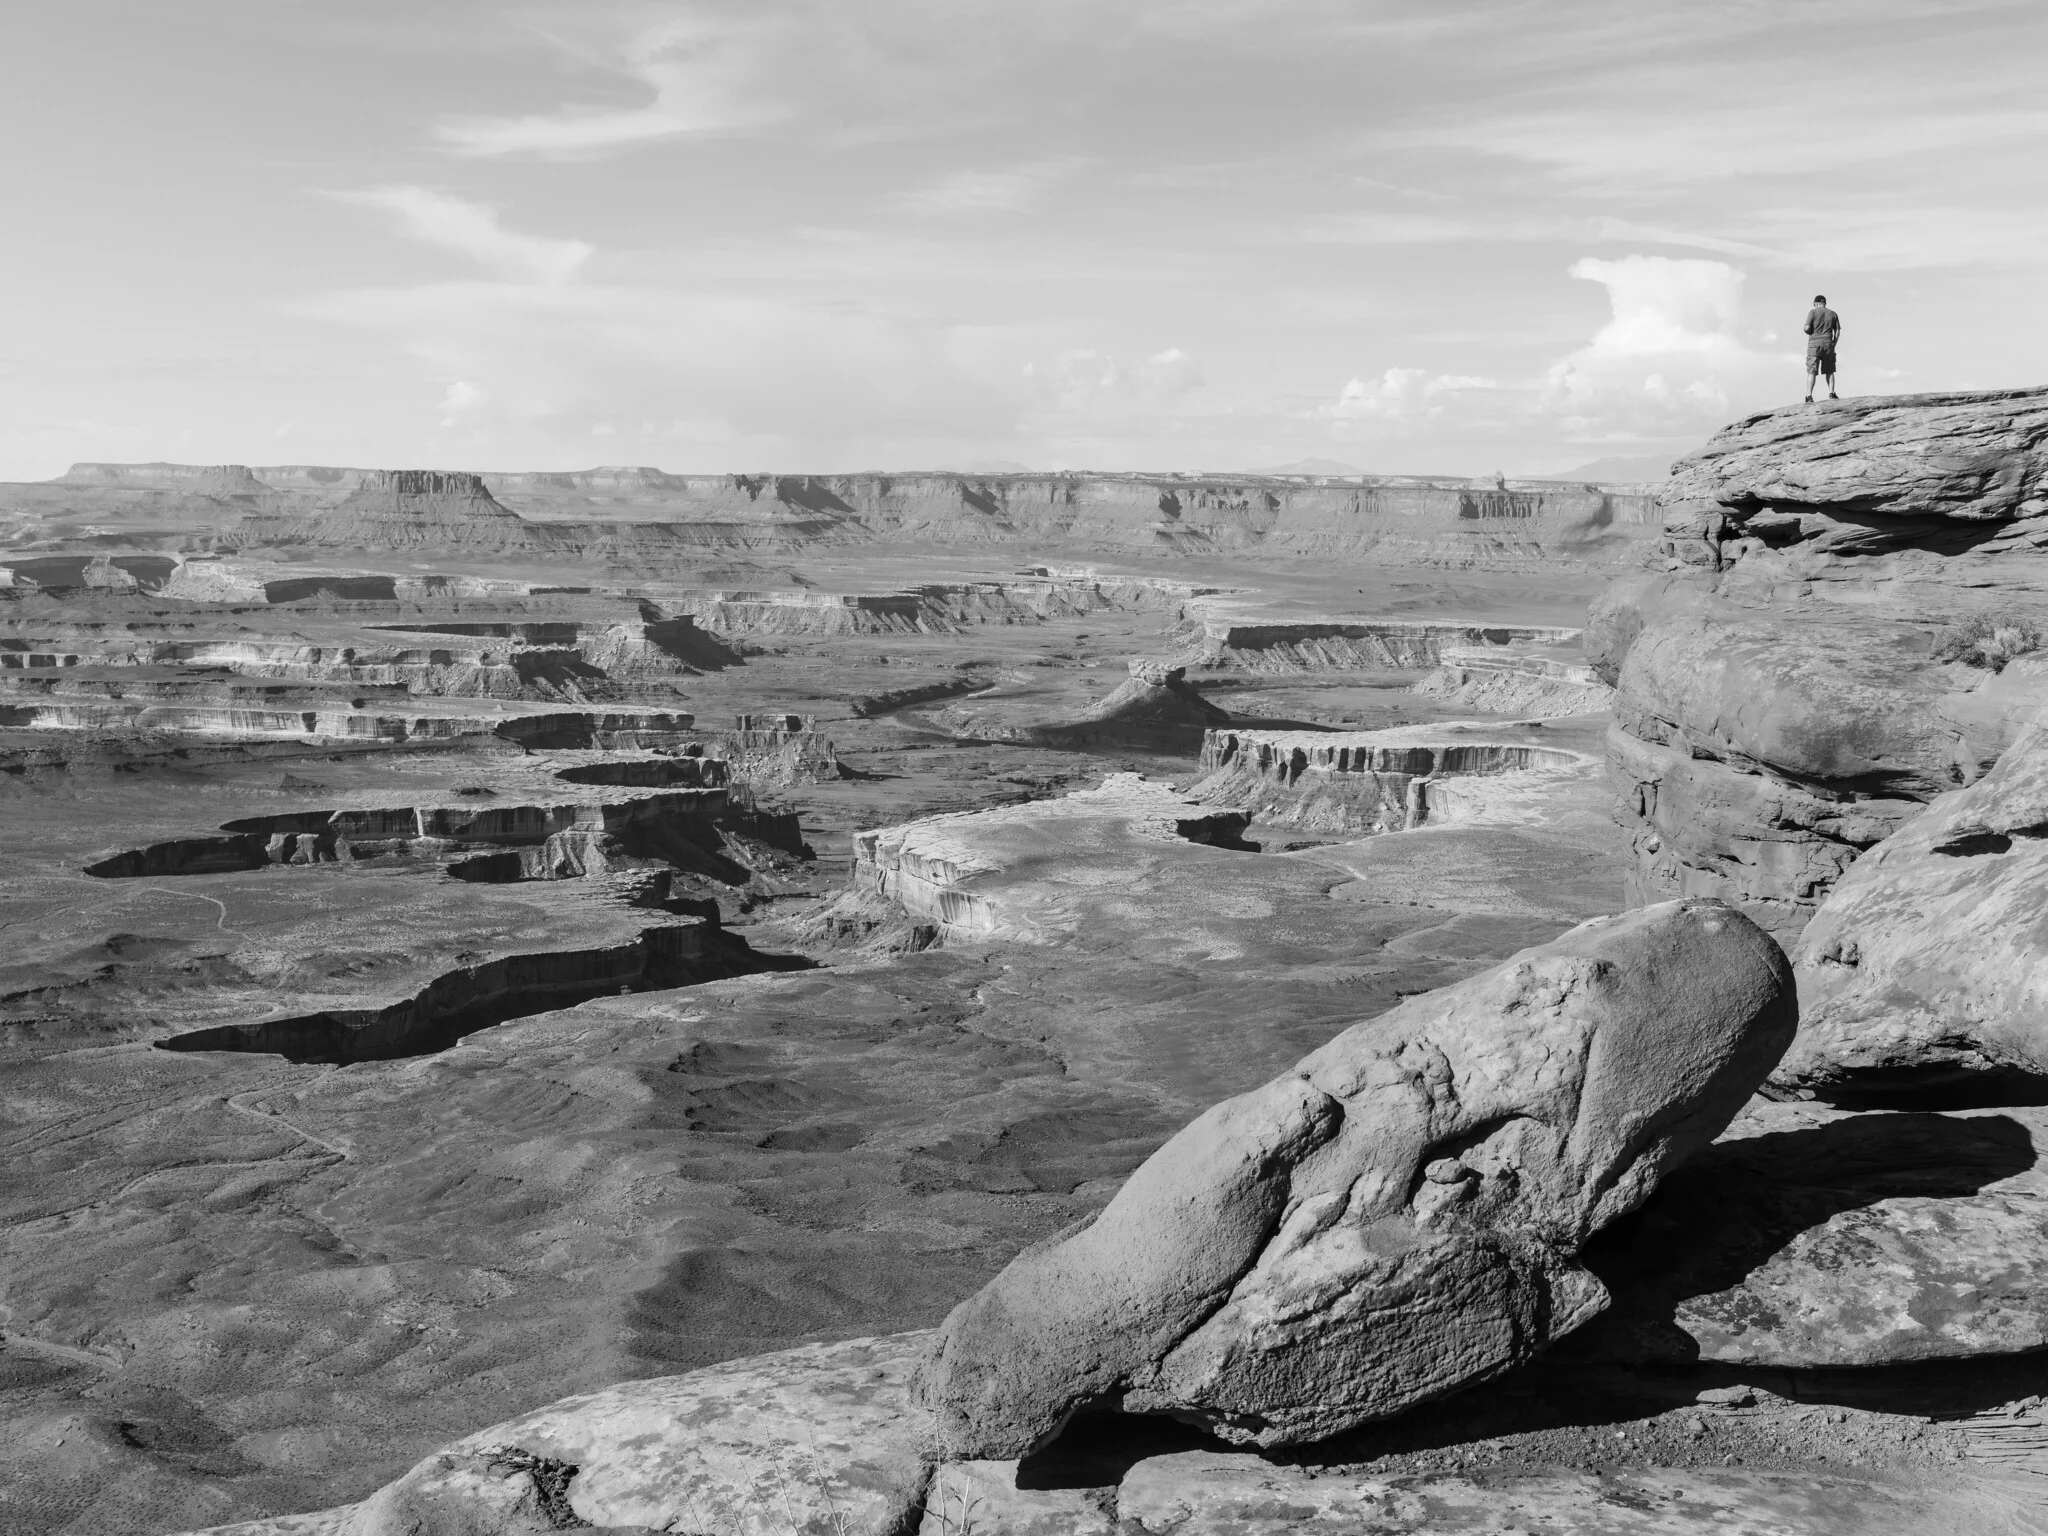
On landscapes, top light flattens the sense of relief in the same way front light does on a face: with the sun almost directly overhead, vertical rock faces receive light at a steep angle and cast very short shadows, so canyons and cliffs that look dramatic at sunrise can look surprisingly two dimensional at noon. Top light is not always bad; it works well for subjects viewed from above (aerial and drone work, food photography, flat-lay product shots) where you want even coverage across a horizontal surface rather than shadow-driven texture on a vertical one.
Under light
Under light, light coming from below the subject, is the rarest direction in nature and the one that reads as the most unnatural or unsettling. Campfires, laptop and phone screens held below the face, uplighting at a stage, and light bouncing off a bright floor or reflective surface all create this effect. It inverts the shadow pattern we expect from a lifetime of seeing overhead sunlight: shadows fall upward, above the brow and around the top of the nose, instead of downward. This is exactly why it is the classic technique for campfire stories and horror-movie faces. Used deliberately, it is a strong tool for drama or unease; used accidentally, for example from a laptop screen lighting a video call from below, it just looks off.
It is also worth seeing what happens when direction disappears almost entirely. In heavy fog or overcast, light scatters from the whole sky rather than one point, so there is no single dominant direction and almost no shadow at all.
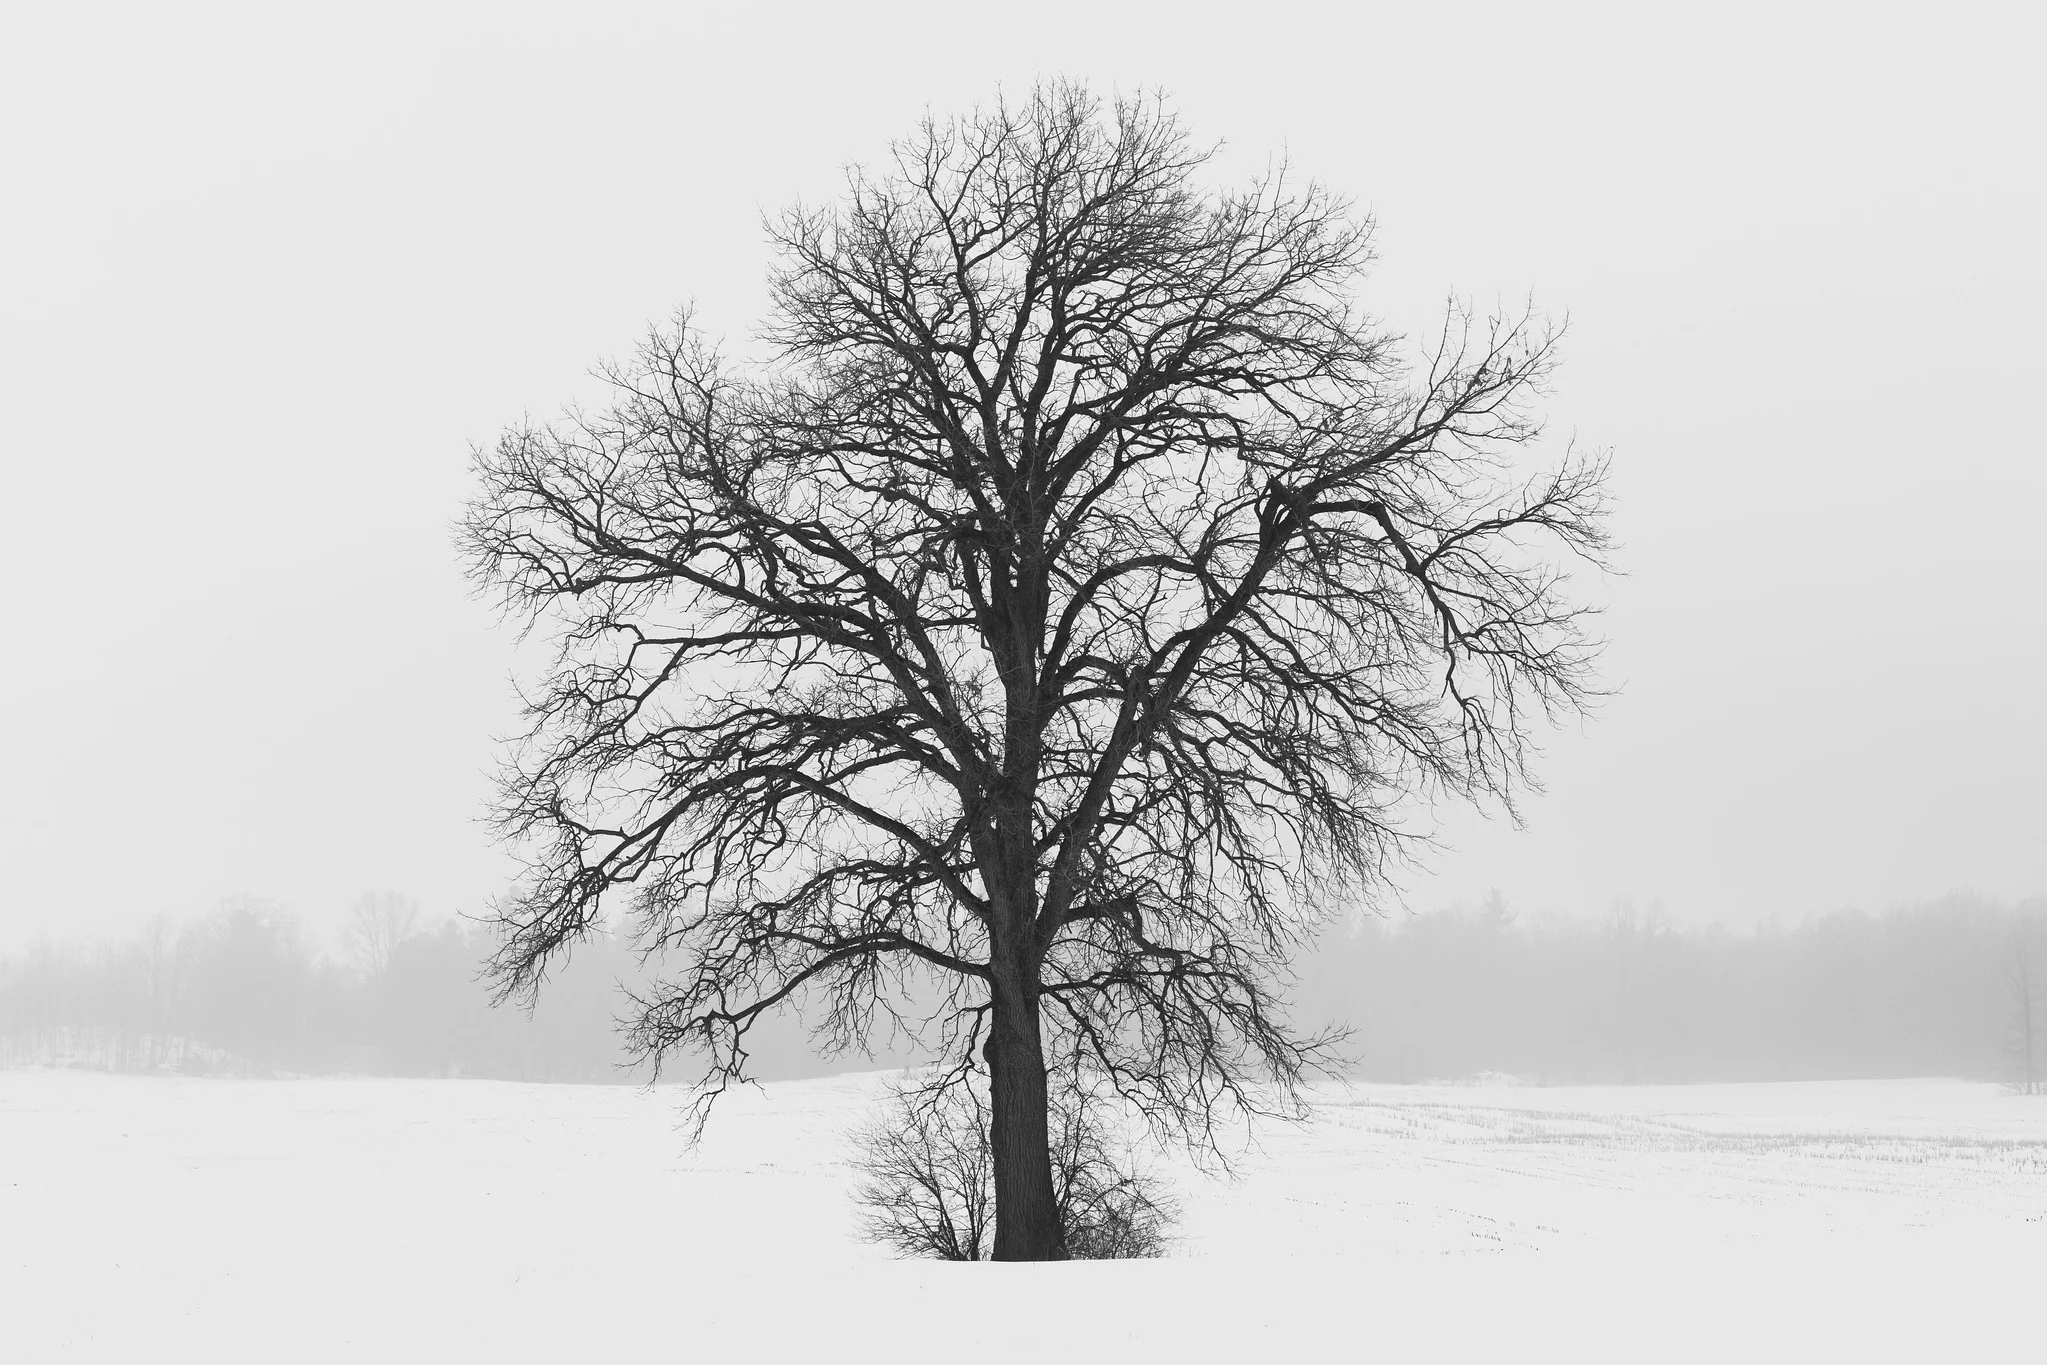
This is the opposite extreme from raking side light: instead of too many small shadows, there are none, and the subject reads as a shape rather than a sculpted form. Neither extreme is wrong, a strong graphic outline can be exactly what a scene needs, but you should recognize when you are looking at “no direction” rather than choosing it by accident.
Reading light before you shoot
Before raising the camera, get in the habit of a quick three-part read of any scene: where is the light coming from, where does that put the shadows, and where is the catchlight (the small bright reflection of the light source itself, visible in an eye, a wet rock or a window). All three tell you the same thing from different angles. On a person, watch for the catchlight in the eyes: no catchlight usually means the light is too soft, too far overhead, or blocked, and the eyes will look dull and lifeless in the resulting photograph.
On a landscape, walk the scene, or at least walk your planned position, and watch how the shadows change as you move. A wall of trees that shows nothing but silhouette from one angle can show full bark texture ten steps to the side, purely because you have changed your position relative to the sun. Direction of light is the one variable you can often change simply by moving your feet, without touching a single camera setting.
Common mistakes
- Shooting only with the sun over your shoulder. Front light is safe and even, but relying on it exclusively means giving up texture, drama and separation. Walk around the subject before deciding.
- Fighting harsh top light instead of using it correctly. Midday sun is not universally bad, it is bad for faces and vertical relief. Save it for subjects viewed from above, or move people into open shade.
- Backlighting a cluttered scene and expecting a clean silhouette. Silhouettes need a simple, separated outline. A tangle of overlapping shapes against a bright background just reads as noise.
- Ignoring the catchlight in portraits. No catchlight in the eyes is a fast, reliable signal that the light direction and quality are not working for that face.
- Forgetting that direction changes faster than you expect. Outdoors, the sun’s angle shifts continuously. A composition that worked in raking light twenty minutes ago may already be going flat.
Try this
Pick one static subject with visible texture, a piece of tree bark, a brick wall, a friend willing to sit still, or a rock. Photograph it five times from a fixed camera distance, changing only your position around the light source each time: front lit, lit from each side, backlit, and if possible top lit. Keep your exposure settings as close to identical as the changing light allows. Lay the five images side by side afterward. You will see the same subject read as flat, sculpted, silhouetted and everything in between, with nothing changed except where you stood.
Related guides
- Hard vs. Soft Light: The other half of reading light, how diffuse or harsh a source is, independent of its direction
- Inverse Square Law: Why light falls off faster from close sources than distant ones
- Golden Hour Photography: Why the hour after sunrise and before sunset is prime side-light territory
- Design Principles in Photography: How shadow and shape built by directional light feed into balance, contrast and emphasis
- Portrait Photography: Applying light direction to faces specifically
- Glossary: More photography terms defined in one place