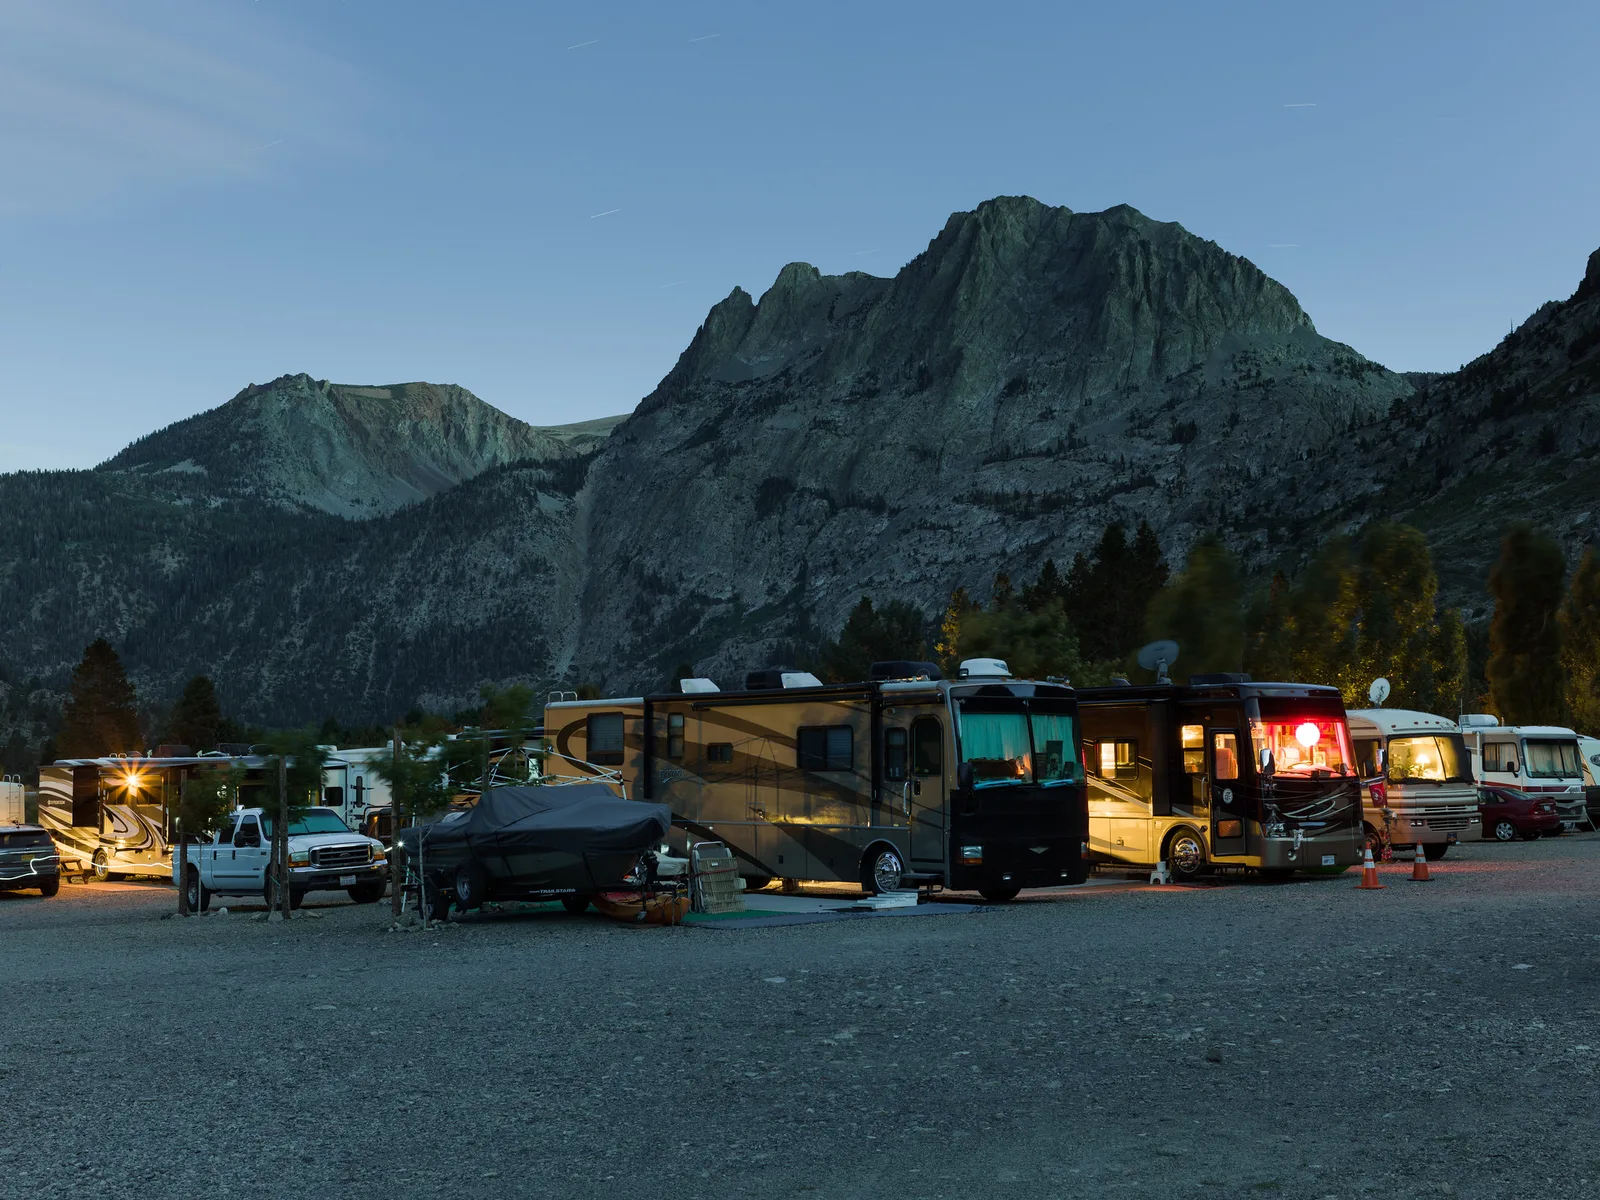
Camping trips are full of pictures waiting to be made: a tent glowing under the stars, friends gathered around a crackling fire, steam rising from a morning coffee, mist drifting over a lake at dawn and a campsite tucked beneath towering mountains. Whether you sleep in a tent, a van or a cabin, camping puts you in beautiful places at the best times of day, when most people are still asleep or have already gone home.
This guide covers why camping is great for photography, choosing and setting up a photogenic campsite, the glowing tent at night, campfires, camp cooking, stars and night skies, sunrise and morning mist, photographing people at camp, details and gear, vans and campgrounds, protecting gear, settings and editing. For trail pictures, see the guide to hiking photography, and for life on the road, see the guide to road trip photography.
Why camping is great for photography
Camping gives you something rare: time in beautiful places through the whole day and night.
- You are there for the best light. Sunrise and sunset are right outside your tent, with no drive needed.
- Night skies are darker. Away from cities, stars and the Milky Way shine brightly.
- It is full of warm moments. Campfires, shared meals and morning coffee give natural, relaxed pictures of friends and family.
- It has strong visual symbols. Tents, fires, lanterns, mugs and sleeping bags instantly say outdoors and adventure.
- It slows you down. Without the rush of daily life, you notice light, weather and small details.
A camping trip also tells a natural story, from arrival and setting up to the evening fire, the night sky and the quiet morning. Thinking of the trip as a story helps you photograph more than just the scenery. A simple list of moments to catch, written before you leave, makes it easier to remember them when you are busy setting up camp or cooking dinner.
Choosing a photogenic campsite
The campsite itself can make or break your pictures. When you have a choice, look for:
- A view. Sites facing a lake, mountain, valley or sea give beautiful backgrounds for tents and campfires.
- Open sky. Clear views of the sky to the east and west catch sunrise and sunset, and open sky above is best for stars.
- Interesting foreground. Rocks, trees, grass or a shoreline add depth to wide scenes.
- Darkness. Sites away from bright campground lights and roads are better for night photography.
Always camp only in permitted places, follow campground and park rules and leave no trace. Never trample fragile ground or plants to get a better view. The guide to photographing national parks has more advice on planning visits to protected places.
Pitching the tent for pictures
Think about the picture as you set up. A tent placed with a lake or mountain behind it, with its door facing the view, makes a classic camp scene. Bright tents stand out against green or blue backgrounds, while earthy tents blend into the landscape. Tidy up guy lines, bags and clutter before photographing, and leave the door open slightly for a welcoming feel. A person sitting in the doorway with a mug, looking out at the view, adds a human touch and a sense of calm.
The glowing tent at night
A tent lit from inside under a starry sky is one of the most loved camping pictures. It is easy to make with a tripod and a small light.
- Set up the camera on a tripod with the tent in the foreground and the sky behind.
- Use a wide lens at its widest aperture, ISO 1600 to 3200 and a shutter speed of about 15 to 25 seconds.
- Light the tent from inside with a headlamp or lantern turned to its lowest setting, pointed at the tent wall rather than straight out.
- Check the result. If the tent is too bright, dim the light, cover it with a cloth or turn it on for only part of the exposure.
The best time is often blue hour, just after sunset, when the sky is deep blue and the tent glows warm. Later, under a dark sky, the tent can sit beneath a sky full of stars. The guide to night photography explains tripods and long exposures.
Lanterns and string lights
Small lights add warmth and charm to camp pictures. A lantern on a picnic table, string lights draped across a canopy or a headlamp beam cutting through mist all bring the scene to life after dark. Keep these lights dim, since bright ones overpower the scene and blow out, and choose warm colored bulbs rather than cold white ones for a cozier feel. Photograph them during blue hour, when there is still some color in the sky, so the warm glow contrasts with the cool surroundings. A lantern in the foreground with a tent and dark trees behind makes a cozy, inviting frame.
Campfires
Campfires bring warmth, light and a gathering point to camp pictures. Photograph the fire itself, the faces lit by its glow and the sparks rising into the night.
- Expose for the faces. Fire is bright and the surroundings are dark, which fools the meter. Expose for faces lit by firelight and let the background fall to black.
- Use the warm glow. Firelight is orange and flattering. Keep white balance warm rather than correcting it fully.
- Capture sparks. A shutter speed of around a second shows sparks as streaks rising into the dark.
- Freeze flames. A faster shutter speed, around 1/250 second, shows the shapes of individual flames.
Follow all fire rules, use existing fire rings and never leave a fire unattended.
Fascinated by the glow of flames? The guide to fire photography explains how to expose fires, sparks and firelit faces.
Camp cooking and mornings
Food tastes better outdoors, and it photographs well, too. Steam rising from a pot, a kettle on a camp stove, pancakes in a pan, a mug of coffee held in cold hands or a meal laid out on a picnic table all capture the pleasure of camp life.
Use backlight from the low morning sun to make steam glow. Get close and fill the frame with hands, mugs and pans. Morning light is soft and warm, and the quiet of an early camp gives time to compose. Camp tables, enamel mugs, wooden spoons and a checked cloth make simple, rustic props that are already part of the scene. The guide to food photography has tips for making meals look appetizing.
Stars and night skies
Camping far from towns gives access to dark skies full of stars. Check moon phases before your trip, since a new moon gives the darkest skies. Use a tripod, a wide lens at its widest aperture, ISO 1600 to 3200 and shutter speeds of 15 to 25 seconds. Include a tent, tree, mountain or van as foreground to give the sky scale.
Focus manually on a bright star using live view, and check the first frame carefully. Turn off camp lights or ask others to keep headlamps pointed down during exposures. Red light settings on headlamps help preserve night vision and spoil fewer pictures. The guide to astrophotography explains star photography step by step, and the guide to star trail photography explains how to capture circling stars.
Sunrise and morning mist
Waking up at camp means you are already in place for sunrise. Step out of the tent before dawn and watch the light change. Mist often lies over lakes and valleys in the early morning, especially after cold, clear nights. Mist rising from still water, with the first light catching it, is one of the most beautiful camping scenes.
Bring a warm layer and a hot drink, and photograph quietly so you do not wake others. Frost on tents and grass, dew on spider webs and the first sun on distant peaks are all worth catching. These early minutes pass quickly, so have the camera ready the night before. The guide to fog photography explains how to expose misty scenes.
Camping through the seasons
Every season changes camp pictures. Spring brings wildflowers and rushing streams, summer brings long evenings and warm nights for stargazing, autumn brings colorful leaves and crisp mornings with mist and winter camping brings snow, frost and a deep quiet. Snow camps are especially striking at blue hour, with a glowing tent against blue snow and dark trees. Each season calls for different gear and care, so plan for cold batteries, condensation and wet weather as needed.
Photographing people at camp
Camping brings out relaxed, happy moments. Friends setting up tents, roasting marshmallows, reading in a hammock, paddling a canoe, laughing around the fire or wrapped in a sleeping bag watching the sunrise all make natural pictures.
Photograph candid moments rather than posed ones. Step back to show people small in the landscape, or move close for expressions and hands. Ask before sharing pictures of others, especially children. The guide to candid photography explains how to capture natural moments.
Vans, campers and campgrounds
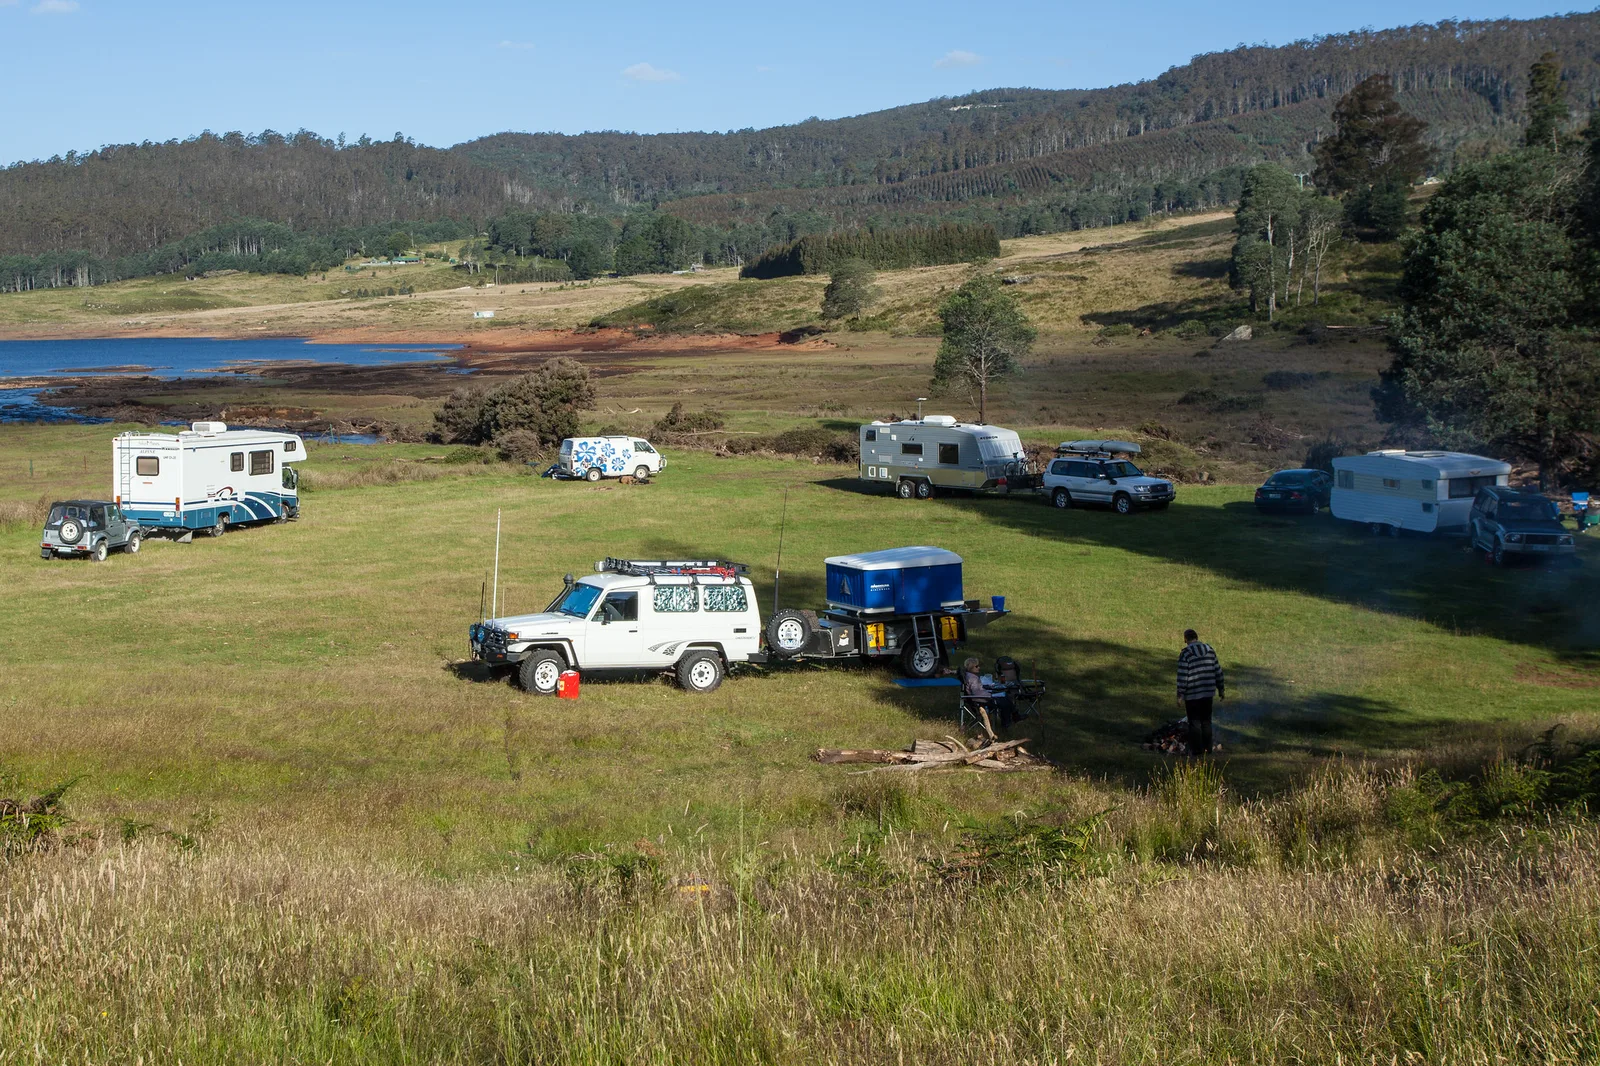
Not all camping happens in tents. Camper vans, trailers and motorhomes make great subjects, especially at dusk with warm light glowing from windows. A van parked by a lake, a trailer under a mountain or a row of motorhomes in a campground as the lights come on tells a story of life on the road.
Campgrounds have their own character: picnic tables, fire rings, water taps, signs and the evening ritual of lights coming on one by one. Respect other campers’ privacy and avoid photographing people at their sites without permission.
Cabins, huts and shelters are part of camping, too. A small wooden cabin with smoke rising from the chimney, a mountain hut lit up at dusk or a lean-to shelter beside a lake all make welcoming pictures. Photograph them from a distance to show the setting, then move closer for doors, windows, stacked firewood and boots left on the porch.
Taking the camp on the road? The guide to road trip photography covers photographing long drives and stops along the way.
Protecting gear outdoors
Dust, damp, cold and condensation are the main enemies of cameras at camp. Keep gear in a padded bag inside the tent at night. In cold weather, batteries drain quickly, so keep spares in a warm pocket or sleeping bag. When bringing a cold camera into a warm tent, seal it in a bag first so condensation forms on the bag, not the lens. The guide to bad weather photography has more tips.
Settings for camping
- Glowing tent and stars: tripod, widest aperture, ISO 1600 to 3200, 15 to 25 seconds.
- Campfire faces: wide aperture, ISO 1600 to 3200, 1/60 to 1/125 second, expose for faces.
- Morning scenes: f/8, low ISO, tripod in low light.
- Lens: a wide angle for camp scenes and stars, a standard zoom for people and details.
- White balance: warm for firelight, daylight for morning scenes.
Editing camping photos
Keep editing natural. Balance warm firelight and cool night skies, lift shadows gently in night scenes and reduce noise in high ISO pictures. Keep stars natural rather than oversharpened, and straighten horizons. A little warmth in morning scenes and a slightly cooler tone in night scenes keep the mood of each time of day.
Want a simple editing routine for your trip pictures? The guide to photo editing for beginners walks through the basic steps in order.
Common mistakes
- Tent too bright at night. Use the lowest light setting and point it at the tent wall.
- Campfire faces too dark. Expose for faces, not the dark surroundings.
- Blurry stars. Focus manually on a bright star and keep exposures under about 25 seconds with a wide lens.
- Sleeping through sunrise. Set an alarm; you are already there.
- Cluttered campsites. Tidy bags and gear before photographing.
- Condensation on the lens. Seal cold cameras in a bag before bringing them into a warm tent.
- Ignoring rules. Camp only where allowed and leave no trace.
Try this: a 10-minute camp story
On your next camping trip, give yourself ten minutes at three points in the day:
- Evening: photograph the tent or van at blue hour with a warm light inside.
- Night: photograph faces lit by the campfire, exposing for the glow.
- Morning: photograph steam from a mug or mist over the landscape at sunrise.
Put the three together, and you have the story of a night outdoors. On the next trip, add arrival, a meal and packing up, and the story becomes a full weekend. Over several trips, these small sets grow into a lovely record of time spent outside with the people you care about.
Frequently asked questions
How do I photograph a glowing tent at night?
Use a tripod, a wide aperture, a high ISO and a long exposure, with a dim light inside the tent pointed at the wall.
How do I photograph people around a campfire?
Expose for faces lit by the fire, use a wide aperture and higher ISO and keep the white balance warm.
What should I bring for camping photography?
A camera with a wide lens, a small tripod, a headlamp, spare batteries and a padded bag to protect gear.
How do I keep batteries working in the cold?
Keep spares in a warm pocket or inside your sleeping bag, and swap them as needed.
When is the best time for star pictures at camp?
On clear nights around the new moon, after the sky is fully dark, away from campground lights.
Can I photograph stars with a phone at camp?
Many phones have a night mode that can capture bright stars. Rest the phone on a rock or small tripod, keep it still and let the long exposure run.
How do I photograph camp without disturbing others?
Keep headlamps pointed down, avoid flash, work quietly early and late and ask before photographing other campers.
For terms such as white balance, ISO, long exposure and blue hour, see the photography glossary.