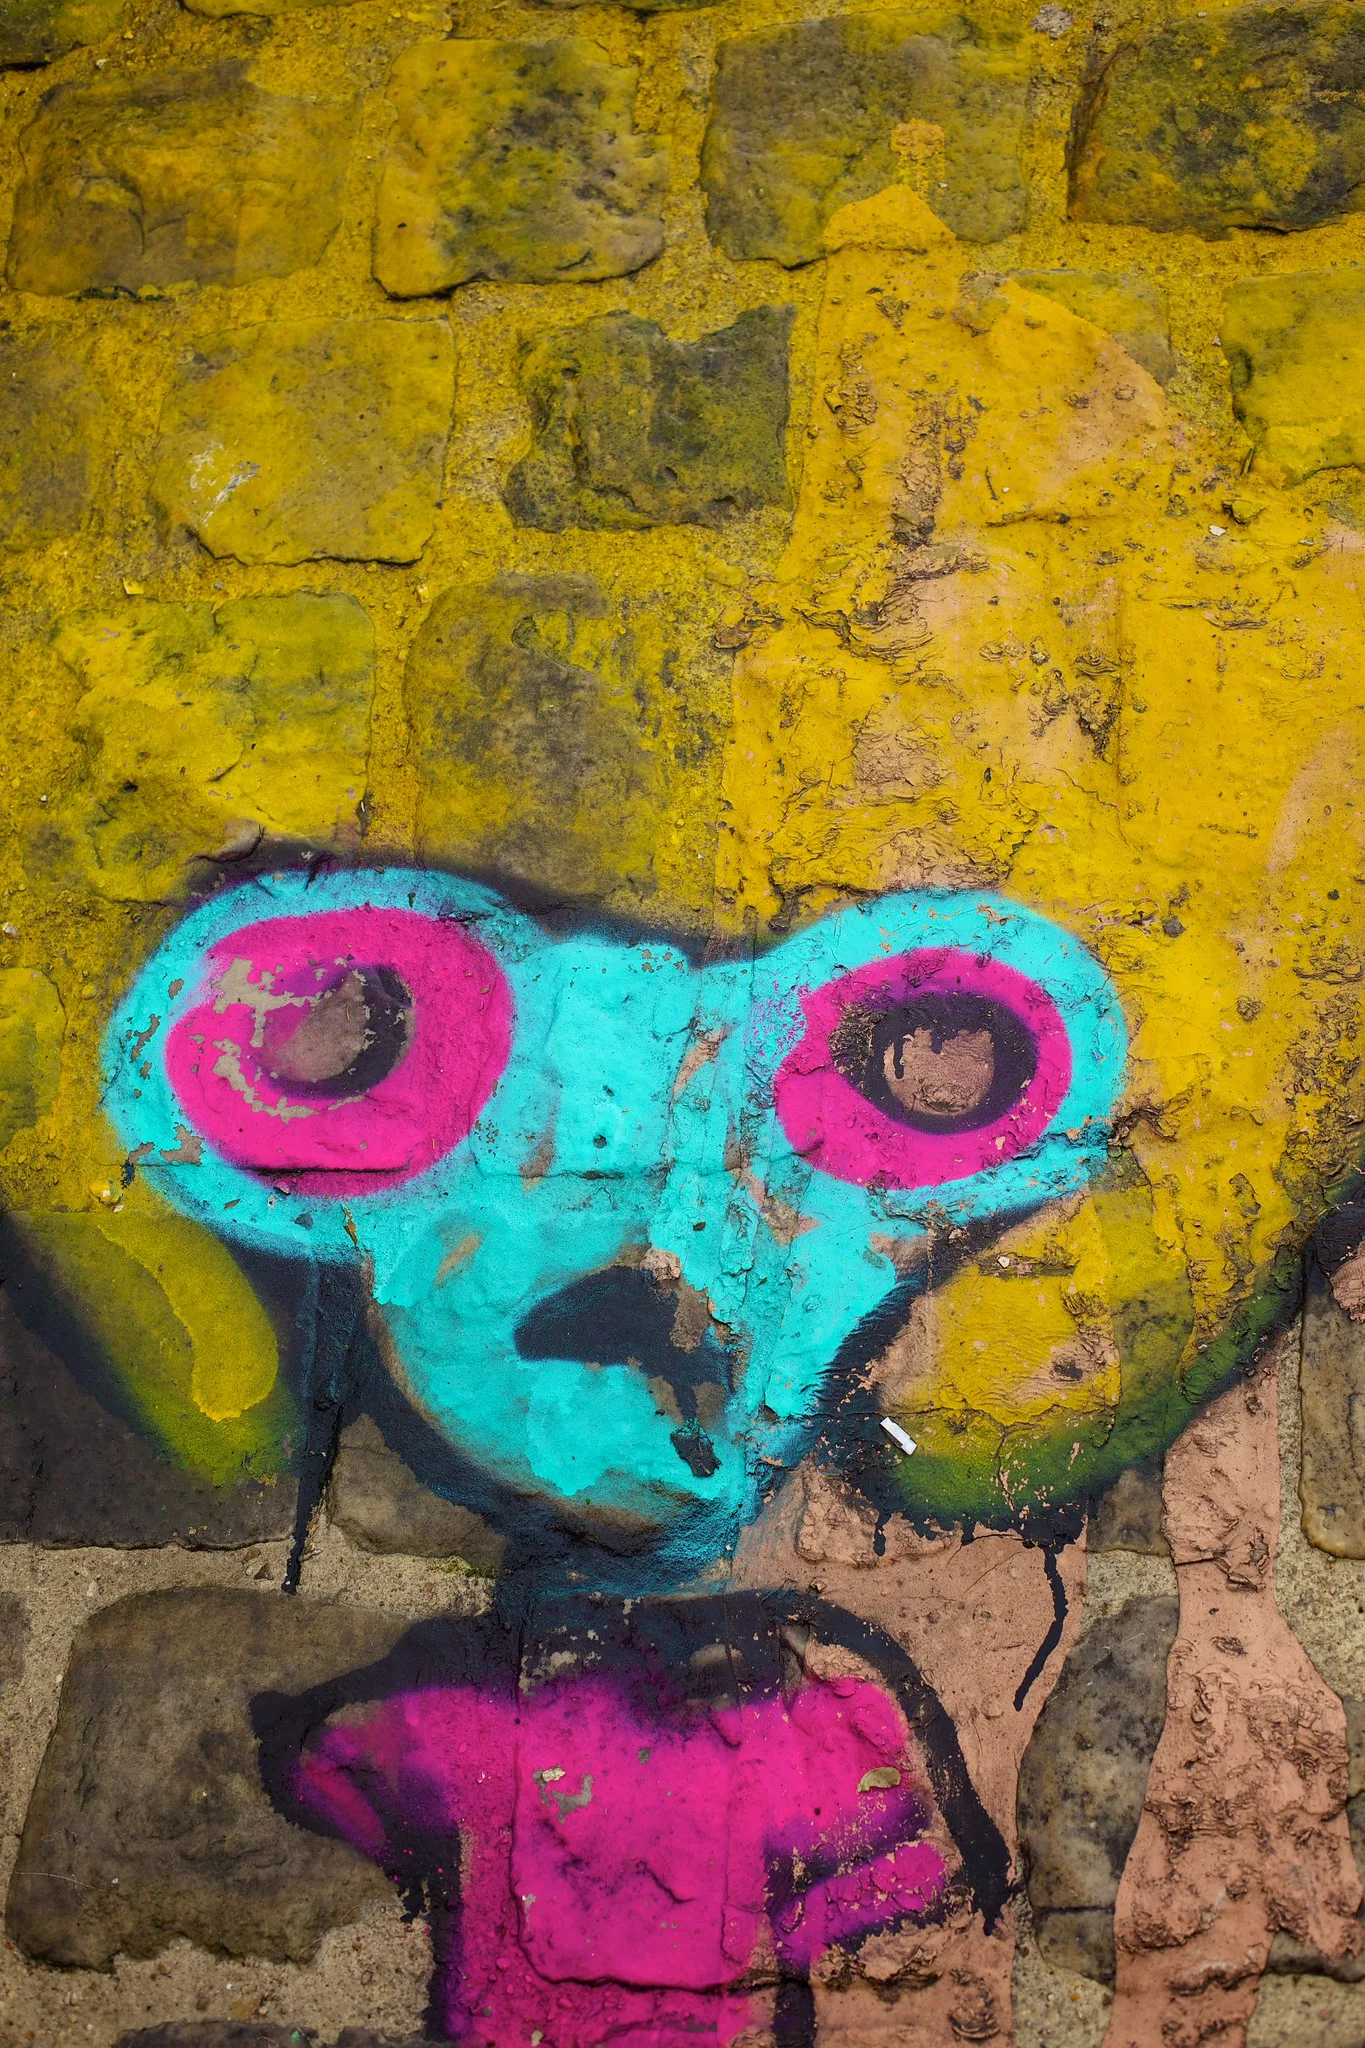
Graffiti and street art turn ordinary walls, alleys, shutters and trains into open air galleries. Bold lettering, playful characters, stencils, stickers and paste-ups appear and disappear constantly, so every walk through a painted neighborhood brings something new. For a photographer, graffiti offers color, texture, energy and a record of art that may not be there next week.
This guide covers where to find graffiti legally and safely, shooting walls straight on, color and texture, details, context and people, light, the different kinds of street art, settings, editing and credit. For large painted walls made with permission, see the guide to mural photography, and for photographing artwork in general, see the guide to photographing artwork.
Why graffiti makes a great subject
Graffiti is one of the most accessible subjects in any city, and it rewards curiosity and a good eye.
- It is everywhere. Alleys, underpasses, rail yards seen from public paths, shop shutters and old buildings all hold painted work.
- It is colorful and bold. Bright spray paint and strong shapes make eye-catching pictures, even on gray days.
- It changes constantly. Walls are painted over and repainted, so photographs become a record of something temporary.
- It has texture. Brick, concrete, rust and peeling layers of old paint add depth to every picture.
- It tells stories about places. Graffiti reflects the people, humor and mood of a neighborhood.
Photographing graffiti also trains your eye for color, pattern and composition, skills that carry over to street photography, abstract work and travel.
Kinds of graffiti and street art
Painted walls come in many forms, and each one suggests a different approach.
- Tags. Quick signatures in marker or spray paint. Individually simple, but layered together they create dense patterns.
- Throw-ups and pieces. Larger lettering, from quick bubble letters to elaborate, colorful pieces that take hours.
- Characters. Cartoon figures, faces and creatures, often with humor and personality.
- Stencils. Sharp-edged images sprayed through cut templates, often with a message.
- Stickers and paste-ups. Printed or drawn paper art pasted onto poles, signs and walls.
- Legal walls and festivals. Some cities set aside walls where painting is allowed, and festivals invite artists to paint whole streets.
Learning to recognize these forms helps you see what makes each piece interesting, whether it is the lettering, the color, the character or the message.
Where to find graffiti legally and safely
Many cities have well known street art districts, legal walls and painted alleys that welcome visitors. Local tourism sites, art organizations and walking tours often list them. Skate parks, community centers and underpasses along public paths are also common places for painted work.
Stay on public land and respect private property. Do not trespass in rail yards, tunnels, rooftops or abandoned buildings to find graffiti, since these places are dangerous and often illegal to enter. Many trains and rail lines can be photographed safely from public platforms and bridges. The guide to urban exploration photography covers safety and the law in more detail. Photographing graffiti from a public place is generally fine, but be aware that some neighbors and businesses may feel strongly about it.
Going back often
Graffiti changes quickly. A wall you photographed last month may already be covered with new work. Visit favorite spots often and keep a simple record of what you find, since a series showing one wall changing over time can be fascinating.
Building a collection
Many photographers keep a long running collection of graffiti from their own city or from places they travel. Organize pictures by neighborhood, artist, color or style, and note the date and location of each piece in your own records. Over time, the collection becomes a valuable archive of art that has vanished. You might also focus on one theme, such as painted characters, stencils, hand-lettered signs or stickers, which makes a collection feel more coherent and gives each walk a purpose. A small project like this is a good way to keep photographing week after week.
Shooting straight on
For documenting a piece, stand directly in front of it with the camera parallel to the wall. This keeps lines straight and avoids the distortion that makes a rectangular piece look like a tilted trapezoid. Use the grid in your viewfinder or screen to line up the edges of the wall.
- Step back and zoom in. A moderate focal length, around 35mm to 70mm, reduces distortion compared with a very wide lens close to the wall.
- Center yourself. Stand in the middle of the piece, at roughly its center height.
- Fix small tilts later. Editing tools can straighten slight perspective problems, as the guide to perspective distortion explains.
- Include the whole piece. Leave a little margin around the edges so nothing is cut off.
In narrow alleys where you cannot step back, take several overlapping frames and combine them as a panorama later, or photograph the piece in sections.
Color and texture
Graffiti is all about color, and good light makes it sing. Soft, even light from an overcast sky or open shade shows colors accurately without harsh shadows or glare. Bright sun can make colors pop but often creates strong shadows from nearby buildings, poles or fences that cut across the piece.
Texture adds depth. Rough brick, cracked concrete, rusted metal shutters and peeling layers of older paint give graffiti a physical presence. Side light, when the sun skims across the wall, brings out this texture beautifully. Get close and photograph details where paint meets brick or where a new piece covers an old one. The guide to texture in photography has more ideas.
Keeping colors true
Use auto white balance or a daylight setting outdoors, and check that whites look neutral. Shaded walls can look blue, and walls in warm evening light can look orange. If accurate color matters, take a picture of a gray or white area of the wall to use as a reference when editing. The guide to white balance explains the basics.
Fascinated by bold color combinations? The guide to color theory explains how colors work together in a picture.
Details and abstracts
Some of the most interesting graffiti pictures are not of whole pieces but of fragments. A drip of paint running down a wall, layers of tags overlapping like a collage, the edge of a stencil, a sticker half torn away or a bright patch of color against gray concrete can make striking abstract images.
Move in close, fill the frame and look for shapes, lines and color contrasts rather than complete images. Walls covered in years of layered paint and tags can look like modern paintings when cropped tightly. The guide to abstract photography has more ideas for finding pictures in surfaces.
Context and people
Documenting a piece straight on is useful, but graffiti pictures often become more interesting when they show context. A painted wall at the end of an alley, a character peeking out from behind a parked car, a stencil beside a street sign or a colorful shutter on a gray street tells a story about the place and how the art fits into it.
People passing by add life and scale. A cyclist riding past a bright wall, someone walking in front of a mural sized piece or a figure whose clothing matches the colors can make a picture memorable. Wait for interesting passersby, and keep strangers small or unidentifiable unless you have permission. Look for moments where the painted world and the real world interact, such as a painted character that seems to be looking at a real person. The guide to humor in photography has ideas for these playful coincidences.
Photographing artists at work
At legal walls and festivals, you may find artists painting. Ask before photographing them closely, since some prefer not to show their faces. Many are happy to have their process documented and will share their names or social handles for credit. Respect their space and do not get in the way of their work.
Shutters, trucks and moving canvases
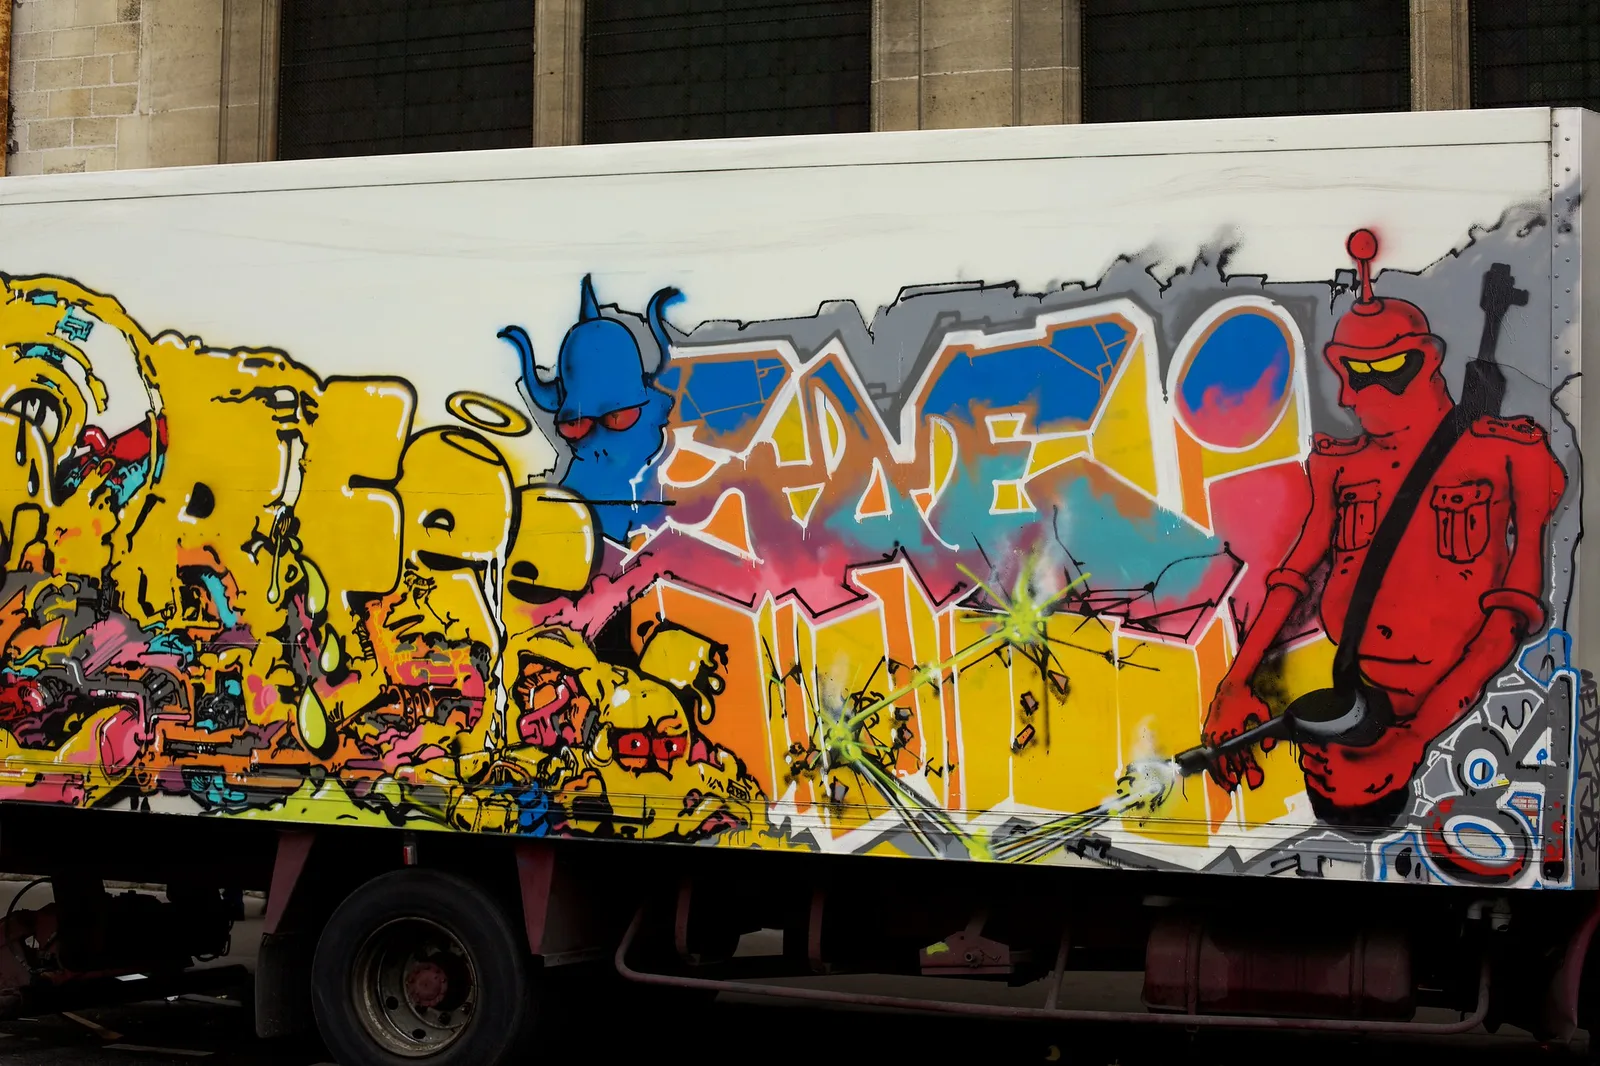
Graffiti is not limited to walls. Metal shop shutters, delivery trucks, trailers, dumpsters, electrical boxes, bridges and trains all carry painted work. Shop shutters are a special case, since the art is only visible when the shop is closed, so early mornings, evenings and quiet days are the best time to find them. Painted trucks and trailers move around, which makes every encounter a little surprise.
Trains covered in color have a long history in graffiti culture. Photograph them only from public platforms, bridges and level crossings, never from tracks or rail yards. A painted train passing a station, with motion blur from a slower shutter speed, can make a dramatic picture. On vehicles, watch for reflections on shiny paint and for curves that distort lettering, and try to stand square to the side you are photographing. Small things such as electrical boxes and poles covered in stickers make great detail pictures and are easy to find on any city walk.
Drawn to railways as well as the art on them? The guide to train photography covers stations, moving trains and safety.
Light and time of day
Overcast days are often ideal for graffiti, with soft light and no harsh shadows. Early morning is quieter, with fewer people and parked cars in front of walls. Late afternoon sun can bring out warm colors and texture on walls facing west.
Night can be dramatic, too. Street lamps and neon signs light some walls with warm or colored light, creating moody scenes. Use a higher ISO or a tripod, and be mindful of your safety in quiet areas after dark. Going with a friend is wise, and sticking to busy, well lit streets keeps night walks relaxed.
Rain is worth trying, too. Wet walls deepen colors, puddles on the ground reflect painted shutters and an umbrella passing in front of a bright piece adds a human touch. Protect the camera with a simple cover and enjoy having the streets mostly to yourself.
Settings for graffiti
- Documenting pieces: aperture f/5.6 to f/8 so the whole wall is sharp, focal length 35mm to 70mm.
- Details: a wider aperture and closer focus for texture and drips.
- Scenes with people: 1/250 second or faster to freeze passersby, or slower for motion blur.
- ISO: auto ISO with a sensible upper limit, especially in shaded alleys.
- White balance: auto or daylight, checked against a neutral area.
- Lens: a standard zoom covers most graffiti, with a wide angle for alleys and a short telephoto for pieces high on walls.
Editing graffiti photos
Straighten the wall and correct any perspective tilt, adjust white balance so colors look true and add a little contrast or clarity to bring out texture. Avoid oversaturating, since spray paint is already vivid and extra saturation can look artificial. Crop to remove distracting edges, and keep the artwork itself unchanged. If a piece has been photographed in sections, check that the colors match between frames before combining them.
Need a simple editing workflow? The guide to photo editing for beginners walks through the basic steps in order.
Credit and respect
Graffiti and street art are someone’s creative work. When sharing pictures, credit the artist where you can by looking for a signature or tag on the piece or asking locals. Avoid presenting the artwork as your own creation, and be careful about using pictures of artwork for commercial purposes, since artists may hold rights to their work. Never add to, damage or remove graffiti for a picture, and leave walls exactly as you found them.
Common mistakes
- Tilted, distorted walls. Stand straight on and use the grid to keep lines parallel.
- Cutting off edges. Leave a margin around the whole piece.
- Harsh shadows across the art. Choose overcast light or open shade.
- Wrong colors. Check white balance, especially in shade or evening light.
- Only documenting. Also try details, context and people for more interesting pictures.
- Trespassing. Stay on public land and never enter dangerous or private places.
- Forgetting credit. Note the artist’s name or tag where you can.
Try this: a 10-minute graffiti walk
Find an alley or street with painted walls and give yourself ten minutes:
- Minutes one to three: photograph one whole piece straight on, using the grid to keep the edges straight.
- Minutes four to seven: move in close and make two detail or abstract pictures of drips, layers or texture.
- Minutes eight to ten: step back and make one picture that shows the art in context, ideally with a passerby or street element.
At home, compare the three kinds of picture and notice how each tells a different story about the same wall.
Frequently asked questions
Is it legal to photograph graffiti?
Photographing graffiti from a public place is generally fine. Do not trespass to find it, and be careful about using pictures of artwork commercially.
How do I photograph a wall without distortion?
Stand straight in front of the center of the wall, keep the camera parallel to it and use a moderate focal length rather than a very wide lens up close.
What is the best light for graffiti?
Overcast light or open shade gives even color without harsh shadows. Side light is great for showing texture.
Should I credit graffiti artists?
Yes, where you can. Look for a signature or tag on the piece, or ask locals who painted it.
What is the difference between graffiti and a mural?
Murals are usually large, commissioned works painted with permission, while graffiti ranges from quick tags to elaborate pieces, often unsanctioned. Both reward the same careful approach.
Can I photograph graffiti with a phone?
Yes. Phones are great for graffiti walks. Use the grid to keep walls straight, tap to set exposure on the artwork and avoid the widest lens when standing close.
How do I photograph a piece high on a wall?
Step back across the street if it is safe and use a short telephoto, so the camera stays more parallel to the wall and the piece does not look tilted backward.
For terms such as white balance, perspective distortion, focal length and texture, see the photography glossary.