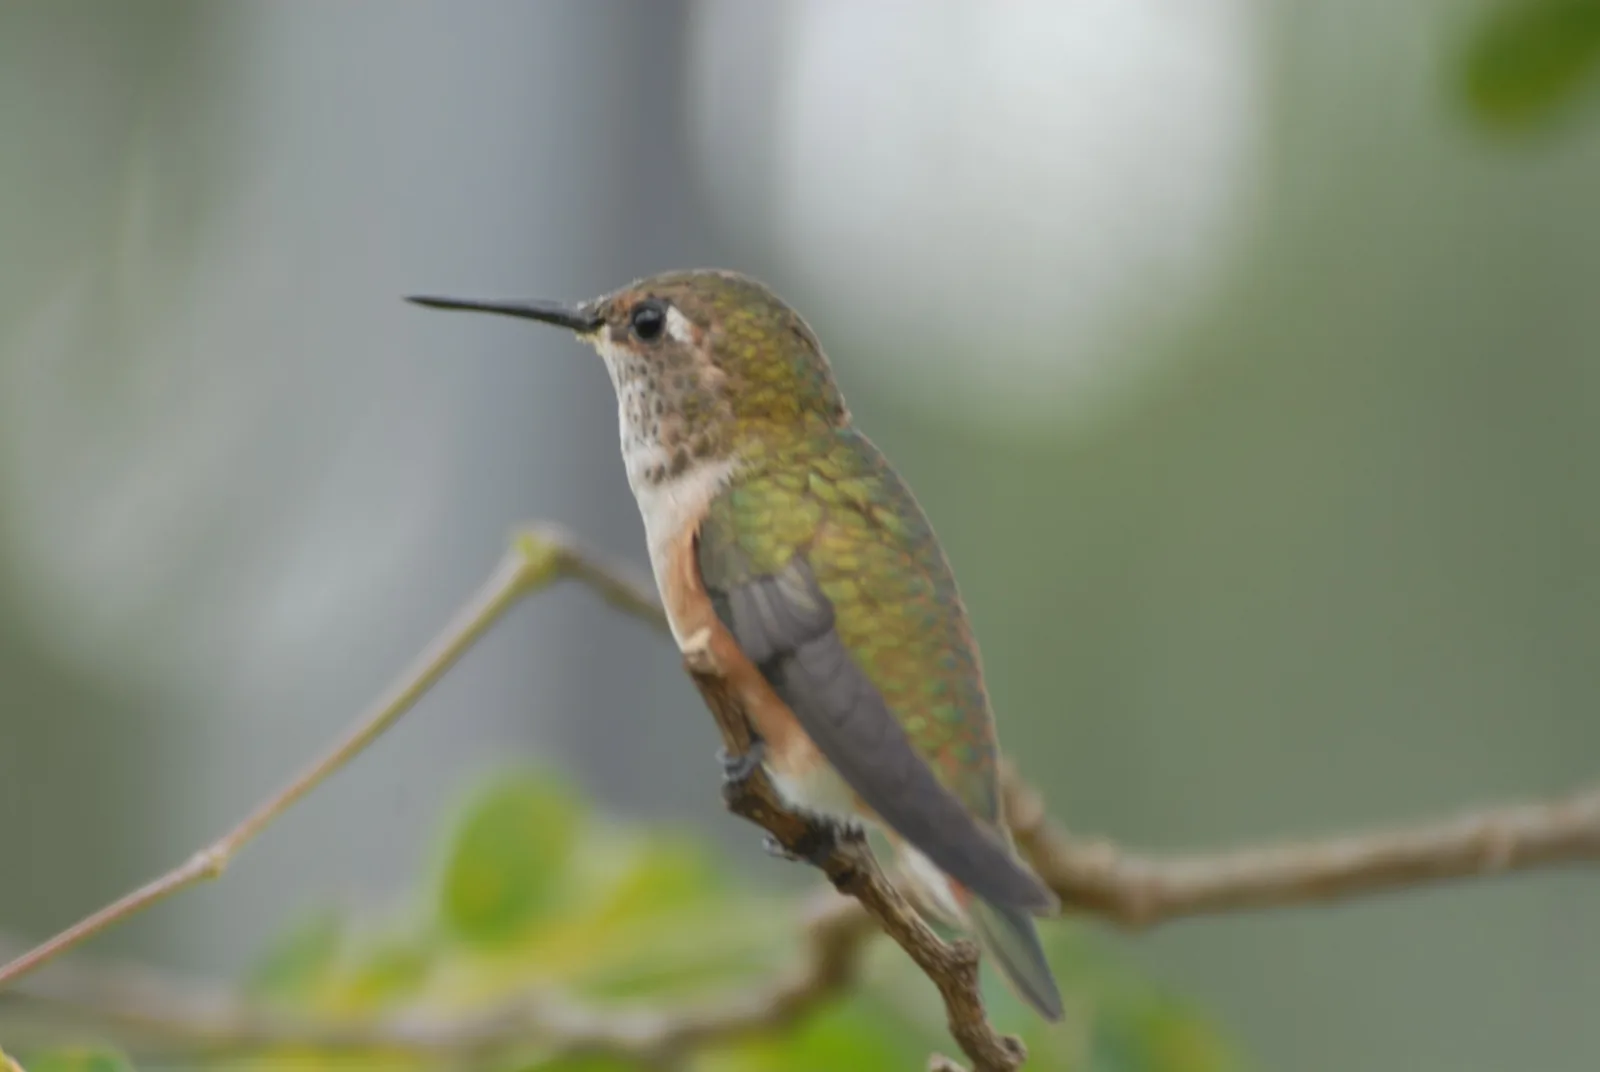
To photograph hummingbirds, use their habits: they return to the same flowers, feeders and perches many times an hour, so you can pre-focus and wait. In daylight, 1/2000 to 1/4000 second freezes most of the wing, while 1/250 to 1/1000 keeps the body sharp and lets the wings blur. The classic way to freeze wings completely is several small flashes at low power, whose burst lasts about 1/10,000 second or less.
The general fieldcraft and settings for birds are in how to photograph birds and bird photography. This guide covers what is particular to hummingbirds: predictable behaviour, the wing-blur decision, flash and daylight methods, pre-focusing, backgrounds, iridescent colour, ethics and where these birds live.
Habits that make hummingbirds predictable
A hummingbird looks impossible to follow, but it is one of the most repetitive subjects in bird photography. It burns energy so fast that it must feed many times an hour, and it goes back to food it already knows.
- The same flowers and feeders. A bird that has found a feeder or a flowering plant returns to it again and again through the day. Some species work a regular circuit of flowers and come round on a rough schedule.
- A favourite perch. Many hummingbirds guard a food source from an exposed twig nearby, often a bare one with a clear view. A bird chased off that twig is usually back on it within minutes. This is the easiest hummingbird picture there is: a still bird, on a known spot, at a known distance.
- The pull-back. A feeding bird does not stay with its bill in the flower. It drinks for a second or two, backs away a few centimetres, hovers, and goes in again. The hover in clear air beside the flower is the moment to shoot.
- Busy hours. Feeding is heaviest early in the morning and again before dusk, with steady visits in between.
So the first job is to watch without the camera. Ten minutes tells you which perch the bird uses, which side it approaches from and where it hovers. Then set up for that one spot, sit or stand still a few metres away and let the bird get used to you. Many hummingbirds are bold and will feed close to a person who does not move suddenly.
Where hummingbirds live: the Americas only
Hummingbirds are found only in the Americas. There are well over 300 species, spread from Alaska to Tierra del Fuego and through the Caribbean. Most live in the tropics, with the greatest variety in the Andes and the forests of Central and South America. Lodges and reserves there often keep feeders and flowering gardens that attract many species to one place.
In the United States and Canada the choice is smaller and mostly seasonal. One species breeds across the east, several more live in the west, and most of them migrate, arriving in spring and leaving by early autumn. A few stay all year along the Pacific coast and in the far south.
There are no hummingbirds in Europe, Africa, Asia or Australia. The sunbirds of Africa and Asia look and feed in a similar way but are not related, and the hummingbird hawk-moth, a day-flying moth that hovers at flowers, is often mistaken for one. The techniques in this guide work for both.
Frozen wings or blurred wings: the shutter speed for each
Small hummingbirds beat their wings roughly 40 to 80 times a second while hovering, and the larger species are slower. At 50 beats a second, each single stroke, down or up, takes 1/100 second. A shutter speed of 1/4000 covers one fortieth of a stroke, which still leaves a little blur at the wingtips in the middle of the stroke. At the top and bottom of each stroke the wing slows and reverses, so in any burst some frames look sharper than others.
Neither look is the correct one. Frozen wings show feather detail and the shape of the wing. Blurred wings show speed and are how people see the bird in life. Decide before you shoot, because the two need very different settings. Whichever you choose, the head and eye must be sharp. A hovering hummingbird holds its head remarkably still, which is what makes slow speeds possible.
| Look | Shutter speed | Notes |
|---|---|---|
| Wings mostly frozen in daylight | 1/2000 to 1/4000 | Slight tip blur is normal; 1/8000 if the light allows |
| Sharp body, blurred wings | 1/250 to 1/1000 | The most natural look in daylight |
| Wings as a soft haze | 1/60 to 1/200 | Bird must be hovering in place; few frames will be sharp |
| Perched bird | 1/500 or faster | Faster if it is preening or turning its head |
| Wings fully frozen with flash | Sync speed, about 1/200 to 1/250 | The flash burst, not the shutter, stops the wing |
Use the mechanical shutter if your camera’s electronic shutter reads slowly. A line-by-line readout can draw a fast wing bent or curved.
Natural light: sun, shade and high ISO
Daylight alone is the simplest method and often the best looking. The limit is light. In full sun, 1/3200 second at f/5.6 needs about ISO 400. In open shade or under cloud the same settings need roughly ISO 1600 to 6400, because shade is two to four stops dimmer than direct sun.
- Set the shutter speed and aperture yourself and let the ISO float. Manual exposure with Auto ISO holds your chosen speed while the bird moves between sun and shade.
- Put the feeder or flower in good light. Soft, bright shade or thin cloud gives even colour with no hard shadows. Direct low sun from behind you gives the most speed and the strongest throat colour.
- Accept noise before blur. A slightly noisy frame with a sharp eye is usable. A clean frame with a soft eye is not.
- Use blur when the light is low. On a dull day, stop fighting for 1/4000. Drop to 1/500 and make blurred-wing pictures at a moderate ISO.
Flash: why a very short burst freezes the wing
A small battery flash set to low power makes a far shorter burst of light than any shutter speed in daylight. At full power the burst is relatively long. At 1/16 power and below it lasts roughly 1/10,000 second or less, depending on the model. If the flash supplies nearly all the light in the picture, the effective exposure time is the length of the burst, and the wings are frozen feather by feather.
How short is the burst from your flash? Flash duration explains why lower power gives a shorter burst, how to read t.5 and t.1 figures and how to keep the ambient light out.
How a multi-flash setup works in principle
The classic setup uses several small flashes close to one feeding spot. Each part follows from the physics.
- Work in shade. Daylight must contribute almost nothing, or it records a blurred ghost of the wings over the sharp flash image. Set the exposure so daylight alone would be three or more stops too dark. In open shade, ISO 100 at f/16 and the sync speed does that.
- Bring the bird to one point. Use a feeder with a single open port, or hide the feeder behind a real flower with a drop of sugar water in it. The bird hovers in the same few centimetres every time.
- Put the flashes close. Low power means little light, so the flashes sit perhaps 30 to 60 centimetres from that point, on stands. Two light the bird from the front left and right. A third or fourth can light it from above or behind.
- Light the background separately. With daylight removed, a distant natural background goes black. Place a plain card or an out-of-focus print of foliage a metre or so behind the flower and give it a flash of its own.
- Use manual power. Set every flash by hand, typically between 1/16 and 1/32, so the burst stays short and each frame matches. Adjust brightness by moving a flash closer or farther, or with the aperture.
- Fire them together. A radio trigger or optical slave mode fires all the units at once.
The method for placing and triggering the units is in how to use off-camera flash. The result is very sharp and very controlled, and it can look like a studio picture. Many photographers prefer daylight for that reason.
Could high-speed sync do the same job in sunlight? High-speed sync explains how it works and why it does not freeze motion better.
Focus: pre-focusing on a perch or flower
Autofocus struggles to find a bird a few centimetres long that arrives without warning. Pre-focusing removes the search.
- Perch. Focus on the twig the bird uses, then wait. When it lands, a small correction is all that is needed. If no good twig exists, fix a thin, attractive one near the feeder at the height of your lens, with a clean background behind it.
- Flower or feeder port. Focus on the edge of the flower nearest the side the bird approaches from. The bird’s head will be a few centimetres out from it during the pull-back, so shift focus slightly toward that position.
- Manual or autofocus. On a tripod, manual focus on the pre-set spot is reliable. Handheld, use continuous autofocus with a small area placed where the head will be. Bird eye detection, where a camera has it, helps once the bird is in the frame. Separating focus from the shutter button, as in back button focus, stops the camera refocusing on the background between visits.
- Bursts. Shoot short bursts when the bird backs out of the flower. Some cameras can record frames from just before the shutter is fully pressed, which suits a subject this quick.
Depth of field is thin at these distances. A 400mm lens at f/8, focused at 3 metres on a full-frame camera, holds less than 3 centimetres in focus. That is enough for a bird side-on to the camera and not enough for one facing you with wings spread. Stop down to f/8 or f/11 when the light or the flash allows, and try to shoot when the bird is parallel to the sensor.
Backgrounds and working distance
You choose the background before the bird arrives, by choosing where the feeder, flower or perch goes and where you stand.
- Distance behind the bird matters most. Foliage five metres or more behind the perch dissolves into smooth colour at telephoto focal lengths. A hedge one metre behind stays a mess of leaves.
- Check for bright patches. Gaps of sky and sunlit leaves turn into pale blobs that pull the eye from the bird. Move sideways or raise the camera until the background is one even tone.
- Match the light. A background in the same light as the bird, or a little darker, shows the bird’s outline and colour best.
- Move the feeder, not the garden. Hang it where the background is already good. Birds find a feeder that has moved a few metres.
Background still busy behind the bird? How to separate your subject from the background covers tonal and colour separation and the four things that blur a background.
Most hummingbirds in North America are under 10 centimetres long, so filling the frame means working near the closest focusing distance of a telephoto lens. A lens of 300mm to 600mm equivalent at 2 to 5 metres is typical. Check how close your lens focuses before you set up. If it will not focus near enough, a short extension tube between lens and camera lets it focus closer, at the cost of distant focus while it is fitted.
Need a larger bird in the frame? Teleconverters explained covers the reach gained, the light lost and how a teleconverter differs from an extension tube.
Iridescence: why the colour changes with the angle
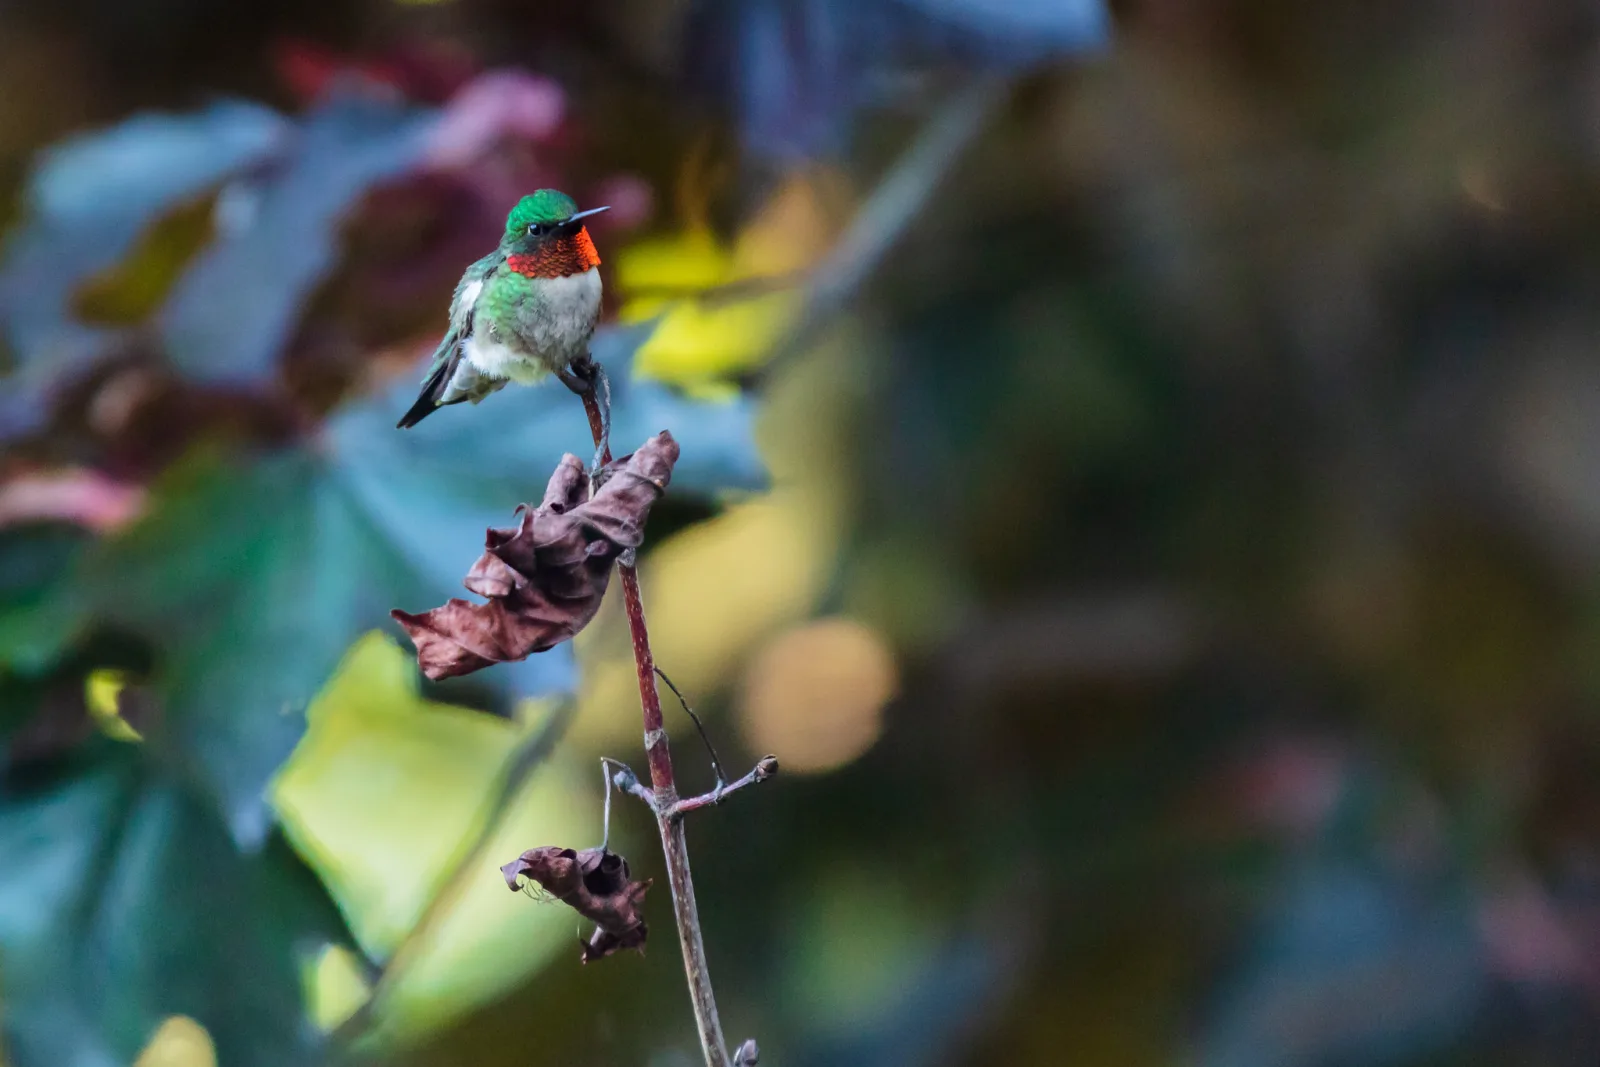
The glittering throat patch of many male hummingbirds, called the gorget, is not coloured by pigment. The colour is structural. Microscopic layers inside the feathers reflect some wavelengths of light strongly and cancel others, and which ones depends on the angle between the light, the feather and your eye. From one direction the throat blazes red, pink, purple or green. From another, the same feathers look black.
That has practical consequences.
- Keep the light behind you. The colour is strongest when the light comes from close to the camera’s direction and the bird faces you.
- Wait for the head turn. A perched male swings his head from side to side, and the gorget flashes on and off. Shoot bursts through the turn and keep the frame where it lights up.
- Use soft light for even colour. Under bright cloud or in open shade, light arrives from many directions, so more of the throat shows colour at once, though with less sparkle.
- With flash, the flash position sets the colour. A unit close to the lens axis lights the gorget for the camera. One far to the side may leave it dark.
- Expose and edit with care. Glowing feathers clip easily in one colour channel. Check the highlights, and do not add saturation to a colour that is already at its limit.
Ethics: feeders, flash and nests
The bird’s welfare comes before the picture. With hummingbirds that mostly means keeping what you offer them safe.
- Sugar water only. Mix one part plain white sugar with four parts water. Do not add red dye, and do not use honey or artificial sweeteners.
- Clean feeders. Empty, wash and refill every few days, and every day or two in hot weather. Sugar water ferments and grows mould, which harms birds. Discard it if it turns cloudy.
- Do not keep birds from feeding. Covering feeder ports or swapping in a flower for a session is common practice. Keep sessions short, leave food available, and take the setup down if birds stop coming.
- Be careful with flash. Birds at multi-flash setups usually keep feeding, but photographers disagree about its effect. Watch the birds, stop if they react, and follow any reserve or lodge rule that bans flash.
- Never disturb a nest. Hummingbird nests are tiny and easily abandoned or exposed to predators. Stay well back with a long lens, keep visits brief, never trim or bend leaves for a clearer view, and do not share the location. Disturbing nesting birds is against the law in many places, so check local rules.
- Never handle, trap or confine a bird for a picture.
Common mistakes
- Chasing the bird. Following it around gives distant, soft frames. Fix: pick one perch or flower, pre-focus and wait.
- A shutter speed in between. At 1/1000 to 1/1600 the wings are neither frozen nor clearly blurred. Fix: go to 1/3200 or faster, or down to 1/500.
- Ghosted wings with flash. Daylight was too strong, so a blur overlays the sharp image. Fix: move to shade and cut the ambient exposure by three stops or more.
- A black throat. The light or the bird was at the wrong angle. Fix: put the light behind you and shoot through the head turn.
- A busy background. Leaves were too close behind the bird. Fix: move the feeder or perch so the background is several metres away.
Try this
Spend fifteen minutes at a feeder or a patch of flowers that hummingbirds visit. For the first five minutes leave the camera down and note the perch the bird uses and the side it approaches from. Pre-focus on the perch and photograph the bird there at 1/500 second. Then pre-focus on one flower or port and shoot two sets of hovering frames, one at 1/500 and one at 1/3200, letting the ISO rise as needed. Compare the wings and the eye in each set and decide which look you prefer. If you live outside the Americas, do the same exercise on bees or hoverflies at flowers.
Frequently asked questions
What shutter speed freezes hummingbird wings?
In daylight, 1/2000 to 1/4000 second freezes most of the wing, and some tip blur is normal even then. To freeze wings completely, photographers use low-power flash, whose burst is far shorter than any shutter speed.
Do I need flash to photograph hummingbirds?
No. Daylight gives natural pictures, with either mostly frozen wings in bright light or blurred wings at slower speeds. Flash is only needed for the fully frozen, highly detailed look.
Why does the hummingbird’s throat look black in my photo?
The throat colour is structural and only shows from certain angles. Put the light behind you, wait for the bird to face the camera, and shoot as it turns its head.
Are there hummingbirds in Europe?
No. Hummingbirds live only in the Americas. The hovering visitor at European flowers is usually the hummingbird hawk-moth.
Related guides
- How to photograph birds: gear, settings, fieldcraft and birds in flight.
- Bird photography: finding birds by habitat, and bird photography ethics.
- Flash duration: how a short burst freezes motion.
- High-speed photography: freezing motion with shutter speed and with flash.
- How to photograph insects: butterflies, bees and dragonflies at the same flowers.
- How to photograph flowers: the other half of a hummingbird picture.
- Nature photography: ethical practices in the field.