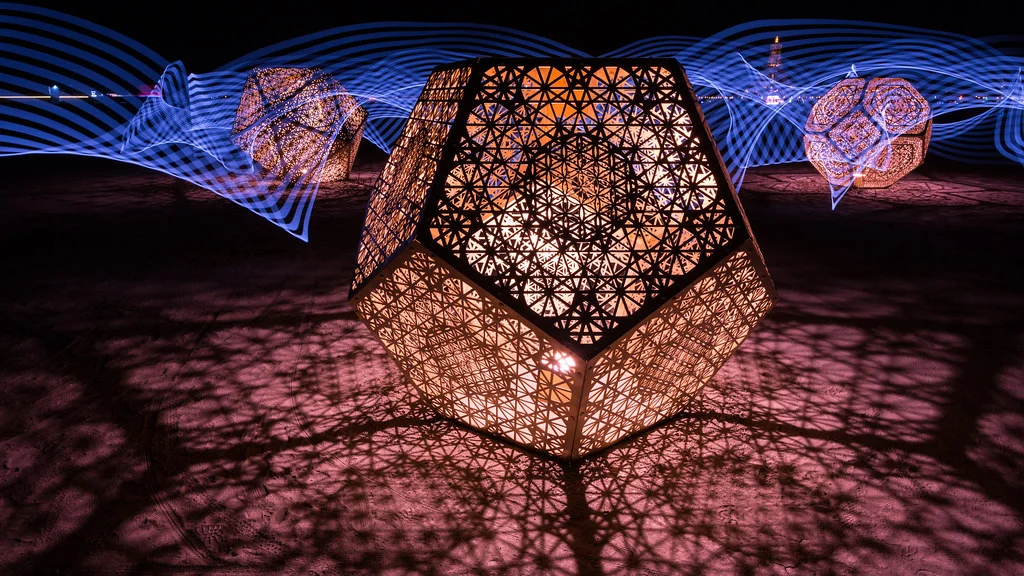
Light painting is the art of using handheld light sources to draw, illuminate, or create patterns during a long exposure photograph. The camera shutter stays open for seconds or even minutes while you move lights through the frame, and the sensor records every trace of movement as a glowing trail. The results can be otherworldly: floating orbs, fiery spirals, words written in mid-air, or selectively lit landscapes that look like they were sculpted with light.
Unlike most photography techniques that capture a single instant, light painting unfolds over time. Each image is part performance, part experiment, and part happy accident. This unpredictability is what makes it so addictive. No two frames are ever exactly alike.
Equipment You Need
Light painting requires minimal gear, but a few items are essential.
Camera
Any camera that offers manual exposure control and long shutter speeds will work. You need the ability to set exposures of at least 15 to 30 seconds. Many cameras also offer a Bulb mode that keeps the shutter open for as long as you hold the button, giving you unlimited exposure time for complex compositions.
Tripod
A sturdy tripod is non-negotiable. Any camera movement during a long exposure will blur the entire frame. Choose a tripod that is stable enough to resist wind and vibration. If you are shooting on soft ground like sand or grass, press the legs down firmly before starting your exposure.
Remote Shutter Release
A remote trigger or cable release lets you open and close the shutter without touching the camera. This prevents vibration at the start and end of the exposure. Many photographers use a simple wireless remote or even their camera’s built-in timer as an alternative.
Light Sources
This is where creativity comes in. Common light painting tools include:
- Flashlights and torches: The most versatile option. Small, focused flashlights create thin, precise lines. Larger, diffused torches create broader strokes.
- LED wands and tubes: Produce smooth, even lines of color. RGB models let you change colors during the exposure.
- Steel wool in a wire whisk: When lit and spun on a cable or string, burning steel wool throws a spectacular shower of sparks in all directions. This creates dramatic, fiery circular patterns.
- Glow sticks: Inexpensive and available in many colors. Their soft, even glow is easy to control.
- Sparklers: Produce a warm, organic light trail with scattered sparks. Great for writing words or drawing shapes.
- Phone screens or tablets: Can display colored shapes or text that appear in the frame as you move them through the scene.
- EL wire (electroluminescent wire): Thin, flexible, and available in many colors. Can be wrapped around objects or worn for self-portraits.
Camera Settings for Light Painting
Light painting works best in darkness or very low ambient light. The darker the environment, the more control you have over where light appears in the frame.
Shooting Mode
Use full manual mode. Light painting is one of the situations where automatic modes cannot possibly predict what you want. You need complete control over aperture, shutter speed, and ISO.
Shutter Speed
Start with 15 to 30 seconds for simple light trails. For more complex designs, use Bulb mode and keep the shutter open for as long as you need. Some light paintings take several minutes to complete. The exposure time determines how much time you have to move through the frame and paint with light.
Aperture
Start at f/8 to f/11. This provides a good depth of field and keeps the light trails sharp. If the image is too bright, stop down further. If it is too dark, open up or increase ISO slightly. A narrower aperture also produces star-shaped points from small, bright light sources, which can add visual interest.
ISO
Keep ISO as low as possible, typically 100 or 200. Long exposures already introduce some noise, and higher ISO values amplify it. Low ISO also prevents ambient light from overwhelming the scene during extended exposures.
Focus
Autofocus struggles in darkness, so switch to manual focus. A practical method is to place a light at the point where your subject or light painting will be, autofocus on that light, then switch the lens to manual focus to lock it. You can also use live view with magnification to focus precisely on a lit area of the scene.
White Balance
Set white balance manually rather than using auto. This keeps colors consistent between frames. Daylight (5,500K) is a neutral starting point. If you want warmer tones from your light trails, increase the Kelvin value. For cooler tones, decrease it. See the white balance guide for more detail.
Light Painting Techniques
Drawing in the Air
Stand facing the camera and draw shapes, letters, or designs with a light pointed toward the lens. Remember that everything you write will appear mirrored in the final image unless you write backwards. Practice your design a few times in the dark before triggering the shutter. Smooth, confident movements produce cleaner lines than hesitant strokes.
Illuminating a Scene
Instead of drawing trails, use a flashlight to selectively illuminate parts of a dark landscape, building, or object. Walk through the scene during the exposure and briefly shine light onto each area you want to highlight. This technique, sometimes called “painting with light,” gives you the control of a studio lighting setup in any outdoor location.
Keep the light moving. If you hold the beam on one spot for too long, it will overexpose that area while the rest remains dark. Short, sweeping passes build up light gradually and evenly. This approach pairs beautifully with long exposure techniques for landscapes.
Light Orbs
To create a glowing sphere, attach an LED or small light to a string and spin it in a circle while slowly rotating your body 360 degrees. Each rotation of the light traces a ring, and your body rotation offsets each ring slightly, building up a spherical shape. This takes practice, but the results are stunning, especially in dark forest or urban settings.
Steel Wool Spinning
This technique produces the most dramatic light painting images. Place fine steel wool inside a wire whisk attached to a cable, string, or wire. Light the steel wool with a lighter or 9-volt battery and spin it rapidly in a circle. The burning wool throws molten sparks in every direction, creating a spectacular shower of light.
Steel wool spinning creates images reminiscent of fireworks photography, but with complete control over timing and placement.
Physiograms
A physiogram reverses the typical setup. Instead of moving a light in front of a fixed camera, you hang a light from a string above the camera and set it swinging. The camera, pointed straight up, records the pendulum pattern as the light traces elliptical paths. Different push angles and string lengths create different patterns. Some photographers stack multiple exposures with different colored lights for complex, layered designs.
Composition Tips
- Scout the location in daylight: Know the terrain, identify interesting foreground elements, and plan where you will stand during the exposure.
- Include context: Light painting is most powerful when the light interacts with a real environment. A light orb in an empty field is interesting. A light orb at the end of a tunnel, under a bridge, or between trees tells a story.
- Wear dark clothing: If you walk through the frame during the exposure, dark clothes make you invisible to the camera. Bright or reflective clothing will appear as a ghostly figure.
- Keep the light pointed away from the camera when not drawing: Any light pointed at the lens will register, including the brief moment you turn a flashlight on before starting to move.
- Experiment with layers: Some cameras allow multiple exposures to be stacked in-camera. You can also merge several exposures in post-processing to combine different light painting elements into one image.
Safety Considerations
Steel wool spinning throws burning metal fragments that can ignite dry grass, leaves, clothing, and hair. Always follow these precautions:
- Spin over concrete, sand, wet ground, snow, or water. Never spin near dry vegetation or flammable materials.
- Wear natural fiber clothing. Synthetic fabrics melt onto skin when hit by sparks.
- Wear safety glasses or goggles to protect your eyes.
- Bring a fire extinguisher or large container of water.
- Check local fire regulations. Many areas ban open flames or steel wool spinning, especially during dry seasons.
- Never spin near buildings, vehicles, or other people.
- Clean up all wire and steel wool fragments when you finish.
For non-fire techniques like LED wands, glow sticks, and flashlights, the main safety concern is working in darkness. Bring a headlamp (with a red light mode to preserve your night vision), watch your footing, and let someone know where you are shooting if you go to a remote location.
Common Mistakes
- Too much ambient light: Light painting works best in near-total darkness. Street lights, moonlight, and twilight can overpower your light trails. Wait for full darkness or find a more sheltered location.
- Moving too fast: Rushing through the design produces faint, thin trails. Slow, deliberate movements create brighter, more defined lines.
- Moving too slowly: The opposite problem. Dwelling in one area too long creates hot spots and overexposed blobs instead of clean lines.
- Forgetting to check focus: It is easy to bump the focus ring in the dark. Check focus periodically, especially if you are changing lenses or adjusting the tripod.
- Not reviewing shots on location: Light painting requires iteration. Review each exposure on your LCD, adjust, and try again. Most great light paintings take multiple attempts.
Getting Started with Your First Light Painting
Start simple. Go to a dark room or wait for full nightfall in your backyard. Set your camera on a tripod, dial in f/8, ISO 100, and a 20-second exposure. Use a small LED flashlight to draw a simple shape, like a star or spiral, while facing the camera. Review the result and adjust your speed and brightness.
Once you are comfortable with basic drawing, try illuminating objects. Set up a still life on a table in a dark room and use a flashlight to paint light onto different parts of the arrangement during a 30-second exposure. This teaches you how light direction, intensity, and duration affect the final image.
Light painting is one of the most rewarding photography projects you can take on. It combines technical skill with creative expression and produces images that genuinely surprise people, including you. The learning curve is forgiving because every “mistake” often looks interesting, and the best images come from experimentation rather than rigid planning.
For more on working with extended shutter speeds, see the long exposure photography guide. For related night shooting techniques, explore night photography.
Related Guides
- How to Photograph Stars — Combine star trails with light painting for dramatic night images
- Best Camera Settings for Night Photography — Quick settings reference for after-dark shooting
- Exposure Calculator — Calculate precise shutter speeds for extended light painting exposures
- How to Photograph Lightning — Another technique using long exposures to capture unpredictable light
- Understanding ISO — Managing noise in the high-ISO settings that night work often requires