
Parallax is the apparent shift of a near object against a distant background when the camera’s viewpoint moves. The angle of the shift is roughly the distance the camera moved divided by the distance to the object, so a 10 cm move shifts something 1 m away by about 6 degrees and something 100 m away by almost nothing. It misframes close subjects in separate viewfinders, breaks panorama stitches and stacks, and gives depth to video and 3D pairs.
The shooting and merging routine for wide scenes is in panorama photography, and the basic method for combining focus slices is in focus stacking. This guide goes further into the one cause behind their alignment failures: how many pixels of shift a given camera movement produces, why a viewfinder beside the lens frames close subjects wrongly, where the pivot has to be for a clean stitch and how to find it with two vertical objects, why a focusing rail and a focus ring give different stacks, and how to use the same effect on purpose for depth.
What parallax is, and the one rule behind every case
Hold a thumb up at arm’s length and look at it with one eye, then the other. The thumb jumps sideways against the wall behind it. Nothing moved except the viewpoint, which changed by the spacing of your eyes. Bring the thumb closer to your face and the jump gets bigger. Look at a tree across the street the same way and you will see no jump at all.
A camera does the same thing. Three facts cover every situation on this page:
- Only a change of position causes parallax. Moving the camera left, right, up, down, forward or back changes which parts of the scene line up. Zooming does not, and neither does turning the camera, provided it turns about the right point (covered below).
- Near objects shift more than far ones. The shift is inversely proportional to distance. Halve the distance to an object and its shift doubles.
- Parallax is relative. What you see in a picture is the difference between the shift of the near object and the shift of whatever is behind it. Two objects at the same distance move together and stay aligned. A flat subject, such as a wall photographed square on, has no parallax within it.
When you combine several frames into one picture, a change of viewpoint between frames means no single warp in software can align the near and the far objects at once. When you want a picture or a clip to feel deep, a change of viewpoint is what shows which things are close.
How much shift to expect
For small movements the angle of shift, measured against a very distant background, is close to the camera movement divided by the object’s distance, then multiplied by 57 to turn it into degrees. The table gives the result for three movements and four distances.
| Camera moves sideways by | Object at 0.5 m | Object at 2 m | Object at 10 m | Object at 100 m |
|---|---|---|---|---|
| 1 cm | 1.1 degrees | 0.3 degrees | 0.06 degrees | 0.006 degrees |
| 10 cm | 11 degrees | 2.9 degrees | 0.6 degrees | 0.06 degrees |
| 1 m | 63 degrees | 27 degrees | 5.7 degrees | 0.6 degrees |
For scale, the full moon is about half a degree wide, and a 50mm lens on a full frame camera sees roughly 40 degrees across the long side of the frame.
To turn the angle into a distance on the sensor, use this approximation for a background that is far away:
Shift on the sensor = focal length x camera movement / object distance (movement and distance in the same units).
Take a 50mm lens, a camera that moved 1 cm between two frames, and a branch 2 m away. The shift is 50 x 0.01 / 2 = 0.25 mm on the sensor. On a full frame sensor 36 mm wide that records 6000 pixels across, each pixel is 0.006 mm, so the branch lands about 40 pixels away from where it was, measured against the far background. That is far too much to blend invisibly. Put the nearest object at 100 m and the same 1 cm movement shifts it by less than one pixel.
Two consequences follow from the formula:
- A longer lens does not reduce parallax. The angle is set by movement and distance alone. A longer focal length magnifies that angle into more pixels. Wide lenses have a reputation for parallax trouble only because people use them with objects very close to the camera.
- Distance is the cheap fix. If nothing in the frame is closer than a few tens of metres, a centimetre or two of camera movement cannot be seen.
Why does the background look larger from further back, even though the subject is framed the same? Lens compression covers why distance does it and not the lens, the crop test, and why backing away makes the background grow.
Viewfinder parallax: when the finder and the lens see different pictures
On a rangefinder camera, a twin-lens reflex and a compact with a separate optical finder, you look through a window that sits a few centimetres above or beside the lens that takes the picture. The two views are parallel but offset, so the finder shows a rectangle of the scene that is displaced from the recorded one by that same offset.
Why does it only matter up close? Because the offset is a fixed number of centimetres and the area the lens covers grows with distance. Suppose the finder sits 4 cm above the lens and the lens is a 50mm on a 36 x 24 mm frame:
- At 5 m the lens covers an area about 3.6 m wide and 2.4 m high. A 4 cm error is under 2 percent of the frame height. You will not notice.
- At 1 m the lens covers about 72 by 48 cm. The same 4 cm is roughly 8 percent of the frame height, enough to cut the top off a head you framed carefully.
- At 50 cm the error is around a sixth of the frame height.
The lens sits below the finder in this example, so the recorded picture sits lower than the one you saw. Subjects framed tightly to the top of the finder lose their tops.
How cameras correct it, and what correction cannot do
- Moving frame lines. Many rangefinders show bright frame lines that slide diagonally as you focus closer, so the lines mark the area the lens will record at that distance.
- Close-up marks. Simpler finders have a second set of marks for the top or corner of the frame at the nearest focus distance. Frame inside them when you are close.
- Raising the camera. With a twin-lens reflex on a tripod, compose, then raise the camera by the distance between the two lenses. The taking lens is now where the viewing lens was.
The first two corrections fix the edges of the frame only. The finder still looks from a different position, so the way a near object overlaps the thing behind it will differ slightly in the recorded picture.
Through-the-lens viewing has none
A DSLR finder, the electronic finder of a mirrorless camera, and any rear screen in live view all show the image formed by the taking lens. There is no second viewpoint, so there is no viewfinder parallax at any distance. This is the main reason through-the-lens cameras took over close-up and macro work. A rangefinder’s focusing patch, by contrast, relies on parallax: it compares the views from two windows a fixed distance apart and the amount of mismatch tells it the subject distance.
Phones with several rear cameras have a small version of the problem. The lenses sit side by side, so when the phone switches from one to another at close range, the framing jumps. Some phones use the difference between two of those views to estimate depth, which is one of the ways portrait mode decides what to blur.
Is the finder showing less than the lens records even at a distance? Viewfinder coverage covers what coverage is, why it matters, and how it differs between camera types.
Panoramas: rotate about the entrance pupil
A panorama is several frames taken by turning the camera. If the camera turns about one particular point, every frame is taken from the same viewpoint and the frames differ only in direction. Software can re-project such frames onto each other exactly. That point is the lens’s entrance pupil: the aperture opening as it appears when you look into the front of the lens. It is the centre of perspective, the point all the incoming sight lines appear to aim at.
Photographers very often call this the nodal point, and the hardware sold for the job is called a nodal slide or nodal rail. Strictly, the nodal points of a lens are different points defined in optics, and they are not where the pivot belongs. The neutral name is the no-parallax point. If a tutorial says “nodal point” in a panorama context, it means the entrance pupil.
The tripod socket is under the camera body, and on most lenses the entrance pupil is several centimetres further forward. Turn the camera on the socket and the pupil swings through an arc. Say the pivot is 8 cm behind the pupil and you turn 30 degrees between frames. The viewpoint moves about 4 cm each time. With a 24mm lens and a fence post 1 m away, the formula gives about 1 mm of shift on the sensor, around 160 pixels on a 6000 pixel wide full frame image. The post will appear doubled, or sliced, where two frames meet. If the nearest thing in the scene is 40 m away, the same turn gives about 4 pixels, which blending hides.

Finding the no-parallax point with two vertical objects
You need a tripod and a rail that lets the camera slide forward and back over the pivot.
- Level the tripod so the head turns about a vertical axis. Mount the camera on the rail and check from the front that the centre of the lens is directly over the pivot, not to one side of it.
- Set up two vertical edges in line: a near one 50 cm to 1 m away (a light stand, a broom handle, a window frame) and a far one behind it (a lamp post, the corner of a building).
- Turn the camera so the pair sits near the left edge of the frame. Use magnified live view and note exactly how the near edge sits against the far one.
- Turn the camera until the pair sits near the right edge. If the near edge has moved against the far one, the pivot is not under the entrance pupil.
- Slide the camera a few millimetres along the rail and repeat. If the near object moves toward the outer edge of the frame as the pair travels to that side, the pupil is in front of the pivot, so slide the camera back. If you are unsure, slide either way and see whether the movement shrinks or grows.
- When the two edges stay locked together from one side of the frame to the other, note the rail reading for that lens.
The position is different for every lens and it changes as a zoom lens is zoomed, so record one reading for each focal length you use. It is not reliably at the front element, the aperture ring or any mark on the barrel. For a rough starting position, stop the lens down, look into the front, and judge how deep the aperture opening appears to sit.
A single-row panorama needs only the forward and back adjustment. A multi-row panorama also tilts the camera up and down, so the tilt axis has to pass through the pupil as well. A two-axis panoramic head has a second arm for that.
When you can skip all of this
- Nothing is close. Distant landscapes and skylines stitch cleanly from an ordinary head or by hand.
- Handheld with some foreground. Do not turn your whole body with the camera at your eye, which swings the lens on a radius of 20 cm or more. Keep the camera in one place and step your feet around it, as if the lens were on a post.
- Foreground you cannot avoid. Overlap frames generously and place close objects in the middle of a frame, not in the overlap, so the software’s seam can run through distant areas.
How are the frames actually joined once they are shot? Image stitching covers what stitching is, how to capture photos for it, and how to stitch them together in post-processing.
Focus stacks, macro and other multi-frame blends
Close-up work is where small movements matter most, because the subject distance in the formula is so short. A sideways movement of 1 mm with the subject 10 cm from the lens produces the same angle of shift as a movement of 1 m with the subject 100 m away.
There are two ways to step focus through a subject, and they behave differently:
| Method | What changes between frames | What the software has to correct | Suits |
|---|---|---|---|
| Turning the focus ring, or the camera’s focus bracketing | The focus distance. The camera stays put. | Mostly a change of image size, the effect known as focus breathing | Deep subjects with parts in front of other parts; landscapes |
| Moving the camera on a focusing rail | The viewpoint. The whole camera travels toward the subject. | A change of size plus true parallax between near and far parts | High magnification, where the subject is shallow and steps must be tiny |
A change of size is a simple scale, and stacking software corrects it well. Parallax is not a scale. When the camera moves closer, a hair in front of an eye covers a different part of the eye in each frame, and the software has to guess what belongs there. The result is smeared or repeated detail around overlapping edges. The effect grows with how far the camera travels compared with its distance from the subject, so a rail suits shallow subjects and the focus ring suits deep ones. The macro photography guide covers the rest of the close-up setup.
The same rule applies to every technique that merges frames. Exposure bracketing for HDR and stacks taken to remove moving people both assume one viewpoint. Alignment tools cope with a camera that turned slightly and with handheld sets of distant scenes. They cannot repair a close foreground photographed from positions a few centimetres apart, so use a tripod whenever something is near the lens.
Parallax on purpose: placing objects, moving cameras and stereo pairs
Rearranging a still picture by moving your feet
Every step sideways slides the foreground across the background. This is the quickest way to fix a pole growing out of someone’s head, one of the tangents and mergers that spoil otherwise good frames. The nearer the foreground object, the smaller the move you need: a flower 50 cm away shifts across a mountain with a movement of a few centimetres.
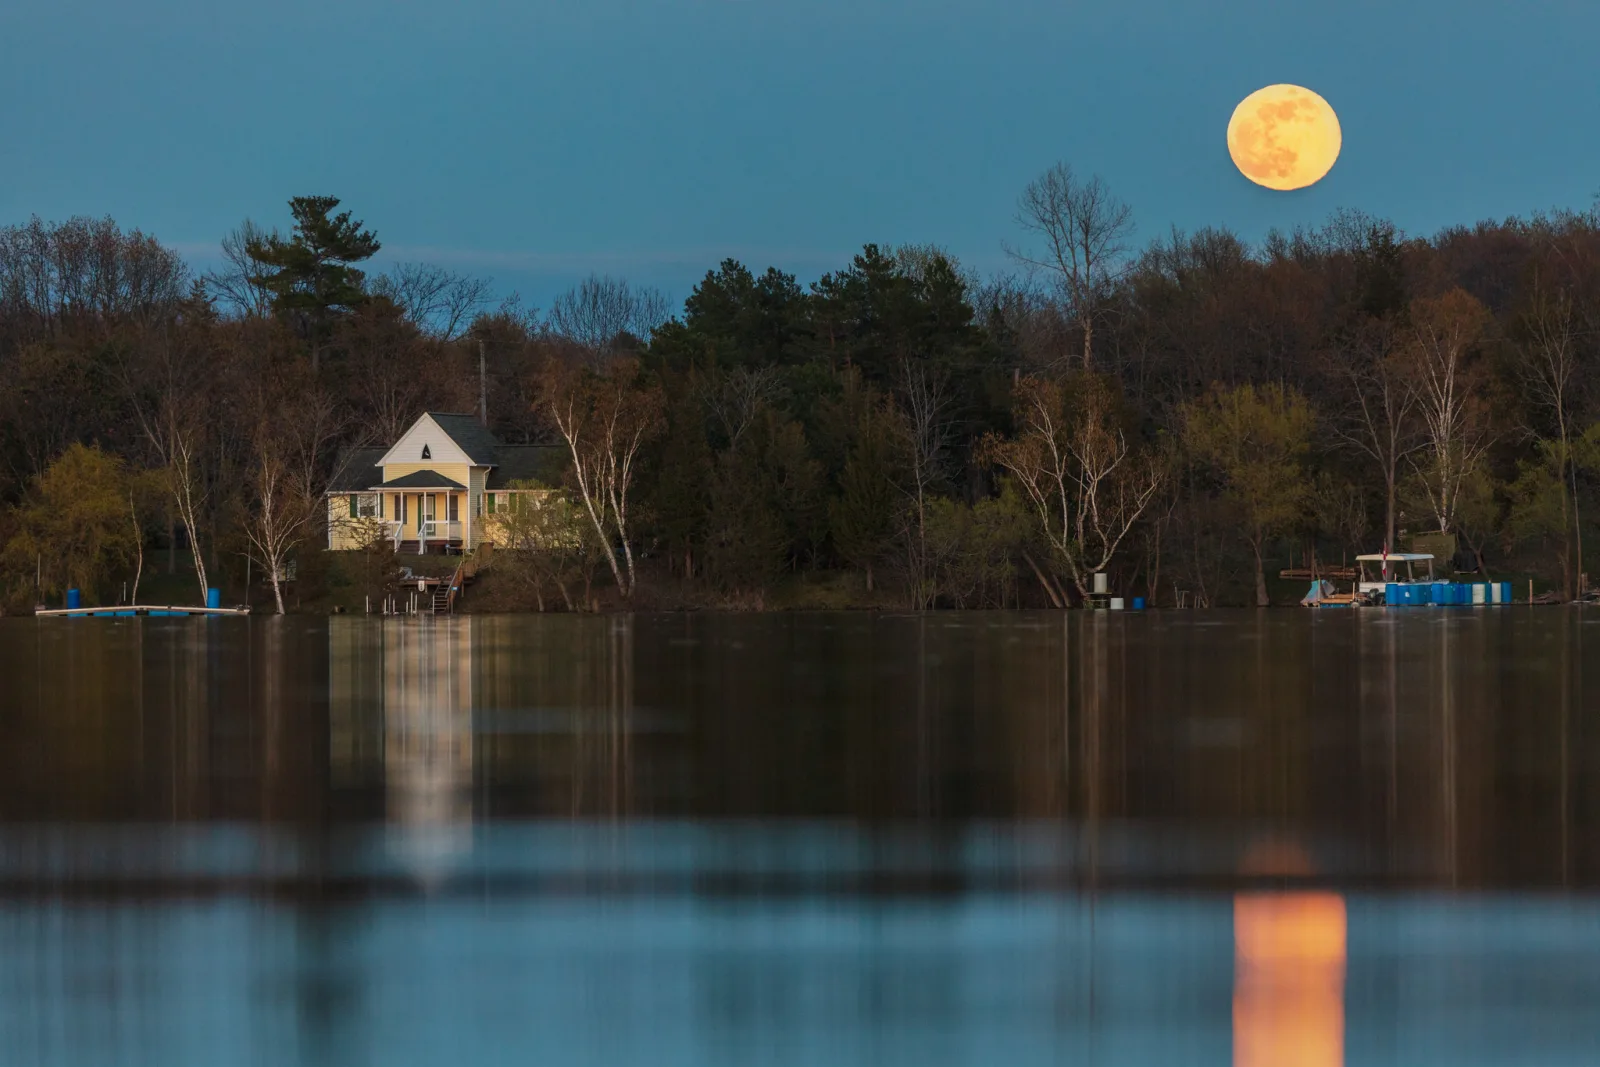
With distant subjects the moves get long. To shift a tower 1 km away by one moon width against the moon behind it (half a degree), you have to walk about 9 m sideways. Planning around the sun, moon and tides explains how to work out where to stand before the moon rises.
Motion parallax in video
A camera that travels through a scene shows depth in a way a still frame cannot: close things sweep past quickly, distant things barely move. It is what you see from a train window, where the fence posts blur and the hills crawl. The different camera movements differ mainly in how much parallax they produce:
- A pan or tilt from a tripod turns the camera without moving it far, so layers barely slide against each other. The view changes, the depth does not.
- A zoom has no parallax at all. It magnifies one viewpoint.
- A slider, dolly, walking shot or drone move changes position, so near and far layers separate.
To make a short move look large, put something close to the lens. In a 50 cm slider move, a branch 1 m away crosses roughly 27 degrees of the view while a hillside 50 m away shifts about half a degree. Without the branch, the same move looks almost static.
Stereo pairs
Your eyes sit about 6 to 7 cm apart, and the brain reads the small differences between the two views as depth. A stereo pair copies that: two frames of the same scene from two positions side by side, shown one to each eye. With one camera, take a frame, shift sideways without turning the camera, and take a second. Nothing in the scene may move between the two.
A common rule of thumb sets the spacing at about one thirtieth of the distance to the nearest object: 10 cm when the nearest thing is 3 m away. Too little spacing gives a flat result. Too much makes near objects impossible to fuse comfortably. For distant scenes with nothing close, a much wider spacing restores a sense of depth, and the scene tends to look like a scale model.
How do you view a pair once you have shot it? 3D photography covers stereo photography, viewing methods and computational 3D.
Common mistakes
- A railing or post in a panorama is doubled or broken. The camera turned about a point behind the entrance pupil with something close in the frame. Fix: pivot about the no-parallax point, or reshoot with the close object in the middle of one frame.
- Heads are cut off in close portraits from a rangefinder or twin-lens camera. The finder sits above the lens. Fix: use the close-up marks or moving frame lines, and leave extra room on the side the finder is offset toward.
- A stack of a bristly or layered subject shows smeared edges. The camera moved toward the subject between frames. Fix: keep the camera still and step focus with the ring or the camera’s focus bracketing.
- Buying a longer lens to cure parallax. Focal length does not change the angle of shift. Fix: increase the distance to the nearest object, or stop the viewpoint from moving.
- A slider or drone shot looks flat. Everything in the frame is far away. Fix: include an object close to the lens and move past it.
- Toeing the camera inward for the second frame of a stereo pair. Turning adds mismatches that are not depth. Fix: slide sideways and keep the camera pointing the same way.
Try this
Allow fifteen minutes. You need a camera with a rear screen, a table, a bottle and a coin. Stand the bottle on the table about 50 cm in front of the camera and line one edge of it up with a distant vertical edge, such as a door frame across the room or a post outside the window.
- Hold the camera at your eye and turn your whole body left, then right. Watch the bottle edge slide against the far edge on the screen or in the finder.
- Put the camera on the table with the coin under the camera body as a marker. Turn the camera about the coin so the bottle moves from one side of the frame to the other. The slide is smaller but still there.
- Move the coin forward under the lens a centimetre at a time and repeat, always turning the camera about the coin.
- Stop when the two edges stay locked together across the whole frame. The coin is now under the entrance pupil for that lens.
- If the lens zooms, change the focal length and repeat. Note how far the point has moved.
Frequently asked questions
What is parallax error in a camera?
It is the difference between what a separate viewfinder shows and what the lens records, caused by the finder sitting a few centimetres from the lens. It is negligible at ordinary distances and grows quickly as the subject gets closer. Cameras that view through the taking lens do not have it.
Is the nodal point the same as the no-parallax point?
In everyday panorama talk, yes: people say nodal point and mean the point to pivot about. In optics the nodal points are something else, and the correct pivot is the entrance pupil. The practical test with a near and a far object finds the right place whatever you call it.
Do I need a panoramic head for landscape panoramas?
Not when everything in the frame is distant. Parallax falls in proportion to distance, so a scene whose nearest object is tens of metres away stitches cleanly from an ordinary tripod head or by hand. You need the correct pivot once foreground objects are within a few metres, and always for interiors.
Does a wide-angle lens cause more parallax?
No. For the same camera movement and the same distances, the angle of shift is identical with any lens, and a longer lens spreads that angle over more pixels. Wide lenses are simply used closer to foreground objects, and closeness is what increases parallax.
How far apart should two photos be for a 3D pair?
Start with roughly the spacing of human eyes, 6 to 7 cm, for subjects a few metres away. A common guide is one thirtieth of the distance to the nearest object. Go wider only when nothing in the scene is close.
Related guides
- Panorama photography: gear, camera settings and how much overlap to shoot.
- Focus stacking: shooting a stack and merging it in software.
- 3D photography: stereo photography and the ways to view it.
- Rangefinder: the camera type whose focusing depends on parallax.
- Lens compression: how distance, not the lens, changes the size of the background.
- Foreground, midground and background: building the layers that parallax slides against each other.
- Gigapixel photos: shooting a multi-row grid, where the pivot matters on two axes.