Rembrandt lighting is a one-light portrait pattern. Put the key light about 45 degrees to one side of the face and about 45 degrees above it, so the shadow of the nose runs down to meet the shadow of the cheek. That closes off a small lit triangle under the eye on the dark side of the face. Keep the triangle no wider than the eye and no longer than the nose, and keep a catchlight in the eyes.
This tutorial is a diagram in words: where the light, the sitter and the camera go, what to look for on the face, and how to fix it when the triangle will not appear. For the full family of patterns see portrait lighting patterns, and for drawn floor plans see the lighting setup diagrams. This page stays with one pattern and goes further into placement, fill, modifiers, face shapes, glasses and faults.
What the Rembrandt pattern looks like on a face
Stand in front of a face lit this way and you see four things. Learn to check them in this order, because each one tells you about a different part of the light’s position.
- One side of the face is lit and the other is mostly in shadow. The dividing line runs roughly down the ridge of the nose.
- The nose shadow slants down and across the dark cheek until it touches the shadow that wraps round from the side of the face. Where they join, usually near the corner of the mouth, the shadow becomes one continuous shape.
- A patch of light is left stranded on the dark cheek, under the eye. It is bounded by the nose shadow on one side, the cheek shadow on the other and the eye socket above. It reads as an upside-down triangle.
- The eye above that triangle still has a point of light in it. If the eye on the dark side has gone flat and black, the pattern is not finished.
The traditional size test is simple. The triangle should be no wider than the eye above it and should end no lower than the bottom of the nose. Smaller than that and the face is close to split lighting. Bigger and you are drifting back toward loop lighting, where the patch of light is no longer closed off at all.
Two angles produce the pattern. The sideways angle (how far round the sitter the light sits) decides whether the far cheek gets any light. The height decides how far down the face the nose shadow travels. You need both: a light at 45 degrees to the side but level with the eyes throws the nose shadow sideways across the cheek, and it never drops far enough to join the cheek shadow.
Where the name comes from
The pattern is named after Rembrandt van Rijn, the Dutch painter of the 1600s, whose portraits and self-portraits often show a face lit from high on one side with a small bright patch on the shadowed cheek. A single high window in a dim room gives that look naturally. The phrase “Rembrandt lighting” is widely credited to early Hollywood: the film director Cecil B. DeMille is said to have used it to defend a scene where an actor’s face was only half lit. Painters call the wider idea of strong light against deep shadow chiaroscuro, and the Rembrandt pattern is one tidy, repeatable version of it for faces.
Setting it up with one light, step by step
You need one light on a stand, a sitter on a stool and a dim room. A flash, a continuous lamp or a desk lamp all work, because the pattern comes from position, not from the kind of light. A continuous source or a modelling lamp is easier to learn with, since you can watch the shadows move.
Picture a clock face on the floor with the sitter at the centre and the camera at 6 o’clock. Then:
- Seat the sitter 1.5 to 2 metres in front of the background and square to the camera for now. The gap keeps the key from lighting the wall, so the background falls darker than the face.
- Put the light at about half past four or half past seven on the clock, which is 45 degrees round from the camera. Start with it about a metre to a metre and a half from the face.
- Raise the light until its centre is well above the sitter’s head and tilt it down at the face. At a metre away, that means the centre of the light is roughly 60 to 90 centimetres above eye level. Do not measure, watch the nose shadow: it should point down toward the corner of the mouth, not sideways toward the ear.
- Look at the dark cheek. If the nose shadow stops short and there is a gap of lit skin between it and the cheek shadow, you have loop lighting. Move the light further round to the side, a hand’s width at a time, until the two shadows touch.
- Check the triangle size. Too large: move the light further round or a little higher. Too small or gone: bring the light back toward the camera or lower it.
- Check both eyes for a catchlight. With the light on the sitter’s left you want it at about the 10 o’clock position in each eye, and at 2 o’clock with the light on the right. If the brow shades the eye, lower the light a little or ask the sitter to lift their chin a centimetre or two.
- Fine-tune with the face, not the stand. Once the light is close, tiny turns of the sitter’s nose toward or away from the light change the triangle faster and more precisely than moving equipment.
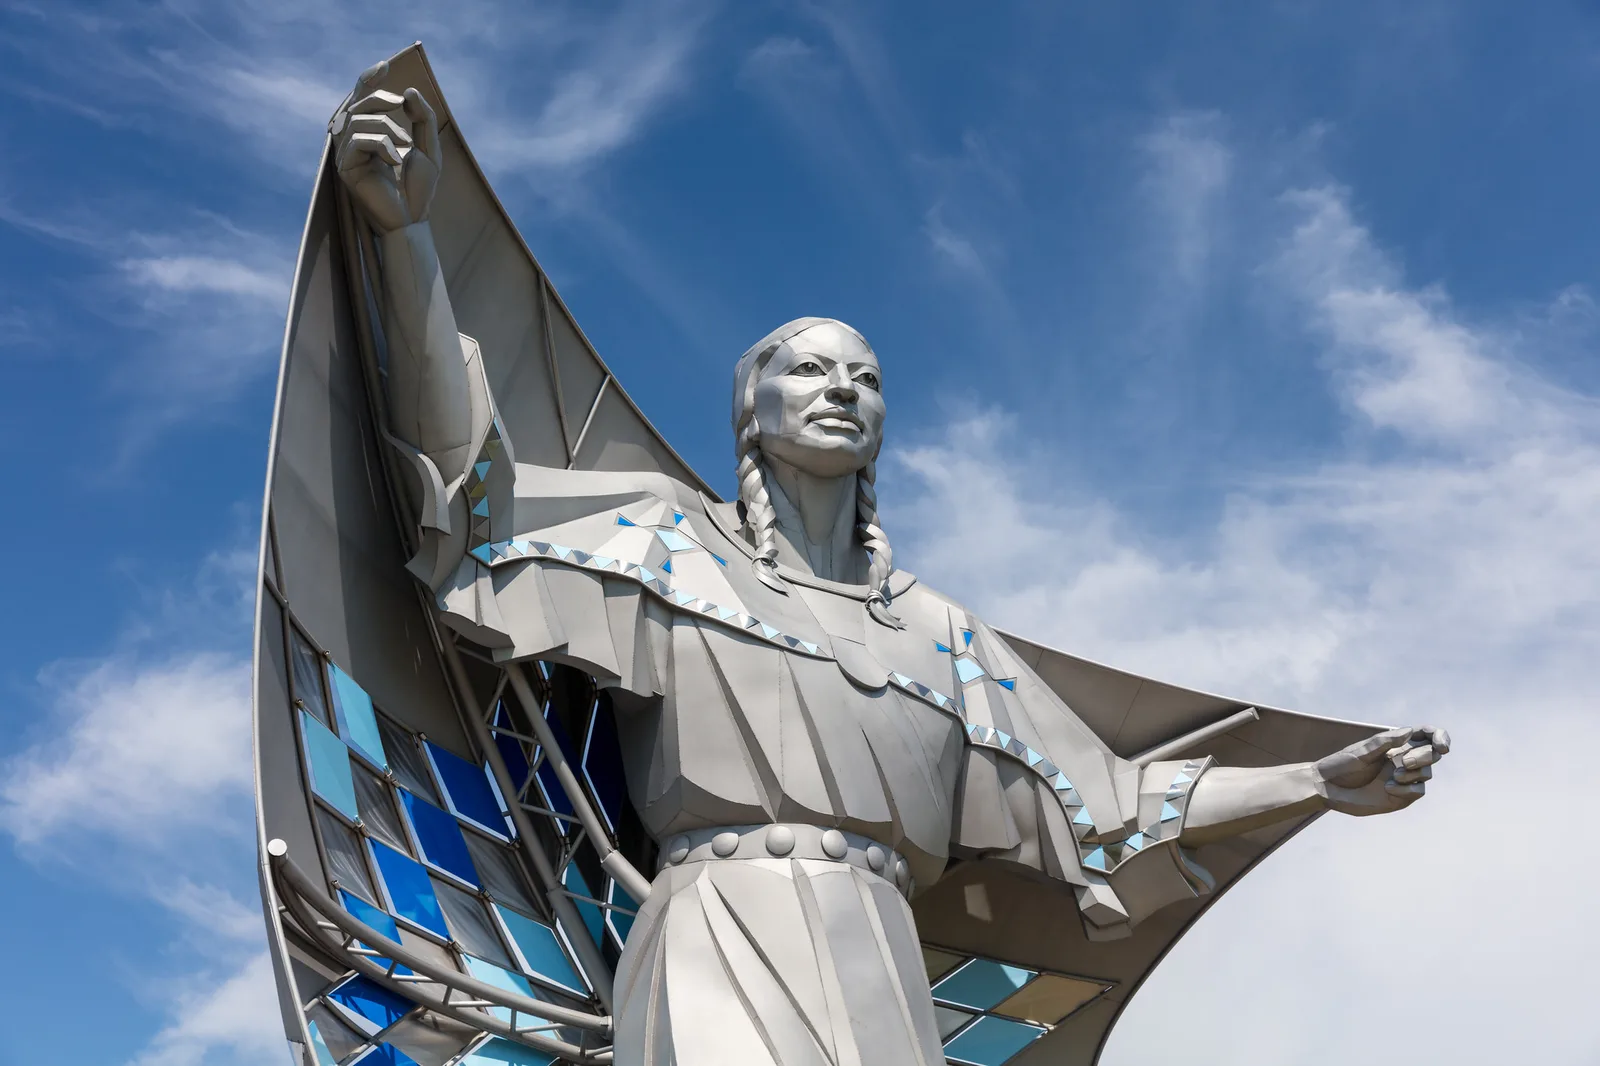
Statues are useful practice subjects for reading patterns, because they hold still while the sun moves. Notice in the photo above that the high sun has also filled the eye sockets with shadow. That is the cost of height: every centimetre you raise the light lengthens the nose shadow but also darkens the eyes.
Starting exposure
With flash, set the camera to manual at its base ISO, a shutter speed at or just under the flash sync speed (1/125 to 1/200 on most cameras) and an aperture of f/5.6 to f/8, then adjust flash power until the lit cheek is bright but holds skin texture. Those settings also make an ordinary dim room record as black, so only your light shows. With a continuous lamp, open up to f/2.8 or f/4 and raise ISO until the shutter speed is 1/125 or faster. Expose for the lit side and let the shadows fall where they fall.
Short side or broad side
So far the sitter has faced the camera. Most Rembrandt portraits turn the face about a third of the way to one side, and that raises a choice. There is now a side of the face nearer the camera (the broad side, because you see more of it) and a side turned away (the short side).
- Short Rembrandt: the sitter turns their nose toward the light. The key lights the side of the face turned away from the camera, and the side nearest the lens is in shadow, with the triangle on it. This is the classic version. The shadow covers the larger visible area, so the face looks narrower and more sculpted.
- Broad Rembrandt: the sitter turns their nose away from the light. The key lights the side nearest the camera and the triangle sits on the far, narrow side, partly hidden. The face looks wider and the mood is lighter. The triangle is harder to see and easier to lose.
You do not move the light to switch between them. Ask the sitter to turn their head the other way, then step sideways with the camera if the nose starts to break the outline of the far cheek. The posing side of this is covered in the portrait posing guide.
Rembrandt lighting from a window
A window gives the same pattern with no equipment, and you cannot move it, so you move the sitter. Window light portraits covers choosing and controlling windows in general. For this pattern specifically, three things matter.
Use a window with no direct sun on it. A window that faces open sky is a broad, soft source. Direct sun through glass is a small hard source that makes a knife-edged triangle and blows out the lit cheek. If the sun is on the window, hang a thin white curtain or a sheet of white fabric over it.
Place the sitter beside the window, then a step further into the room. Stand them about a metre from the glass with a shoulder toward it, and they are lit from 90 degrees: split lighting. Now have them take one step back along the wall, away from the window’s edge, and turn their face toward the glass. The light now reaches them from in front and to the side, which is the 45 degree position. Shoot from the room side, looking roughly along the wall.
Make the light come from above. This is the step people miss. A window whose sill is at waist height lights a seated face from the side and from below as much as from above, so the nose shadow goes sideways and no triangle forms. Fix it by raising the light or lowering the face: block the bottom half of the window with card, a blanket or a closed lower blind, or seat the sitter on a low stool or the floor. Either way the light now arrives from above eye level and the nose shadow drops.
Distance from the window sets contrast. Close to the glass the window is large relative to the face, so shadow edges are soft, but the light falls away fast and the room side of the face is much darker. Two or three metres back the light is weaker and a little harder, but more even across the face. The inverse square law explains the fall-off. Turn off the room lights: warm bulbs fill the shadow side with a different colour and flatten the pattern.
Fill ratio, reflectors and modifiers
Position gives you the shape of the shadows. Fill decides how dark they are, and the modifier decides how sharp their edges are. Those three choices are independent, which is why two Rembrandt portraits can look nothing alike.
How dark the shadow side should be
The lighting ratio compares the brightness of the lit side of the face with the shadow side. Each doubling is one stop.
| Ratio (lit side to shadow side) | Difference | How it looks | How to get it |
|---|---|---|---|
| 2:1 | 1 stop | Gentle, open shadows. The triangle is visible but subtle. Suits business portraits. | White reflector very close to the shadow side, or a pale room that bounces light back |
| 4:1 | 2 stops | Clear modelling with detail in the dark cheek. The standard look for the pattern. | White reflector about a metre away on the shadow side |
| 8:1 | 3 stops | Moody. The shadow side is dark but still shows some texture. | No reflector in a medium-sized room with pale walls |
| Higher | 4 stops or more | The shadow side goes nearly black and the triangle floats in darkness. | Large or dark room, plus a black card beside the shadow side to stop stray bounce |
To measure it, take a close reading of the lit cheek and another of the shadowed cheek with the camera’s spot meter or an incident light meter and count the stops between them. With practice you will judge it by eye from the back of the camera.
Using a reflector as the fill
A reflector is the simplest fill light, because it cannot overpower the key or add a second set of shadows. Hold it on the shadow side, facing the key light, at about face height. Move it closer for more fill and further for less. White gives soft, neutral fill. Silver is brighter and more contrasty, and at close range it can put its own highlight on the cheek. A black card does the opposite job: it absorbs light that the room would otherwise bounce back, which deepens the shadow in small pale rooms.
Keep the fill weaker than the key by at least a stop. If the shadow side is nearly as bright as the lit side, the triangle is still there in theory but nobody will see it. Also keep the reflector to the side, not in front and below. Fill from below the chin lights the underside of the nose and erases the very shadow that draws the triangle.
What each modifier does to the triangle
The larger the light source appears from the sitter’s position, the softer the edge of every shadow. See hard versus soft light for the principle. For this pattern the practical differences are:
- Bare flash or a small metal reflector: hard light. The triangle has a crisp outline, skin texture is emphasised and small errors in position are obvious. Good for character portraits, hard on blemishes.
- Softbox, 60 to 90 centimetres across, about a metre away: the usual choice. The edge of the triangle becomes a short gradient, and the flat front panel is easy to aim. Adding a fabric grid narrows the beam so less light reaches the walls and background, which keeps the ratio high in a small room.
- Umbrella: soft, but it sprays light around the room. In a small pale room that spill bounces back as fill and lowers the contrast whether you want it or not.
- Beauty dish: between hard and soft. Shadow edges stay defined but not harsh, which shows bone structure well.
- Very large source close in (a big softbox at arm’s length, or a large window): the light wraps round the nose and partly fills its shadow. The triangle goes vague. Move the source further away or make it smaller if you want a clear shape.
Feathering helps with any soft modifier. Instead of pointing the centre of the light at the face, aim it slightly in front of the sitter so the face is lit by the edge of the beam. The light on the face becomes more even from forehead to chin, and less of it reaches the background. More kit choices are covered in the studio lighting setup guide.
Adapting the pattern to face shapes and glasses
The 45 and 45 starting point assumes an average face. Real faces need small changes, and the triangle is your guide to each one.
- Round or wide faces: use the short side. The shadow takes up the broad, camera-facing cheek and the face reads narrower.
- Narrow or long faces: strong short Rembrandt can look gaunt. Lower the ratio toward 2:1, or use the broad side, or back off to loop lighting.
- Deep-set eyes or a heavy brow: the brow shades the eyes long before the triangle forms. Lower the light, move it further round to the side to get the shadow length instead, and ask for a slightly raised chin.
- Low or broad nose bridge: a nose that stands out less from the face casts a shorter shadow, so the shadows may not meet at 45 degrees. Move the light further round, toward 60 degrees, and accept a softer, smaller triangle. Do not force it by raising the light until the eyes go dark.
- Prominent nose: the shadow is long and can cross the lips. Lower the light slightly and turn the nose a little toward the light so the shadow shortens.
Glasses
Glasses add two problems: reflections of the light in the lenses, and a shadow from the frame across the eye or the triangle. Reflections follow one rule, which is that light leaves a flat surface at the same angle it arrived. So you remove a reflection by changing an angle until the bounce misses the camera.
- Raise the light a little. The reflection moves down and out of the lenses, toward the floor.
- If that darkens the eyes, move the light further round to the side instead.
- Ask the sitter to dip their chin slightly, or to lift the arms of the glasses a few millimetres above the ears so the lenses tilt down. A tiny tilt is invisible in the picture.
- Turn the face a few degrees away from the light.
How it differs from loop and split lighting
Loop, Rembrandt and split are three stops on one arc. Start with the light near the camera and walk it round the sitter: the nose shadow grows, joins the cheek shadow, and finally the far side of the face goes dark altogether. The names mark where you stopped.
| Pattern | Light position round the sitter | Nose shadow | Far cheek | Mood |
|---|---|---|---|---|
| Loop | About 30 to 45 degrees, a little above eye level | Small, angled down, not touching the cheek shadow | Mostly lit | Natural, friendly, safe for most faces |
| Rembrandt | About 45 to 60 degrees, clearly above the head | Long enough to join the cheek shadow | Dark except for a closed triangle under the eye | Serious, sculpted, painterly |
| Split | About 90 degrees, near eye level | Merged with the shadow side | Fully dark, often with no light in the eye | Stark, graphic, tense |
The test between loop and Rembrandt is a single question: is the patch of light on the dark cheek closed off, or does it open onto the lit lips and chin? Closed is Rembrandt. The test between Rembrandt and split is whether any light at all reaches the far cheek. The broader principles behind all three are in direction of light.
Troubleshooting the triangle
| What you see | Cause | Fix |
|---|---|---|
| No triangle: the whole far cheek is lit and the nose shadow is a small blob | Light too close to the camera axis, or too low | Move the light further round to the side, then raise it until the nose shadow reaches the cheek shadow |
| No triangle: the far side of the face is completely dark | Light too far round (split lighting), or the face is turned away from it | Bring the light back toward the camera, or turn the sitter’s nose toward the light |
| Nose shadow runs sideways and never drops | Light at eye level, often a low window | Raise the light, block the lower part of the window, or seat the sitter lower |
| Triangle too big, spreading down to the mouth | Light not far enough round or not high enough | Move the light a little further round and slightly higher, or turn the face a touch away from it |
| Dead eye: no catchlight on the shadow side, or in either eye | Light too high, so the brow shades the eye, or too far round | Lower the light until the catchlight returns, lift the chin slightly, or add a white reflector low on the shadow side, just enough to reflect in the eye |
| Triangle present but hard to see | Too much fill: pale walls, a big umbrella, room lights on | Turn off room lights, add a grid, move away from walls, put a black card on the shadow side |
Common mistakes
Setting the angles by the numbers and not looking at the face. Forty-five degrees is a starting position. Fix: place the light, then judge only by the nose shadow, the triangle and the catchlight, and move the light until all three are right.
Raising the light to make the triangle and losing the eyes. Height and sideways angle both lengthen the nose shadow, but only height darkens the eye sockets. Fix: when the eyes go dark, lower the light and move it further round instead.
Filling the shadows until the pattern disappears. A reflector pushed in close gives a 1.5:1 ratio that looks like flat light. Fix: pull the reflector back until there is at least one clear stop between the two sides of the face.
Try this
Fifteen minutes, one lamp, no sitter needed. Put a desk lamp with a bare bulb on a shelf or stack of books so it is about 60 centimetres above your seated head height. Darken the room. Sit so the lamp is 45 degrees to your left and about a metre away, and hold a phone’s front camera at arm’s length straight ahead, or use a mirror.
- Face the camera and find your nose shadow. Turn your head slowly toward the lamp, then away from it, and watch the shadow shorten and lengthen. Stop when it touches the cheek shadow and take a photo.
- Check the triangle against your eye width and nose length. Adjust by turning your head only, and take a second photo when it fits.
- Hold a sheet of white paper beside your shadowed cheek, first at arm’s length, then 20 centimetres away. Take a photo at each distance.
- Lower your chin until the catchlight vanishes from your eyes, then raise it until it comes back. Take one photo of each.
Frequently asked questions
What angle is Rembrandt lighting?
The usual starting point is a light about 45 degrees to the side of the camera-to-sitter line and about 45 degrees above the face. In practice the sideways angle ranges from roughly 45 to 60 degrees depending on the face. Judge it by the triangle, not a protractor.
Which side of the face should the triangle be on?
Usually the side nearest the camera, with the sitter’s nose turned toward the light. That is short lighting, and it narrows and sculpts the face. Put it on the far side (broad lighting) when you want a thin face to look fuller or a lighter mood.
Is Rembrandt lighting flattering for everyone?
It suits faces with some cheekbone and nose structure and people who want a serious, strong portrait. It emphasises skin texture, deep-set eyes and asymmetry, so for a soft, bright, friendly result loop lighting with gentle fill is usually the better choice.
Related guides
- Portrait lighting patterns: all the classic patterns side by side, including butterfly and flat light.
- Lighting setup diagrams: drawn floor plans for one-light and multi-light portraits.
- Window light portraits: choosing windows, time of day and diffusion in depth.
- Catchlight: how the size, shape and position of the highlight in the eye change a portrait.
- Off-camera flash guide: triggering and controlling a flash once it is on a stand.
- Headshots: where this pattern fits among the looks used for professional head-and-shoulders portraits.