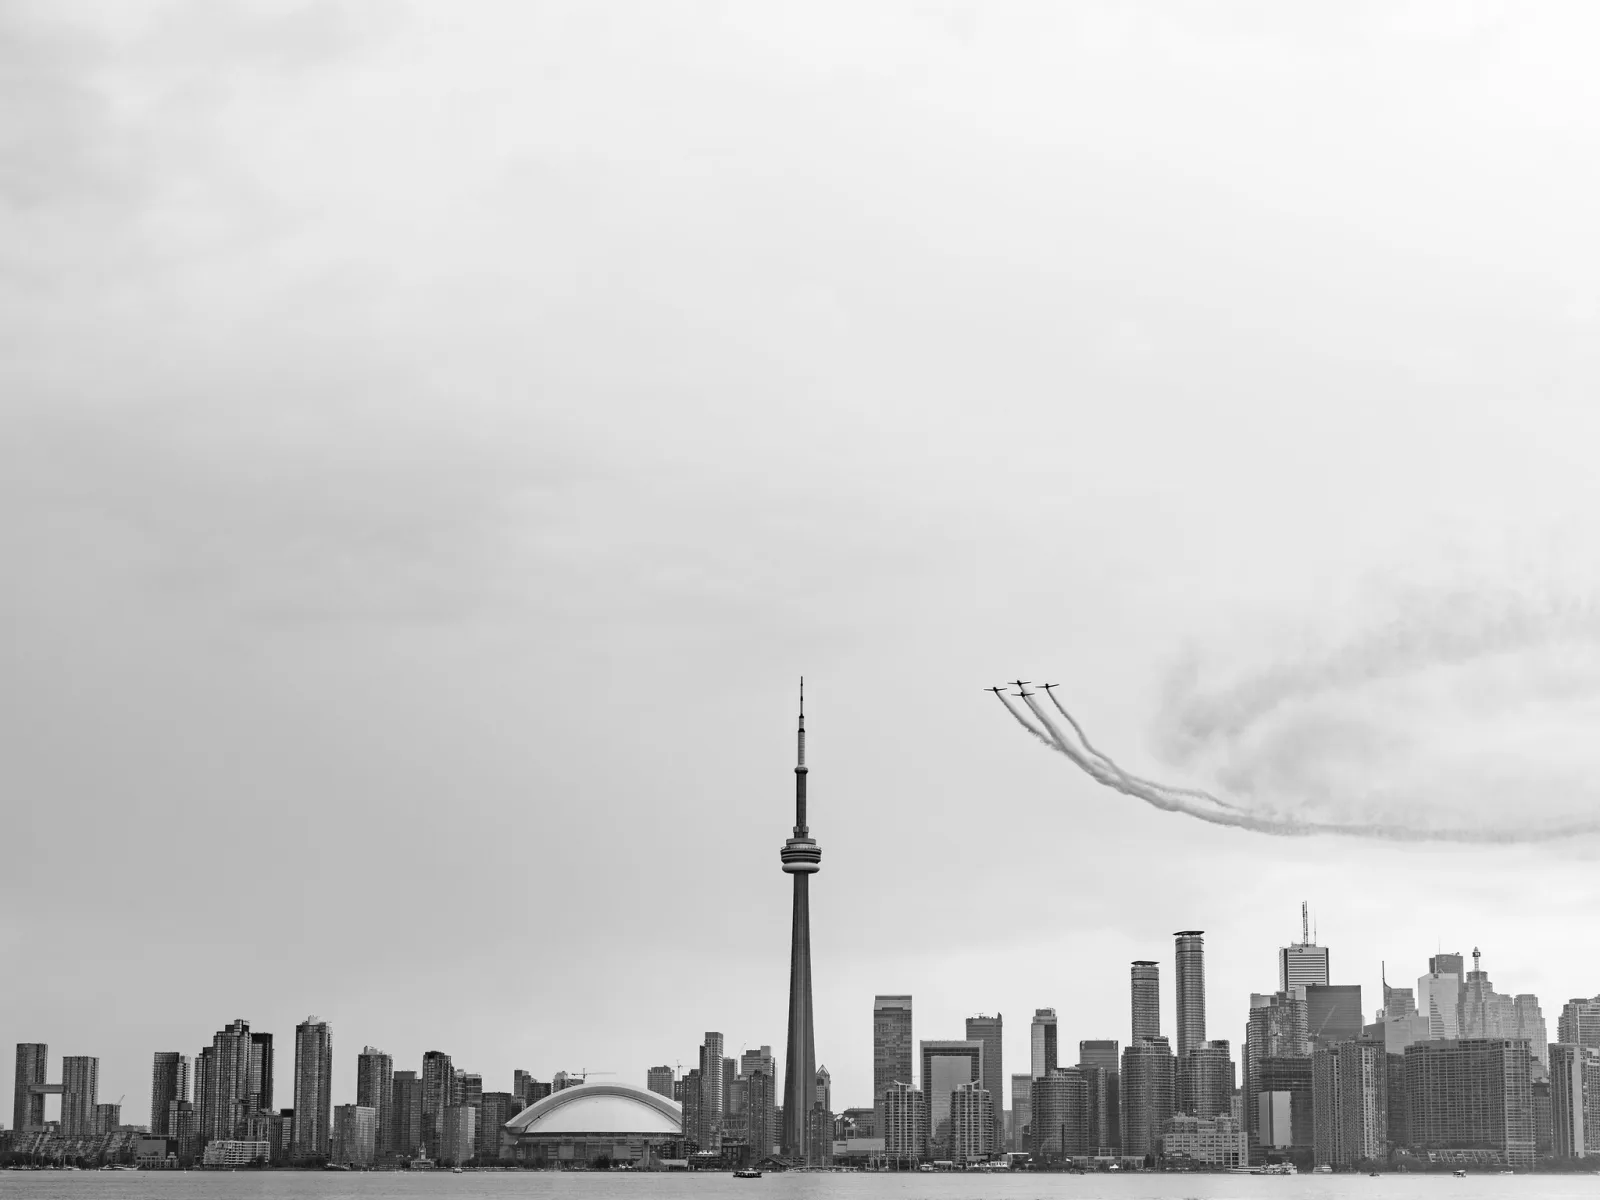
Air show photography comes down to matching shutter speed to the aircraft. Freeze jets at 1/1000 to 1/2000 second or faster. Slow down to about 1/60 to 1/250 for propeller aircraft and 1/30 to 1/125 for helicopters so the blades blur, and pan smoothly to keep the airframe sharp. Use continuous autofocus, add roughly +0.7 to +1.5 stops against a bright sky, and stand with the sun behind you.
This guide builds on panning photography and motorsport photography, which teach the basic swing and the settings for cars on a track. It goes further into what is particular to aircraft: blades that must not be frozen, a small subject against bright empty sky, where to stand along the crowd line, heat haze, formations, smoke, static displays and the rules of the event.
Shutter speed by aircraft type: freeze jets, blur propellers and rotors
A jet has no moving parts you can see from the ground, so nothing is lost by freezing it. A propeller aircraft or a helicopter is different. At 1/2000 second the blades stop dead, and the aircraft looks like a model hung on a thread, or a machine whose engine has failed. Blurred blades tell the viewer it is under power. You will change shutter speed many times in a day, so use shutter priority mode or manual exposure, where the speed stays where you put it.
| Subject | Shutter speed to try | What you get |
|---|---|---|
| Jet in flight | 1/1000 to 1/3200 | Everything frozen, crisp markings and vapour |
| Jet low in front of trees or buildings | 1/250 to 1/500, panned | Sharp aircraft, streaked background |
| Propeller aircraft in flight | 1/125 to 1/250 | Clearly blurred blades, a good share of sharp frames |
| Propeller aircraft, full disc | 1/60 to 1/100 | Blades smeared into a near circle, fewer sharp frames |
| Helicopter | 1/30 to 1/125 | Visible rotor blur |
How much blur a shutter speed gives
Blade blur is simple arithmetic. Multiply the propeller speed in revolutions per minute by 6 to get degrees of rotation per second, then multiply by the shutter time. As an example, a propeller turning at 1,200 revolutions per minute covers 7,200 degrees per second.
- At 1/1000 second each blade moves about 7 degrees. It looks frozen.
- At 1/250 second each blade moves about 29 degrees: an obvious blur.
- At 1/60 second each blade moves 120 degrees. On a three-blade propeller the blurs meet and form a full disc.
A helicopter’s main rotor turns at only a few hundred revolutions per minute, far slower than a propeller. At 300 revolutions per minute, 1/125 second gives about 14 degrees of blur and 1/60 gives 30. That is why helicopters need slower speeds for the same look. A hovering helicopter barely moves across the frame, so you can brace, drop to 1/30 or 1/40 and still hold the body sharp.
Slow speeds in bright sun
A slow shutter in full sun lets in a lot of light: at ISO 100, a sunlit aircraft at 1/125 second needs an aperture near f/16. Set your lowest ISO before a propeller display and expect small apertures. They bring slight softening from diffraction and make sensor dust show as dark spots on plain sky, so clean the sensor beforehand. To stay near f/8, fit a neutral density filter or a polarizer.
Use the mechanical shutter for propellers and rotors. Many electronic shutters read the sensor line by line, and a blade that moves during the readout is drawn bent or broken into curved pieces.
Why do propeller blades look bent in some pictures? Mechanical vs electronic shutter explains readout time and skew, and why a faster shutter speed does not help.
Panning a long lens across the sky
Panning keeps the airframe sharp while the shutter is slow enough to blur the blades. At 1/125 second on a long lens, your swing has to match the aircraft almost exactly for the whole exposure.
- Stand with your feet shoulder width apart, pointing at the place where you expect to take the picture.
- Turn your upper body toward the direction the aircraft will come from, so you unwind through the pass.
- Hold the lens from underneath near its balance point, elbows tucked in.
- Pick the aircraft up early and track it for a second or two before pressing the shutter.
- Turn from the hips and waist, not the arms, and keep the focus point on one part of the aircraft, such as the cockpit.
- Press gently and shoot short bursts as it passes.
- Keep swinging after the last frame. Stopping the pan as you press is the most common cause of blur.
Slow panning is a numbers game. At 1/60 second with a long lens, one sharp frame in five or ten is a good result. Work down in steps: shoot the first pass of a propeller display at 1/250 to bank some sharp frames, then try 1/160, 1/125 and slower on later passes. Aircraft crossing straight in front of you are easiest. Aircraft that are turning or coming toward you change apparent speed during the exposure, so give them a slightly faster speed.
Most photographers shoot flying displays handheld, because aircraft climb and pass overhead where a tripod cannot follow. A monopod takes the weight of a heavy lens on level passes.
Should stabilization be on or off while you pan? Image stabilization covers stabilization modes and panning, and when to turn it off.
Autofocus for a small subject against empty sky
An aircraft against clear sky is a small patch of detail surrounded by nothing. Nothing else competes for focus, but if the focus point slips off, the lens has nothing to hold and may rack all the way to its closest distance. By the time it returns, the pass is over.
- Use continuous autofocus. The distance changes constantly, so the camera must keep refocusing while you track. See continuous autofocus (AF-C).
- Use a small group or zone of points. A single point is hard to hold on a small, fast aircraft. Against plain sky a wider area also works, since there is nothing else to grab.
- Shrink the area when there is ground behind. On take-offs, landings and low passes in front of trees or hangars, a wide area may jump to the background.
- Try aircraft detection if your camera has it. Check on the first passes that it has not locked onto smoke.
- Limit and pre-set the focus. Set a focus limiter switch to its far range, and focus on something distant before each pass so the lens has only a short way to travel.
Begin tracking while the aircraft is still small in the frame. Following a subject the camera already holds is easier than finding one that is suddenly large and fast.
Exposure against bright sky and for dark aircraft
A meter tries to average the scene to a middle tone. When most of the frame is bright sky, it darkens the sky to that tone and the aircraft goes with it: a correct sky with a nearly black aircraft in it. The underside is in shadow already, which makes it worse. There are two reliable fixes.
- Exposure compensation. Against white or bright grey cloud, add about +1 to +1.5 stops. Against hazy bright sky, +0.7 to +1. Against deep blue sky with the sun behind you, 0 to +0.3 is often enough, because blue sky away from the sun is close to a middle tone.
- Manual exposure. The light falling on the aircraft does not change when it flies from blue sky to white cloud, but the meter reading does. Meter something mid-toned in the same light, such as grass in open sun, check a test frame and leave the setting alone until the light changes.
The colour of the aircraft matters too. A black or dark grey aircraft needs roughly two thirds of a stop to a full stop more than a mid-toned one to show panel lines and markings. A white or bare metal aircraft in sun can clip to blank white, so turn on the highlight warning and pull back a third of a stop at a time until the blinking stops on the airframe. If the sky must go a little too bright to hold a dark aircraft, accept it. Shoot raw, which makes lifting a shadowed underside far cleaner.
One safety point: never follow an aircraft across the sun through a long lens. Lift your eye and pick it up on the other side.
Not sure how much compensation a scene needs? Exposure compensation explains why the meter gets fooled and gives starting values by scene.
Where to stand: the sun and the display line
Aircraft fly along a display line that runs parallel to the crowd line, kept a set distance away for safety. You cannot choose your direction of view, so the direction of the sun is the first thing to find out.
- Sun behind you. Aircraft are front lit, colours are strong and exposure is simple.
- Sun in front of you. Aircraft are backlit. Add exposure, wait for banked passes that catch light on the upper surfaces, and make deliberate silhouettes and smoke pictures.
- Sun moving across. If the crowd line faces roughly east or west, one half of the day is far better. Check a map of the airfield and plan your key displays for that half.
Along the line there are two kinds of position. Most displays are flown around a point in front of the middle of the crowd. Formation breaks and crossing passes are aimed there, so the middle gives the cleanest view of team displays. The ends are where aircraft turn back, and a turning aircraft banks. From an end you often see the whole top surface tilted toward you, a stronger picture than a flat side view or a belly. The ends are also less crowded. Arrive early either way: clear views above people’s heads fill long before the flying starts.
Focal lengths and heat haze
Aircraft in the air are farther away than they seem. In full-frame terms:
- A single small jet or light aircraft: 400mm to 600mm equivalent.
- Large aircraft such as transports: 200mm to 400mm.
- Formations and smoke patterns: 100mm to 300mm, sometimes much wider.
- Static displays: 16mm to 35mm, plus a short telephoto for details.
A telephoto zoom that reaches 400mm or more covers most flying, and a smaller sensor narrows the view of the same lens. A zoom beats a fixed long lens here, since a formation that fills the frame at 200mm becomes a single aircraft a moment later. Pull back as aircraft approach so wingtips and tails stay inside the frame, and leave more room ahead of the aircraft than behind it, the idea covered in the rule of space.
Would a teleconverter give enough reach for single aircraft? Teleconverters explained compares 1.4x and 2x: the reach gained, the light lost and what happens to autofocus.
A long lens also magnifies the air. On a warm day the ground heats the air above it, and the rising, unevenly heated air bends light. An aircraft low over the runway looks soft and wobbly through a telephoto lens, and jet exhaust does the same to anything seen through it. No setting fixes this: a faster shutter freezes the ripples but does not remove them.
- Shoot aircraft when they are higher and closer, with less hot air in between.
- Expect take-offs and landings across wide tarmac to be the softest frames, especially in the afternoon.
- Compare with frames of aircraft high in the sky before blaming the lens.
The guide to telephoto photography has more on heat shimmer with long lenses.
Formations, smoke and vapour trails
Team displays change the job from filling the frame to showing a pattern, so zoom out.
- Formations. Aircraft in tight formation are at nearly the same distance, so depth of field is not a concern. Frame loosely enough that the outer aircraft are not cut off when the formation turns.
- Breaks. When a formation splits in several directions, the widest spread lasts under a second. Frame wide beforehand, hold the camera still and shoot a burst.
- Crossing passes. Two aircraft flying toward each other cannot both be panned. Follow one, or hold steady on the crossing point at 1/2000 second or faster and shoot a burst.
- Smoke. Smoke shows the path through the air, and loops and long curves need a much wider view than the aircraft alone. White smoke vanishes against white cloud and stands out against blue sky. Backlit smoke glows, one good use of a crowd line that faces the sun.
- Vapour. In humid air, a fast jet in a hard turn forms clouds of condensation over its wings and thin trails from the wingtips. Damp days give the most. Use a fast shutter speed and watch the tightest turns.
Static displays and details on the ground
Parked aircraft come with barriers, signs and people, so timing matters more than settings.
- Go first or last. Shoot the static line when the gates open or after the flying ends, when the crowd is thin and the sun is lower.
- Get close with a wide lens. Standing near the nose hides the barriers behind you. Crouch: a low viewpoint puts the aircraft against the sky and clears the background.
- Look for details. Nose art, squadron markings, rivets, propeller hubs, exhaust stains, wheels and cockpit instruments make pictures the flying cannot give you.
- Control glare. A polarizer cuts reflections on canopy glass and glossy paint. It does little on bare polished metal.
- Include people. Crews and visitors looking up show how big the aircraft are.
Overcast light, poor for flying shots, is good here. It removes hard shadows under wings and keeps white and metal aircraft from clipping.
Hearing protection and the event’s rules
Jet displays are loud enough to hurt, and hearing damage from noise is permanent. Wear earplugs or earmuffs for the whole flying display, bring properly fitting ear defenders for children, and put them on before the fast jets begin. The event’s rules keep aircraft, crews and the public apart, so follow them.
- Stay behind the crowd line and barriers, and follow marshals’ instructions at once.
- Read the list of permitted items. Some events restrict ladders, steps, large tripods or big bags.
- Do not fly a drone. Events ban them, and aviation rules in most countries restrict drones near airfields. Check local rules.
- Do not touch aircraft or cross ropes unless a crew member invites you.
Common mistakes
- Frozen propellers and rotors. The speed was left at the jet setting. Fix: before each propeller aircraft or helicopter, drop to 1/250 or slower and lower the ISO.
- Every slow frame blurred. The speed was slower than your panning can hold. Fix: go down in steps from 1/250 and stop where you still get some sharp frames.
- Dark aircraft on a correct sky. The meter exposed for the sky. Fix: add +0.7 to +1.5 stops, or set a manual exposure.
- Stopping the swing at the shutter press. Fix: track before, during and after the burst.
- Clipped noses and tails. The zoom was too tight as the aircraft came closer. Fix: zoom out a little and crop afterward.
- Focus lost against the sky. The focus area slipped off and the lens hunted. Fix: use a small group of points, the far limiter range and a distant pre-focus.
Try this
Before the show, spend twenty minutes beside a road with steady traffic, standing well back from the kerb. With your longest lens, pan with passing cars and shoot twenty frames at each of four speeds: 1/500, 1/250, 1/125 and 1/60 second. Keep the focus point on the same part of each car, such as the door mirror. At home, view the frames at full size and count the sharp ones at each speed. The slowest speed at which at least one frame in four is sharp is your working speed for propeller aircraft on the day.
Frequently asked questions
What shutter speed should I use at an air show?
Use 1/1000 to 1/2000 second or faster for jets. Use about 1/60 to 1/250 for propeller aircraft and 1/30 to 1/125 for helicopters, so the blades blur, and pan to keep the aircraft sharp.
What focal length do I need for air show photography?
A zoom that reaches 400mm or more in full-frame terms covers most flying, and 600mm helps with single small aircraft. Formations need 100mm to 300mm, and static displays suit a wide-angle lens.
Why do my aircraft come out as dark silhouettes?
The meter exposed for the bright sky, or the sun was in front of you. Add +0.7 to +1.5 stops of exposure compensation or set a manual exposure, and stand with the sun behind you if the airfield allows it.
Can I photograph an air show with a phone?
A phone handles static displays, wide views of formations and smoke patterns well. Single aircraft in flight will be small in the frame, because phone lenses do not have enough reach.
Related guides
- Panning photography: the basic technique, step by step.
- Motorsport photography: panning and autofocus for fast subjects on the ground.
- How to photograph birds: birds in flight are good practice for tracking aircraft.
- Auto ISO: letting ISO float while you hold the shutter speed.
- Focus limiter: restricting the focus range so a long lens does not hunt.
- How to read a camera histogram: checking for clipped highlights on bright aircraft.
- Cloud photography: making the sky behind the aircraft part of the picture.