
Open shade is a shaded spot that is open to a wide area of bright sky, such as the shadow of a building, the edge of a porch or the space just inside a large doorway. Your subject is out of direct sunlight, so there are no harsh shadows or squinting, but plenty of soft light still reaches them from the open sky. To use it, place your subject just inside the edge of the shade, turn them to face the open sky or the bright area beyond, set a slightly warmer white balance, and expose for their face. It is one of the easiest ways to get flattering light on a sunny day.
If you have ever taken a portrait in bright sun and ended up with dark eye sockets, a shiny forehead and a squinting subject, open shade is the fix you were looking for. It needs no extra gear, works with any camera or phone, and you can find it almost anywhere outdoors.
This page explains what open shade is and why it works, how to find good open shade, where to put your subject and yourself, the camera settings to use, how to deal with the slight blue color it can give, and what else besides portraits looks great in it.
Why direct sun is hard to work with
On a clear day the sun is a small, very bright light far away. Light from a small source is called hard light. It makes dark, sharp-edged shadows. On a face, that means black shadows under the eyebrows, nose and chin. Bright patches turn shiny. People squint because the light hurts their eyes. And the difference between the brightest and darkest parts is so big that the camera cannot keep detail in both.
Soft light comes from a large source, like a cloudy sky or a big window. It wraps around a subject, so shadows are gentle and gradual. Faces look smoother and eyes open naturally. The page on hard vs soft light explains the difference in more depth.
Open shade turns a sunny day’s hard light into soft light, for free.
What makes shade “open”
Not all shade is good shade. The key is what the subject can “see” from where they stand.
- Open shade: the subject is shaded from the sun, but in front of them there is a big area of open sky or a brightly lit surface, like a sunny street or a pale wall. That large, bright area becomes a giant soft light.
- Closed or deep shade: the subject is under a dense tree, deep inside a building or in a narrow alley, with little open sky in front. The light is dim, flat and often comes from above, which puts shadows in the eyes.
- Dappled shade: the shade of a leafy tree with spots of sunlight coming through. It can look pretty on a landscape, but on a face it gives blotchy bright patches. Avoid it for portraits unless you want that effect on purpose.
A quick test: stand where your subject will stand and look outward. If you see a lot of bright sky or a big sunlit area, you are in open shade. If you mostly see dark trees, walls or ceiling, the shade is too closed.
Where to find open shade
Once you start looking, you will see it everywhere:
- The shady side of a building. On a sunny day, one side of every building is in shadow. Stand a few steps out from the wall, with the open street or square in front of you.
- Porches, verandas and covered walkways. The roof blocks the sun, and the open side lets in soft light.
- Large doorways, garages and barn doors. Place the subject just inside the opening, facing out. The background behind them falls into darkness, which can look dramatic.
- The edge of a large tree’s shadow. Not deep under the branches, but at the edge, facing out toward the open field or sky.
- Underneath bridges and archways, near the open end.
- The shadow of a hill, wall or rock in the late afternoon.
In a city, the best open shade is often on a street running north and south around midday, or the side of a building facing away from the sun in the morning and afternoon.
How to place your subject
Where exactly your subject stands makes a big difference. Use these steps:
- Start at the edge. Put your subject one or two steps inside the line where shade meets sun. The closer to the edge, the brighter and softer the light. Too deep into the shade, and it gets dim and flat.
- Turn them toward the light. Face them toward the open sky or the bright area. Watch their face as they turn; you will see the light improve.
- Look at the eyes. You want a small bright reflection of the sky in each eye. Photographers call this a catchlight, and it makes eyes look alive. If you cannot see one, turn the subject a little more toward the open area or move them closer to the edge.
- Check under the eyes and chin. If there are still dark shadows, the light is coming from too high. Move the subject nearer the edge, or have them lift their chin slightly.
- Stand between them and the light. Your position is usually facing your subject, with your back toward the bright area, standing either in the shade or just out in the sun.
Want to see how light direction shapes a face? Portrait photography covers light, posing and framing for people.
Watch the background
The light on your subject in open shade is much dimmer than the sunlit world around it. That affects the background.
- A sunlit background will look very bright. When you expose for the face, a sunny background often turns almost white. Sometimes that looks airy and pleasant. Sometimes it is distracting.
- A shaded background matches better. If you can, position yourself so the background is also in shade, for example a shaded wall, hedge or the inside of a doorway.
- A dark background looks dramatic. In a doorway, a subject facing out with a dark interior behind them stands out beautifully, almost like a studio portrait.
Using a wide aperture, a small f-number like f/2.8, will blur the background so it is less distracting. The page on depth of field shows how this works. Another way to make your subject stand out from the background is covered on subject separation.
Camera settings for open shade
Open shade is darker than full sun, often by a couple of stops, so the camera needs more light than you might expect. A stop is a doubling or halving of light.
Exposure
Expose for the face. If the bright background fools the camera into making the face too dark, use exposure compensation, usually +0.7 to +1.3. On a phone, tap the face and slide the brightness up a little. Check the histogram or zoom in on the face to make sure skin is bright but not washed out.
Starting settings
| Setting | Starting point | Why |
|---|---|---|
| Mode | Aperture priority (A or Av) | You choose the background blur; the camera sets the shutter speed. |
| Aperture | f/2.8 to f/4 for one person, f/5.6 to f/8 for a group | Soft background for one person, enough depth for a group. |
| ISO | 100 to 400, or Auto ISO | Open shade on a sunny day usually has plenty of light. |
| Shutter speed | At least 1/250 for people | Freezes small movements and blinks. |
| Focus | Single point or eye detection on the nearest eye | Sharp eyes matter most in portraits. |
| White balance | Shade preset or slightly warmer than auto | Removes the cool, blue cast. |
White balance: fixing the blue
Light in open shade comes mostly from the blue sky rather than the sun, so it is cooler, or bluer, than sunlight. Skin can look a little pale or gray. Your eyes adjust and do not notice, but the camera may.
Fix it by setting white balance to the “shade” preset, which warms things up, or by warming the photo slightly in editing. If you shoot RAW, you can adjust white balance freely afterward without any loss in quality.
Adding a reflector
A reflector is simply a bright surface that bounces light back onto your subject. It is optional, but it can make open shade look even better by brightening the shadows under the eyes and chin and adding a stronger catchlight.
- Hold it low and in front of your subject, angled up toward the face, catching the light from the bright area.
- A white or silver reflector works best. A gold one warms the skin, which can help balance the cool light.
- No reflector? A white sheet of card, a white wall, a pale car, light-colored sand or even a white shirt will do.
The page on reflectors explains the different types and how to hold one. You can also use a small amount of fill flash for the same effect, but a reflector is easier for beginners.
Not just for portraits
Open shade is wonderful for many subjects besides people:
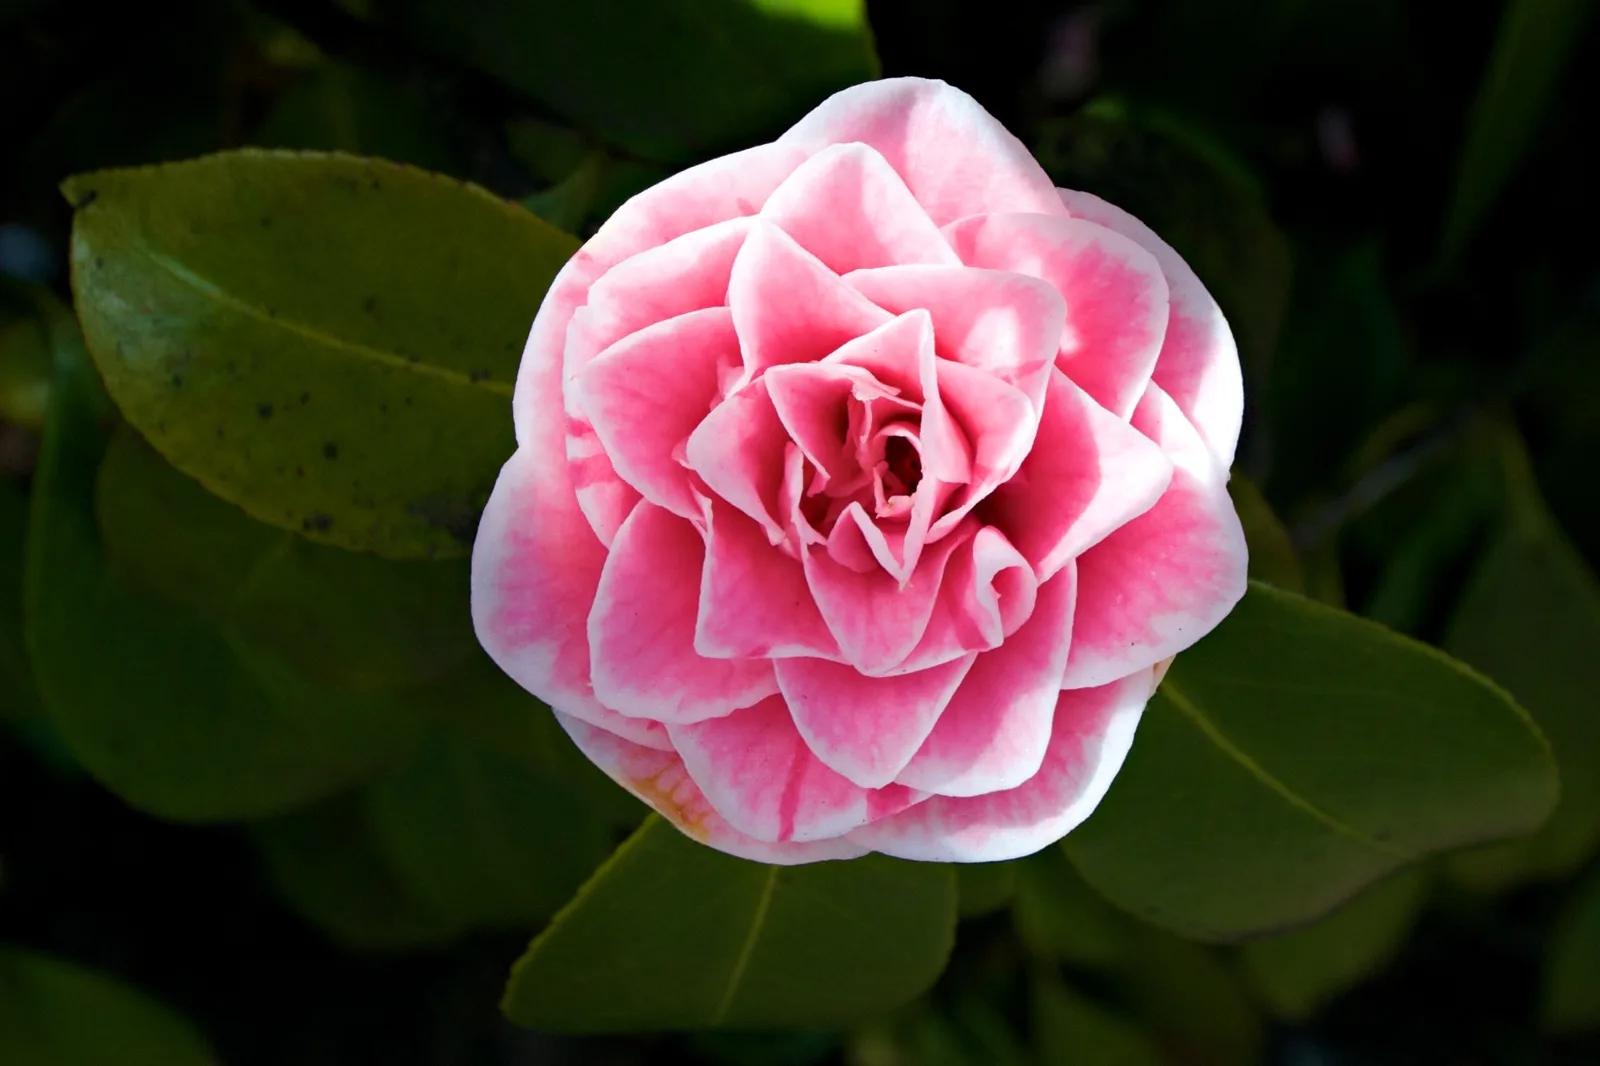
- Flowers and plants. Soft light shows delicate petals and true colors without hot spots.
- Pets. Animals stop squinting, and dark fur shows detail instead of turning black.
- Products and things you are selling online. Shade gives clean, even light with soft shadows.
- Food at an outdoor table. Move the plate into the shade of an umbrella or wall for soft, appetizing light.
- Textures and details. Wood grain, fabric and stonework look rich and even.
When open shade is not the best choice
Open shade is a great default, but it is not always the most interesting light. Its softness can look flat if you want drama or mood. Consider other options when:
- It is golden hour. The low, warm sun near sunrise and sunset is soft enough to use directly and often more beautiful. See golden hour photography.
- It is overcast. On a cloudy day the whole sky is already a giant soft light, so you do not need shade at all. See overcast day photography.
- You want bold shadows. Hard light can be striking for fashion, architecture and street scenes. Use it on purpose.
Stuck shooting in bright sun with no shade nearby? How to shoot photos in harsh daylight covers backlighting, diffusers and other tricks.
Open shade through the day
Open shade changes as the sun moves, so the best spot at ten in the morning may be gone by two in the afternoon.
- Morning and late afternoon: the sun is lower, so buildings and trees cast long shadows. There is plenty of shade to choose from, and the open side often faces a softly glowing sky. This is usually the easiest time.
- Midday: the sun is high and shadows are short, so shade is harder to find and the light in it can come from above. Look for deep porches, covered walkways and large doorways, which block the overhead sun but stay open at the front.
- Bright surfaces nearby: a sunlit pale wall, path or patch of sand opposite your shade acts like a big reflector. It can be the nicest light of all, slightly warmer than plain sky.
Open shade for groups and headshots
Open shade is especially useful for groups, because everyone gets the same soft light and nobody squints. Make sure the whole group is inside the shade, with no one half in the sun, and that the shade is wide enough for everyone. Line people up along the edge rather than in rows going deep into the shade, so the back row is not much darker than the front.
For a simple headshot, a large open doorway or the shady side of a building gives a clean, professional look with almost no effort. Keep the subject a few steps away from the background so it falls a little out of focus. The guide to outdoor portrait photography has more locations and poses to try.
Common mistakes
- Going too deep into the shade. The light gets dim, flat and comes from above. Stay near the edge.
- Using dappled shade for portraits. Spots of sun on a face look like blotches. Find solid shade.
- Facing the subject away from the open sky. They will be lit from behind or above. Turn them toward the brightest area.
- A face that comes out too dark. The bright background fooled the meter. Add exposure compensation.
- Blue or gray skin. Use the shade white balance preset or warm it slightly in editing.
- A blown-out sunny background. Reposition so the background is also in shade, or use it deliberately for a bright, airy look.
Try this: a 10-minute shade walk
You need a sunny day and a willing subject: a friend, a pet, a houseplant in a pot or even a stuffed toy.
- Minutes 1 to 2: Photograph your subject in direct sun. Notice the shadows and squinting.
- Minutes 3 to 4: Move them deep into the shade, under a tree or far inside a porch. Photograph again. Notice how dim and flat it looks.
- Minutes 5 to 6: Now move them to the edge of the shade, one step in, facing the open sky. Photograph again. Look for catchlights in the eyes.
- Minutes 7 to 8: Turn your subject slowly in a half circle while you watch the light on their face. Take a photo at the angle you like best.
- Minutes 9 to 10: Compare all your shots. Then try the best one with a shade white balance setting or warm it up a little in editing.
Frequently asked questions
What is open shade in photography?
A shaded area that still faces a large, bright open space, like the sky or a sunlit street. It blocks direct sun while letting soft light reach your subject.
Why do photos in shade look blue?
Shade is lit by the blue sky instead of the sun, so the light is cooler. Set white balance to the shade preset or warm the photo a little in editing.
Is open shade good for portraits?
Yes. It is one of the most flattering and reliable kinds of light for portraits, especially in the middle of a sunny day.
What settings should I use in open shade?
Try aperture priority at f/2.8 to f/4, ISO 100 to 400 or Auto ISO, a shutter speed of at least 1/250 and a shade white balance. Add exposure compensation if the face is dark.
What is the difference between open shade and overcast light?
Both are soft. Overcast light comes from a cloudy sky everywhere; open shade is a shaded spot on a sunny day that faces bright open sky. Open shade usually has more direction.
Can I use open shade with a phone?
Absolutely. Place your subject the same way, tap their face to focus and set brightness, and warm the photo slightly in editing if it looks cool.