To take good photos on a cloudy day, treat the sky as a giant soft light and not as a subject. Keep the blank white sky out of the frame or make it a deliberate backdrop, choose subjects that suit soft light (people, forests, water, colour, detail), raise the ISO to about 400 because overcast is two to three stops dimmer than sun, and add contrast when you edit.
The site already explains soft light briefly in natural light photography and treats cloud as one kind of weather in photography in different weather conditions. This guide goes further on the most common light there is: how much light you lose, where it actually comes from, what to do about the sky, how to find direction when everything looks flat, and how to edit the files.
What overcast light does to a scene
On a clear day the sun is a small, intense source, and it makes hard-edged shadows. A layer of cloud scatters that light so that it arrives from the whole sky at once. A light source that wraps around the subject from every side fills its own shadows, which is why edges go soft or vanish. Hard light vs soft light explains the principle. In practice four things change:
- Contrast drops. In full sun, the lit and shaded sides of a subject can differ by four stops or more. Under heavy cloud the difference may be one stop. Everything fits easily within what the sensor can record, so highlights and shadows both keep detail.
- Brightness drops. Cloud absorbs and reflects away much of the sunlight. Expect two to three stops less than a sunny day, and more under trees.
- Colour shifts cooler. Light through cloud is slightly bluer than direct sun. Colours of objects, though, often look richer, because there is no glare bleaching shiny leaves, wet stone or skin.
- Texture and depth flatten. Without shadows to model them, rough surfaces look smoother and distant hills lose their shape. This is the cost, and the reason wide landscapes often disappoint on grey days.
Cloud is not one condition. How thick it is decides what you can do with it.
| Sky | Shadows | Light lost compared with full sun | ISO 100 starting exposure | Good for |
|---|---|---|---|---|
| Thin, bright cloud or haze | Soft-edged but visible | About 1 stop | f/8 at 1/200 | Portraits, landscapes, architecture: soft light that still has direction |
| Even overcast | Barely visible | About 2 stops | f/8 at 1/100 | People, flowers, forests, street, colour |
| Heavy, dark overcast | None | About 3 stops | f/8 at 1/50 | Water, woodland, moody black and white |
| Broken cloud with texture | Come and go | Varies minute to minute | Meter each frame | Skies worth including, light breaking onto the land |
These figures come from the same reasoning as the sunny 16 rule, which opens the aperture one stop for each step from sun to haze to cloud to heavy cloud.
Subjects that look better under cloud
The quickest way to get good pictures on a grey day is to stop photographing things that need sun and start photographing the things sun spoils.
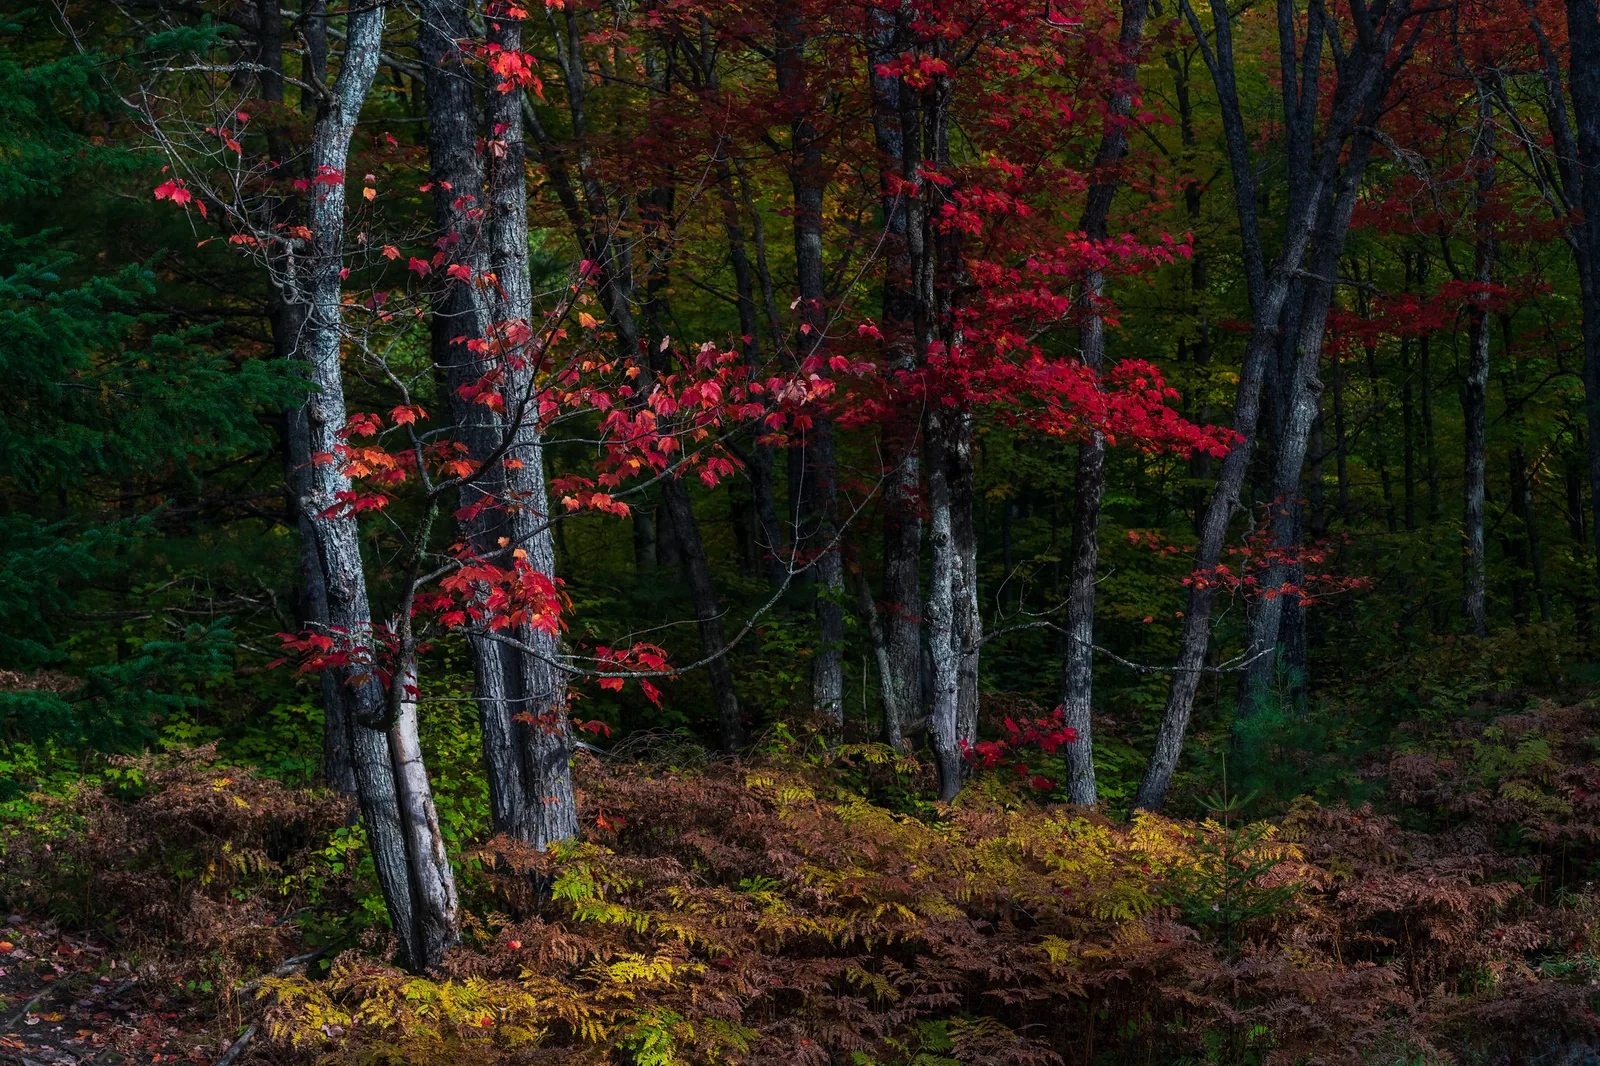
- Forests and woodland. In sun, a forest is a patchwork of burnt-out bright spots and black shadow that no exposure can hold. Cloud removes the patches and leaves greens, bark and leaf colour. See forest photography.
- Waterfalls and streams. White water in sun clips to blank white. Under cloud it keeps detail, and the lower light gives you slow shutter speeds for silky water without a strong filter: in a shaded gorge, f/11 at ISO 100 may already give half a second. How to photograph waterfalls has the method.
- People. No squinting, no hard nose shadows, and you can face them any way the background demands.
- Flowers and close-ups. Petals are thin and shiny, and direct sun makes harsh hot spots on them. Soft light shows their true colour and fine veins, as covered in how to photograph flowers.
- Autumn leaves and anything wet. Rain darkens surfaces and deepens colour. A polarizing filter removes the white sheen that wet leaves reflect from the sky, at a cost of one to two stops.
- Streets and markets. Faces under awnings and people on the bright side of the street expose alike.
- Cars, products and glass. Shiny surfaces reflect whatever lights them. A white sky gives a smooth, broad highlight where the sun would give a glaring spot.
What suffers is the wide view that depends on shadow for shape: mountain ranges, rolling fields, city skylines. Save those for a day with broken cloud, or treat them as described below.
The blank white sky and how to frame around it
Under even cloud the sky is the light source, so it is far brighter than anything it lights. It is typically about two and a half stops brighter than a mid-toned subject on the ground and three to four stops brighter than dark foliage. Expose for the land and the sky records as featureless white. Expose for the sky and the land goes dark and muddy. And because the eye is drawn to the brightest part of a picture, a white strip along the top pulls attention away from the subject. There are five ways to deal with it.
- Leave it out. Tilt the camera down, move closer, use a longer focal length, or find a higher viewpoint and look down. Use overhanging branches, a wall or a hillside as the top edge of the frame. Watch the corners for small white triangles of sky between leaves.
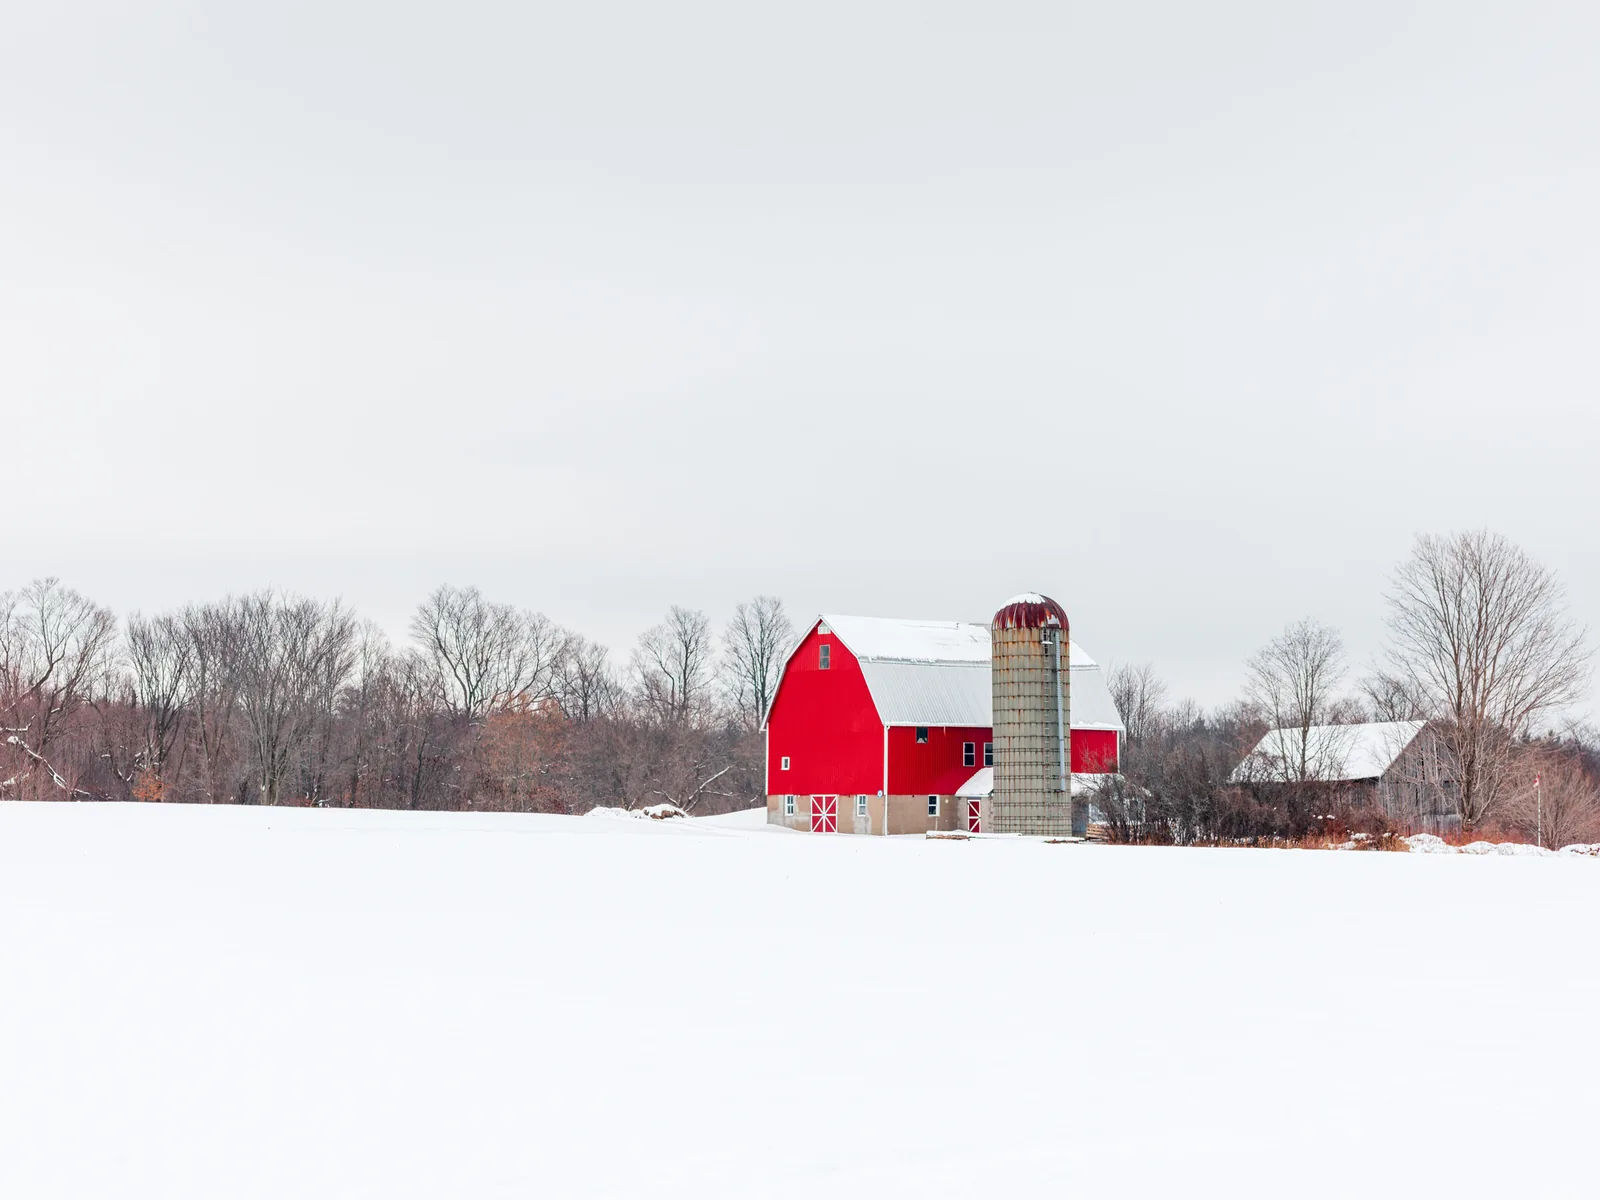
- Make it the background. A plain white sky is a ready-made studio backdrop for a strong shape: a bare tree, a pylon, a bird on a wire, a building. Add +1 to +2 stops so the sky is clean white and not grey. With snow or pale water below it, the whole frame becomes a high-key picture with very few tones.
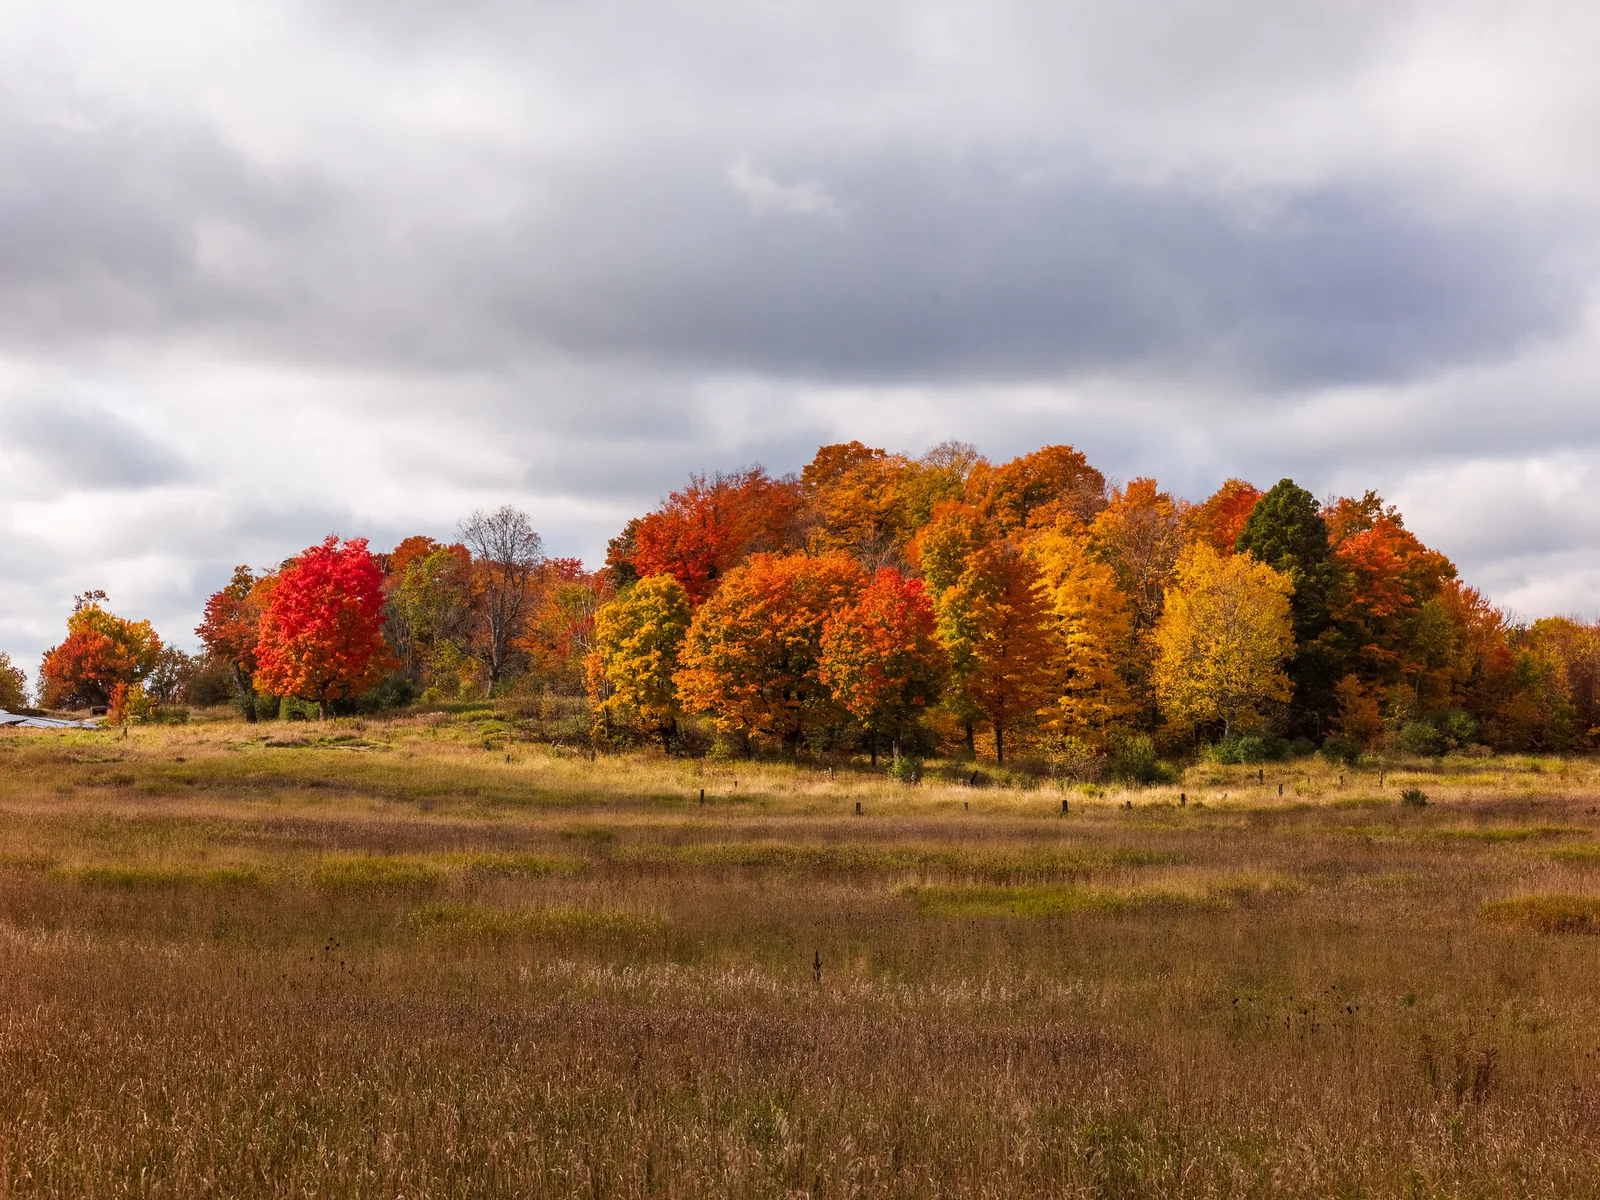
- Include it only when it has texture. Cloud with visible structure, dark bases and brighter gaps is worth space in the frame. Expose so the brightest cloud is just short of clipping, even if the land looks dark on the screen, and lift the shadows later.
- Balance it. A graduated ND filter of two or three stops over a straight horizon, or two bracketed exposures blended afterwards, brings textured cloud and land into the same range.
- Wait for a break. When cloud thins or a gap opens, a patch of sunlight on the subject against dark cloud behind is the best light a cloudy day offers. It may last seconds, so compose first and wait.
For portraits the same rule applies more strictly. A white sky behind a head makes hair look thin and puts a bright frame around the face. Raise the camera or move the person so that trees, a wall or the ground is behind them.
Exposure, ISO and white balance on grey days
The most common technical fault on cloudy days is not exposure but blur. The light does not look dim, because your eyes adapt, yet the camera has lost two or three stops. In an automatic mode at ISO 100 that can mean 1/30 where you expected 1/250.
- ISO: start at 400 for general handheld shooting, 800 to 1600 under trees or late in the day. Noise at these values is rarely visible at normal viewing sizes. See ISO for how far yours can go.
- Shutter speed: keep to 1 over the focal length or faster for still subjects, 1/250 for people walking, 1/500 or more for children, pets and sport. Image stabilisation helps with your own shake but not with a moving subject.
- Aperture: f/5.6 to f/8 for scenes. For portraits, f/2.8 to f/4 gains light and softens a dull background at once.
- Tripod: for woodland and water, where you want f/11, ISO 100 and whatever shutter speed results.
Metering is easier than in sun because the contrast is low, with one exception. Any sky in the frame pulls the meter toward underexposure, since it is the brightest thing there. With a third of the frame as white sky, add +2/3 to +1 of exposure compensation. With no sky in the frame, the meter is usually right. A low-contrast scene gives a narrow hump in the middle of the histogram with space on both sides. That space is not a fault. It means you can add up to a stop of exposure without clipping, which gives a cleaner file to add contrast to later.
For white balance, auto does a reasonable job, but it can drift from frame to frame. The Cloudy preset holds a consistent, slightly warm rendering that suits people and autumn colour. Daylight leaves the scene cooler and bluer, which suits rain, stone, sea and winter. Neither is correct. Choose the one that fits the mood, and shoot raw so that you can change your mind.
Finding direction in flat light
Overcast light is not as even as it looks. Most of it comes from above: the sky straight overhead under uniform cloud is around three times brighter than the sky near the horizon. That is why faces on a grey day can still have dull, shaded eye sockets and a shadow under the chin, and why eyes often lack a catchlight. You can shape this light by blocking part of the sky.
- Stand under an edge. Place a person just inside a doorway, porch, bridge or the outer branches of a tree, facing out. The cover blocks the top light, so the face is lit from the front by the open sky and the eyes pick up a catchlight.
- Use a dark wall as a shadow. A hedge, a dark building or a line of trees close on one side stops light arriving from that side. The face or object gains a lit side and a shaded side, and so gains shape.
- Find the bright patch. Cloud is rarely uniform. Hold your hand just above a sheet of paper or a pale path: the faint shadow it casts falls away from the brightest part of the sky. Face your subject toward that brightness.
- Lift the chin or raise the camera. A face tilted slightly up takes top light into the eye sockets. Photographing from a little above has the same effect.
- Bounce light from below. A reflector, a pale path, a white wall or even an open book held at chest height fills the shadows that top light leaves.
Open shade and thin cloud: the in-between conditions
Open shade on a sunny day is often described as the same thing as overcast. It is close, but three differences matter.
| Overcast | Open shade on a sunny day | |
|---|---|---|
| Light source | White cloud over the whole sky | Blue sky, plus light bounced from sunlit ground and walls |
| Colour | Slightly cool. Cloudy preset. | Distinctly blue. Shade preset, and watch for colour picked up from nearby grass or painted walls. |
| Direction | Mostly from above | From whichever side is open to the sky, so naturally directional |
| Background | Lit the same as the subject | Sunlit areas behind are three or more stops brighter and will burn out |
In open shade, then, put the subject near the edge of the shade facing the open sky, and choose a background that is also in shade. Avoid dappled shade under thin foliage, where spots of full sun fall on a shaded face: the spots are several stops brighter than the skin around them and cannot be repaired afterwards.
Thin cloud is the condition to hope for. The sun shows as a bright disc through the haze and shadows are present but soft-edged. You get shape and texture from a clear direction without the harshness, and the light changes as the cloud thickens and thins, so take the same frame several times over a few minutes.
Black and white and mood on dull days
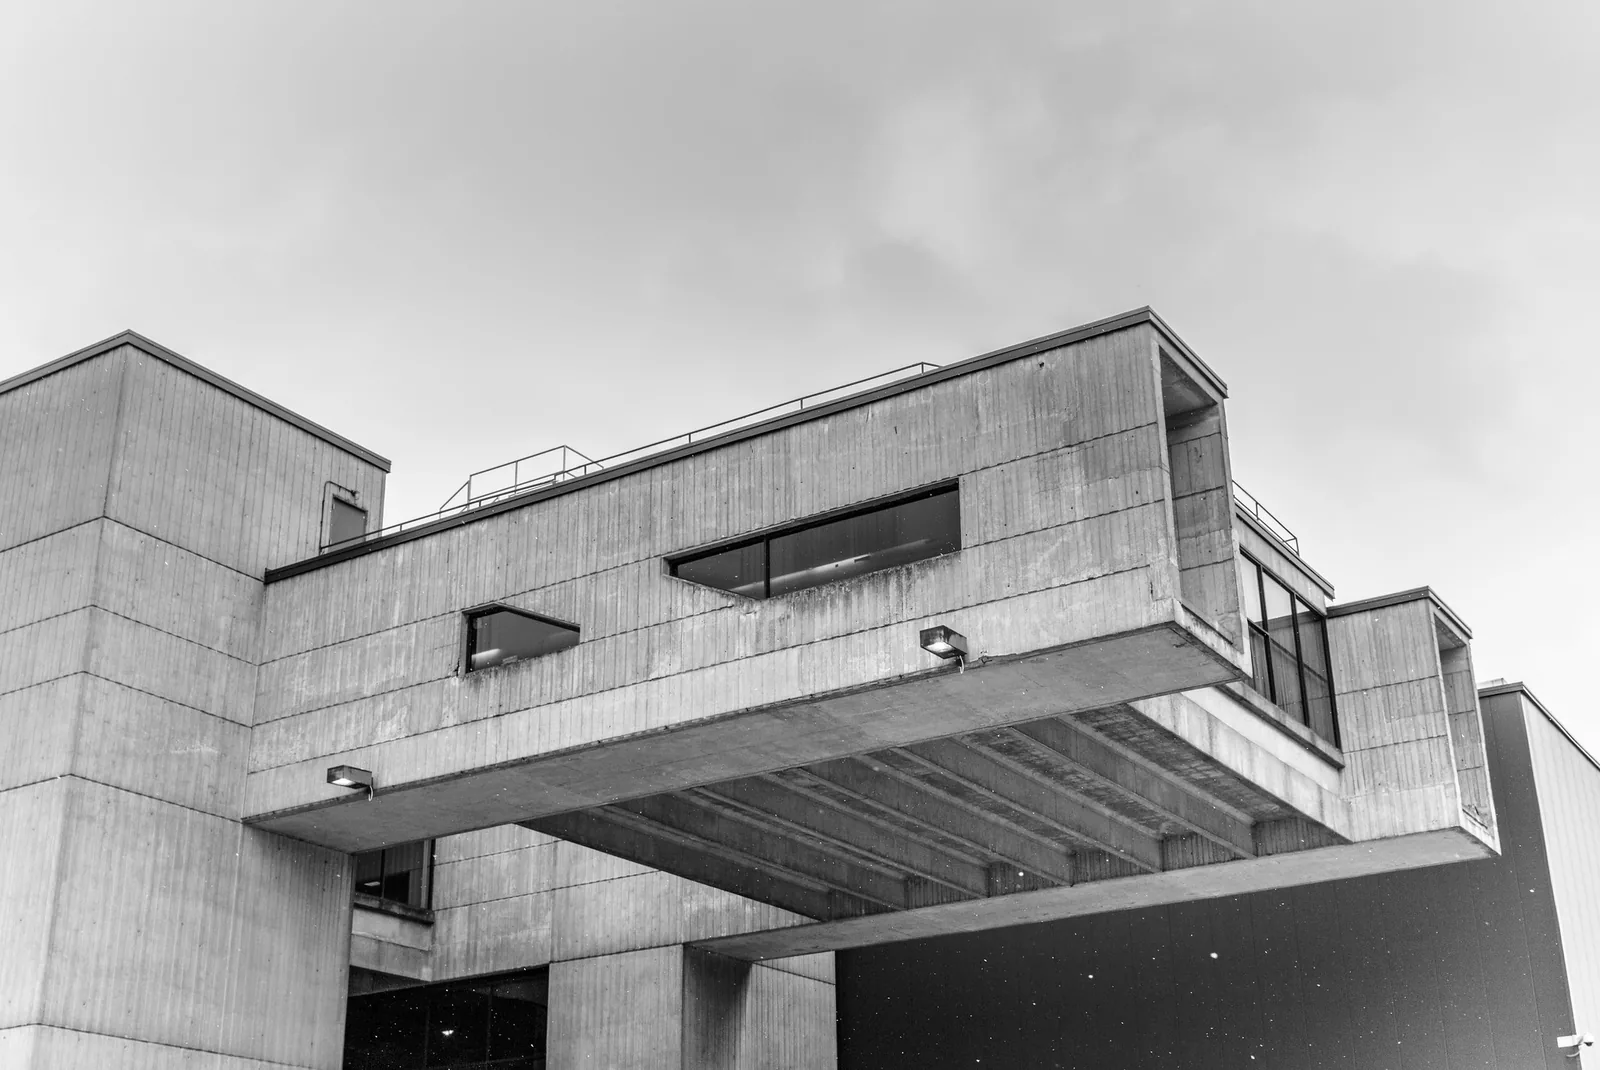
Grey days remove colour contrast along with light contrast, which makes them natural territory for black and white. Without colour, a photograph depends on shape, tone and texture, and soft light records all the tones of a surface without losing either end. A blank sky stops being a problem and becomes a clean white ground for dark shapes. Black and white photography covers conversion in detail. Two points apply here: set your camera’s monochrome picture style while shooting raw so that the screen shows tones while the file keeps the colour, and add more contrast than you think you need, because a flat grey file with no true black or white looks unfinished.
Mood is the other strength. Low cloud, drizzle and mist suit quiet, sparse subjects: an empty pier, a single figure with an umbrella, a line of bare trees. Expose a little darker than the meter suggests (-1/3 to -2/3) for a heavy, brooding feel, or brighter for a pale, airy one. If the cloud comes down to the ground, fog and mist photography takes over, and how to photograph rain covers the wet version.
Editing flat files without faking sunshine
A raw file from an overcast day looks dull straight from the camera. That is expected: the scene had little contrast, and it is your job to decide how much to put back. Panel names and positions shift between editors and versions, but the steps are the same everywhere.
- Set the end points. Move the whites up until the brightest real tone is nearly white and the blacks down until the darkest is nearly black. This one step removes most of the greyness. See setting black and white points.
- Add a gentle S-curve. Lift the upper midtones and lower the lower midtones a little with the tone curve, as shown in curves and levels.
- Add local contrast with restraint. Clarity or texture controls bring back surface detail that shadowless light hides. Keep them low on skin. Dehaze is strong and shifts colour, so use small amounts.
- Warm slightly and use vibrance, not saturation. A small move toward yellow takes the chill off. Vibrance lifts muted colours without pushing the ones that are already strong.
- Work on the sky separately. Select it with a sky or gradient mask and lower exposure and highlights to bring out cloud structure. If the sky was truly blank, leave it white. Masking and selective adjustments explains the tools.
- Darken the edges a touch. Flat light gives the eye nowhere to settle. A subtle vignette, or a soft mask brightening the subject by a third of a stop, restores a centre of attention.
What does not work is pretending the sun was out. Dropping a blue sky with sunlit clouds over a scene that has no shadows on the ground looks wrong at once, even to viewers who cannot say why. Heavy warming and saturation have the same effect. Aim for a rich version of the day you had.
Common mistakes
A band of white sky across the top. Fix: tilt down, move closer or change viewpoint until the sky is gone, or commit to it as a plain background.
Blurred pictures that looked fine on the screen. The camera chose a slow shutter speed in the dim light. Fix: raise the ISO to 400 or more and check that the shutter speed suits the subject.
Dark, muddy land. Bright sky in the frame made the meter underexpose. Fix: add +2/3 to +1 compensation or recompose without the sky.
Dull eyes and shadowed sockets in portraits. Top light with nothing to fill it. Fix: move the person under the edge of cover facing out, lift the chin or add a reflector from below.
Staying home, or shooting sweeping views anyway. Fix: switch to subjects that soft light flatters, such as woods, water, people, colour and detail.
Leaving files flat. Fix: set white and black points and add a curve to every overcast image as a matter of routine.
Try this
A 15 minute exercise for the next grey day, with one willing person or a head-sized object such as a ball or a plant pot.
- Stand the subject in the open, away from buildings and trees. Take a head-and-shoulders picture with white sky behind, then one from slightly higher with ground or trees behind. Compare the two backgrounds.
- Move the subject just inside a doorway or under the edge of a tree, facing out. Take the same picture and look at the eyes and the shadow under the chin.
- Move the subject beside a dark wall or hedge, about a metre from it, and photograph from the front. Look for the difference between the two sides of the face.
- Finally, take one frame of any scene with white sky at 0 compensation and one at +1, and check which histogram sits further right without clipping.
Frequently asked questions
What camera settings should I use on a cloudy day?
Start at ISO 400, f/5.6 to f/8 and whatever shutter speed that gives, usually around 1/400 to 1/800 under even cloud. Use the Cloudy white balance preset for a slightly warm result, shoot raw, and add +2/3 to +1 exposure compensation when white sky is in the frame.
Is an overcast day good for portraits?
Yes. The soft light is kind to skin and nobody squints. The weak points are top light, which shades the eyes, and white sky behind the head. Put the person under the edge of cover facing the open sky and choose a darker background.
How do I fix a white sky in my photos?
The best fix is at the time of shooting: frame it out, or expose for cloud texture if there is any. In editing, mask the sky and lower highlights and exposure. If the sky is clipped to pure white there is nothing to recover, so crop it or accept it.
Why do my cloudy day photos look flat and dull?
Because the scene was low in contrast and the camera recorded it faithfully. Set white and black points, add a gentle S-curve and a little warmth. Next time, look for subjects with strong colour or shape of their own, and for places where part of the sky is blocked so the light has direction.
What is best to photograph on a grey day?
Woodland, waterfalls and streams, flowers, autumn colour, people, street scenes, wet surfaces, architecture details and anything shiny. Leave wide landscapes that depend on light and shadow for a day with broken cloud.
Related guides
- Natural light photography: daylight through the whole day, including window light and reflectors.
- Photography in different weather conditions: rain, snow, storms and fog alongside cloud.
- Photography in bad weather: keeping yourself and the camera working when grey turns to wet.
- Forest and woodland photography: the subject that benefits most from a cloudy day.
- Outdoor portrait photography: posing and backgrounds for people outside in any light.
- Black and white photography: seeing in tones and converting colour files.
- How to shoot in harsh daylight: the opposite problem, for when the cloud clears.