In this lesson, we encourage you to start thinking about developing your own style by experimenting with advanced composition techniques. In earlier lessons, you learned the fundamental rules of composition. Now it is time to push beyond the basics, experiment with more sophisticated approaches, and begin discovering what makes your photography uniquely yours.
Ask yourself some questions:
- What are my main interests within photography?
- What are the themes that I find myself drawn to repeatedly?
- Considering this, what unique angle can I bring to this style of photography?
By this point in the course, you should have a strong grasp of camera functionality and be aware of the differences between the human eye and the camera lens. The human eye is selective and interpretive, while the camera simply records everything in front of it. Now, when you look through your camera lens, you should consciously seek to simplify and compose your image in a way that appeals to the human eye.
Working Close Up
Filling the entire frame with your subject can add a dramatic effect to your photograph. This technique, though simple, is often overlooked, making it a powerful tool to create images that stand out due to the uniqueness of camera positioning.
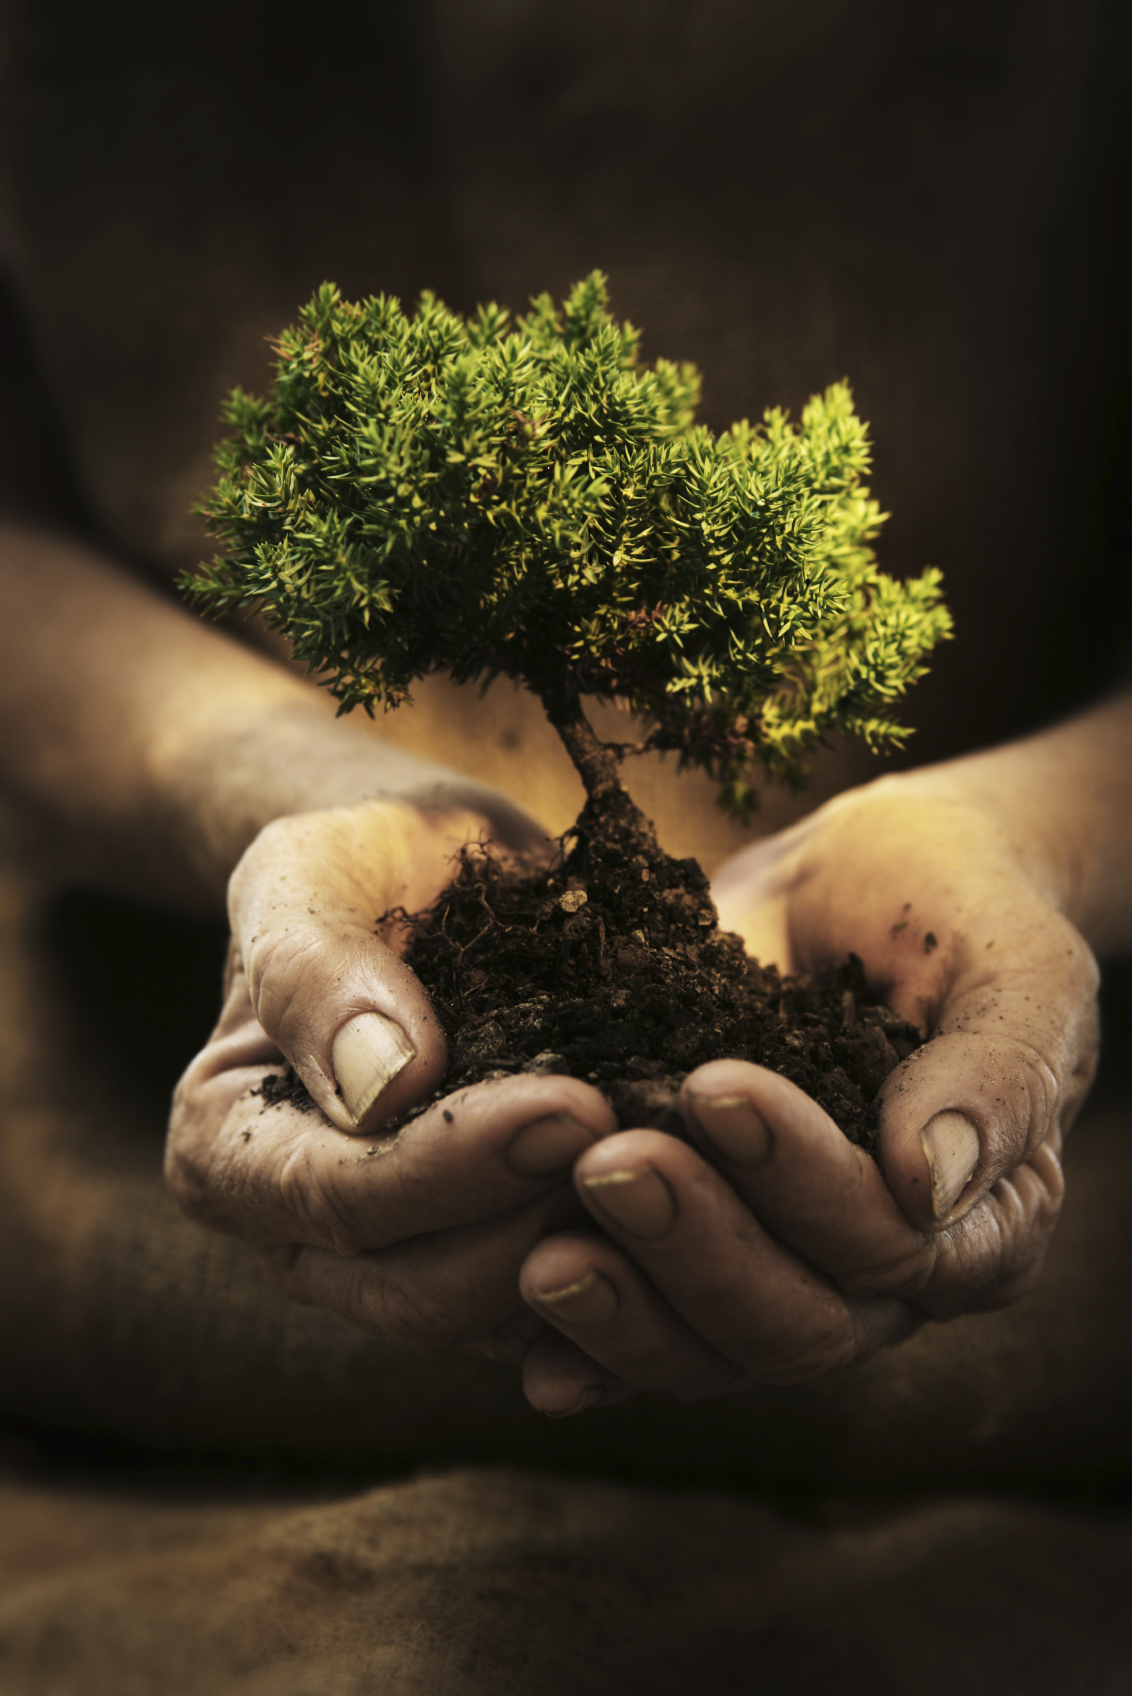
When you move in close, you eliminate distracting backgrounds and force the viewer to engage directly with your subject. Details that are invisible from a normal distance suddenly become the entire photograph: the texture of skin, the pattern of a leaf, the grain of weathered wood. This technique works particularly well with portraits, flowers, food, and textured surfaces.
To work close up effectively, pay attention to your depth of field. At close distances, depth of field becomes very shallow, even at moderate apertures. You may need to stop down to f/8 or f/11 to keep your entire subject sharp, or you can embrace the shallow focus and use it creatively to isolate one element within your close-up composition.

Try This: Close-Up Exercise
Choose three ordinary objects from around your home: a piece of fruit, a key, and a textile (a sweater, towel, or curtain). Photograph each from your normal standing distance, then move progressively closer until your subject fills the entire frame. Compare the results. Notice how the close-up versions reveal textures and patterns invisible in the wider shots. Which versions tell the most compelling visual story?
Responding to Action: The Decisive Moment
The camera’s ability to instantly capture a scene is one of its greatest strengths. Often, the perfect moment comes and goes within seconds, making timing crucial. The challenge lies in capturing that moment while also considering composition. Over time, your manual camera settings will become second nature, allowing you to respond more quickly and capture fleeting moments with precision.
The decisive moment is not just about speed. It is about anticipation. Experienced photographers learn to read a situation and predict when something interesting is about to happen. A child running toward a puddle, a bird about to take flight, two strangers about to cross paths in interesting light. The photograph is imagined before it exists, and the photographer positions themselves to capture it.
To practice this, spend time observing without your camera first. Sit in a busy public space and mentally “click” when you see a moment worth capturing. This trains your eye to recognize fleeting compositions before you add the complexity of camera controls.
Try This: Anticipation Exercise
Go to a location with movement: a street corner, a playground, a dog park. Set your camera to aperture priority at f/8 with auto ISO, so you do not need to think about exposure. Find a spot with interesting light or a strong background and wait for subjects to move into your composition. Shoot at least 30 frames over 20 minutes. Review them later and identify which frames captured a genuine “decisive moment” and what you anticipated versus what surprised you.
Staging a Photograph
Staging a photograph is similar to painting a canvas. While photography often involves capturing spontaneous moments, it can also be about creating those moments. Think of photography not just as a reaction to events but as a means of bringing your vision to life. Imagine yourself as a film director, orchestrating every aspect, from lighting and props to expressions and ambiance.
Your staged photograph could focus on a concept, a scene from a dream, or something as abstract as a mood. Perhaps you want to explore colors or play with shadows and light. The possibilities are virtually endless.
Staging gives you complete control over every element in the frame. You choose the background, the lighting, the props, the colors, and the arrangement. This is the opposite of street photography, where you react to what is happening. In staged work, you create what is happening. Both approaches have value, and practicing staged photography develops your ability to visualize and execute a specific creative vision.
When staging, consider these elements:
- Background – Choose a background that supports your concept without competing with your subject
- Lighting – Decide whether natural or artificial lighting best serves your mood. Window light creates soft, directional illumination. A single lamp or flashlight creates dramatic shadows.
- Color palette – Limit your colors to create visual harmony. A few carefully chosen colors are more effective than a chaotic mix.
- Props and placement – Every object in the frame should be intentional. If it does not serve the composition or the story, remove it.
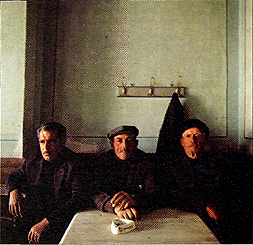
Here is an example of a staged photograph:
Try This: Staged Photography Exercise
Create a still life arrangement using objects from your kitchen or desk. Choose three to five objects that share a visual connection (similar colors, related themes, or contrasting textures). Arrange them on a clean surface near a window. Photograph the arrangement, then rearrange the objects at least three different ways. Pay attention to how the relationship between objects changes the story and mood of the photograph. Which arrangement is strongest, and why?
Using Natural Settings with Imagination
Photography is about using your imagination to create ideas that captivate viewers. The photographer Rolph Gobits is known for using natural settings rather than studios in his fashion photography. He carefully composed his images to relate to color schemes, architecture, furnishings, and lighting, using only elements that enhanced his compositions. There are never any distracting or unnecessary elements in his work. Gobits achieved balance and harmony through simplicity, directional lighting, and the use of soft, diffused light.
The lesson from Gobits and photographers like him is that your environment is full of ready-made “studios.” A textured brick wall, a sun-drenched staircase, a tunnel of overhanging trees, or a doorway casting a rectangle of light on the floor can all serve as backdrops for compelling photographs. The key is learning to see the photographic potential in ordinary spaces.
When scouting a natural setting, look for:
- Complementary colors – Does the wall color harmonize with your subject?
- Light direction – Is the light coming from a flattering angle? Side light adds dimension; front light flattens.
- Simplicity – Can you position your subject so the background is uncluttered?
- Lines and geometry – Do leading lines or architectural shapes create visual structure?
Examples of Rolph Gobits’ work:

Working with Themes
Working with themes is a great way to practice your photography skills and develop a cohesive body of work. When choosing a theme, you could focus on:
- Similar subject matter (e.g., sports, doors, architecture)
- Similar technical composition (e.g., all black and white, all wide-angle shots)
- Similar moods or emotions (e.g., love, anger, peace)
Organizing work by theme is useful for portfolio development and for gallery exhibitions, as it provides cohesion and clarity to the viewer. Think of each photo within a theme as a paragraph in an essay, each adding meaning and depth to your story.
Themes also give your shooting sessions purpose. Instead of wandering aimlessly with your camera, a theme focuses your attention and trains you to see specific things. A photographer shooting a “red” theme will begin noticing red objects everywhere. A photographer exploring “solitude” will start seeing isolated figures, empty spaces, and quiet moments that they would otherwise overlook.
Some theme ideas to get you started:
- One color – Photograph only scenes dominated by a single color for a week
- Shadows – Focus exclusively on shadows as your primary subject
- Hands – Capture the expressiveness of hands in different contexts
- Doorways and windows – Explore the visual potential of architectural openings
- Textures – Create a series focused entirely on surface textures: rough, smooth, organic, manufactured
Try This: Theme Project
Choose one of the themes above (or create your own) and commit to photographing it for seven consecutive days. Take at least 5 photographs per day that relate to your theme. At the end of the week, select your 10 best images and arrange them as a cohesive series. Notice how working with a constraint forced you to see differently and pushed you beyond your obvious first ideas.
Bracketing
Bracketing involves taking multiple shots of the same subject with slight exposure variations. Start with one normally exposed shot, then take one slightly underexposed (-1 stop) and one slightly overexposed (+1 stop). This technique ensures you capture the best exposure possible and lets you choose the one that best conveys the mood or effect you want to achieve.
Bracketing is particularly useful in situations where the light is tricky or where the dynamic range of the scene exceeds what your camera can capture in a single frame. Sunrise and sunset landscapes, interiors with bright windows, and backlit subjects are all situations where bracketing pays off.
Most cameras offer an auto-bracketing feature (AEB, or Auto Exposure Bracketing) that automatically takes three or more exposures at different settings with a single press of the shutter. When combined with a tripod, bracketed exposures can later be merged into a single HDR image that contains detail in both the highlights and the shadows.
Try This: Bracketing Exercise
Find a scene with strong contrast between light and dark areas: a room with a bright window, a shaded area next to bright sunlight, or a sunset landscape. Take three bracketed exposures (-1, 0, +1 stop). Compare the three images side by side. Which exposure captures the mood you intended? Which preserves the most detail in the important areas? If your editing software supports it, try merging the three into an HDR image and compare the result with the single best exposure.
Breaking the Rules
Now that you understand the rules of composition, the rule of thirds, leading lines, negative space, balance, and simplicity, it is time to learn when to break them. The rules exist as guidelines to help you create images that are visually pleasing and easy to read. But some of the most powerful photographs in history break every compositional rule and succeed precisely because they do.
Centering a subject creates symmetry and calm. A tilted horizon adds energy and unease. Cluttered compositions can convey chaos or abundance. The key is to break rules intentionally, not accidentally. When you break a rule, know which rule you are breaking and why. “I centered the subject because the symmetry of the architecture demanded it” is intentional. A centered snapshot taken without thought is not.
Try This: Rule-Breaking Exercise
Take 10 photographs that deliberately break specific composition rules. For each, write down which rule you broke and why you chose to break it. Examples: center your subject instead of using the rule of thirds; include a cluttered background; tilt the horizon; cut off part of your subject. Review all 10 and identify which rule-breaking decisions strengthened the image and which weakened it. This exercise teaches you that rules are tools, not laws, and that knowing when to set them aside is a mark of creative maturity.
Lesson Summary
Advanced composition is about moving beyond mechanical rule-following and developing your own visual voice. The techniques in this lesson, working close up, capturing decisive moments, staging scenes, using natural settings, working with themes, bracketing, and breaking the rules, are all tools for expanding your creative range. The common thread is intentionality: every element in your frame should be there because you chose it, not because you failed to notice it.
As you continue practicing, you will notice that your instinct for composition improves. What once required conscious thought will become automatic. Spend the next week experimenting with at least two of the techniques covered here, and bring your results to the assignment.