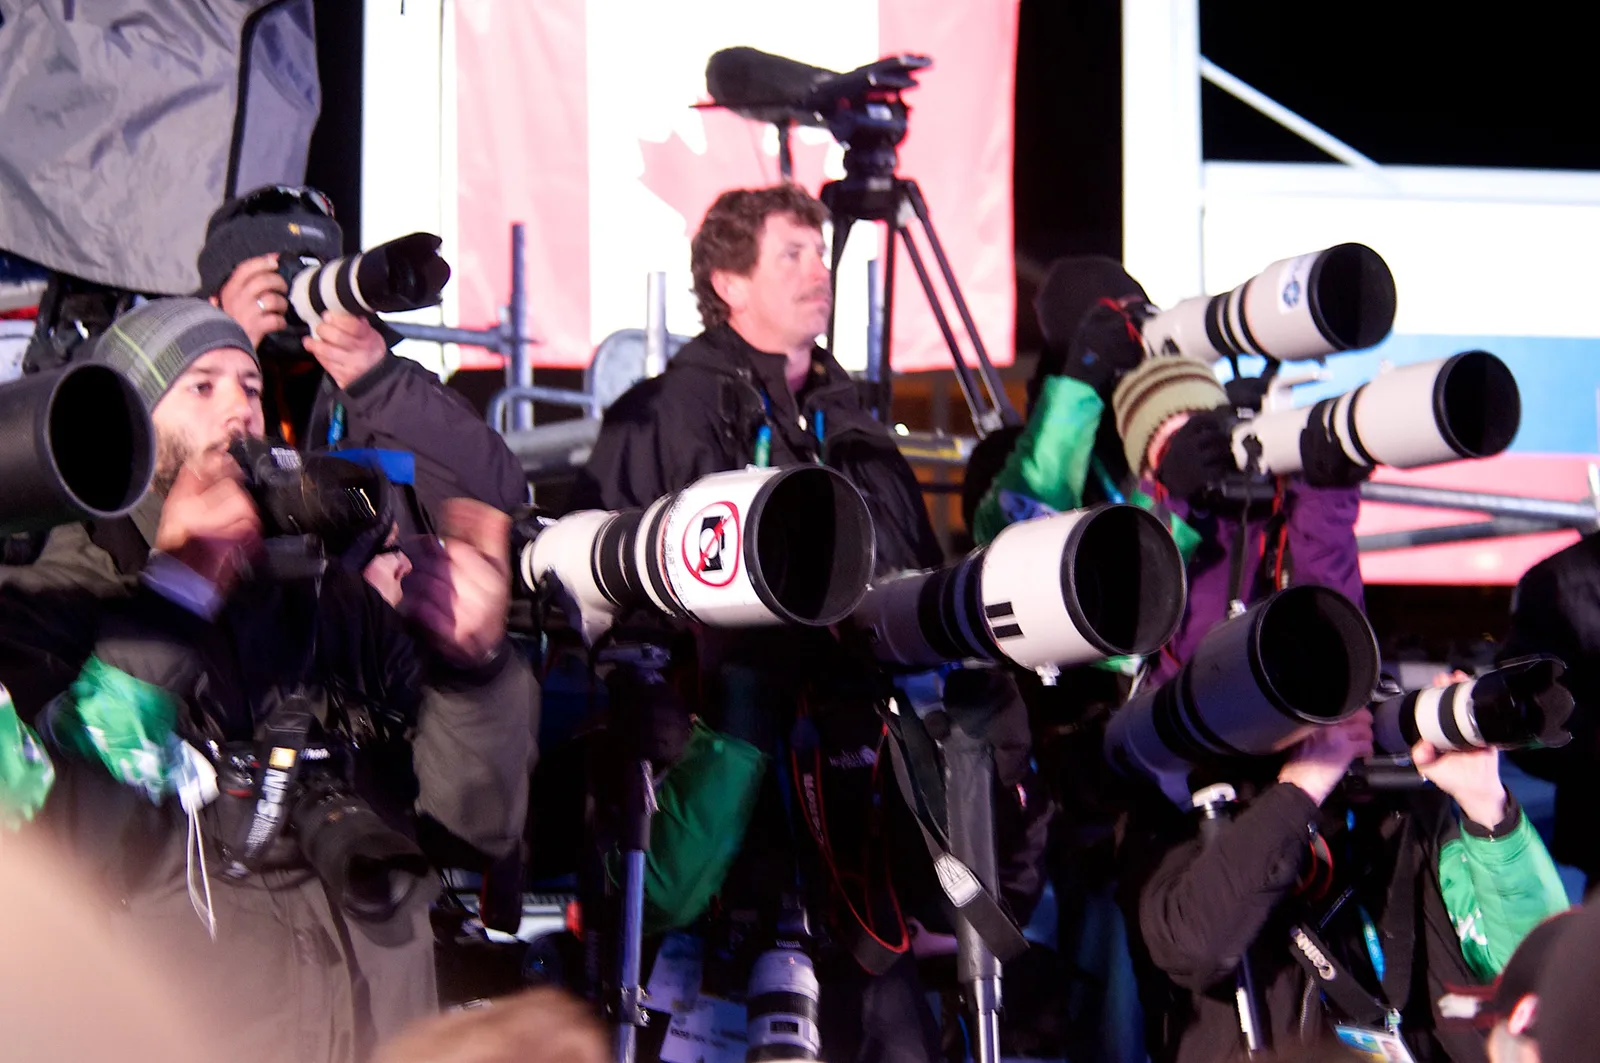
To direct people in photos, talk to them the whole time, give one simple instruction at a time, show the pose yourself so they can copy you, and use prompts that create real feelings instead of asking for “a smile”. Start with easy poses, praise what works, show them a good photo early to build trust, and keep the session moving so nobody has time to feel awkward. Good direction is mostly about making people feel safe and relaxed; the poses follow.
Most people do not know what to do in front of a camera. They freeze, they hold their breath, they smile with their mouth but not their eyes. And most beginners behind the camera freeze too. They go quiet, stare at their screen, fiddle with settings, and the person in front of them gets more nervous with every silent second.
Directing people is the skill that fixes this. It is not about bossing people around or knowing a hundred poses. It is about clear, friendly communication. The best portrait photographers are often not the ones with the fanciest gear, but the ones who can make anyone feel comfortable in a few minutes.
This guide is for beginners photographing friends, family members, clients or strangers. It covers how to prepare, what to say, how to give instructions people can follow, how to get real expressions, and how to handle groups. There is a 10-minute exercise and an FAQ at the end.
Why direction matters more than gear
A portrait is a photo where a person is the main subject. In a portrait, the viewer reads the face first. A tense face is obvious, even in a perfectly sharp, well-lit photo. A relaxed, genuine expression can carry a photo that is technically imperfect.
Your camera settings control how the photo looks. Your words control how the person looks. Both matter, but beginners usually spend all their attention on the first and none on the second. If you learn to direct, every portrait you take improves, whatever camera you use.
For the basics of portrait settings and lighting, see the main portrait photography guide. This page focuses on the people side.
Before the shoot: set people up to relax
Know your settings first
The most common reason beginners go silent is that they are busy with the camera. Set your exposure before the person steps in front of you. Do a test shot of a wall, a tree or a friend’s bag in the same light. That way, when the shoot starts, your attention can go to the person.
If you are still learning, simple settings help: aperture priority mode, a moderate aperture, and automatic ISO. The guide to camera settings for portraits gives easy starting points.
Have a rough plan
Know three or four poses or spots you want to try. You do not need a script, but having somewhere to start prevents that awkward “so… what now?” moment.
Explain what will happen
People relax when they know what to expect. A quick, friendly intro helps: “Let’s do about ten minutes. I’ll guide you the whole time, so you don’t need to worry about posing. The first few shots are just warm-up, so don’t worry about how they look.”
Ask what they like and dislike
A simple question like “Is there anything you like or don’t like about photos of yourself?” tells you a lot. Some people dislike their smile, some prefer one side of their face, some hate photos from below. Listening shows respect and helps you avoid what they dislike.
During the shoot: the core skills
Never go silent
Keep talking, even while you adjust settings. “Looking great, just changing one thing here… okay, ready?” Silence feels like judgement to the person in front of the camera. A running, friendly commentary keeps them at ease.
One instruction at a time
“Turn your shoulders left, lift your chin, put your hand in your pocket and look over there” is four instructions. Most people will do one, forget two, and stiffen up. Give one direction, wait for it, then give the next. Small steps get better results.
Show them, do not just tell them
Doing the pose yourself is the fastest way to explain it. Say “copy me” and show it. People find it much easier to mirror a movement than to follow words. It also makes you look a little silly, which helps them relax. The portrait posing guide has poses you can demonstrate.
Use their left and right, or point
Left and right are confusing when you face each other. Either say “turn toward the tree” or “toward the window”, or simply point. “Look at my hand” and moving your hand where you want their eyes to go works well.
Give small adjustments
Big instructions like “be natural” are paralysing. Small, specific ones are easy: “drop your shoulders a little”, “chin down just a touch”, “weight on your back foot”. These tiny changes add up to a relaxed pose.
Praise, and mean it
When something looks good, say so. “Yes, that’s great, stay right there.” Praise tells people they are doing well, which is exactly what nervous people need to hear. Avoid “no, not like that”. If something is not working, say “let’s try something different” and move on.
Show them a good shot early
Once you get one good frame, turn the camera around and show them. “Look how good this one is.” It builds trust immediately. People who have seen a good photo of themselves stop worrying and start enjoying it.
Prompts: the secret to real expressions
“Say cheese” gives you a fake smile. Real expressions come from real feelings. A prompt is a question, joke or instruction that creates a feeling, so the expression happens naturally.
Prompts that work:
- Ask a question. “What’s the best thing you ate this week?” “Tell me about your dog.” People light up when talking about things they love.
- Get them to laugh. “Give me your worst fake laugh.” The fake laugh usually turns into a real one. Take photos during and just after.
- Use movement. “Walk toward me slowly and look at the ground, then look up at me.” Movement prevents stiffness.
- Look away, then back. “Look over at that building… and back to me.” The moment their eyes return to the lens is often the most natural.
- Think of someone. “Think of someone who always makes you laugh.” This works well for soft smiles.
- Breathe. “Take a big breath in… and let it out.” The face relaxes on the exhale. Take the shot then.
The dedicated guide to natural smiles goes deeper, but even two or three of these prompts will transform your portraits. The candid photography guide shows how to catch the moments in between.
Directing where people stand
Direction is not only about faces. You also guide where people stand and how they relate to the scene. The light and background matter as much as the pose.
- Put them in good light first. Before posing anyone, find soft, even light such as open shade or window light. A perfect pose in harsh, patchy light still looks bad.
- Check the background. Move them so a pole or sign is not growing out of their head. Step left or right yourself to change what is behind them.
- Use a mark. “Stand right where that crack in the path is.” Clear spots are easier than “a bit to your left… no, back a bit”.
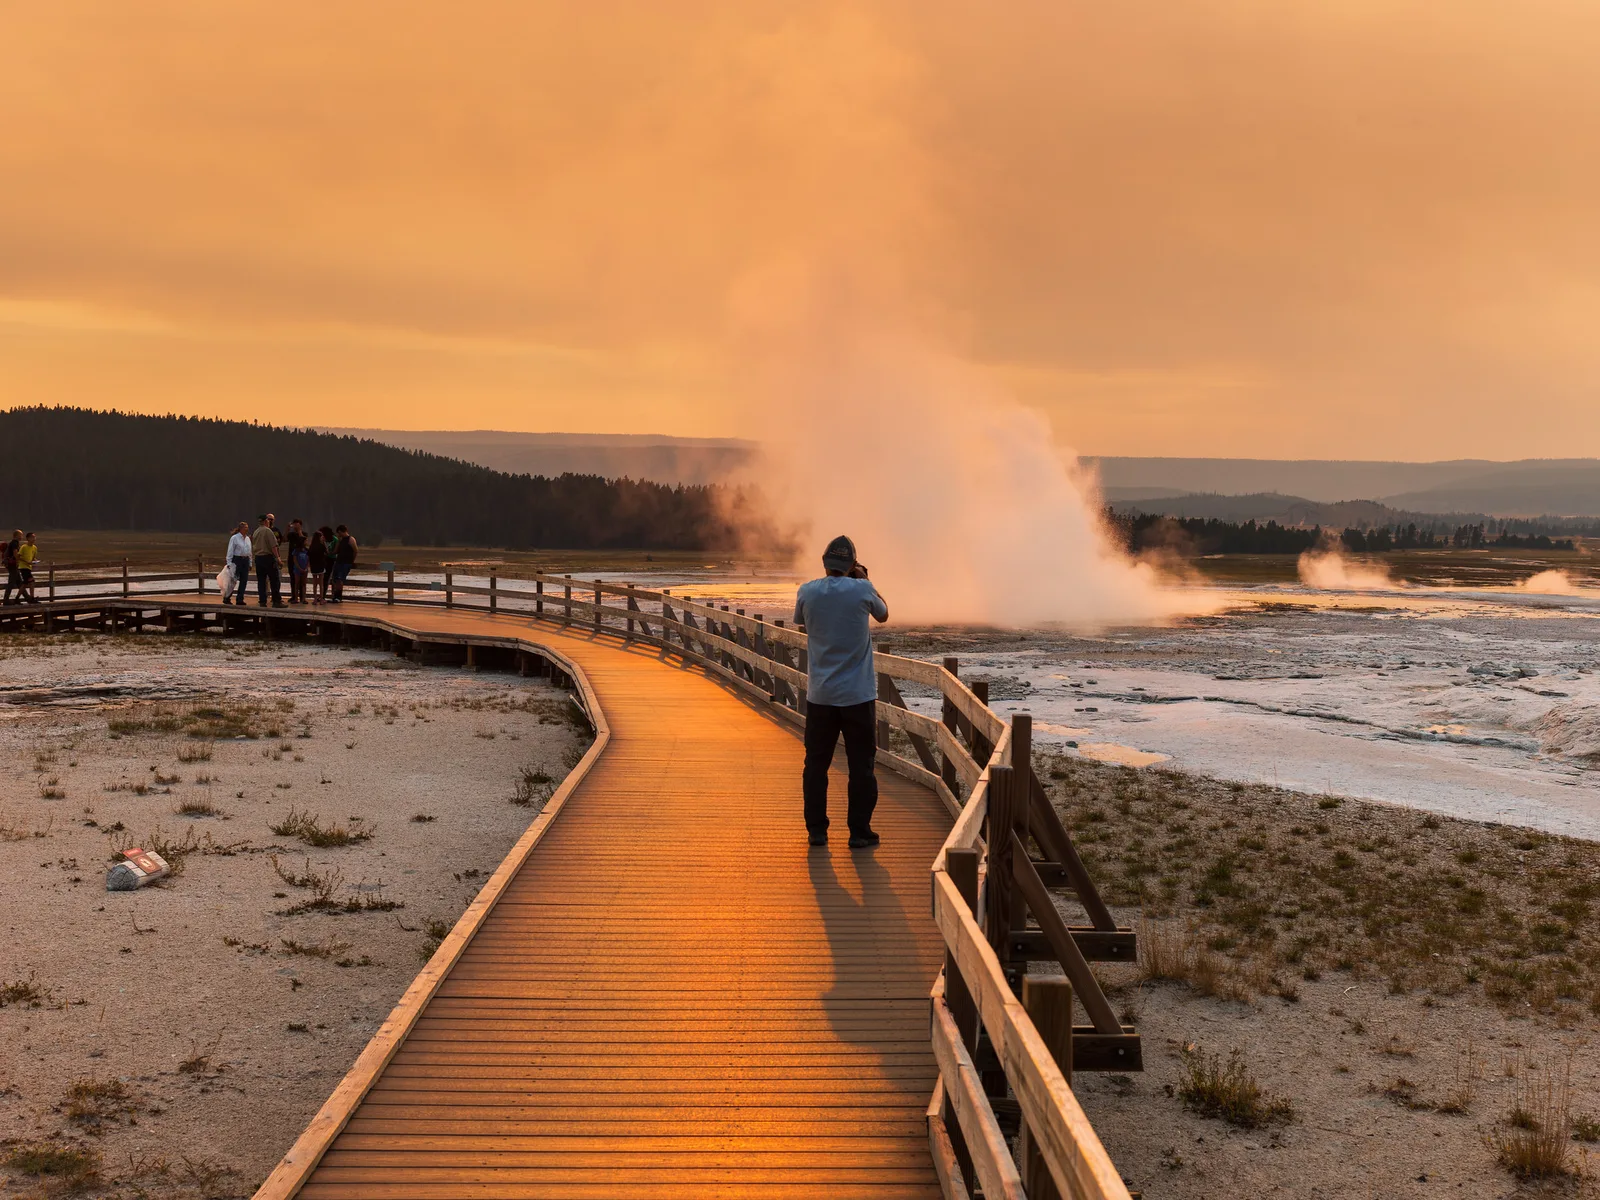
- Give space for small figures. In wide scenes, like the boardwalk photo below, the person may be small in the frame. Direct them to a spot where their shape stands out against the background, and ask them to face or look into the scene.
Body basics to direct
You do not need to be a posing expert. A few simple body directions fix most stiffness:
- Angle the body. Square to the camera can look wide and formal. Ask them to turn their body slightly to one side, then turn their face back toward you.
- Shift the weight. “Put your weight on your back foot.” It relaxes the whole body.
- Create gaps. Arms pressed against the body look bigger. A small gap between arm and waist looks better.
- Chin forward and down. A slight push of the chin forward, then down, defines the jawline. Explain it as “lead with your forehead, like a turtle, just a little”.
- Give hands a job. Hands are the most common problem. The guide to posing hands covers simple fixes.
- Soften the eyes. If the person looks wide-eyed and startled, ask for a “tiny squint”, sometimes called a squinch. It makes eyes look confident and warm.
Directing different kinds of people
Nervous people
Go slowly. Start with easy poses like leaning against a wall. Keep talking, use humour, and show good photos early. Do not rush to close-ups; start wider so the camera feels less intense.
Confident people
Let them lead a little. Ask, “What do you want to try?” Confident people often bring good ideas. Your job is to guide the light, background and framing.
Strangers
With street portraits of strangers, keep it short and respectful. Ask permission, give one or two simple directions, take a few frames, say thank you, and offer to send a copy. Never pressure anyone.
Couples and groups
With more people, keep directions extra clear and speak up. Give the group a shared task: walk together, lean in, share a joke. Address people by name or by something they are wearing: “you in the blue jacket, step a bit closer”. The group photography tips and couple photography guides go further.
Your energy is contagious
If you are tense, the person you are photographing will feel it. If you are relaxed and having fun, they will usually relax too. This is the hidden part of directing.
Some easy ways to bring good energy:
- Smile yourself. People mirror expressions.
- Laugh at your own mistakes. “Oops, I had the lens cap on” breaks the ice better than any joke.
- Keep moving. Change spots every few minutes so the session feels fresh.
- Play music if you are indoors and they like it.
- Take short breaks. A sip of water and a chat resets everyone.
Respect and consent
Good direction is always respectful. A few simple rules:
- Ask before touching anyone, even to fix hair or a collar. Usually you can show or describe instead.
- Never comment negatively on someone’s body or appearance.
- If someone says they are uncomfortable with a pose, drop it immediately and thank them for telling you.
- Let people see and veto photos if they want, especially for personal portraits.
People who feel respected relax, and relaxed people make better photos. Respect is not just the right thing to do; it also improves your work.
Practise directing without pressure
Directing is a skill, which means it improves with practice. Some easy ways to practise:
- Photograph a friend who is happy to be a test subject. Tell them you are practising directing, not looking for perfect photos.
- Practise on yourself with a timer or remote. Taking self-portraits shows you how it feels to be on the other side.
- Watch behind-the-scenes videos of portrait sessions and notice what the photographer says.
- Write a list of your five favourite prompts and keep it on your phone.
When it is not working
Some sessions start badly. The person is stiff, every frame looks forced, and you start to panic. That is normal, and it can almost always be rescued.
- Stop shooting for a minute. Lower the camera and just chat. Ask about their day. The pressure drops the moment the lens is not pointing at them.
- Change the spot. A new location feels like a fresh start for both of you.
- Change the task. Give them something to do: walk, sit, hold a coffee, fix their jacket. Action beats posing.
- Go wider. Step back and include more of the scene. Being small in the frame feels less intense.
- Be honest and kind. “Most people feel awkward for the first few minutes. You’re doing great.” Naming the feeling often makes it go away.
- Shoot between the poses. Keep the camera up as they laugh, relax or adjust. The best frame is often the one taken just after you said “okay, that’s it”.
Remember that a few good frames from a session is a success. Professionals throw away most of what they shoot too.
Common mistakes
- Going silent. Silence makes people feel judged. Keep talking, even about nothing.
- Too many instructions at once. Give one direction, wait, then give the next.
- Saying “act natural”. It makes people stiffer. Give small, specific directions or a prompt instead.
- Asking for “a smile”. You get a fake one. Use prompts that create a real feeling.
- Fiddling with settings during the shoot. Set your exposure before you start.
- Saying “no, not like that”. Say “let’s try something different” instead.
- Posing in bad light. Find soft light first, then pose.
- Touching without asking. Always ask first, or demonstrate instead.
- Never showing the back of the camera. Showing one good photo early builds trust fast.
Try this: a 10-minute directing session
Find a willing friend and a spot with soft light. Set your exposure first. Then:
- Minute 1: Explain the plan: “Ten minutes, I’ll guide you, the first shots are warm-up.”
- Minute 2 to 3: Easy pose. Ask them to lean against a wall, weight on the back foot. Give one small adjustment at a time. Take a few frames.
- Minute 4: Show them the best one so far.
- Minute 5 to 6: Prompt. Ask them about something they love. Photograph them while they talk.
- Minute 7: Fake laugh. Ask for their worst fake laugh. Keep shooting as it turns real.
- Minute 8: Movement. Ask them to walk slowly toward you and look up at you on the count of three.
- Minute 9: Look away and back. Take the frame as their eyes return.
- Minute 10: Review together. Ask which photos they like and why.
Compare the first and last photos. The difference is usually huge, and almost all of it comes from your words.
Frequently asked questions
How do I direct someone who has never been photographed?
Explain the plan, keep talking, give one simple instruction at a time, show the poses yourself, and show them a good photo early to build confidence.
What should I say during a photo shoot?
Friendly commentary, small specific directions, honest praise and prompts that create feelings, such as questions about things they love.
How do I get a natural smile instead of a fake one?
Do not ask for a smile. Use prompts: a funny question, a fake laugh that turns real, or asking them to think of someone they love.
Do I need to know lots of poses?
No. A handful of simple poses and good communication matter far more than a big pose library.
Is it okay to touch someone to fix a pose?
Only if you ask first and they agree. Most of the time, demonstrating the pose yourself works better and feels more comfortable.
How long should a portrait session be for a beginner?
Short sessions of 10 to 30 minutes work well. People get tired, and short sessions keep energy high.
Wondering what to do with their hands once they are in position? The guide to posing hands has simple fixes.
Want a full set of poses to demonstrate? Start with the portrait posing guide.