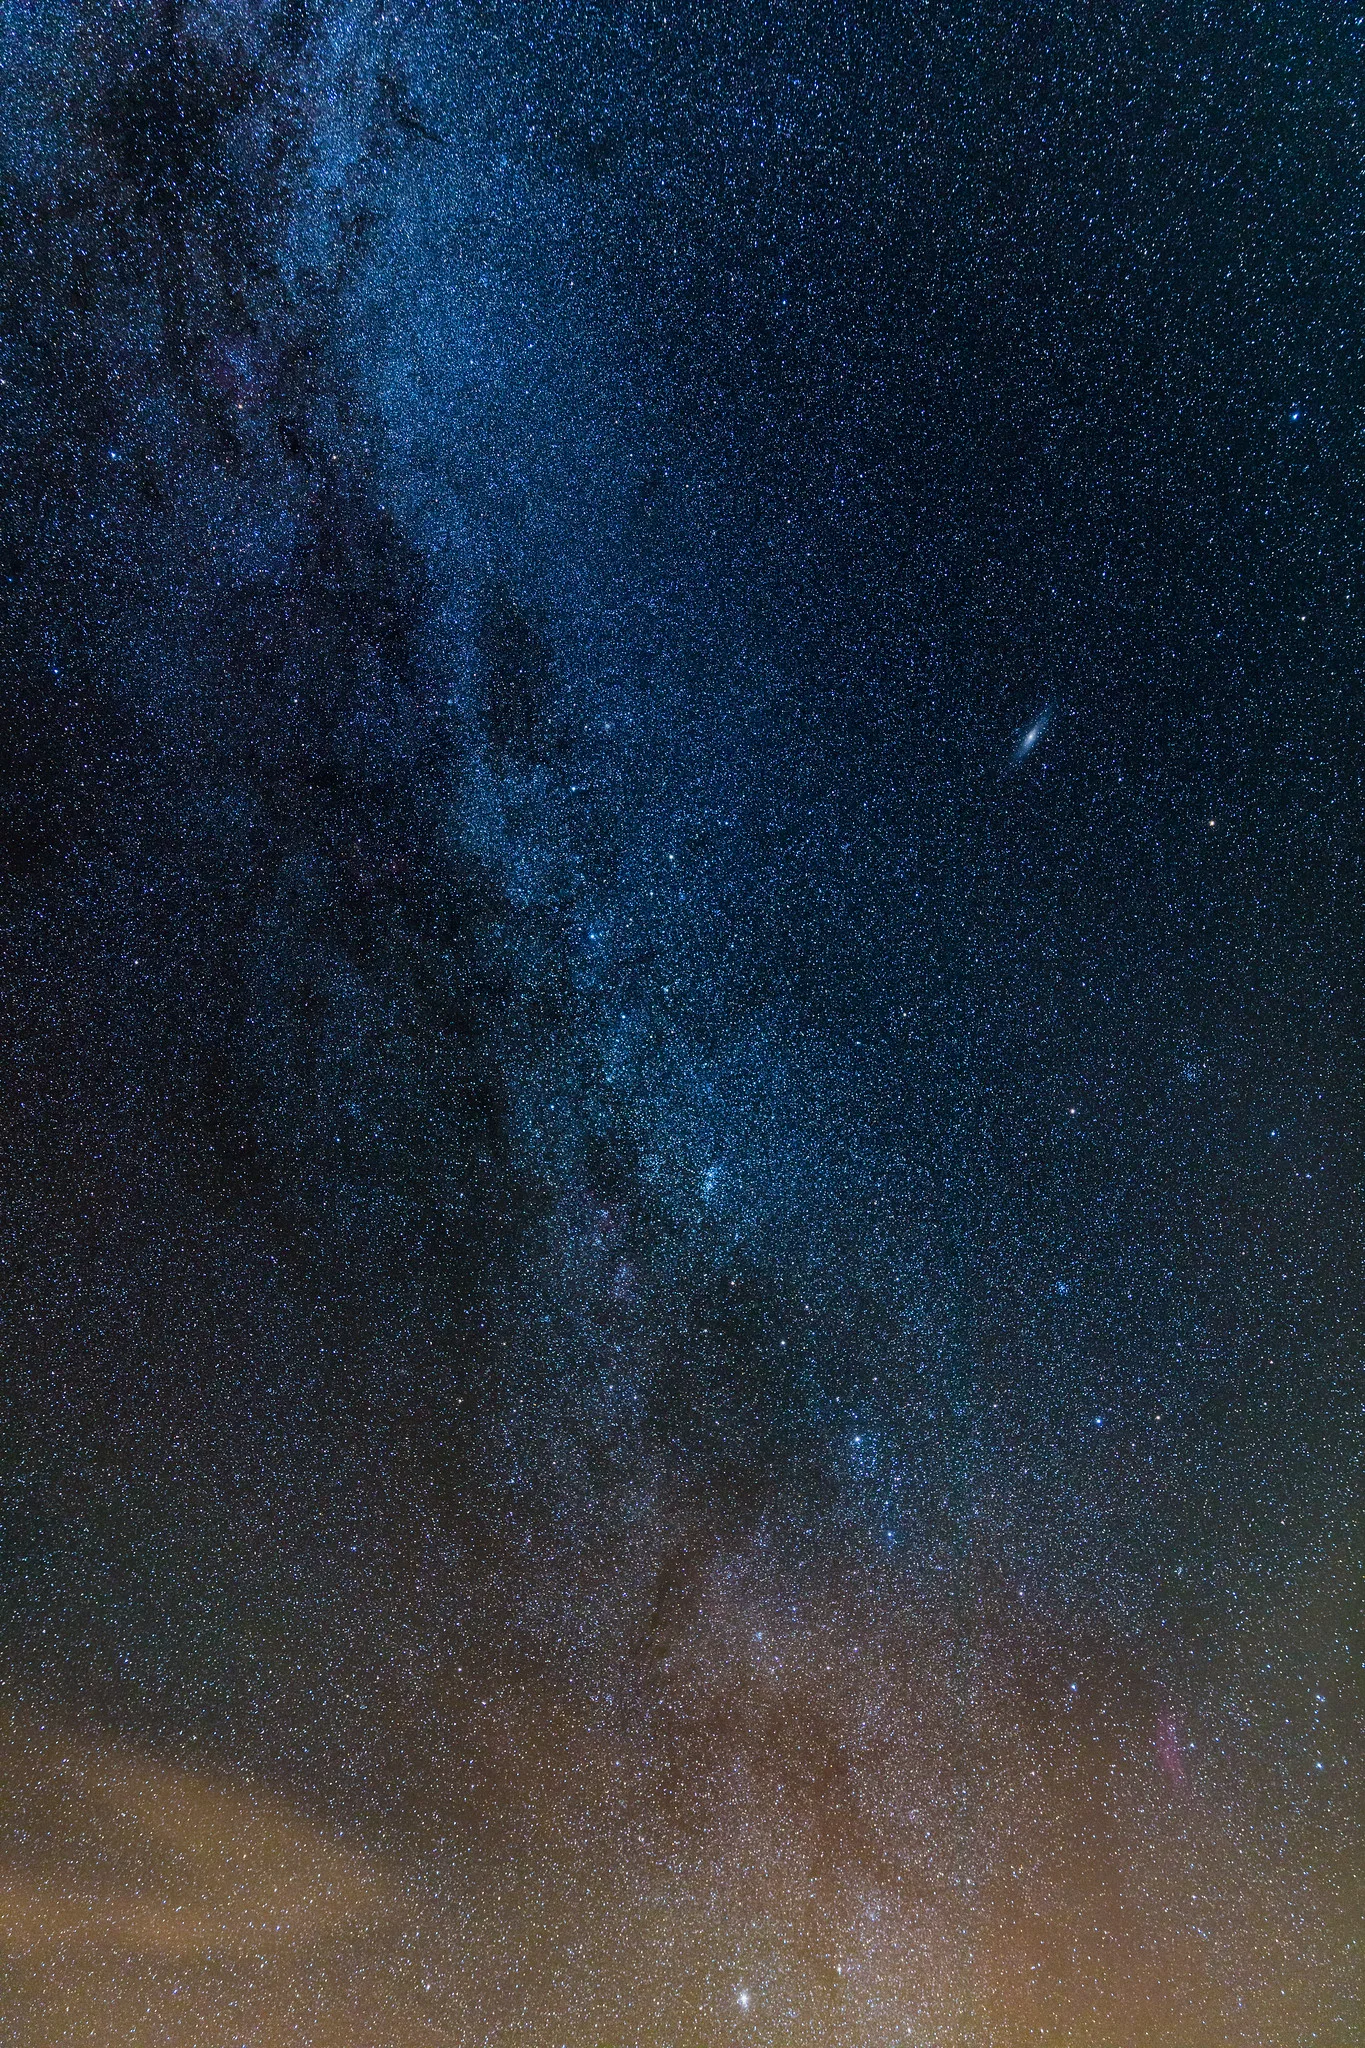
Light pollution is artificial light that brightens the night sky, hiding stars and adding an orange or grey glow to night photos. To reduce it, travel away from towns to a darker location, shoot on nights around the new moon, point your camera away from the brightest glow, and keep exposures short enough that the sky does not wash out. In editing, adjust white balance to remove the orange cast and use gradient tools to even out the glow near the horizon. You can also use light pollution creatively, as warm glow behind a landscape.
If you have ever tried to photograph stars from a town or city, you know the problem. Your eyes see a handful of stars, and the photo shows an orange or grey sky with even fewer. The Milky Way, which should stretch across the sky like a cloud of light, is nowhere to be seen.
That glow is light pollution, and it affects almost everyone who lives near streetlights, buildings and roads. The good news is that you do not need a perfectly dark sky to enjoy night photography. Understanding light pollution helps you find better places, choose better nights, and get the most out of whatever sky you have.
This guide is for beginners. It explains what light pollution is, how to measure it, how to find darker skies, how to set your camera, how to reduce it in editing, and how to use it creatively. There is a 10-minute exercise and an FAQ at the end.
What light pollution is
Light pollution is the brightening of the night sky by artificial light. Streetlights, building lights, car parks, signs and homes send light upward and sideways. That light bounces off particles in the air, such as dust and water droplets, and scatters back down. The result is a glowing dome over every town and city, called sky glow.
Sky glow does two things to your photos:
- It hides faint stars. A bright background drowns out dim stars and the Milky Way, just as you cannot see a torch beam in daylight.
- It adds colour. Older streetlights give a strong orange glow. Newer white lights give a more neutral grey or bluish glow.
There are other forms of light pollution too. Glare is harsh light shining directly into your eyes or lens. Light trespass is light spilling where it is not wanted, such as a neighbour’s floodlight in your shot. All of them affect night photography.
How much light pollution do you have?
Astronomers use a simple 1 to 9 scale called the Bortle scale to describe how dark a sky is.
- Class 1 to 2: Truly dark skies, far from any town. The Milky Way is so bright it casts faint shadows. Rare and remote.
- Class 3 to 4: Rural skies. The Milky Way is clearly visible, with some glow on the horizon from distant towns. Excellent for photography.
- Class 5 to 6: Suburban skies. The Milky Way is faint or only visible overhead. Photos are possible with care.
- Class 7 to 9: City skies. Only the brightest stars and planets are visible. The Milky Way is invisible.
Light pollution maps, available online and in astronomy apps, show these levels in colour. Darker colours mean darker skies. Look at one for your area and you will usually find a darker spot within reach.
You can also test your sky by eye. On a clear, moonless night, let your eyes adjust for 20 minutes away from lights, then count stars and look for the Milky Way. The more you see, the darker your sky.
Finding darker skies
The single most effective way to beat light pollution is to go somewhere with less of it. You do not always need to travel far.
- Move away from the town. Every step further from a town makes the sky darker. Even 30 minutes of driving can make a big difference.
- Put hills or mountains between you and the city. A ridge blocks some of the glow.
- Go higher. Higher locations are above some of the haze that scatters light.
- Look for protected areas. Many parks and reserves have designated dark sky areas with rules to limit lighting.
- Coasts can help. Looking out over open water often gives a dark horizon, because there are no towns in that direction.
Always think about safety. Scout locations in daylight, tell someone where you are going, bring a torch with a red light setting, and respect private property and park rules.
Choosing the right night
Even in a dark place, some nights are better than others.
The moon
A bright moon is natural light pollution. A full moon brightens the whole sky and hides the Milky Way, even in remote places. For stars, the best nights are around the new moon, when the moon is not visible, or times when the moon has set or not yet risen. The guide to planning around the sun, moon and tides explains how to check moon times.
That said, moonlight is wonderful for lit landscapes. See moonlight photography if you want to work with it rather than against it.
The weather and air
- Clear nights are essential. Low clouds reflect city light and make sky glow much worse.
- Dry, clean air scatters less light. Nights after rain or a cold front can be especially clear.
- Haze, smoke and humidity scatter more light and make the glow bigger.
The time of night
Wait until astronomical twilight has ended, when the sun is far enough below the horizon that the sky is fully dark. Late at night, some lights also switch off, which can slightly improve the sky.
Shooting direction matters
Light pollution is not even across the sky. It is brightest near the horizon in the direction of towns, and darkest straight overhead and in directions away from towns.
- Point the camera away from the nearest big town if you can.
- Include more sky higher up and less of the bright horizon.
- Use foreground objects, such as hills, trees or rocks, to hide the brightest part of the glow.
- Check a light pollution map to see which direction the biggest glow comes from.
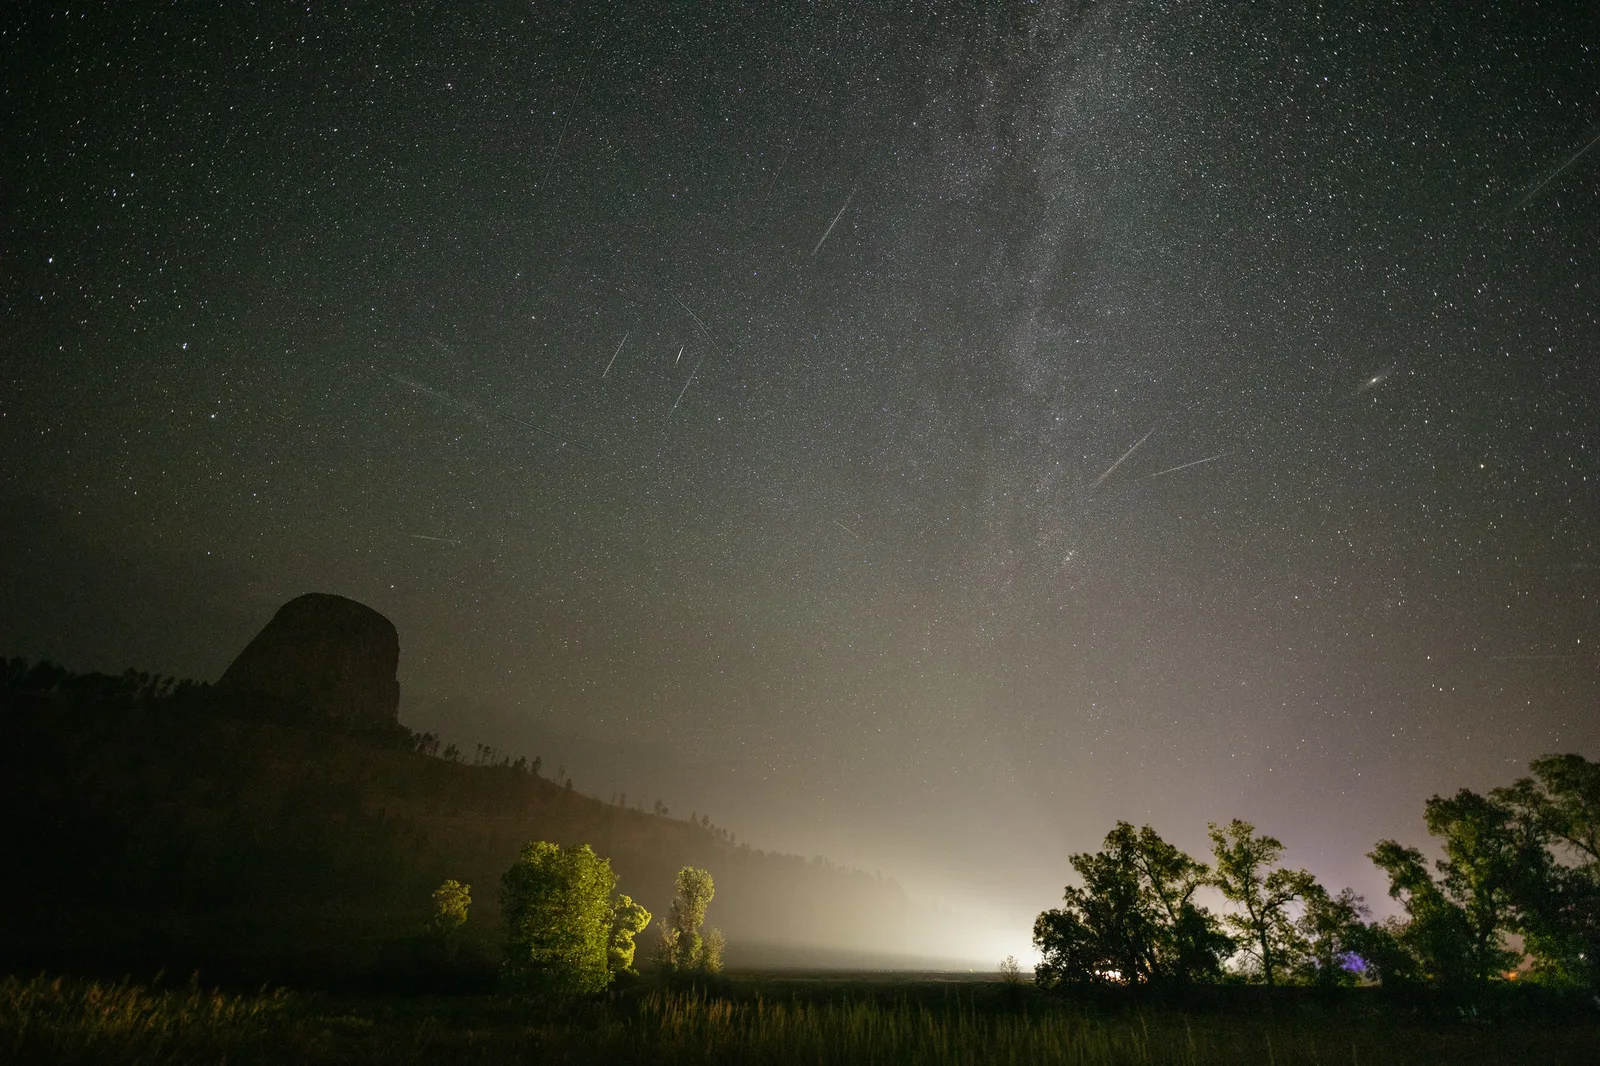
In the photo of Devils Tower below, a patch of artificial light glows near the trees on the horizon, while the sky above stays dark enough for the stars to show. Composing so the glow is small in the frame keeps the attention on the sky.
Camera settings in light-polluted skies
Settings for star photos are usually a wide aperture, high ISO and long shutter speed. Under light pollution, you often need to dial back a little, because the bright sky fills up the exposure faster.
Starting points with a wide-angle lens on a tripod:
- Aperture: as wide as your lens allows, such as f/2.8 or wider.
- Shutter speed: 10 to 20 seconds with a wide lens. Longer exposures make stars streak.
- ISO: start around 1600 in a darker suburban sky and lower it if the sky looks too bright. In a truly dark sky, you can go higher.
- White balance: try a cooler setting to reduce orange glow, or shoot RAW and set it later.
- Focus: manual focus on a bright star, using the screen magnified.
The key idea: watch the histogram. In a dark sky, the histogram sits toward the left. In a light-polluted sky, it moves right quickly. If the sky looks washed out and the histogram is far to the right, reduce ISO or shutter speed.
The guides to night camera settings and how to photograph stars cover the details.
Shoot RAW
A RAW file gives you much more control over white balance and brightness later, which is exactly what you need to fight light pollution in editing.
Take several frames
Taking several identical frames lets you combine them later to reduce noise, the grainy speckles that appear at high ISO. This is an advanced step, but worth knowing about as you progress.
Light pollution filters
Some filters are designed to block the specific colours of light given off by certain types of streetlight while letting starlight through. They can help with older orange streetlights, which produce light in narrow colour bands.
However, many newer white lights produce light across a wide range of colours, and filters cannot remove them without also blocking starlight. Filters also add a colour cast that needs correcting. For beginners, travelling to a darker place helps far more than any filter.
Reducing light pollution in editing
Editing cannot add stars that were never captured, but it can greatly reduce the look of sky glow.
- Set white balance. Cool the photo and adjust tint until the sky looks a natural dark blue or neutral rather than orange. A colour temperature around 3,500 to 4,500 K is a common starting point for night skies, but trust your eyes.
- Reduce the glow with a gradient. Use a graduated filter or mask over the bright horizon. Lower exposure and reduce warmth in that area only.
- Adjust contrast carefully. Lowering the blacks and adding some contrast makes stars stand out. Too much makes the sky blotchy.
- Use dehaze gently. A small amount can cut through glow. Too much creates harsh, unnatural colour.
- Reduce noise. High ISO night photos benefit from noise reduction, but keep stars sharp.
Some editing apps have tools that remove uneven gradients automatically, which can help a lot with light pollution. Use them gently and compare with the original.
Using light pollution creatively
Light pollution is not always the enemy. Sometimes it adds to a photo.
- Warm horizons. A soft orange glow behind a dark landscape and a blue starry sky can look beautiful. It tells the story of the place.
- Lit clouds. Low clouds lit from below by a city can look dramatic in a long exposure.
- Cityscapes at night. In towns, embrace the lights. Shoot lit streets, buildings and reflections instead of the stars. The guide to night street photography has ideas.
- Light painting the foreground. In a suburban sky, a gently lit foreground can balance a sky with fewer stars.
- Telling the story. A photo showing a dark sky fading into city glow can be a powerful image about light pollution itself.
Light pollution with a phone
Phones with night or astro modes do surprisingly well under suburban skies. Put the phone on a small tripod or a steady surface, let it take its long exposure, and avoid pointing it at bright lights. In editing, cool the warmth slider to reduce orange glow. You will not get the same detail as a dedicated camera, but you can capture bright stars and some sky glow. The guide to night photography with a phone covers it.
Helping reduce light pollution
Many photographers become supporters of dark skies once they discover how much is hidden. Small actions help: use shielded outdoor lights that point downward, choose warmer, dimmer bulbs outdoors, and turn off lights you do not need. Some communities work together to protect local dark skies, which benefits wildlife and people as well as photographers.
Protect your night vision
Your own eyes are part of the story. In the dark, your pupils widen and your eyes slowly become more sensitive, a process called dark adaptation. It takes 20 to 30 minutes to fully adjust, and a single glance at a bright screen or white torch can undo most of it.
Why this matters for light pollution photography:
- With adapted eyes, you can see which parts of the sky are darkest and where the Milky Way is, which helps you compose.
- You can judge the real brightness of the sky glow instead of guessing.
- You can move around safely without needing bright light.
Simple habits help:
- Use a torch with a red light setting. Red light affects night vision much less than white.
- Turn your camera screen brightness down, and turn on any night or red display mode if your camera has one.
- Dim your phone screen fully, or switch on a red filter in its settings.
- Avoid looking at car headlights or nearby lamps.
Remember that your camera screen will look much brighter than it really is when your eyes are adapted. A photo that seems well exposed may actually be too dark. This is another reason to check the histogram rather than trusting the screen.
Common mistakes
- Shooting straight toward the town. Turn around and shoot the darker part of the sky.
- Ignoring the moon. A bright moon hides the Milky Way. Check moon times first.
- Exposing too long. In bright skies, long exposures wash out. Reduce ISO or shutter speed.
- Leaving white balance on auto. Skies may turn murky orange. Set it manually or fix it in RAW.
- Over-editing the sky. Heavy dehaze and contrast create blotchy, unnatural colours.
- Not letting your eyes adjust. Phone screens and white torches ruin night vision. Use red light.
- Giving up too soon. Even a suburban sky can produce good photos with careful settings and editing.
- Forgetting safety. Scout in daylight and tell someone where you are.
Try this: a 10-minute sky comparison
Pick a clear night without a bright moon. Set up a camera on a tripod in your garden, street or local park.
- Minute 1 to 2: Set the widest aperture, ISO 1600, a 15-second exposure, manual focus on a bright star, and RAW.
- Minute 3 to 4: Take one photo pointing toward the brightest glow on the horizon.
- Minute 5 to 6: Turn around and take one photo pointing the opposite way.
- Minute 7: Take one photo straight overhead.
- Minute 8: Compare the three on the screen and look at the histograms.
- Minute 9 to 10: Note which direction was darkest and how many stars you see in each.
Later, repeat the same test from a darker location. Comparing the two sets will show you exactly how much light pollution was hiding.
Frequently asked questions
What is light pollution in photography?
Artificial light that brightens the night sky, hiding faint stars and adding an orange or grey glow to night photos.
Can I photograph stars from a city?
You can capture bright stars, planets and the moon, but the Milky Way is usually invisible from cities. Travel to a darker area for star-filled photos.
What is the Bortle scale?
A 1 to 9 scale describing sky darkness, from 1 for truly dark skies to 9 for bright city centres.
Do light pollution filters work?
They help with some older orange streetlights but much less with modern broad-spectrum white lights. A darker location helps far more.
How do I remove orange glow from night photos?
Shoot RAW, cool the white balance, and use a gradient mask over the horizon to darken and cool the glow.
When is the best time to avoid light pollution?
Clear, moonless nights after astronomical twilight ends, ideally in dry, clean air.
Found a dark sky and want to make the most of it? Learn how to photograph stars.
Want to include a landscape under the stars? Try astro landscape photography.