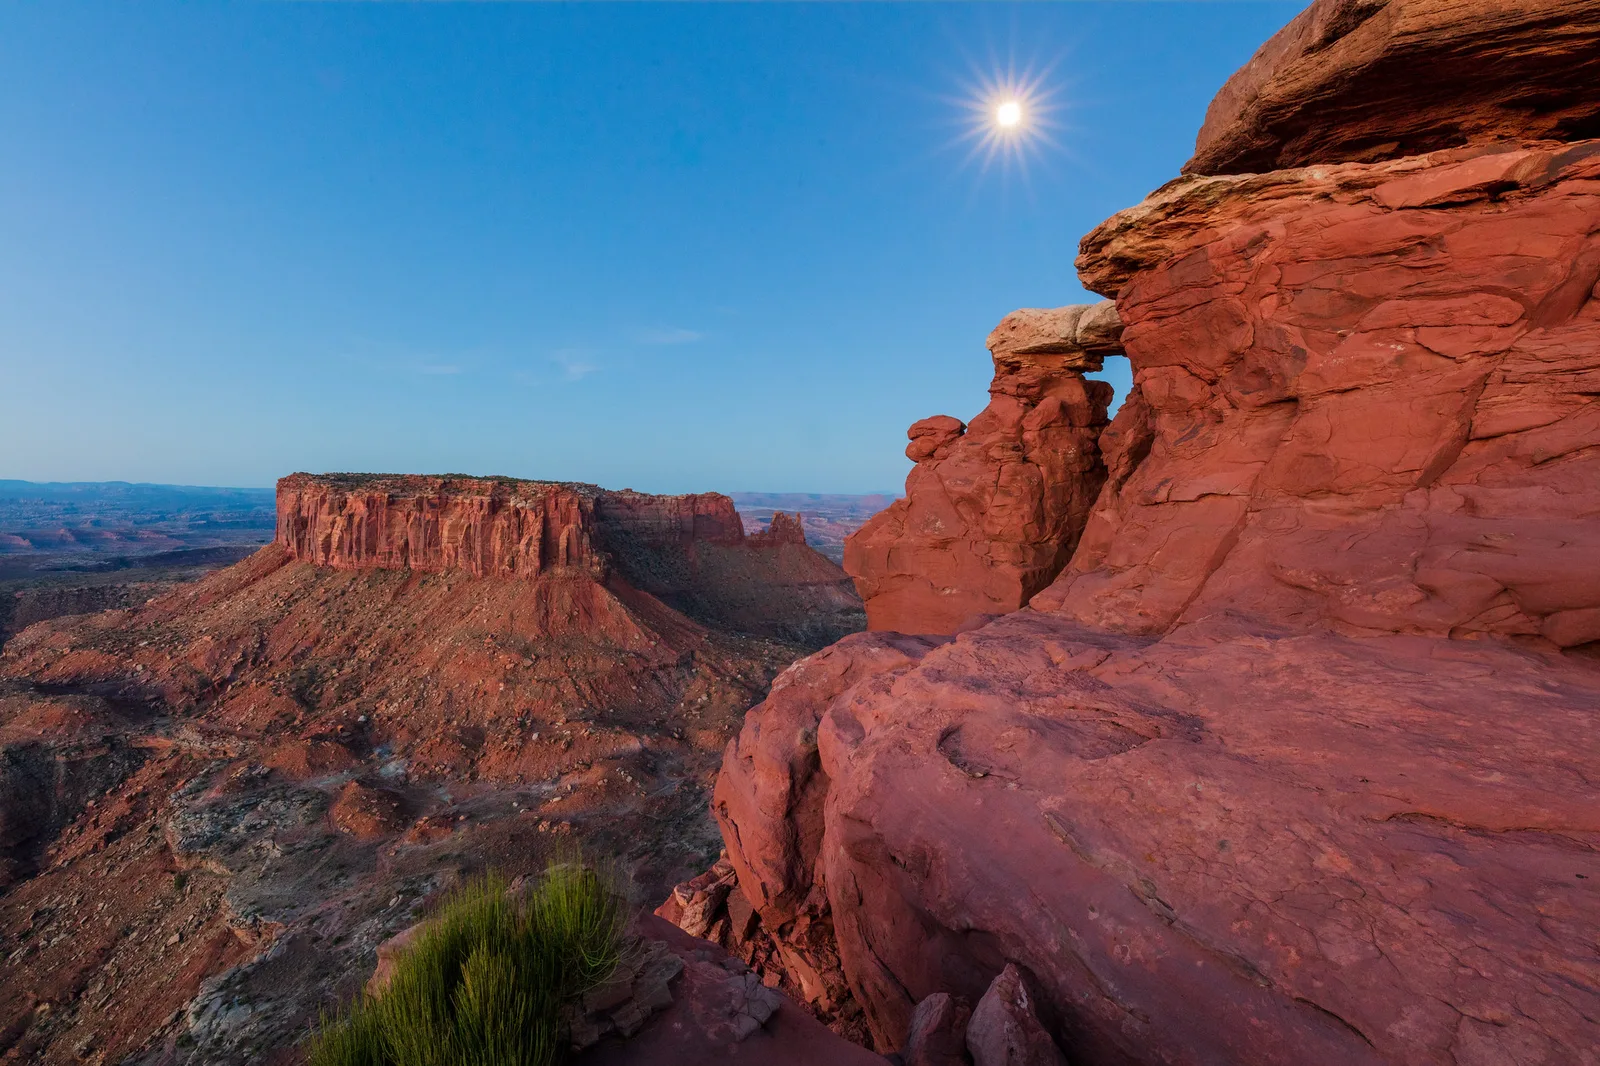
Moonlight photography means using the light of the moon, rather than the moon itself, to light a landscape at night. Put your camera on a tripod, focus manually on a distant bright point, and start with a wide aperture around f/2.8 to f/4, ISO 400 to 1600 and a shutter speed of 5 to 30 seconds, then adjust using the histogram. Go out when the moon is between a quarter and full and fairly low in the sky, and set a cool white balance so the photo still looks like night. The result is a scene that glows with soft, silvery light and shows stars overhead.
Many beginners think night photography needs a dark, moonless sky. That is true for photographing the Milky Way. But moonlit nights are a wonderful, and often overlooked, chance to make calm, almost dreamlike landscape photos. The moon is a giant natural light that lets you see and photograph details that would be pitch black on a moonless night.
This guide explains how moonlight differs from daylight, when to go out, the gear you need, camera settings step by step, how to focus in the dark, how to keep the photo looking like night, composition ideas and how to edit the result.
What moonlight really is
The moon does not make its own light. Moonlight is simply sunlight bouncing off the moon’s surface. That means it has much the same color as sunlight, only far dimmer. A full moon is many thousands of times fainter than the sun.
Your eyes switch to night vision in the dark and see moonlit scenes in shades of gray and blue. A camera does not. With a long enough exposure, the camera collects enough light to show colors, so a moonlit photo can look surprisingly like daytime, with blue skies and warm rocks, but with stars in the sky. Learning to control that “daytime” look is a big part of moonlight photography.
When to go: moon phase and position
Moon phase
The moon’s phase is how much of it is lit, from new moon (dark) to full moon (completely lit). It changes through a cycle of about a month.
- New moon: no moonlight. Best for the Milky Way, not for moonlit landscapes. See astrophotography.
- Crescent: a little light, enough to show outlines of the land while plenty of stars remain.
- Quarter to three quarters: a lovely balance. The land is well lit, and brighter stars still show. Many photographers find this the sweet spot.
- Full moon: the most light. Landscapes are bright and easy to photograph, but fewer stars show, and the sky can look pale.
Moon height and direction
Just like the sun, the moon gives the nicest light when it is low in the sky. Low moonlight comes in from the side, creating shadows that show the shape of hills, rocks and trees. A moon high overhead gives flat, even light.
The direction matters too. With the moon behind you, the landscape in front is evenly lit. With it to one side, you get more shape and texture. With it in front of you, you get silhouettes and a bright sky.
The moon rises and sets at a different time every day. Moon phase calendars and planning apps show when it rises, when it sets and where it will be. The guide on planning around the sun, moon and tides explains how to use them.
Weather
Clear skies give the brightest light and the most stars. A few scattered clouds can look beautiful, lit up by the moon and blurred into soft streaks by a long exposure. Thick cloud blocks the moonlight.
Gear you need
- A camera with manual controls. Any interchangeable-lens camera works. Many compact cameras and phones work too; see the phone section below.
- A sturdy tripod. Essential. Exposures will be several seconds long. The guide on how to use a tripod covers setting it up firmly.
- A wide-angle lens, ideally with a wide maximum aperture like f/2.8 or f/4. A wide-angle lens takes in lots of sky and land. Kit lenses work too, with slightly longer exposures.
- A remote release or the self-timer. Pressing the button shakes the camera. Use a remote or the 2-second self-timer.
- A headlamp with a red light setting. Red light helps you see camera controls without ruining your night vision.
- Warm clothes and spare batteries. Nights get cold, and batteries drain faster in the cold.
Camera settings, step by step
Use manual mode (M), because the camera’s automatic modes get confused in the dark. Here is a reliable starting recipe.
- Turn off image stabilization when the camera is on a tripod. Some systems can actually add blur when the camera is perfectly still.
- Set the file type to RAW. RAW files keep more detail in shadows and make color and brightness much easier to adjust later.
- Set aperture wide: f/2.8 to f/4 if your lens allows, or the smallest number it goes to.
- Set ISO: start at 800. Use 400 under a bright full moon and up to 1600 or 3200 under a thin crescent.
- Set shutter speed: start at 15 seconds.
- Take a test shot and look at the histogram. If the graph is bunched on the left, the photo is too dark: use a longer shutter speed or higher ISO. If it is pushed hard to the right, it is too bright.
- Adjust and repeat until the land shows detail and the brightest areas are not pure white.
Starting settings by moon phase
| Moon | Aperture | ISO | Shutter speed |
|---|---|---|---|
| Full, fairly high | f/4 to f/5.6 | 400 | 5 to 15 seconds |
| Three quarters or half | f/2.8 to f/4 | 800 | 10 to 25 seconds |
| Crescent | f/2.8 | 1600 to 3200 | 15 to 30 seconds |
These are only starting points. Every scene is different, so trust the histogram more than the table.
Stars as points or trails
The Earth turns, so stars slowly move across the sky. With exposures of more than about 15 to 25 seconds on a wide lens, stars start to stretch into short lines. If you want sharp points, keep the shutter speed shorter and raise the ISO a little. If you like the look of long streaks, you can go the other way with very long exposures or many shots stacked together. The star trails calculator helps you work out the timing.
How to focus in the dark
Autofocus usually struggles at night. Manual focus is the reliable answer.
- Switch the lens or camera to manual focus.
- Turn on live view so the image shows on the rear screen.
- Point the camera at the moon, a bright star, or a distant light such as a streetlight on a far hill.
- Zoom in on the screen as far as it goes.
- Turn the focus ring slowly until the point of light is as small and sharp as possible.
- Leave the focus ring alone and recompose. Some photographers put a small piece of tape on the ring to stop it moving.
Do not just turn the ring to the infinity mark. Many lenses focus slightly past infinity, so the mark is not always exact. See infinity focus for why.
Another trick: focus before it gets fully dark, at dusk, then leave the focus alone.
Keeping it looking like night
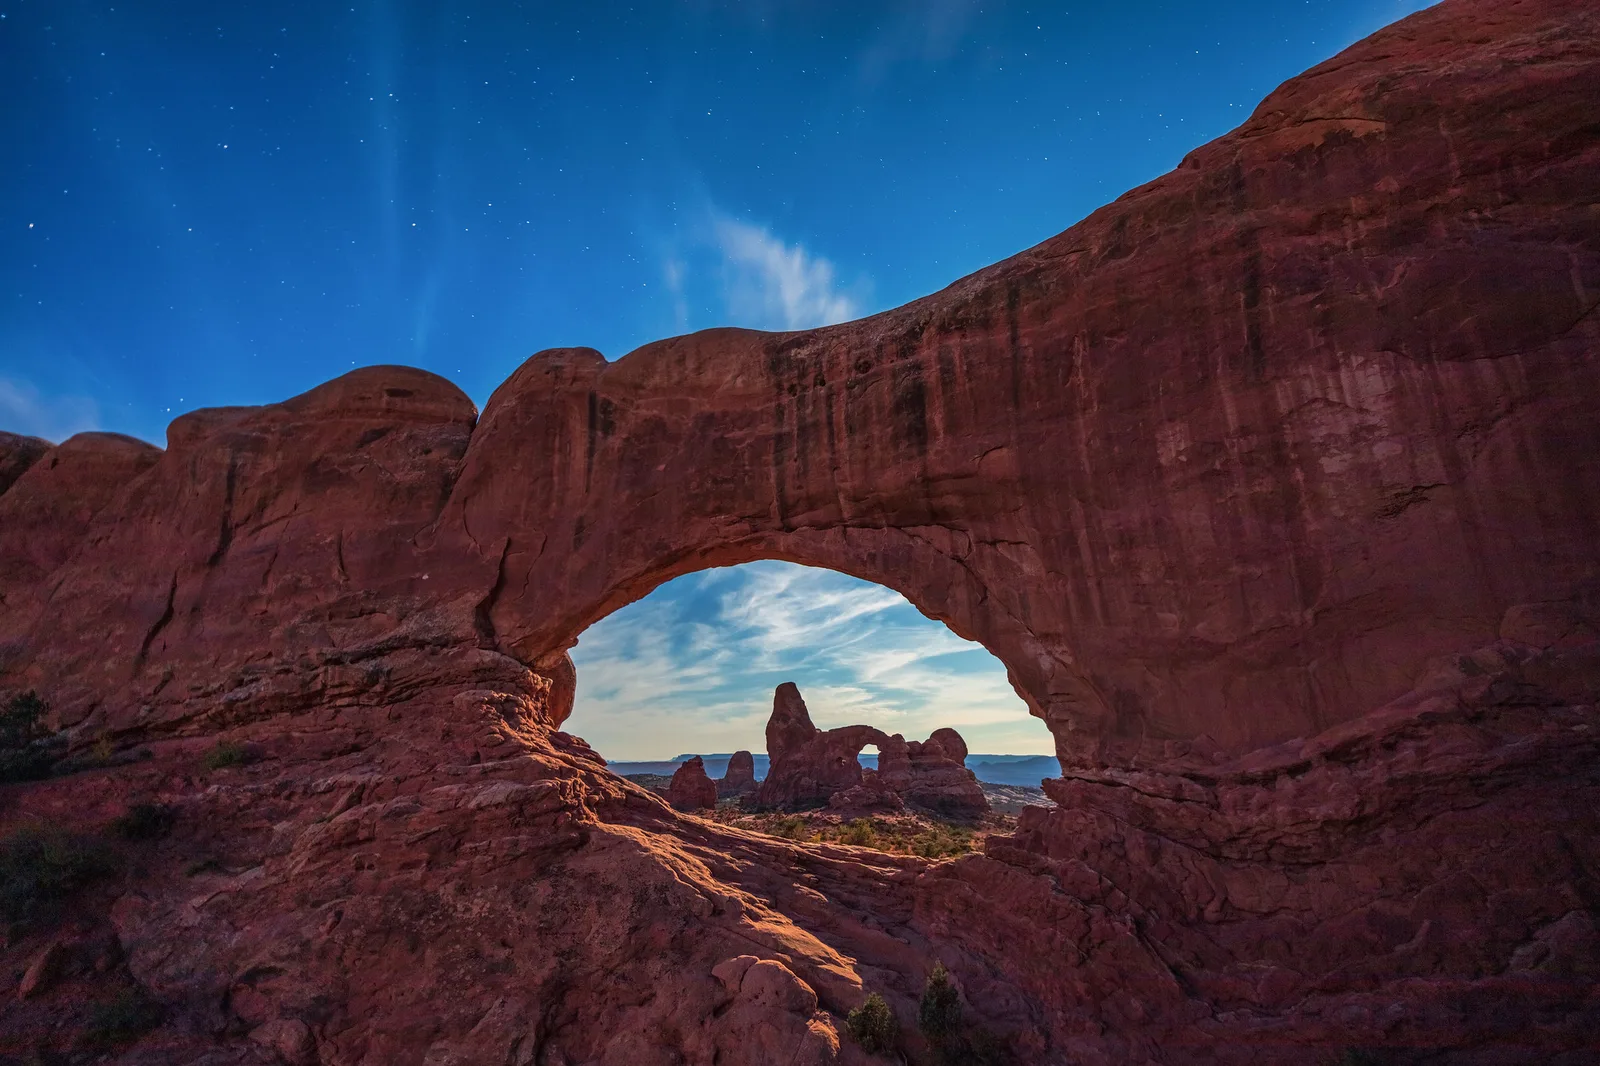
The biggest surprise for beginners is that a well exposed moonlit photo can look like a sunny day. Here is how to keep a sense of night.
- Expose a little darker. Aim for a photo that is slightly darker than “correct”. Let shadows stay deep.
- Cool the white balance. Set white balance to around 3500 to 4200K, or the “tungsten” or “fluorescent” preset. This adds a blue tone that people read as night. The page on color temperature explains the numbers.
- Include stars. Stars instantly say “night”, even if the land looks bright.
- Keep some contrast. Do not lift every shadow in editing. Dark areas help the mood.
Composition ideas
- Strong shapes. Rock formations, lone trees, old buildings and mountain ridges look great with moonlight on them and stars above.
- Water. Lakes and the sea reflect moonlight in a shimmering path, and long exposures turn waves into a smooth mist. See long exposure photography.
- Snow. Snow reflects moonlight beautifully and brightens the whole scene.
- Clouds. Drifting clouds become soft streaks in long exposures.
- The moon in the frame. Including the moon itself is tricky, because it is far brighter than the land and usually turns into a white blob, sometimes with a starburst if you use a narrow aperture. That can look lovely. If you want detail in the moon, it needs a separate, much shorter exposure; see how to photograph the moon.
- A foreground. As in daytime landscapes, something interesting close to the camera adds depth.
Want to try the darkest nights for the Milky Way instead? How to photograph stars covers dark skies, settings and planning.
Moonlight with a phone
Many phones have a night mode that can capture moonlit scenes surprisingly well, especially when the phone is resting on something solid.
- Put the phone on a small tripod or a wall. Night mode can then use much longer exposures.
- Tap the screen to set focus on a distant point.
- Lower the brightness slider a little to keep it looking like night.
- If your phone has a pro or manual mode, try a long shutter speed and moderate ISO as described above.
The guide on night photography with your smartphone has more detail.
Editing moonlit photos
- Set the white balance to a cool, blue-tinted look if you did not in the camera.
- Adjust exposure so the land shows detail but still feels dark.
- Bring down highlights to recover the brightest rocks, snow or clouds.
- Add a little contrast and clarity to help the shapes stand out.
- Reduce noise gently. Long exposures and high ISO add grain, especially in the sky. See why photos look grainy.
- Remove hot pixels. Bright colored dots from long exposures can be removed with the spot removal tool, or reduced in camera with long exposure noise reduction.
Staying safe at night
- Scout the location in daylight first, so you know the path and any hazards.
- Go with a friend, or tell someone where you are going and when you will be back.
- Carry a headlamp, a charged phone, water and warm layers.
- Watch your footing near cliffs, water and uneven ground.
- Respect private property, closing times and any rules about being out after dark.
A simple plan for your first moonlit night
A little planning turns a cold, confusing night into a relaxed and rewarding one. Here is an easy plan to follow.
The day before
Check the moon phase and the times the moon rises and sets. Pick a night when the moon is at least half full and will be fairly low in the sky an hour or two after it rises, or before it sets. Check the weather for clear or partly cloudy skies. Choose a location you already know, close to home, with an interesting shape such as a lone tree, a barn, a rocky hill or a lake shore.
At sunset
Arrive while there is still some light. Set up the tripod, compose your shot and focus while you can still see. Take a few photos during blue hour, the deep blue time just after sunset; it is a lovely bonus and helps you check your composition.
After dark
Once the sky is fully dark and the moon is up, switch to your moonlight settings. Take a test shot, check the histogram, and adjust. Then try a few variations: a longer exposure, a different white balance, a slightly different angle. Give yourself time; the light changes slowly as the moon climbs.
At home
Look at the photos on a computer the same night or the next day while the scene is fresh in your mind. Note which settings worked best in a notebook or your phone. Next time, you can start from those numbers and spend more time on composition.
Common mistakes
- Going out on a moonless night by accident. Check the moon phase and rise time before you leave.
- Relying on autofocus. Switch to manual focus with live view.
- Overexposing until it looks like day. Keep it a little darker and cooler.
- Forgetting the tripod or the timer. Any shake ruins long exposures.
- Leaving image stabilization on while on a tripod. Turn it off.
- Judging the photo by the rear screen. In the dark, every screen looks too bright. Check the histogram.
- Shooting JPEG only. RAW files are far easier to fix at night.
Try this: a 10-minute moonlit test
On the next clear evening with at least a half moon, step outside to a garden, park or quiet street.
- Minutes 1 to 2: Set up the tripod. Put the camera in manual mode, RAW, f/2.8 to f/4, ISO 800, 15 seconds.
- Minutes 3 to 4: Switch to manual focus, zoom in on live view on a bright star or a distant light, and focus.
- Minutes 5 to 6: Compose with the moon behind or beside you and take a test shot with the self-timer. Check the histogram.
- Minutes 7 to 8: Adjust the shutter speed until the land shows detail. Take one at auto white balance and one at around 4000K.
- Minutes 9 to 10: Compare them. Which feels more like night? Note your favorite settings for next time.
Frequently asked questions
What settings should I use for moonlight photography?
A good start is manual mode, f/2.8 to f/4, ISO 800 and 15 seconds on a tripod, then adjust with the histogram. Use a lower ISO for a full moon and higher for a crescent.
Is a full moon good for night photography?
It is great for lighting landscapes, but it washes out fainter stars. For moonlit landscapes with some stars, a half to three-quarter moon is often best.
Why do my moonlit photos look like daytime?
Long exposures collect so much light that the camera shows colors your eyes cannot see at night. Expose a little darker and use a cooler white balance.
How do I focus at night?
Use manual focus and live view. Zoom in on a bright star, the moon or a distant light, and turn the focus ring until it is a tiny sharp point.
Can I photograph moonlit landscapes with a phone?
Yes. Use night mode with the phone resting on a tripod or solid surface, and lower the brightness slightly to keep the night mood.
Do I need a special lens for moonlight photography?
No. A wide-angle lens with a wide aperture helps, but a kit lens works with slightly longer exposures or a higher ISO.
Ready to try other kinds of night shots? Night photography covers cities, light trails and more after dark.