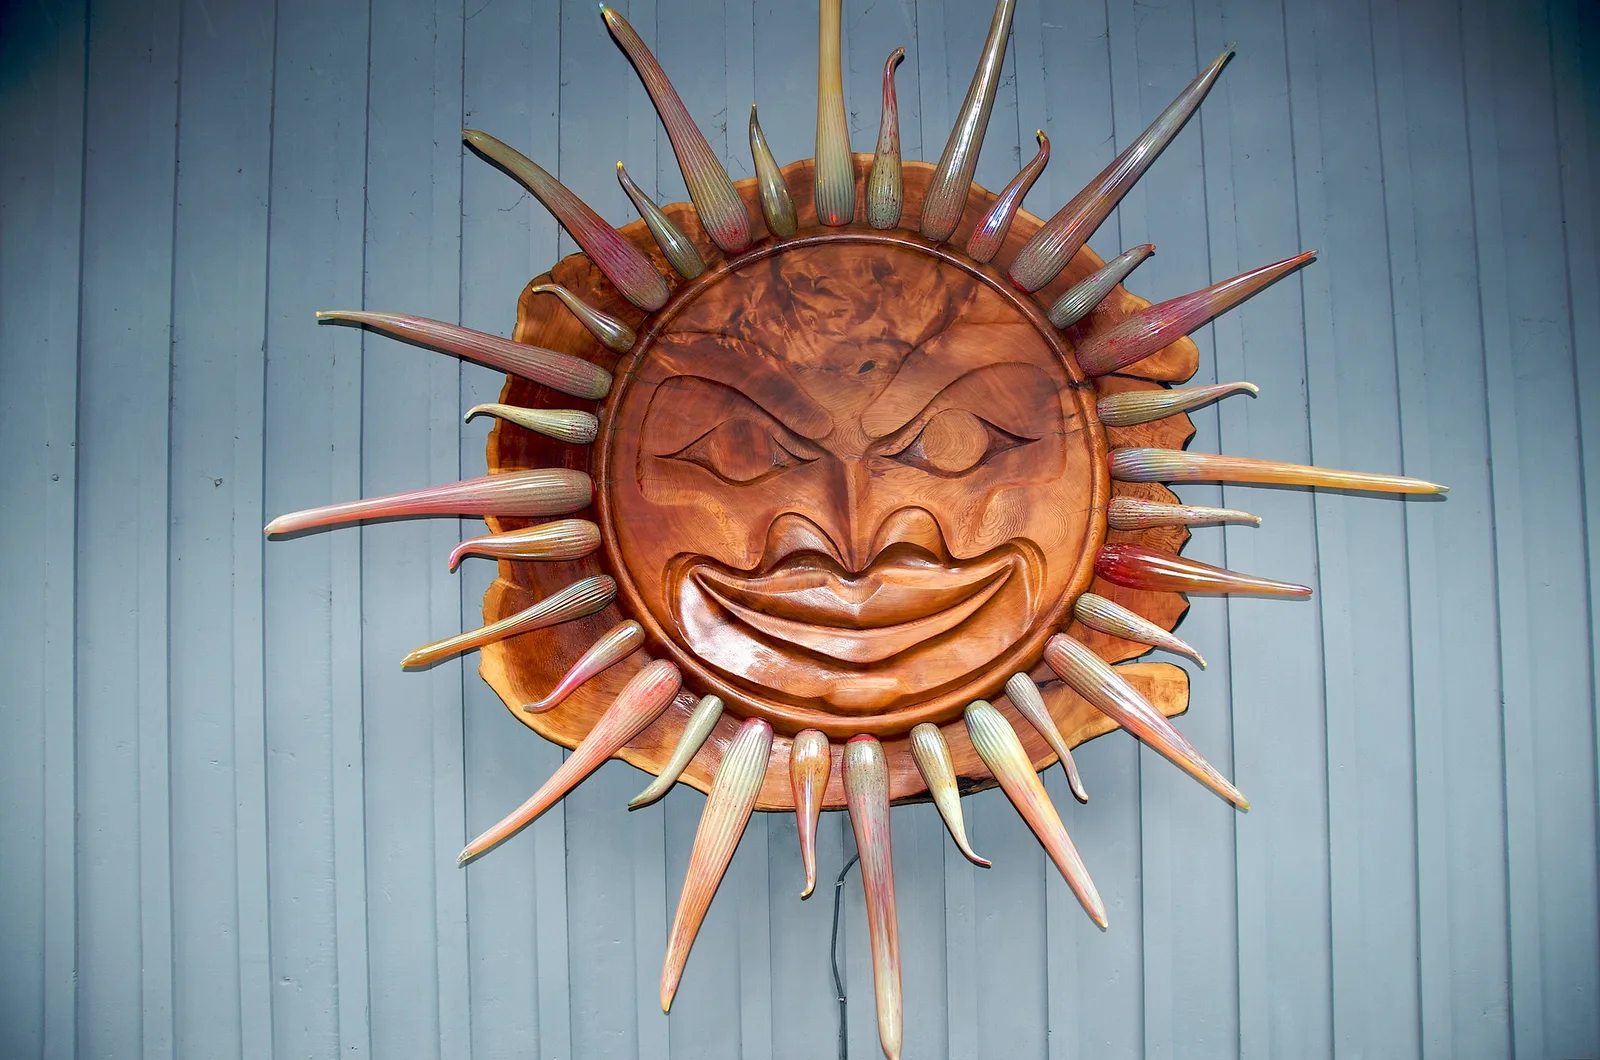
Statues and sculptures are everywhere: bronze figures in city squares, marble saints in old churches, giant steel artworks beside highways, playful pieces in parks and quiet carvings in museum galleries. They make wonderful subjects for beginners because they hold perfectly still, they are full of shape and texture and they change completely with the light and the angle you choose. A sculpture you have walked past a hundred times can become a striking picture with a little thought.
This guide covers why sculptures make great subjects, walking around the work, choosing angles, clean backgrounds, light on stone and metal, showing scale, details and textures, sculptures in their setting, museums and galleries, public art and parks, night and weather, settings, editing and crediting the artist. For flat artwork such as paintings, see the guide to photographing artwork, and for indoor spaces, see the guide to museum and church photography.
Why sculptures make great subjects
Sculptures are three dimensional, which means every step you take changes the picture. That makes them one of the best subjects for learning how angle, light and background work together.
- They hold still. You can take your time with composition, try different settings and come back again in different light.
- They have form. Curves, edges, folds and hollows catch light and shadow in endlessly varied ways.
- They have texture. Polished bronze, weathered stone, rusted steel, carved wood and smooth marble each have their own surface.
- They have expression. Many statues show faces, gestures and emotions that can feel almost alive in a good picture.
- They tell stories. Monuments, memorials and public art speak about history, people and places.
Sculptures are also easy to find. Most towns have at least one statue, memorial or piece of public art, and parks, campuses, gardens and city centers often have many.
Walk around the work
The most important habit with sculpture is to walk all the way around it before you take a single picture. A statue that looks ordinary from the front may be dramatic from the side, and a sculpture that looks cluttered from one direction may stand cleanly against the sky from another.
As you walk, notice how the shape changes, where the light falls, what lies behind the work and where the most expressive view is. Try crouching low and, where it is safe and allowed, looking from a little higher. Many sculptors designed their work to be seen from a particular viewpoint, but there is no single right answer. The best picture is often found a few steps away from where everyone else stands. Come back at another time of day, too, since the light may suit a completely different side of the work in the morning than in the evening.
Choosing angles
The angle you choose changes how a sculpture feels.
- Low angles make statues look powerful and heroic, towering against the sky. They suit monuments and large figures.
- Eye level feels more personal and works well for figures with expressive faces.
- Side views show profiles, gestures and the outline of the form.
- Three-quarter views usually show the most depth and shape, combining front and side.
- Behind can be surprising, showing what the statue is looking at.
For tall statues, shooting from very close and very low with a wide lens can distort the figure, making the head look tiny and the feet huge. Step back and use a longer focal length for more natural proportions. The guide to photography angles explains how viewpoint changes a picture.
Leaving room to look
Statues have a front and a direction, just like people. Leave space in the frame in the direction the figure faces or points, so the picture feels open rather than cramped. The guide to the rule of space explains why this matters.
Clean backgrounds
Backgrounds make or break sculpture pictures. A bronze head against a busy street of signs, cars and windows can disappear, while the same head against clear sky or a dark wall stands out boldly.
- Use the sky. Getting low puts many statues against open sky, which simplifies the frame immediately.
- Find a plain wall. Dark or plain walls behind a statue in a museum or courtyard work beautifully.
- Blur the background. A wide aperture and longer lens soften distracting backgrounds.
- Move your feet. A step or two to the side can remove a lamp post or tree branch growing out of a statue’s head.
The guide to subject separation covers several ways to make a subject stand out from its background.
Light on stone and metal
Light reveals form. Because sculptures are three dimensional, the direction of light changes everything about how they look.
- Side light shows shape and texture best, with highlights on one side and shadows on the other.
- Front light can look flat, hiding the form.
- Backlight creates silhouettes and bright outlines, dramatic for statues against a sunset.
- Soft overcast light shows detail evenly, ideal for pale marble and for dark bronze, which can lose detail in harsh sun.
Different materials need different care. Polished metal and wet stone reflect light and can create bright hotspots; move until the reflections fall where you want them, or use a polarizing filter to reduce glare. White marble can lose detail in bright light, so watch the highlights. Dark bronze can turn into a black shape, so look for light that falls across it. The guide to direction of light explains how the angle of the sun changes a subject through the day.
Want to understand how light direction shapes any subject? The guide to photography lighting covers hard and soft light, angles and color.
Showing scale
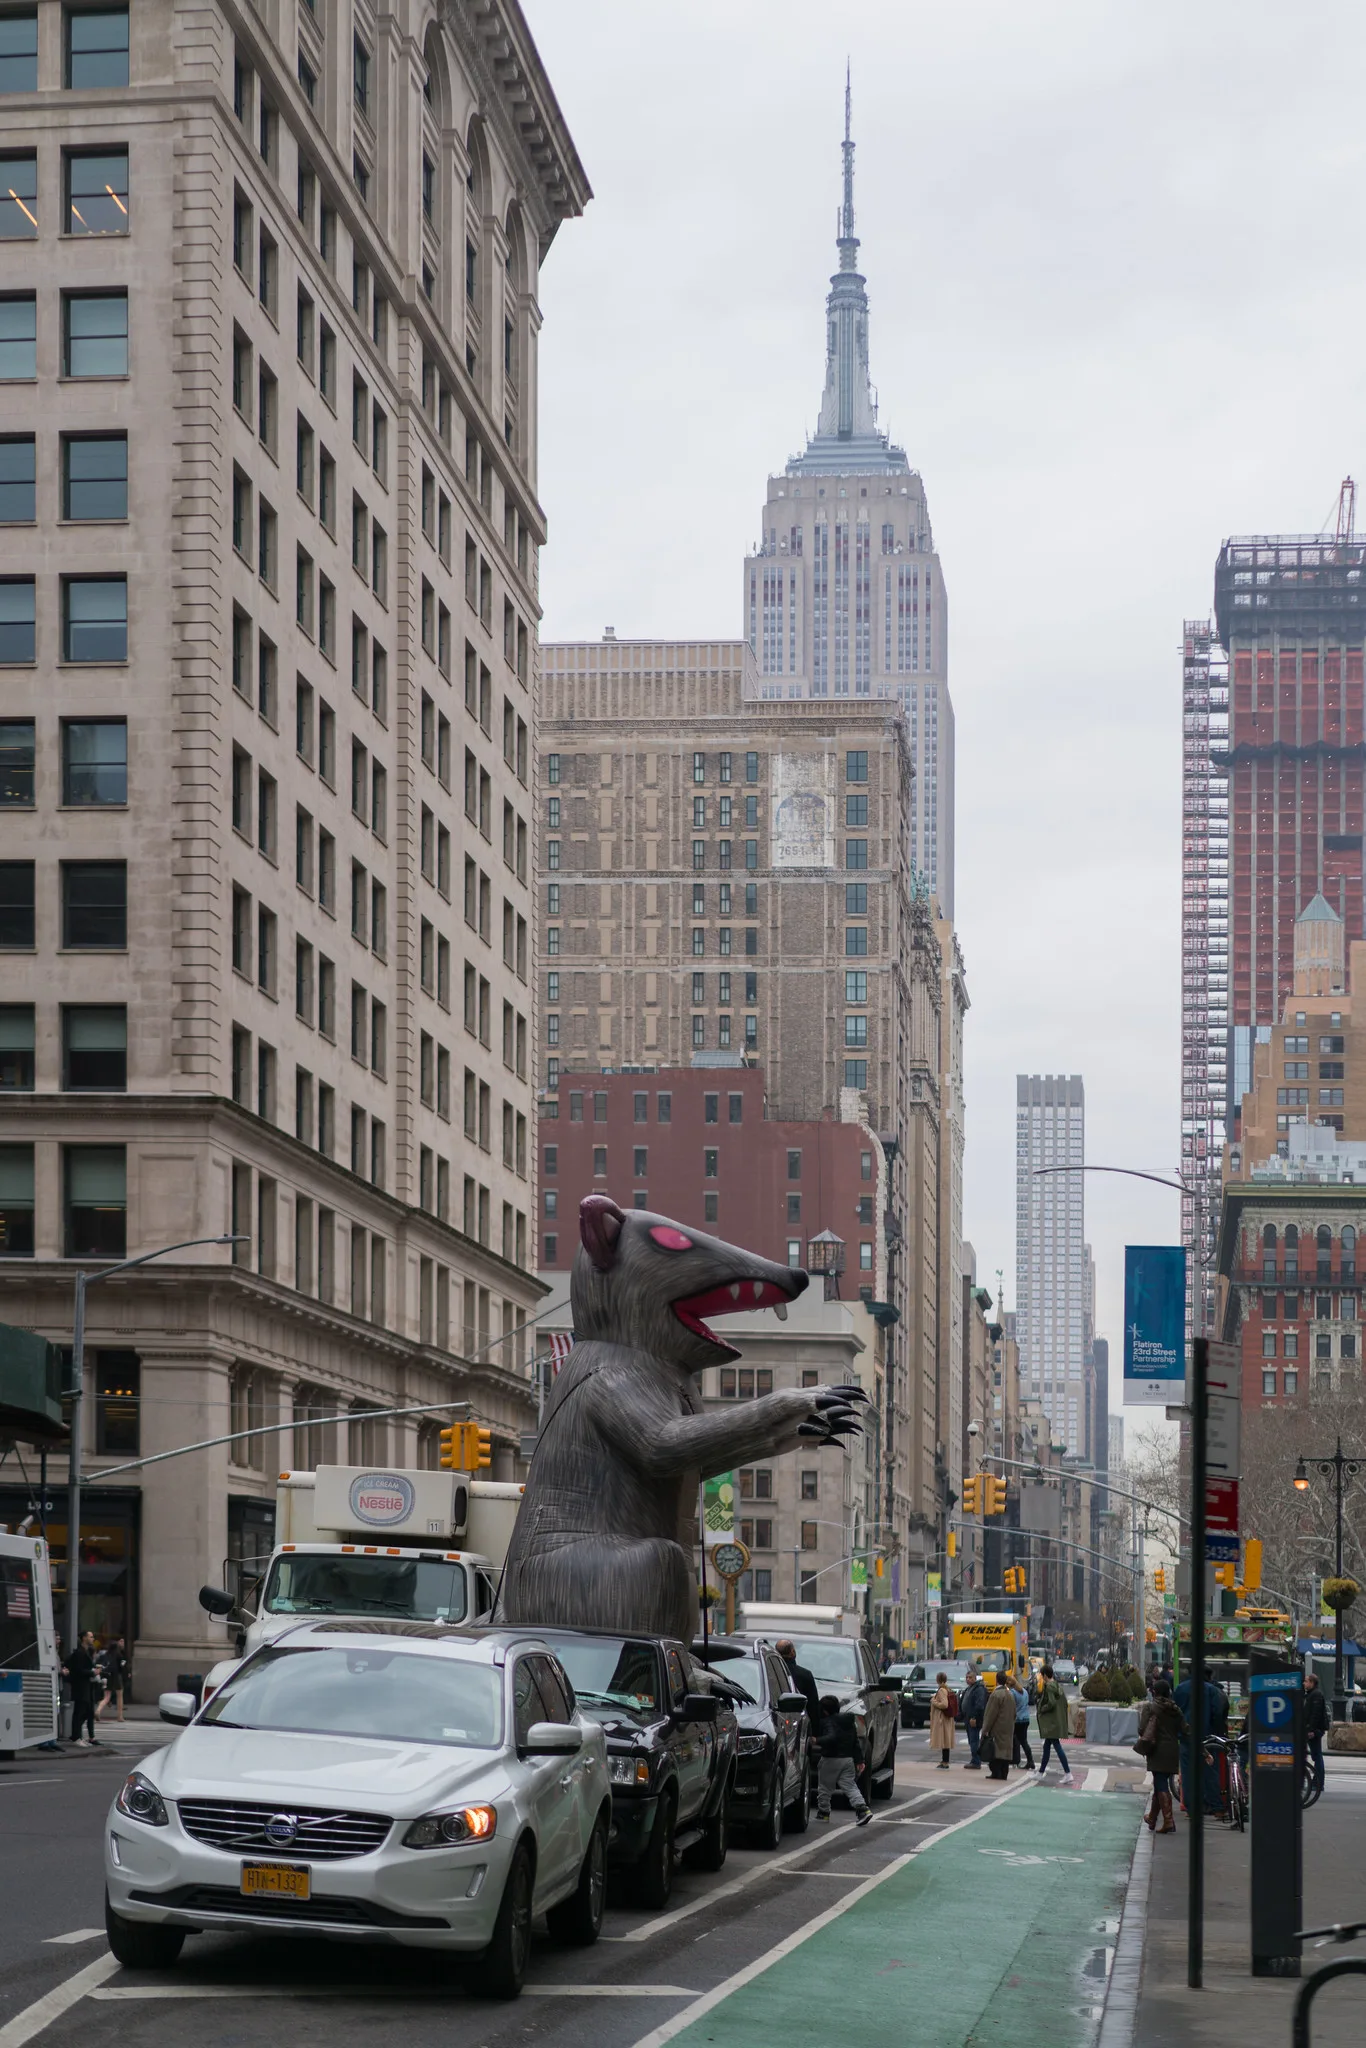
Some sculptures are tiny, others are enormous, and a picture of the work alone often hides its size. Include something familiar for scale: a person walking past, a bench, a car, a tree or a building. A giant artwork beside a street of parked cars, or a towering figure with a small visitor at its feet, makes the size obvious and often adds humor or surprise. The guide to humor in photography explains how scale and setting can make a picture funny.
Details and textures
Sculptures are full of details worth photographing on their own: a carved hand, the folds of stone fabric, a bronze face streaked green by weather, chisel marks in wood, rivets on a steel artwork or moss growing on an old statue. Move in close and fill the frame with one detail. Side light makes texture stand out, and a wide aperture can isolate one part from the rest.
A small set of pictures, with one wide view, one portrait of the main figure and two or three details, tells a fuller story than any single frame. The guide to texture in photography has more ideas for close surfaces.
Sculptures in their setting
Context gives meaning. A memorial in a quiet park, a statue in a busy square, a sculpture on a hillside or a figure on a church facade all belong to their surroundings. Step back to include the place, especially when the setting tells the story.
People add life. Visitors looking up at a statue, children touching a playful sculpture or pigeons perched on a bronze head create moments that make a picture memorable. Keep strangers small or unidentifiable, or ask permission for closer pictures. Look for interactions between the statue and its surroundings, such as a figure that seems to be watching passersby.
Memorials and monuments
Memorials and monuments carry special meaning, and they deserve a thoughtful approach. Spend time reading plaques and inscriptions, and think about what the place is meant to say before you start photographing. Quiet, respectful pictures often work best: a single flower left at the base of a memorial, light falling across engraved names or a statue seen against a calm evening sky. Avoid playful poses or jokes at sites that honor loss, and be mindful of people who may be there to remember someone. When a monument is large, a wide view that includes the surrounding space can show how it shapes the place around it.
Interested in pictures that capture the character of a place? The guide to sense of place photography explains how to show what makes somewhere special.
Museums and galleries
Museums hold some of the finest sculptures in the world, often well lit and placed against plain walls. Check the photography rules first, since some galleries ban photography or flash. Where pictures are allowed:
- Turn off the flash. It flattens form and is often banned.
- Raise the ISO. Gallery light can be dim, so allow a higher ISO for a sharp, hand held picture.
- Use the gallery lighting. Spotlights often show form beautifully. Move around to see how they shape the work.
- Wait for gaps. Visitors move around popular pieces. Be patient and courteous.
- Never touch. Keep a respectful distance and do not lean on plinths.
The guide to museum and church photography covers low light indoors.
Public art, parks and roadside giants
Public art is all around: murals and sculptures in parks, large artworks at city plazas, sculpture gardens and roadside giants along highways. These pieces are made to be seen and often photographed, and many cities publish maps of their public art.
Large outdoor sculptures can be photographed at different times of day and in different seasons. A steel sculpture glowing at sunset, a bronze figure dusted with snow or a sculpture reflected in a pool after rain can make the same work look completely new. Revisit favorites often.
Night, rain and snow
Many statues and public artworks are lit at night, which can transform them. Spotlights from below throw dramatic shadows and make metal glow against a dark sky. Use a tripod where allowed, a low ISO and a longer shutter speed, and expose for the lit sculpture rather than the dark surroundings. Blue hour, just after sunset, often works best, since the sky still has some color behind the work. Rain gives bronze and stone a glossy sheen and deepens colors, while a light coating of snow on a statue’s head and shoulders adds a touch of humor or melancholy. Weather that keeps others indoors often gives you the sculpture to yourself.
A road trip past giant roadside figures makes a fun photo project, as the guide to road trip photography suggests.
Settings for sculptures
- Outdoor statues: f/5.6 to f/8, ISO 100 to 400, focus on the face or main feature.
- Blurred backgrounds: wide aperture and a longer focal length.
- Museums: no flash, higher ISO, a fast enough shutter speed for hand holding.
- Night: tripod where allowed, low ISO, longer shutter speeds.
- Lens: a standard zoom for most work, a short telephoto for tall statues and details and a wide angle for sculptures in their setting.
Editing sculpture photos
Keep editing natural. Straighten verticals on tall statues and buildings, balance bright skies and darker sculptures and add a little contrast or clarity to bring out form. Black and white suits many sculptures, emphasizing shape, light and texture over color. Avoid heavy sharpening that creates halos around edges against the sky.
Curious about converting sculpture pictures to monochrome? The guide to black and white photography explains how to see in tones.
Credit and respect
Sculptures are someone’s creative work. When sharing pictures, mention the artist and title if you know them, and be careful about using pictures of artwork for commercial purposes, since artists and owners may hold rights to the work. Treat memorials respectfully, since they often honor people and events that matter deeply to others. Never climb on statues for a picture, and follow any rules about touching or flash.
Common mistakes
- Shooting only from the front. Walk around and try several angles.
- Cluttered backgrounds. Move until the sculpture stands against sky, a plain wall or a soft blur.
- Things growing out of heads. Watch for poles and branches behind the figure.
- Flat front light. Look for side light to show form.
- Distorted proportions. Step back and zoom in rather than shooting tall statues up close with a wide lens.
- No sense of scale. Include a person or familiar object.
- Using flash in museums. It flattens form and is often banned.
Try this: a 10-minute sculpture walk
Find a statue or sculpture nearby and give yourself ten minutes:
- Minutes one to three: walk all the way around it without shooting. Note the best background and the direction of light.
- Minutes four to seven: make three pictures from three different angles: low, side and three-quarter.
- Minutes eight to ten: make one close detail and one wide picture that shows the sculpture in its setting.
At home, compare the angles and notice how much the same sculpture changes. Choose your favorite, then think about what made it work: the light, the background or the angle. That lesson carries over to every subject you photograph.
Frequently asked questions
What is the best light for photographing statues?
Side light shows shape and texture best. Overcast light is ideal for pale marble and dark bronze, which can lose detail in harsh sun.
How do I photograph a tall statue without distortion?
Step back and use a longer focal length, keeping the camera as level as possible, and straighten verticals when editing.
Can I photograph sculptures in museums?
Often, but check the rules first. Many museums allow photography without flash or tripods.
How do I make a statue stand out from a busy background?
Get low to put it against the sky, find a plain wall or use a wide aperture and longer lens to blur the background.
Should I credit the sculptor?
Yes, where you can. Mention the artist and title when sharing, and be careful about commercial use.
Can I photograph statues with a phone?
Yes. Walk around the work, get low to use the sky as a background and avoid the widest lens when standing close to tall figures.
For terms such as focal length, aperture, depth of field and polarizing filter, see the photography glossary.