To photograph museums, churches and other dim interiors without flash or a tripod, check the rules first, then brace the camera against something solid, use a wide lens with image stabilization, open the aperture and accept a high ISO. A sharp photo with some noise is always better than a clean, blurred one. For bright windows and stained glass, expose for the glass or bracket a quick handheld burst, and for ceilings and domes, center yourself and point straight up.
Know the rules before you raise the camera
Museums and places of worship set their own rules, and those rules differ from one building to the next, sometimes from one room to the next. Checking takes a minute and saves you from being asked to leave or, worse, from causing real offense.
- Is photography allowed at all? Many museums and churches allow it; some ban it entirely, and many ban it in particular rooms, for particular exhibits (loaned works are a common case) or during services. Look for signs at the entrance and in each room, and check the visitor information before you go.
- Flash. Flash is banned in a great many museums and churches. Even where it is allowed, it bounces straight back off glass and varnish and flattens the atmosphere you came to capture. Turn it off completely, including any focus-assist light, before you go in.
- Tripods, monopods and selfie sticks. These are commonly banned inside or need a permit, because they block walkways and can damage objects. Plan to work handheld.
- Photo fees and permits. Some buildings charge a small fee for photography, and most require permission for commercial or professional shoots.
- Publishing. Photographing a work for your own memories is one thing; publishing or selling images of artworks that are still in copyright, or of a private collection, may need permission. Copyright law varies by country, so if you plan to use images commercially, check with a lawyer where you live.
If a guard or staff member asks you to stop, stop. The rule may exist for reasons you cannot see, from conservation to security to the wishes of the people who worship there.
Handheld bracing: become your own tripod
Most blur indoors comes from the camera moving during the exposure, not from the subject. Every technique below reduces that movement, and combined they can buy you several extra stops of slow shutter speed.
- Hold it properly. Left hand under the lens, elbows tucked against your chest, camera to your eye rather than held out at arm’s length. The eyepiece gives a third point of contact, which a rear screen cannot.
- Lean on something. A pillar, a wall, a door frame or the end of a pew turns your body into a much steadier platform. Press your shoulder or the side of the camera against it.
- Sit or kneel. Seated in a pew with your elbows on your knees, you are far steadier than standing.
- Rest the camera on something. A railing, a ledge or the top of a pew back can hold the camera itself, where touching is allowed. A folded scarf or glove under the lens levels it and protects surfaces.
- Breathe and squeeze. Exhale slowly and press the shutter gently at the bottom of the breath, rather than jabbing it.
- Shoot bursts. Take three to five frames in continuous mode. The first is often the least sharp because your finger just pressed the button; one of the later frames usually comes out sharper.
- Use the self-timer when the camera is resting. If the camera is sitting on a ledge, a 2 second timer means your hand is not touching it when the shutter opens.
Straps can help too: pulling the neck strap tight against your neck while pushing the camera forward adds tension that damps small movements.
Settings for dim interiors
An interior lit by windows and a few lamps is typically many stops darker than the street outside. You have three dials to play with, and each has a limit.
Shutter speed and focal length
The traditional starting point for handheld sharpness is a shutter speed of at least 1 divided by the focal length (1/25 second at 24mm, 1/100 at 100mm), adjusted for your sensor’s crop factor. Wider lenses are much easier to hold still, because the same small wobble covers a smaller share of a wide field of view. That is one reason wide angles suit interiors so well: you can use a slower shutter speed at 20mm than at 70mm with the same steadiness.
Image stabilization
Image stabilization, in the lens or the camera body, counteracts your hand movement and can let you shoot several stops slower than the 1/focal length guideline. With a wide lens, stabilization and good bracing, exposures around 1/4 to 1/2 second are often achievable, but the limit varies by person and camera. Find yours: shoot a detailed subject at progressively slower speeds, check each at full magnification, and note where the keepers stop.
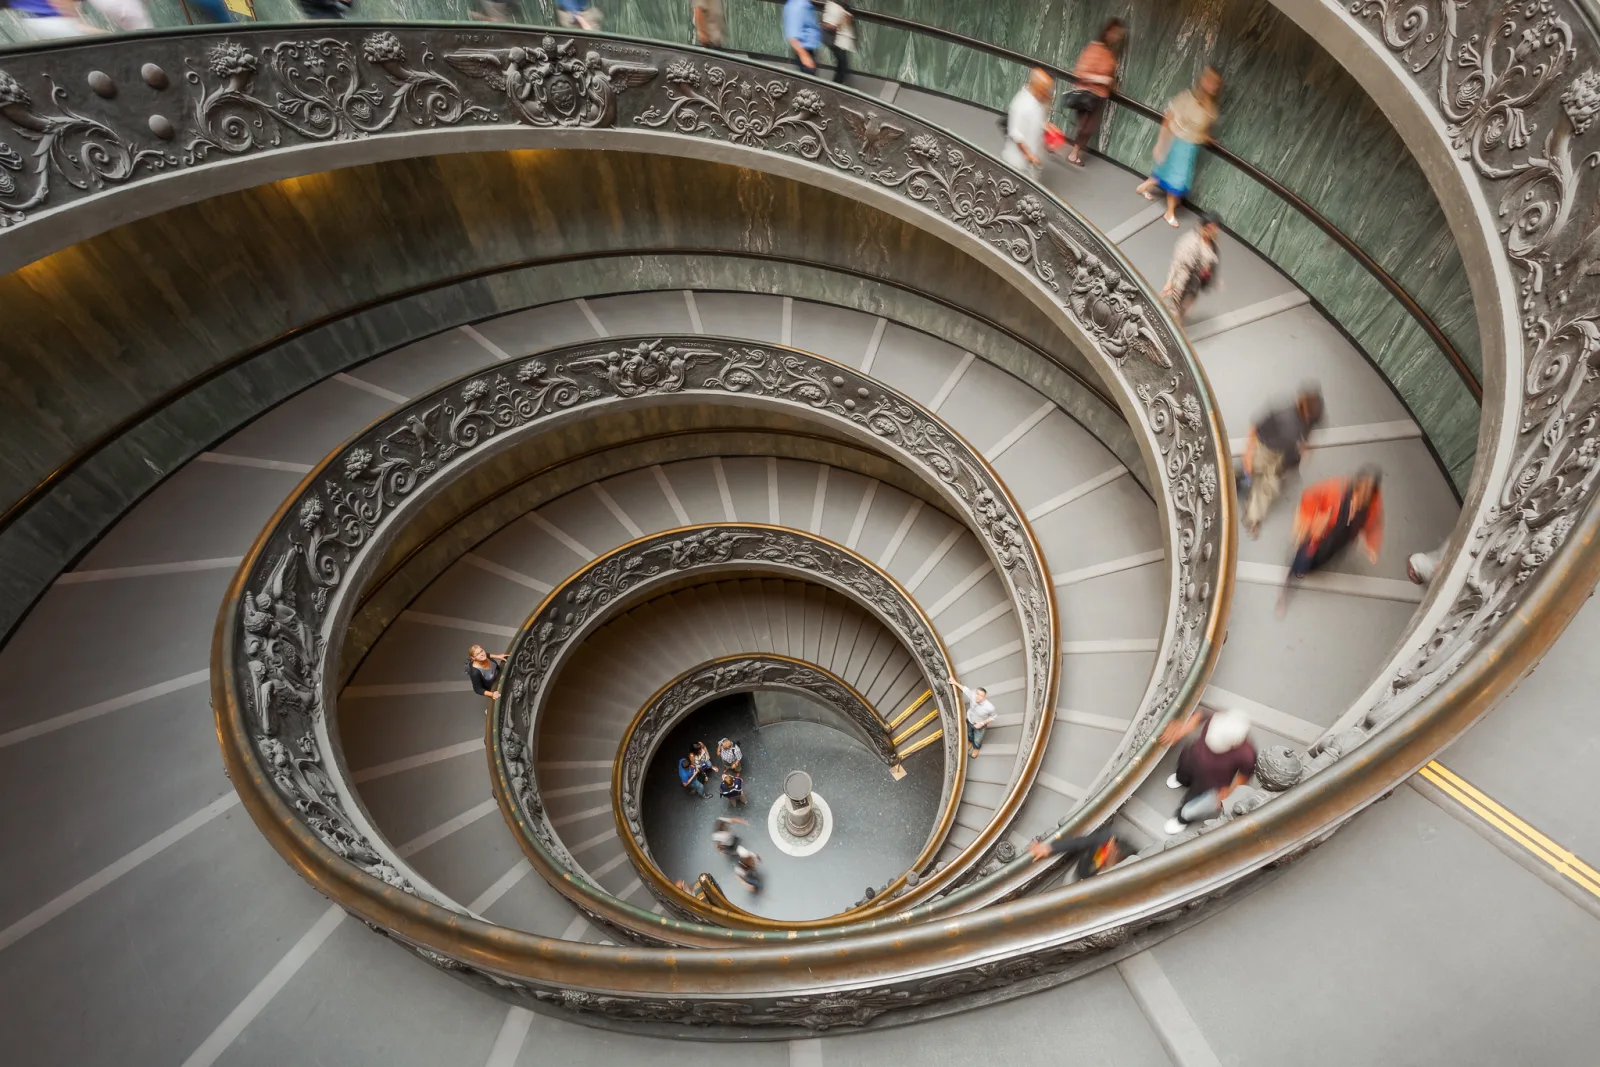
Stabilization only steadies the camera. It does nothing for people walking through the frame, who will blur at slow speeds. That can look good (a sharp building with ghostly visitors) or bad (a smeared face in the foreground), so decide which you want.
Aperture and ISO
Open the aperture as far as you are comfortable with: f/2.8 to f/4 on a zoom, or wider on a fast prime. At wide focal lengths, even f/2.8 gives plenty of depth of field for most interior scenes when you focus a few meters into the room.
Then raise the ISO until the shutter speed is safe. ISO 3200 to 6400 is often necessary in churches and museums, and modern sensors handle it far better than older ones. Noise is fine grain that can be reduced in editing; blur from a slow shutter cannot be fixed. Raising ISO in camera is usually at least as clean as shooting darker at a lower ISO and brightening afterward, so there is nothing to gain by holding it down.
A practical recipe: aperture priority or manual mode, aperture wide open, auto ISO with a minimum shutter speed set to what you can hold (for example 1/30 at 24mm with stabilization), and a maximum ISO you find acceptable. Shoot raw so you can correct white balance, because interiors mix warm lamps, cool daylight and sometimes candles.
Stained glass and bright windows
A window with daylight behind it can be many stops brighter than the stone around it, often far more than a sensor can record at once. No single exposure holds both, so you have to choose, or combine several frames.
Expose for the glass
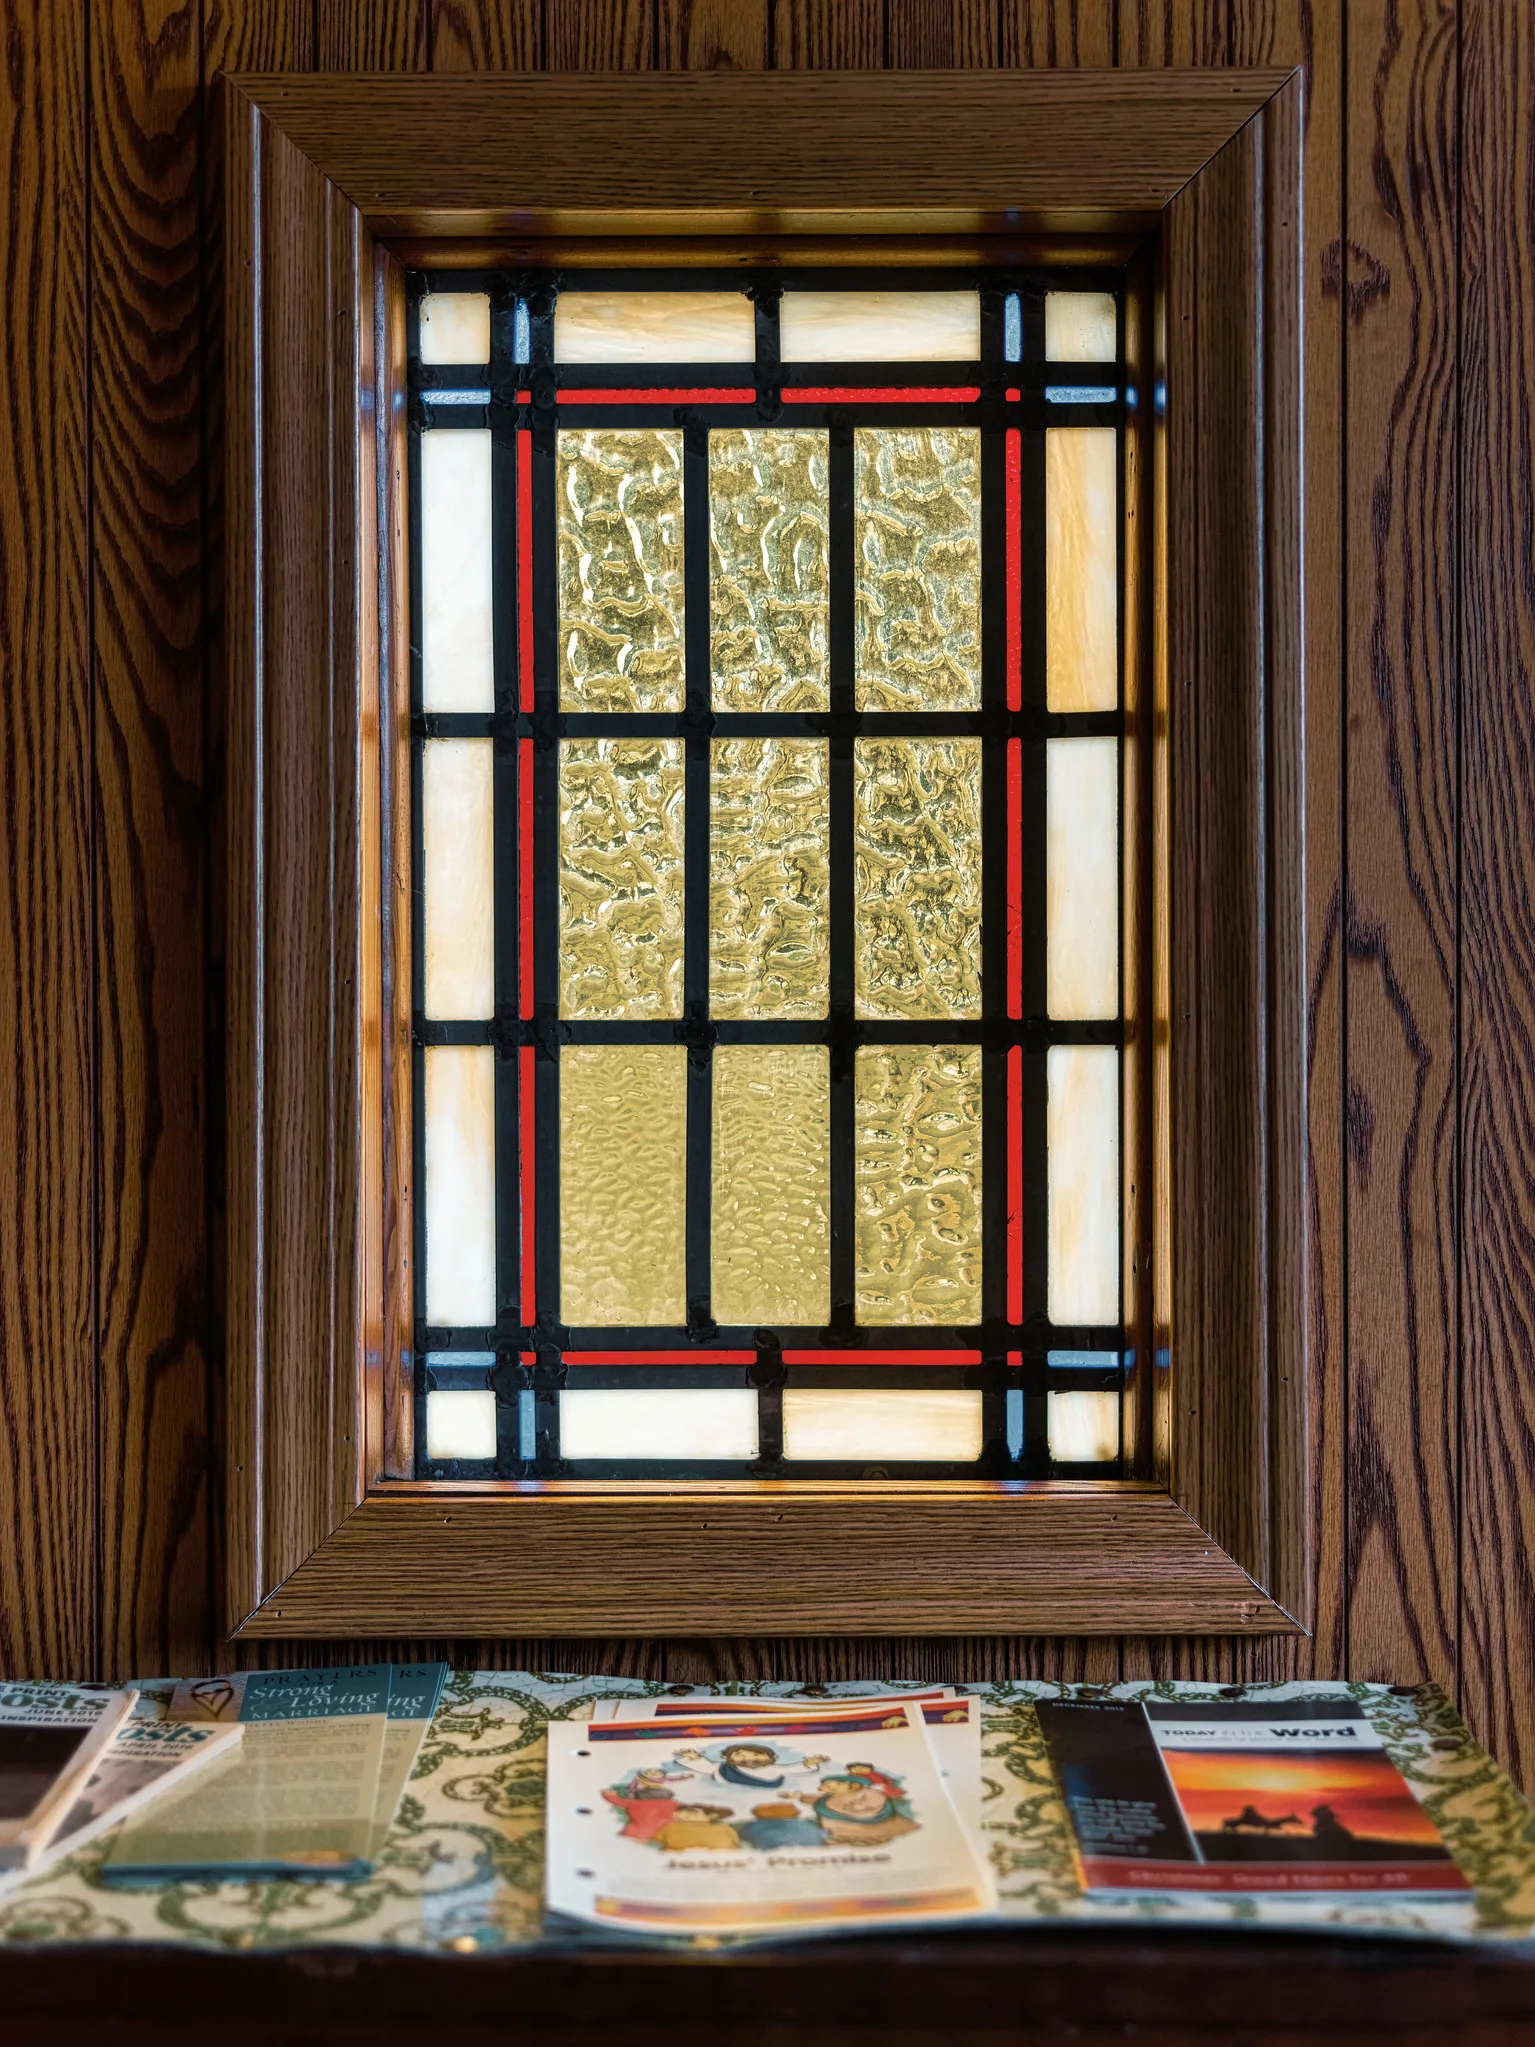
If the window is the subject, expose for it. Spot meter on the glass, or dial in negative exposure compensation until the highlight warning disappears from the brightest panes. The colors come out rich and saturated, and the stonework falls to near black, which frames the window naturally. Blown glass cannot be recovered later, so protect it.
- Get square to it. Standing straight in front of a window keeps its tracery straight. Shooting up at a high window makes it taper; step back and use a longer focal length to reduce the angle.
- Use a longer lens for detail. Individual panels of a large window make excellent frames of their own.
- Watch the sun. Glass facing the sun glows most strongly, and on a sunny day colored patches of light may fall on the floor or pillars. That light moves through the day, so time your visit to the window you want.
Bracketing handheld
When you want both the window and the room, use exposure bracketing: several frames at different exposures, merged into one. You can do it without a tripod:
- Set your camera’s automatic bracketing to three or five frames, two stops apart.
- Set continuous drive so one press fires the whole sequence as fast as possible.
- Choose settings so the longest frame is still a speed you can hold. That frame shows the shadows, and it is the one most likely to blur, so raise the ISO if needed.
- Brace, exhale and hold the button down for the full sequence.
- Merge in any editor that supports HDR merging with automatic alignment and ghost reduction. Alignment corrects small shifts between frames, and ghost reduction deals with people who moved.
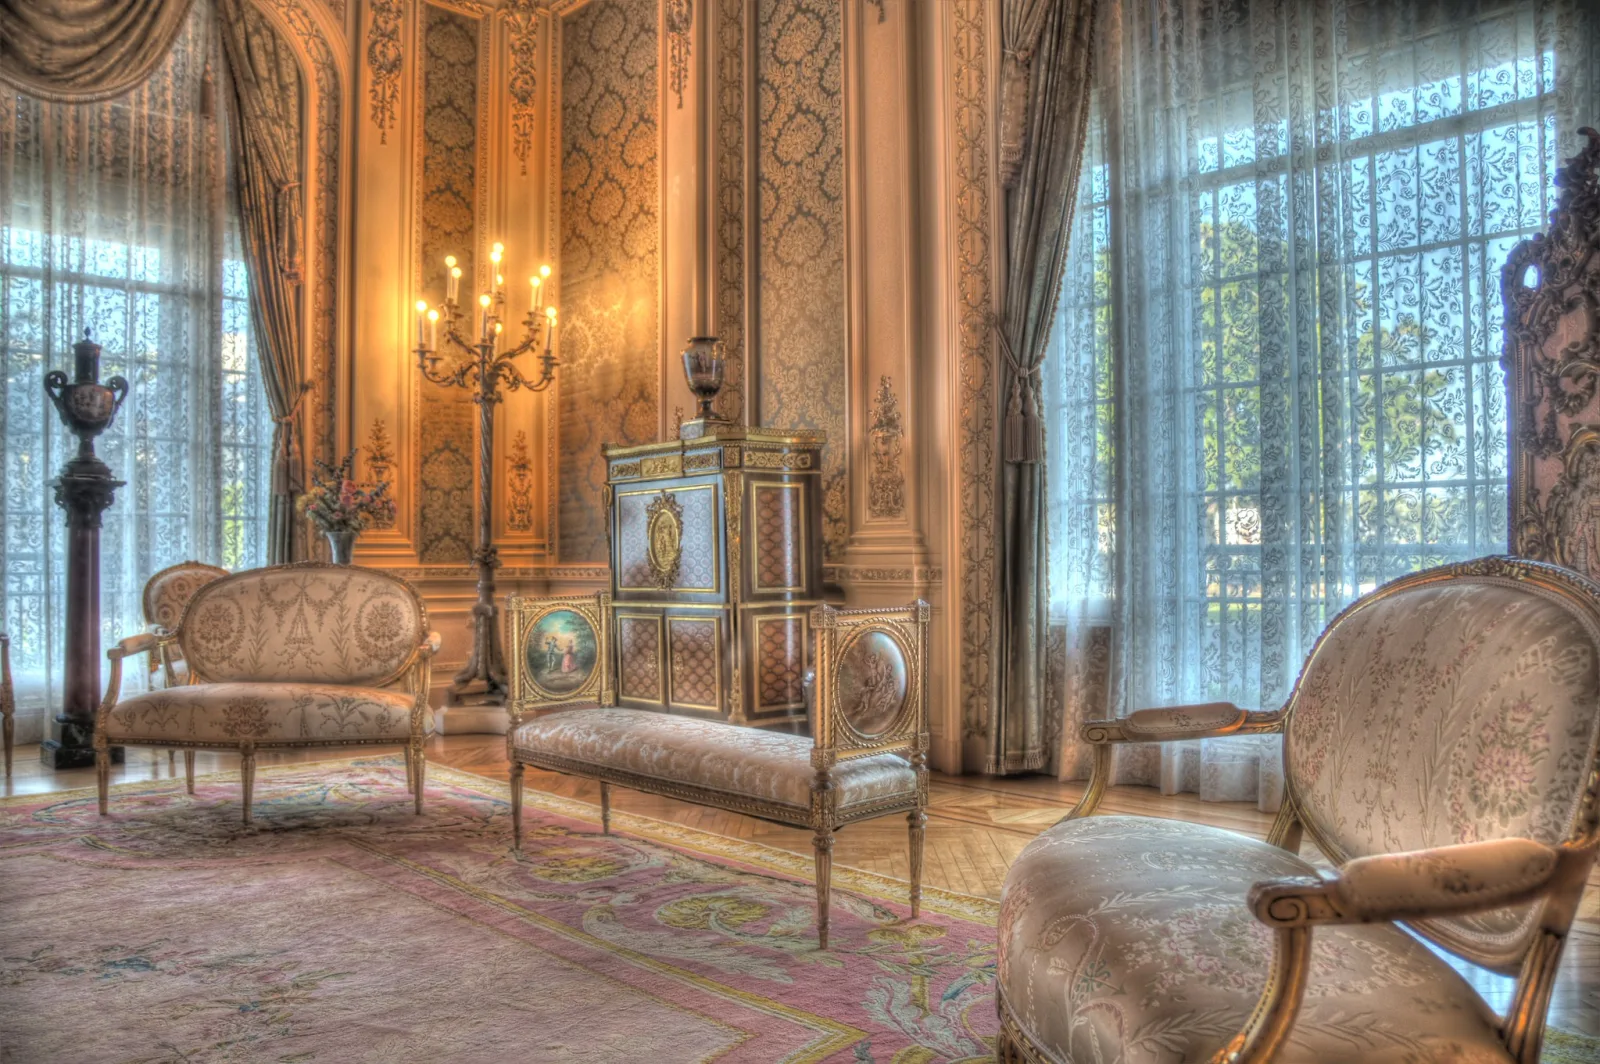
Process the result gently. The goal is a room that looks the way it felt, with bright windows still clearly brighter than the walls, not a flat image where everything is the same brightness. HDR photography covers merging and tone mapping in detail.
Ceilings, domes and symmetry
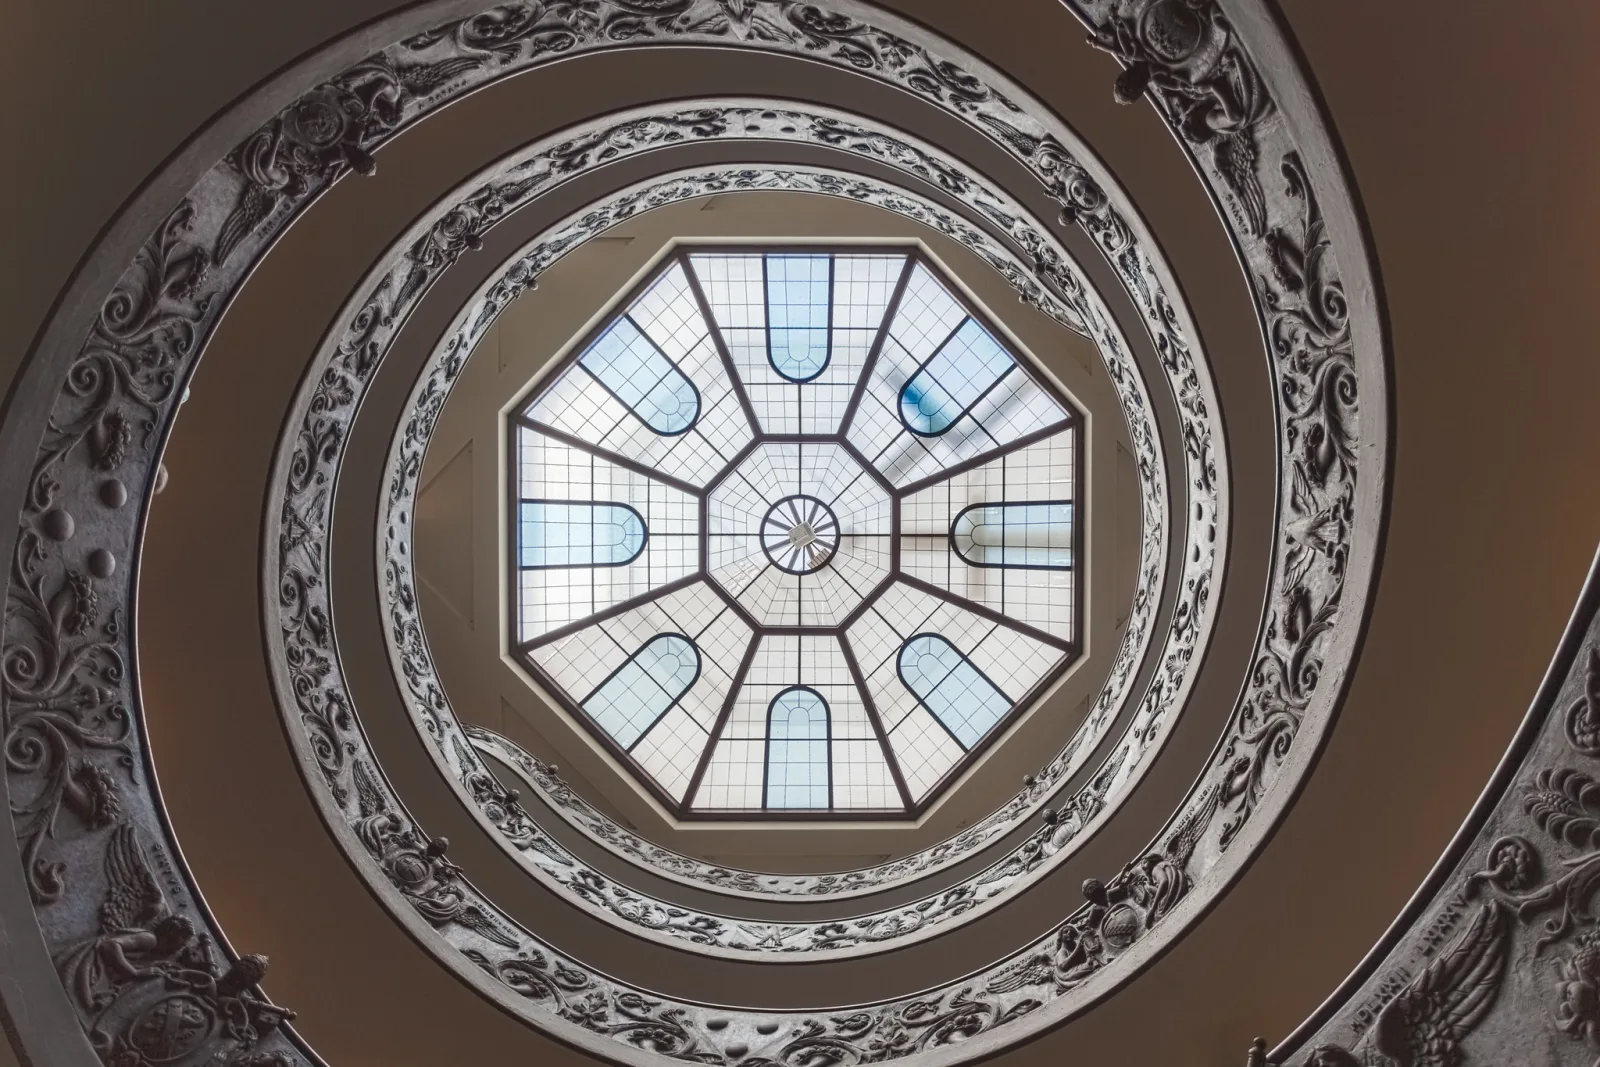
Many of the most impressive interiors are above your head: painted vaults, domes, skylights and spiral stairs. These subjects reward one simple approach: find the center and point straight up.
- Find the exact center. Stand directly under the middle of the dome or vault. Floors often have a pattern, a medallion or a change of tile that marks the center point.
- Point straight up. Turn on the grid overlay and the electronic level, and aim so the ceiling’s main lines meet the grid evenly. When the camera points exactly vertical, every wall leans in equally and the result is perfectly symmetrical. Tilted even slightly, it looks like a mistake. See symmetry in photography.
- Align one axis. Rotate until the nave, a main rib or a line of windows runs parallel to one edge of the frame.
- Go wide. An ultra-wide or wide-angle lens takes in a whole dome from the floor.
Two bracing tricks work especially well here. Where it is appropriate (an empty museum hall, never an active place of worship), you can lie on your back, which steadies the camera on your face and chest and gives a perfectly vertical view. Or put the camera itself on the floor, lens pointing up, and use the self-timer. The floor is the steadiest support in the building, and the camera can hold a long exposure there with no tripod at all. Check the frame on the screen, adjust, and repeat.
For views along a nave or a grand hall, the same logic applies horizontally: stand on the center line, keep the camera level so columns stay vertical, and let the architecture recede symmetrically toward the far end. Architectural photography covers verticals and perspective correction in depth.
Exhibits behind glass
Display cases add a second problem: reflections of the room, the lights, other visitors and you. Most of them can be controlled.
- Get close to the glass. Reflections are room light bouncing off the glass into your lens. With the lens close to or, where allowed, gently against the glass, the lens itself blocks most of that light. A soft rubber lens hood is ideal because it seals out light and cannot scratch. Never press against glass where signs ask you not to touch cases.
- Shade the lens. A dark scarf, jacket or your cupped hand around the lens blocks reflected light when you cannot touch the glass.
- Change the angle. A reflection in a flat pane moves as you move. Step a little to the side until bright spots slide out of the frame, keeping the angle small so the object does not look distorted.
- Wear dark clothing. A white shirt reflects clearly in glass; dark clothes hardly show.
- Consider a polarizer. A polarizing filter can cut glass reflections when you shoot at an angle to the pane, at the cost of one or two stops of light.
- Focus on the object, not the glass. Autofocus sometimes locks onto dust or smudges on the pane. If it does, switch to manual focus.
Exhibits are often lit by spotlights while the room is dark. Expose for the object, not the room: use spot metering or negative exposure compensation so the lit surfaces keep their detail. For flat works like paintings, stand square to the frame and use a moderate focal length. The guide to photographing artwork covers copying flat work in more detail.
Etiquette in sacred spaces
A church, mosque, temple or synagogue is a place of worship first and a sight second, even when it is famous. People may be praying, grieving or attending a service, and the building’s customs apply to you as a visitor. See cultural sensitivity in photography for the wider principles.
- Dress and behave as expected. Covered shoulders and knees, hats off or heads covered, shoes removed: customs vary, and many sites post them at the door.
- Do not photograph during services unless you have been told it is welcome. Outside services, keep noise down and move slowly.
- Leave worshippers out of it. Do not photograph someone praying, lighting a candle or grieving without their permission. If they are in your frame, wait, recompose or move on.
- Silence the camera. Turn off beeps and use a quiet or electronic shutter mode if you have one. Under some artificial lights, an electronic shutter can cause banding stripes, so check the first frames.
- Respect barriers. Stay out of roped-off areas, do not stand on pews or furniture, and never step onto an altar or sanctuary area to get an angle.
- Give something back. Where there is a donation box or photo fee, use it. Upkeep of these buildings is expensive.
Common mistakes
- Leaving flash on auto. It fires in the dark, breaks rules and reflects off glass. Fix: switch flash off before you go in.
- Keeping ISO low out of fear of noise. The result is blur that no software can fix. Fix: raise ISO until the shutter speed is safe for your focal length and technique.
- Shooting one frame and moving on. The first handheld frame is often the softest. Fix: shoot short bursts and keep the sharpest.
- Letting the auto exposure average a window scene. The window blows out and the room is still dark. Fix: expose for the glass, or bracket.
- Tilted ceilings. A dome shot slightly off vertical looks lopsided. Fix: stand at the center, point straight up and use the level and grid.
- Standing at an angle to display cases. Large angles bring in reflections and distort the object. Fix: get close and square to the glass, shading the lens.
Try this
You do not need a cathedral to practice. Pick the dimmest room in your home or a quiet public building and spend 20 minutes on two tests. First, find your handheld limit: at your widest focal length with stabilization on, shoot a detailed subject at 1/60, 1/30, 1/15, 1/8, 1/4 and 1/2 second, three frames each, braced against a door frame. Check them at full magnification and note the slowest speed where at least one frame in three is sharp. Second, stand in front of a bright window and shoot a five-frame bracket handheld, then merge it. You will leave with two numbers you can rely on the next time you walk into a dark interior: your safe shutter speed and whether your handheld brackets align.
Frequently asked questions
Why is flash banned in so many museums?
Reasons include protecting light-sensitive objects, avoiding disturbance to other visitors and, in some cases, protecting image rights. Whatever the reason, flash also gives poor results on glass and varnish, so you lose little by leaving it off.
What is the best lens for church interiors?
A wide-angle zoom with stabilization covers most interiors, from full naves to domes. A fast prime, around f/1.8 or f/2, lets in much more light for details and dim chapels. A short telephoto is useful for stained glass panels and carvings high on walls.
How high can I push ISO indoors?
Higher than you might expect. On many recent cameras, ISO 6400 produces very usable results, especially for images viewed on screens or printed at modest sizes. Test your own camera and decide on a maximum you are happy with, then trust it.
Can I photograph people inside a museum?
Visitors looking at art can make lovely images, but they are private individuals in a semi-public space. Keep them anonymous or unrecognizable, or ask. Rules on photographing people vary by country and by venue.
Related guides
- Architectural photography: perspective, verticals and light on buildings inside and out.
- Image stabilization: how it works and how many stops to expect.
- ISO: what raising it costs and why it is worth it indoors.
- Symmetry in photography: centered compositions that hold together.
- Cultural sensitivity in photography: photographing respectfully in other people’s spaces.
- HDR photography: merging brackets into natural-looking images.
- Photographing busy landmarks: timing and techniques when the crowds are outside too.