To photograph a famous landmark without the crowds, you have four tools: timing (arrive at dawn, in bad weather or in the off-season), angle (find a viewpoint or framing that leaves people out), technique (a long exposure or a stack of frames that erases moving people) and attitude (when the crowd cannot be avoided, make it the subject). Most clean images of busy places use two or three of these together.
Timing: be there when nobody else is
The single most effective way to avoid crowds costs nothing but sleep. Most famous places follow the same daily rhythm: nearly empty at first light, filling fast once tour groups and public transport arrive, and thinning again late in the evening. The difference between sunrise and mid-morning at a popular landmark is often the difference between a quiet scene and a packed one.
- Dawn is the best window. Sunrise is early in summer, when crowds are worst, which is exactly why so few people are there. You also get soft, low light. See golden hour photography for making the most of it.
- Late evening and night come second. Many landmarks are lit after dark, and blue hour balances the lights against the sky. Crowds thin, but in city centers they rarely vanish.
- Bad weather clears places. Rain, fog, snow and strong wind send most visitors indoors. Rain also adds reflections on paving, and fog simplifies a busy background. Check a forecast and go when others will not.
- Choose the season and the day. Off-season months, weekdays and the days just after a holiday are quieter. In port towns, days without cruise ships in harbor are often far calmer. Local events and festivals do the opposite.
- Know the opening pattern. For sites with gates and tickets, the first entry slot and the last hour before closing are usually the quietest times inside. Buying the first slot in advance can buy you ten or twenty minutes of near-empty space.
Timing also means patience on the spot. Even in a steady flow of people, there are often gaps of a few seconds. Compose, prefocus, set your exposure, and wait with your finger on the shutter for the moment the frame clears. Check the sunrise time and direction before you go with sun and moon planning.
Find the angle nobody else takes
At every famous landmark there is a spot where everyone stands, usually the one on the postcard. The crowd is densest there, and the image you make will look like countless others. Walking away from that spot solves both problems.
Ways to find a less crowded view:
- Go up. Look up at the structure from close underneath, or shoot from a staircase, bridge, rooftop or hill. The crowd is at ground level, and a higher or steeper angle leaves it below the frame.
- Go far. From a few hundred meters away, a telephoto lens can frame the landmark above the heads of the people around its base, and compress it against a city or skyline behind.
- Go around. The back, the side and the approach are often empty. A cathedral from a side street, a tower between two buildings, a bridge from underneath: all say “this place” without the standard view.
- Go close. Details (a carved doorway, weathered stone, a pattern of ironwork) are free of people by nature and often more personal than the whole building.
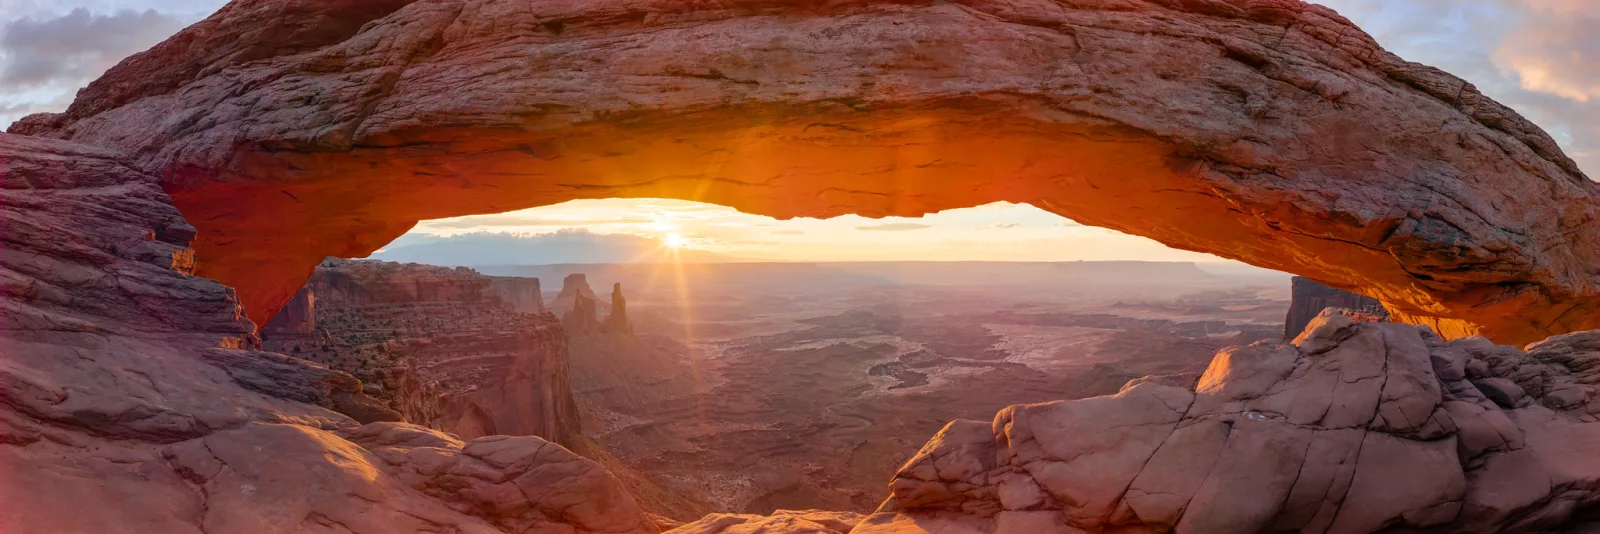
- Use a frame. An arch, window or gap between trees can crop out the crowd while adding depth. See framing in photography.
- Get low. A low camera position with a close foreground (paving, water, flowers) can hide people behind that foreground, and puts the landmark against the sky.
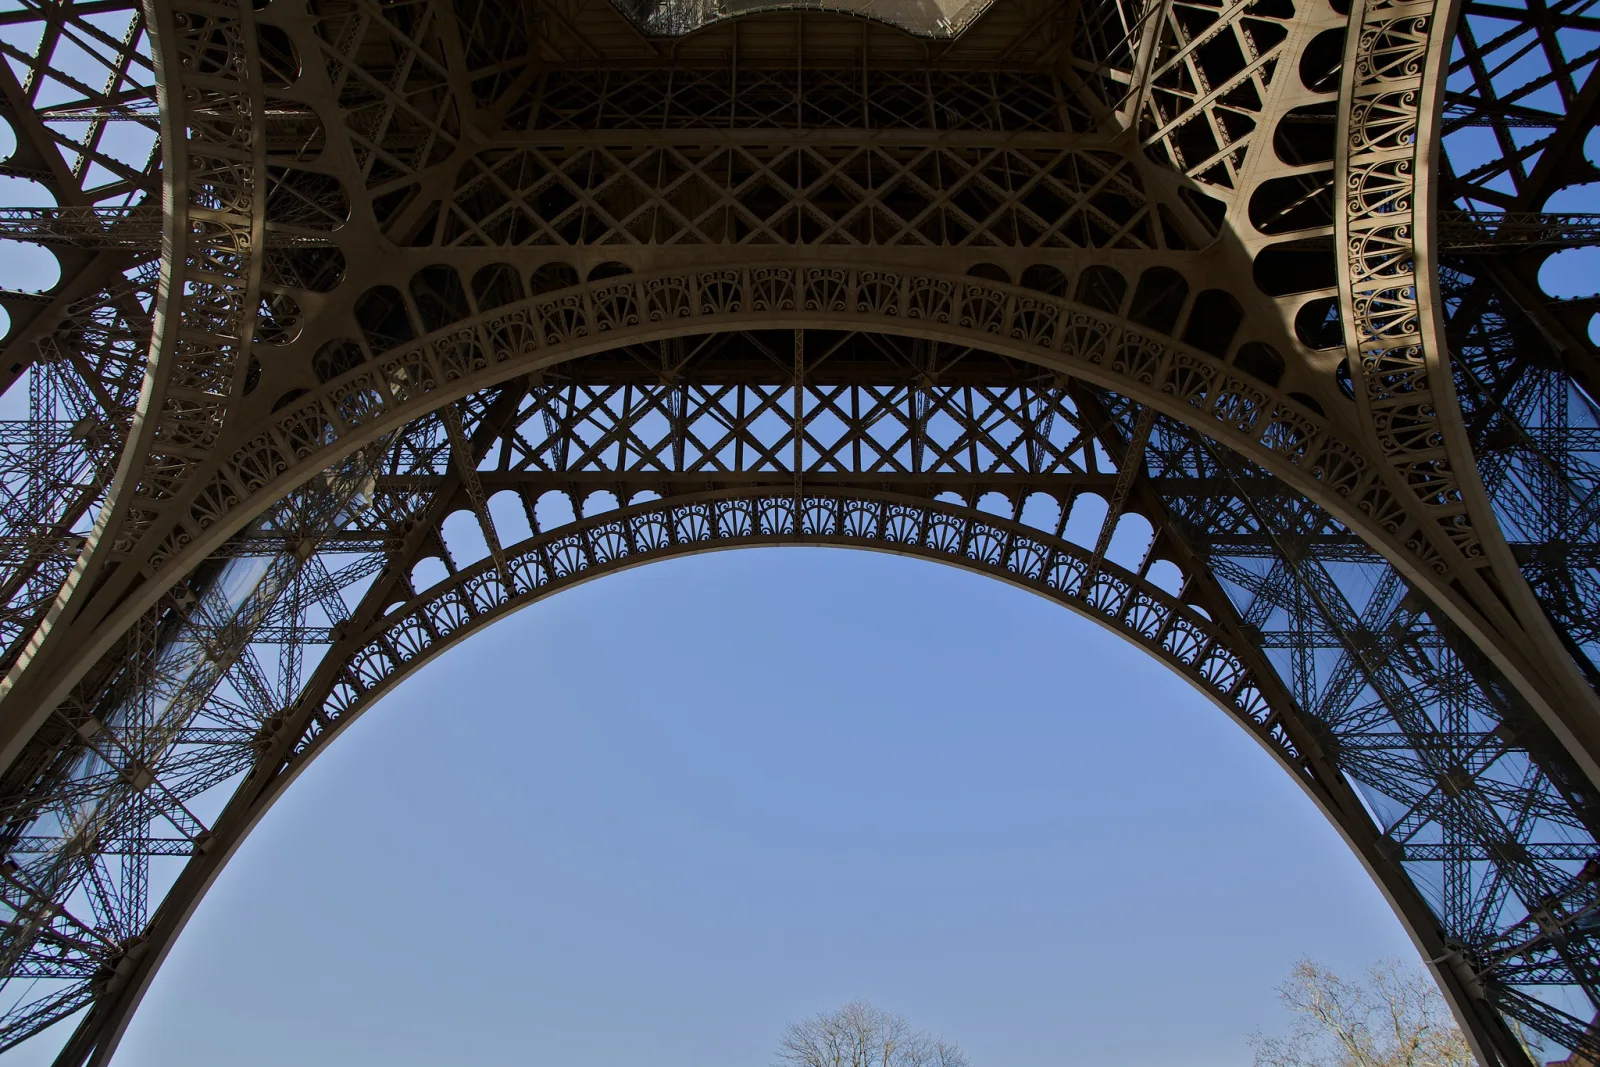
Even at the classic viewpoint, tight framing helps. If you are in the front row, a focal length that includes only the subject can cut out everyone standing beside and in front of it.
Long exposures that erase moving people
A camera sensor adds up all the light that reaches each point during the exposure. If a person walks through a spot and is there for only a small fraction of the exposure, they contribute only that fraction of the light, and the background, which was there the whole time, dominates. Make the exposure long enough and walkers fade to faint ghosts, then disappear.
How long is long enough?
It depends on how fast people move and how many there are, so treat these as starting points:
| Exposure | What happens to walking people |
|---|---|
| 1/4 to 1 second | Blurred but clearly visible. Good for showing motion, not for removing it. |
| About 10 to 30 seconds | Walkers become faint, transparent streaks. Anyone pausing for a few seconds shows as a ghost. |
| 1 to several minutes | Most people who keep moving vanish. A light, steady flow can disappear completely. |
Each of those times is far slower than daylight allows, which is where neutral density filters come in. A worked example: a sunny scene at f/11 and ISO 100 might need 1/125 second. A 10-stop ND filter multiplies that by about 1,000, giving 8 seconds. Stopping down one more stop to f/16 doubles it to about 16 seconds. To reach a full minute or more in bright sun you need a stronger filter (15 stops or two filters combined) or dimmer light, such as heavy overcast, dawn or dusk. In each case you need a tripod and a remote release or self-timer. Long exposure photography covers the full technique.
Why some people never disappear
The long exposure only removes things that move. Three things defeat it:
- Stationary people. Someone sitting on steps, a guard, a vendor, or a person posing for a photo for the whole exposure is recorded as solidly as the building.
- Slow movers. People who stop to look, queue or chat leave semi-transparent ghosts where they paused.
- Constant crowds. If a spot is never empty, because a dense stream of people always covers it, the exposure records an average of people rather than the ground, and you get a gray, blurry haze across that area.
The fix for the first two is to wait until they leave, or to clean them up afterward. The fix for the third is timing: long exposures work when people are moving through a scene, not when it is packed.
Shooting a stack for median blending
A median stack does something similar to a long exposure, but it deals with ghosts much better and needs no filter. You take many ordinary frames from exactly the same position, and software builds a final image by choosing, for each pixel, the middle value from all the frames.
Here is why it works. Suppose you shoot 20 frames. For any given spot on the pavement, a passer-by might cover it in 3 of those frames. In the other 17, the spot shows bare pavement. The median value for that pixel is therefore pavement, and the person is simply not chosen. A long exposure, by contrast, is closer to an average, which blends a little of every passer-by into the result. That is why stacks come out cleaner.
The rule to remember: every spot must be clear in more than half the frames. If a person stands in the same place for more than half the sequence, the median keeps them.
- Tripod. Frames must line up. Handheld stacks can be aligned by software, but a tripod gives far better results.
- Manual everything. Fix exposure, focus and white balance so the frames match. Any change between frames creates blotches in the blend.
- Space the frames out. Take 15 to 30 frames, several seconds apart, so people have time to move to a new position. Busy scenes and slow walkers need more frames and longer gaps. An interval timer makes this easy.
- Blend. In any editor that supports stack modes, load the frames as layers, align them, convert them to a stack and choose the median mode. Some dedicated tools do all of this in one step.
- Clean up leftovers. Anyone who stayed put will remain. Mask in a part of an individual frame where that spot was clear, or remove them with a healing tool, as described in removing people from crowded scenes.
Anything that moves on its own will also be treated as an outlier: clouds, water, flags and trees in wind can look smeared or oddly smooth in a median blend. Keep the stack short on windy days, or mask a single frame back in for those areas.
Tripod etiquette in busy places
The techniques above mostly need a tripod, and a tripod in a crowd is a nuisance to everyone else if it is used carelessly.
- Check the rules first. Many museums, churches, monuments and ticketed sites ban tripods, or require a permit for them. Some ban them only at busy times. Signs and the site’s own information usually say so.
- Keep the footprint small. Pull the legs in, stand close to the tripod and never leave legs spread across a walkway or stairs. A tripod leg is an easy thing to trip over.
- Do not claim the view. At shared viewpoints, arrive early for a spot instead of planting yourself in front of people who waited. Leave space for others to take a quick picture.
- Move when asked. Staff, residents and other visitors have as much right to the space as you do. A long exposure is not worth an argument.
- Never leave it unattended. It can be knocked over into someone, or taken.
When tripods are not allowed, you can still stack handheld: brace against a wall or railing, shoot a burst of frames with the camera held as still as possible, and let software align them. The result is weaker than a tripod stack, but often good enough. See photographing museums and churches for bracing techniques.
Making the crowd the subject
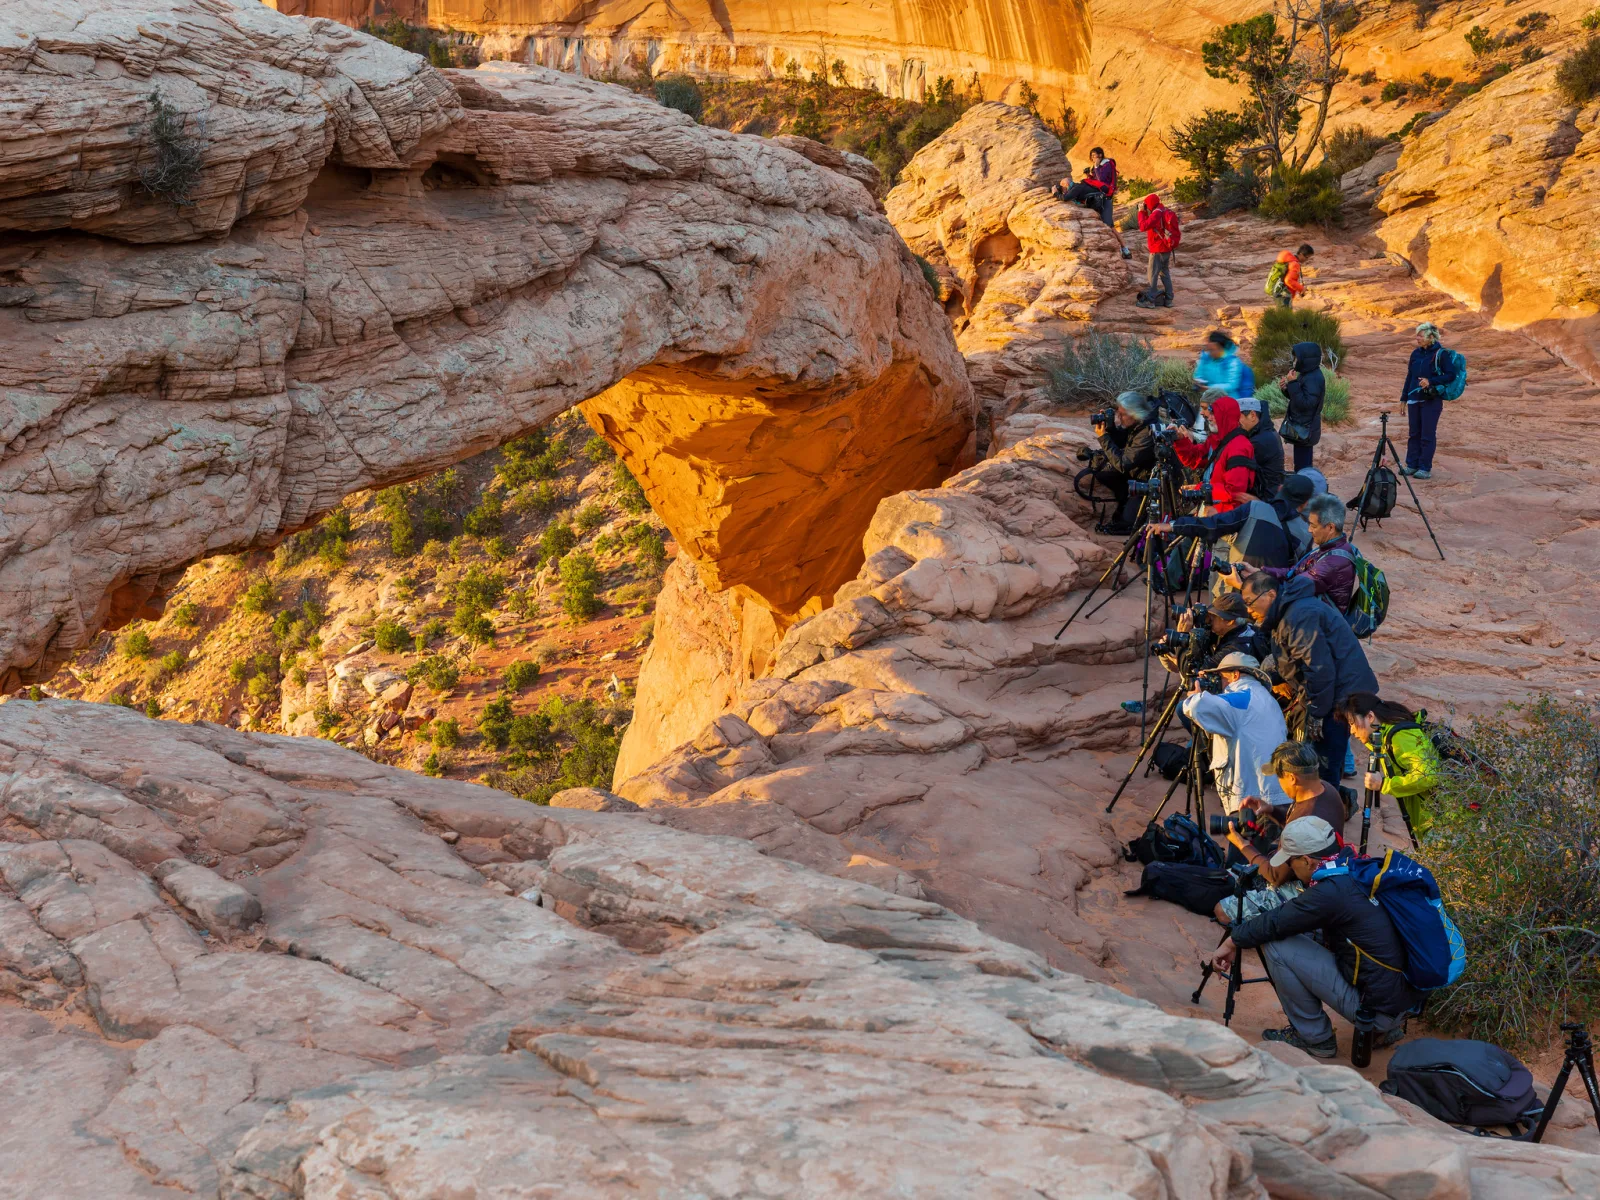
Sometimes the most honest picture of a famous place includes its visitors. A packed viewing platform, a sea of phones raised at a monument or a line of photographers shoulder to shoulder at sunrise says something true about the place and about travel itself. It is also the one image of a famous landmark that nobody else will have.
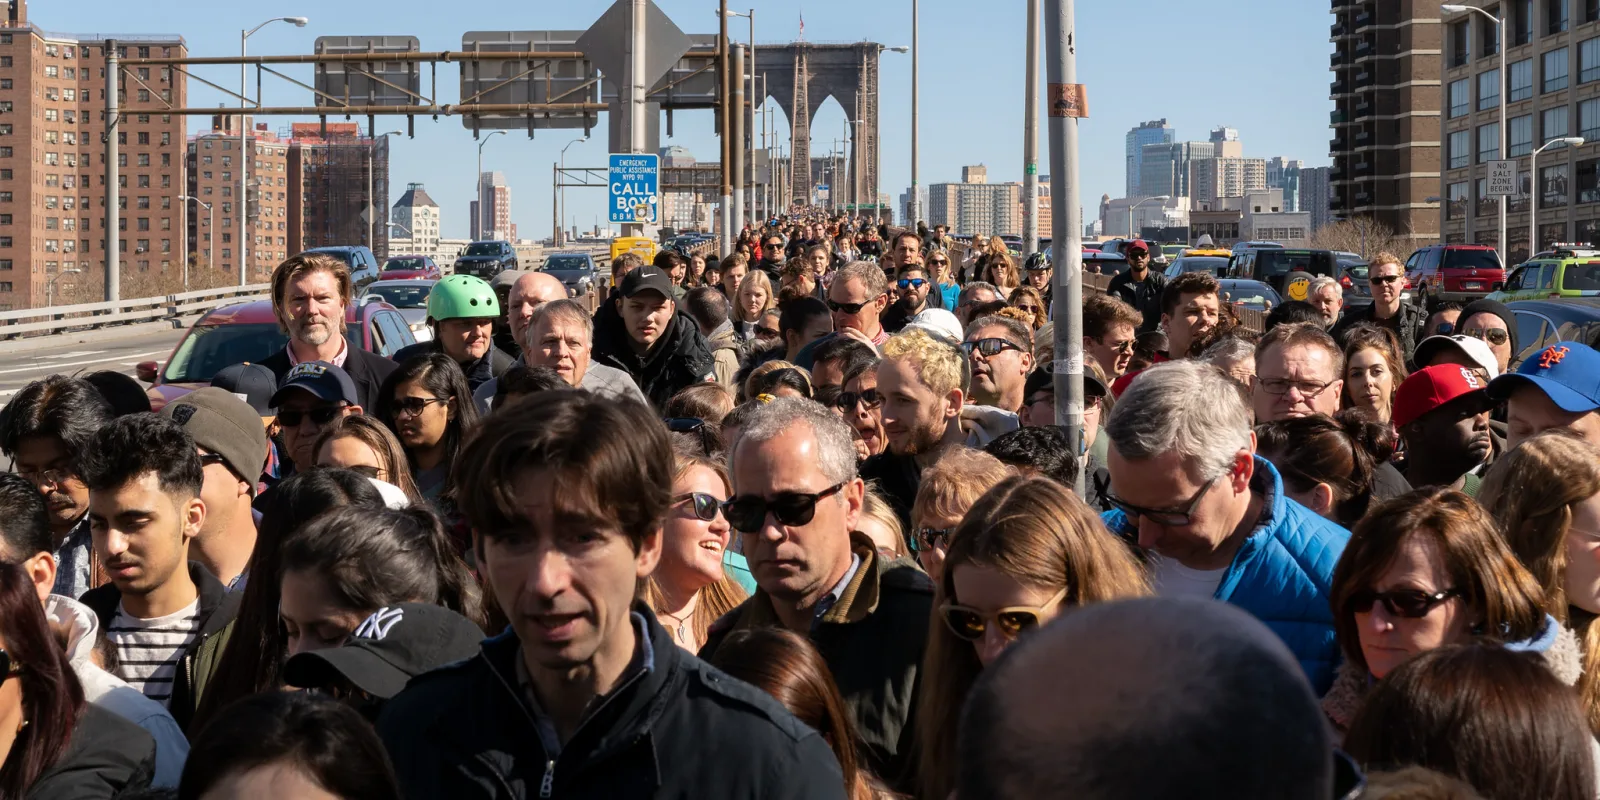
- One still figure in moving crowd. On a tripod at around 1/4 to 1 second, walkers blur while anyone standing still stays sharp. A single still person amid streaks of motion makes a strong image.
- Pattern from above. From a balcony or bridge, crowds become texture: umbrellas, hats and shadows.
- Scale. A few people at the base of a huge structure show its size better than an empty frame.
- Behavior. People photographing, posing, queuing or looking up are a subject in themselves. The skills are those of street photography.
Laws about photographing people in public, and about publishing those photos, vary by country, so check the rules where you are, and be especially respectful of children and of people who clearly do not want to be photographed.
Common mistakes
- Arriving mid-morning and hoping. By then the tour groups are there. Fix: plan for first light, or for the hour before closing.
- Standing only at the famous spot. It is the most crowded and the least original. Fix: walk around the landmark before choosing where to shoot.
- Expecting a long exposure to remove everyone. Stationary people stay. Fix: wait for them to move, or plan to stack and clean up.
- Too few frames or frames too close together. A median stack of five frames taken one second apart will keep most people. Fix: shoot 15 to 30 frames spaced several seconds apart.
- Letting exposure change during a stack. Auto exposure or auto white balance makes the frames differ, and the blend looks patchy. Fix: switch everything to manual before you start.
- Blocking others with a tripod. It creates conflict and can get you asked to leave. Fix: follow the site’s rules and keep your footprint small.
Try this
Go to the busiest public square, station concourse or shopping street near you, with a tripod if you have one. Set up somewhere you are not in anyone’s way, switch to manual exposure, focus and white balance, and shoot 20 frames about five seconds apart. At home, load them into an editor that supports stack modes and create a median blend. Compare the result with any single frame. Then note who is left in the blend and why: they are the people who stayed still. The whole exercise takes about 20 minutes, and it teaches you exactly how many frames and how much spacing your local crowds need.
Frequently asked questions
What ND filter do I need to remove people in daylight?
A 10-stop filter turns a typical sunny exposure into several seconds, which thins a crowd but rarely empties it. For exposures of a minute or more in bright light you need around 15 stops, either a single strong filter or two filters stacked. In overcast weather or twilight, a 6 to 10 stop filter is often enough.
Is a median stack better than a long exposure?
For removing people, usually yes: it rejects people instead of averaging them, so you get fewer ghosts and need no filter. A long exposure is simpler and also smooths water and clouds, which can be a look you want. Many photographers use a long exposure for mood and a stack when the goal is an empty scene.
Can I remove people without a tripod?
Yes, with limits. Brace the camera, shoot a burst of frames and let software align them before stacking. Small misalignments can cause soft edges, so use a faster shutter speed and a wider view you can crop later.
Is it wrong to remove people from a travel photo?
It depends on use. For personal and artistic work, an empty scene is a legitimate choice. For documentary or news use, removing people misrepresents the place and is generally not acceptable. Be honest about how an image was made when it matters.
Related guides
- Travel photography: planning and shooting on the road.
- Neutral density filters: choosing filter strength for long exposures.
- Long exposure photography: settings, focus and exposure times.
- Removing people from crowded scenes: cleaning up after the stack.
- Architectural photography: straight lines and good light on buildings.
- Street photography: when people are the point of the picture.
- Planning around the sun, moon, tides and weather: getting there at the right time.